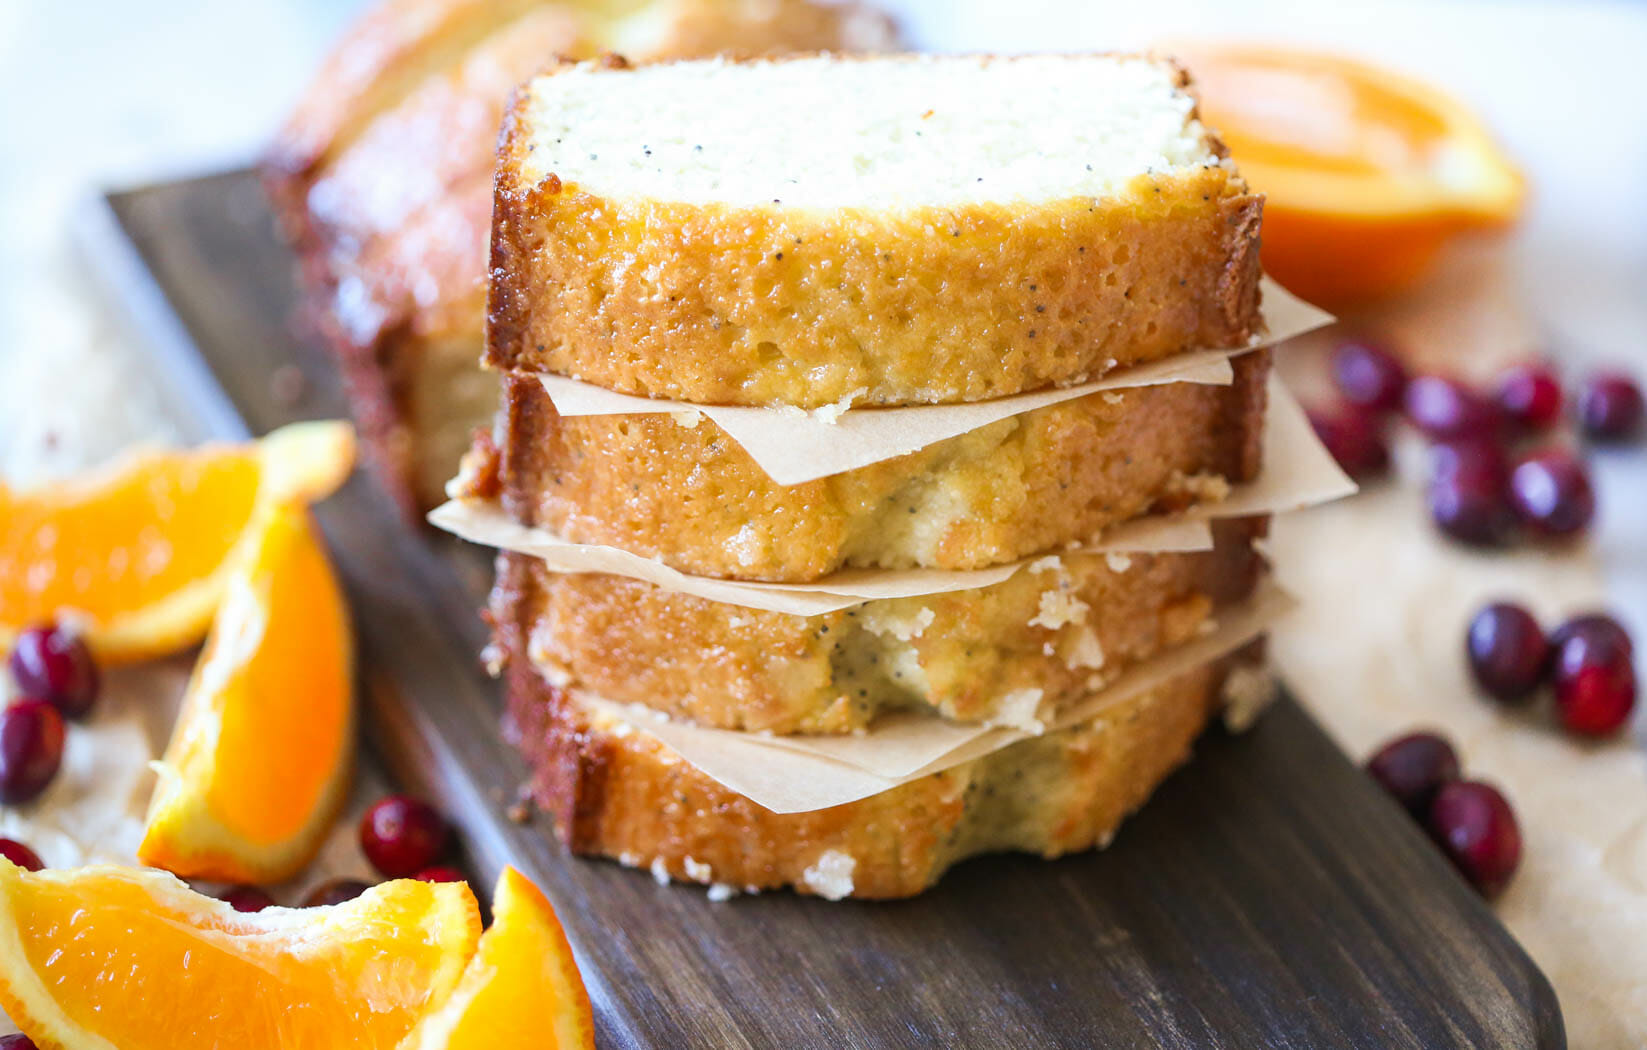
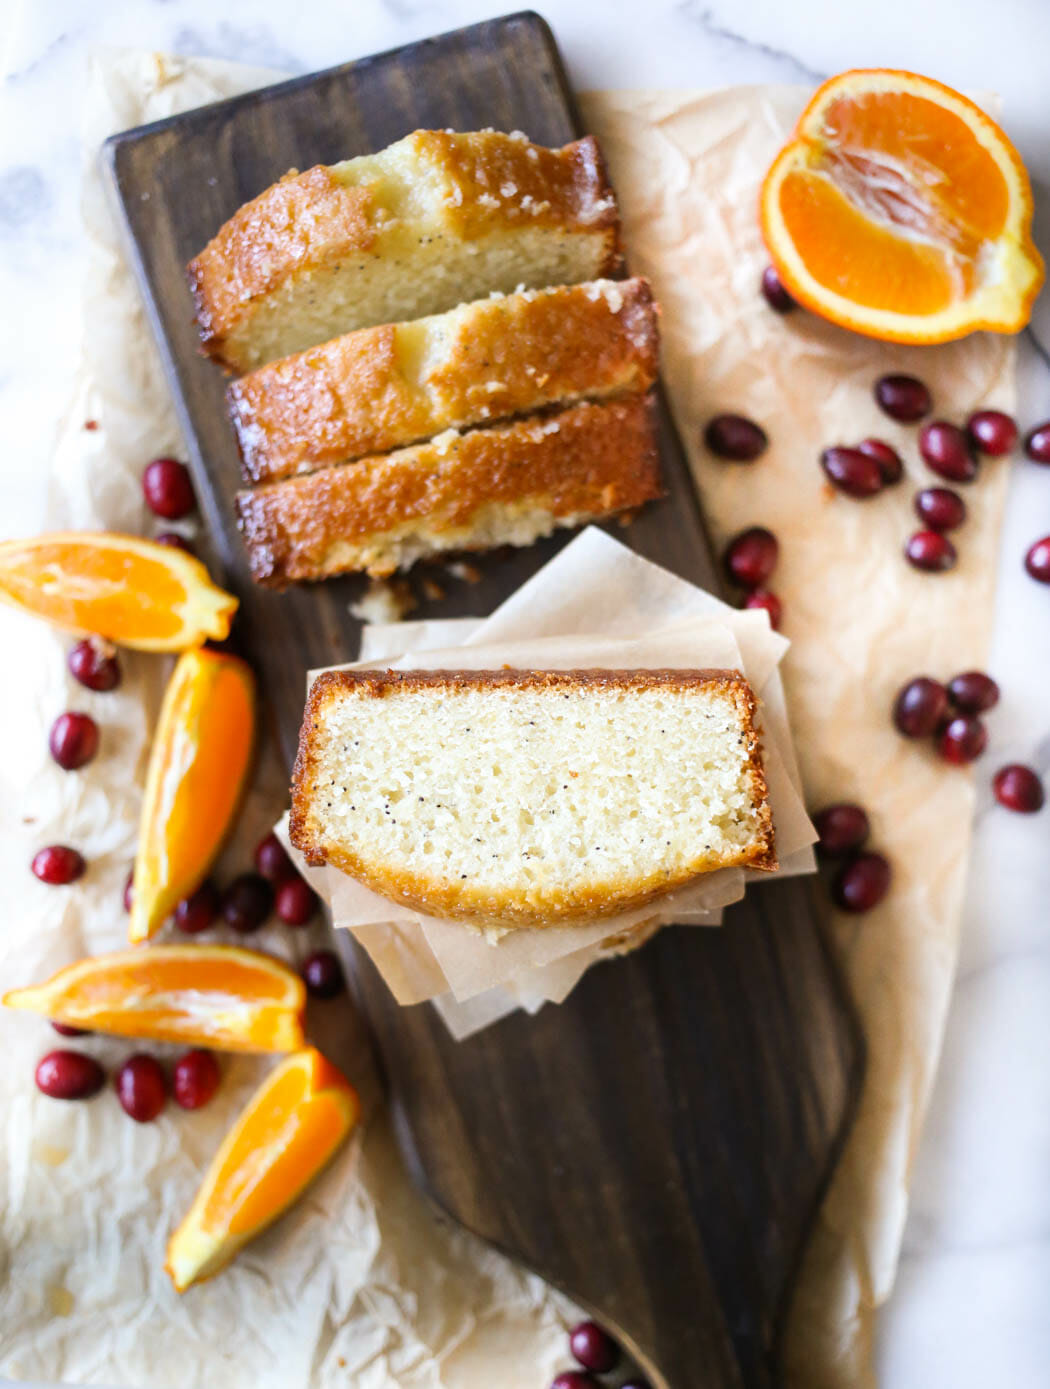
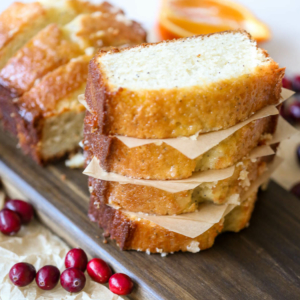
This tender Almond Poppy Seed Bread is a staple at our house around the holidays, but it’s really great any time of year. Sweet almond bread is dotted with poppy seeds and the loaves are drenched while hot from the oven in a delicious orange-almond glaze that sets into a thin, crackly topping you won’t be able to get enough of! It’s perfect for holiday gift plates, brunch spreads, or Sunday afternoons. You can bake is as full-sized loaves or mini loaves to suit your needs.
Ingredients Needed
This is just a preview of ingredients and method, keep scrolling for full printable recipe.
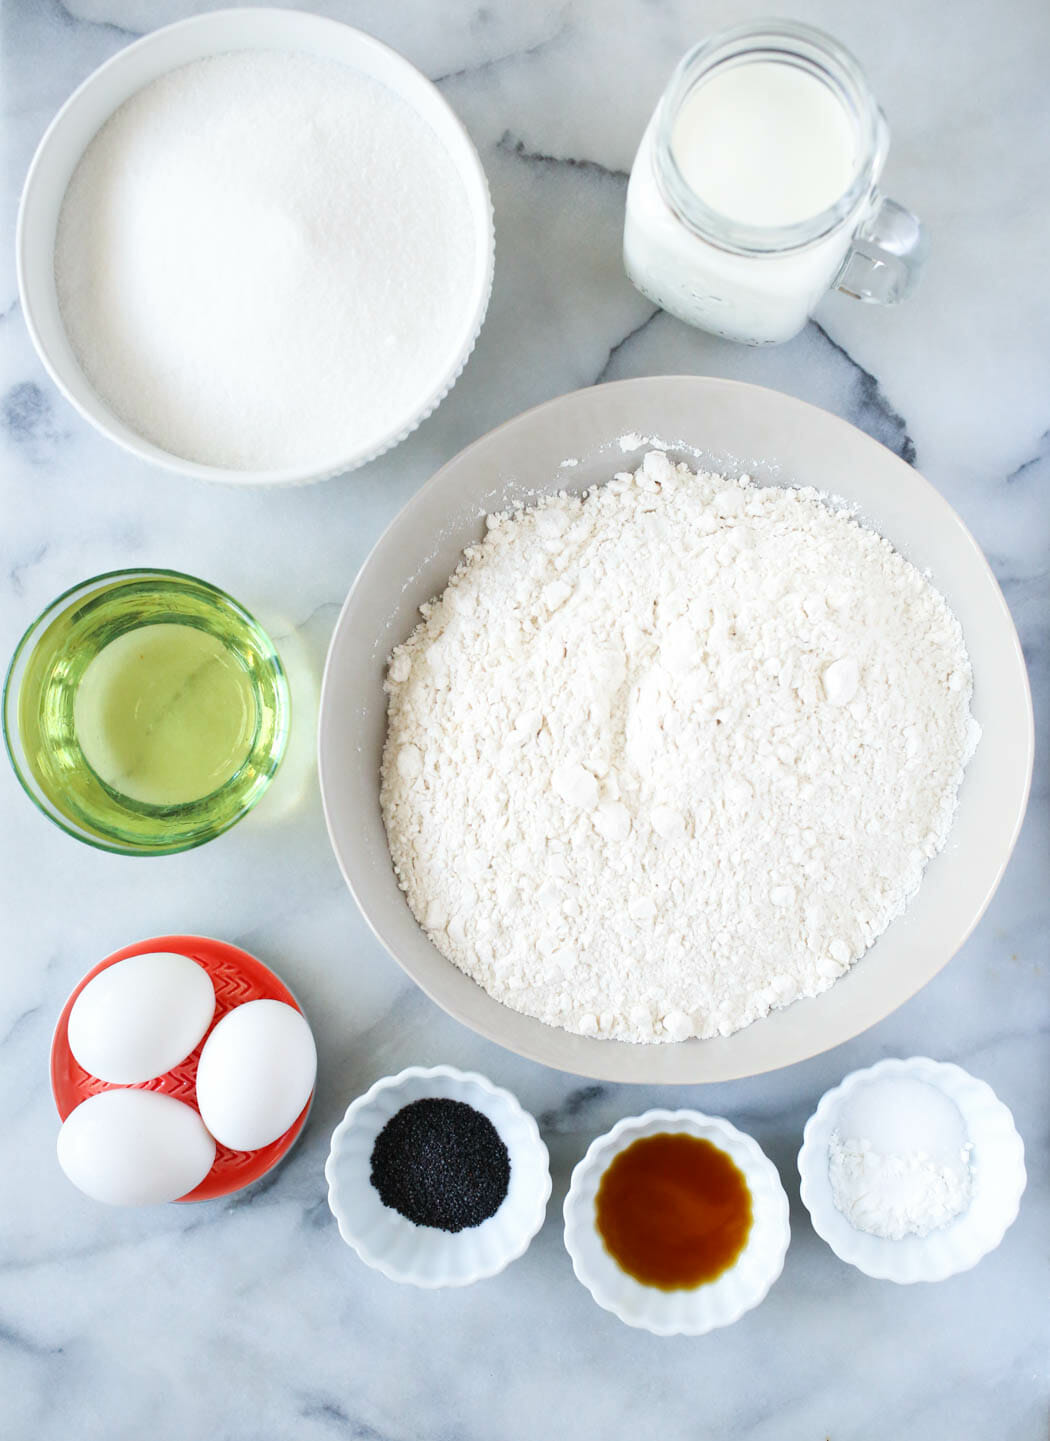
Bread
- All-purpose flour
- Granulated sugar
- Baking powder
- Table salt
- Canola oil – Or any neutral-flavored oil of your choice.
- Eggs
- Milk or buttermilk
- Poppy seeds
- Vanilla extract
- Butter flavoring – Look for this on the baking aisle near the other extracts and flavorings.
- Almond extract
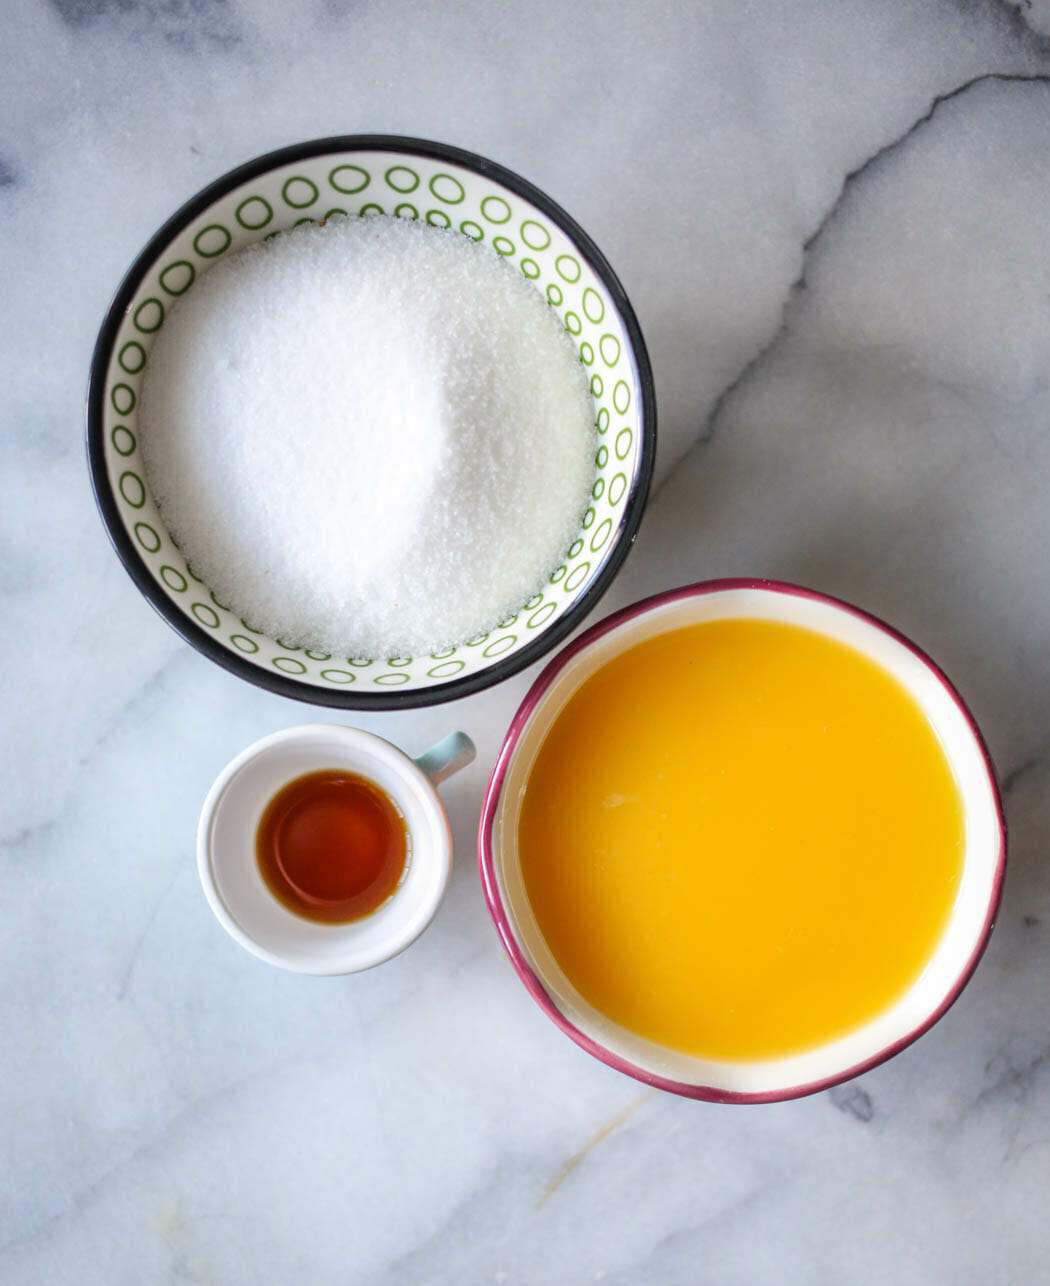
Glaze
- Granulated sugar – You can also use powdered sugar.
- Orange juice
- Vanilla extract
- Butter flavoring
- Almond flavoring
How to Make Almond Poppyseed Bread
- Grease loaf pans and set aside. Place flour, salt, and baking powder in a medium mixing bowl and whisk to combine.
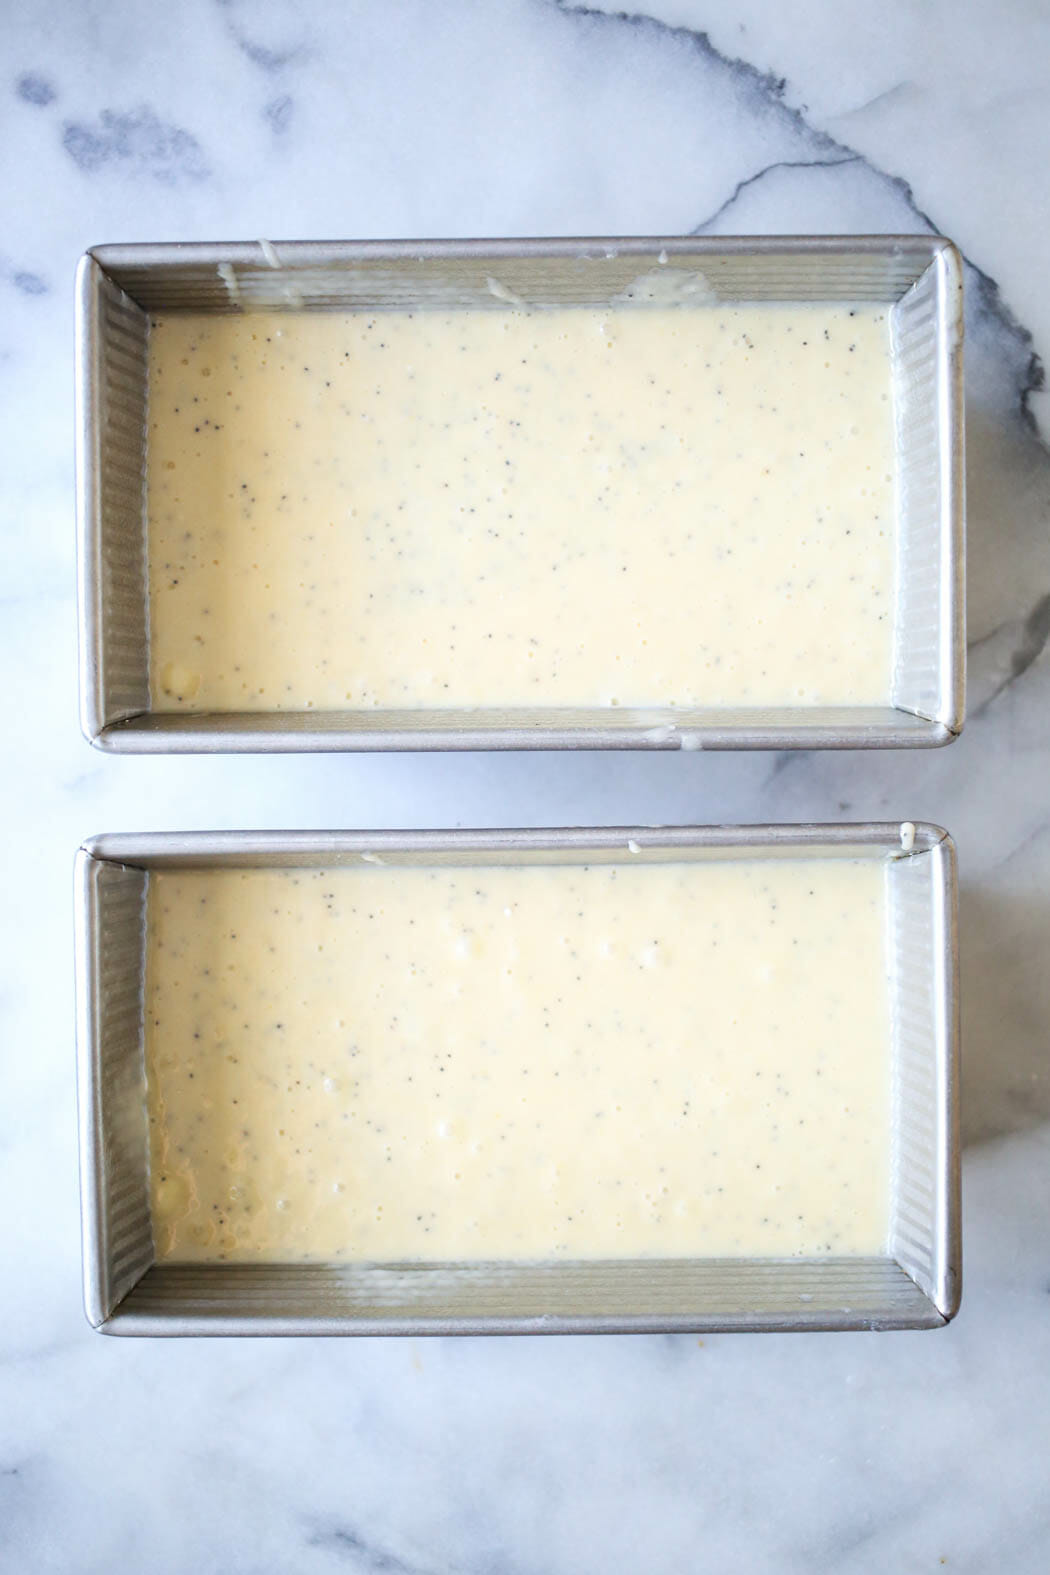
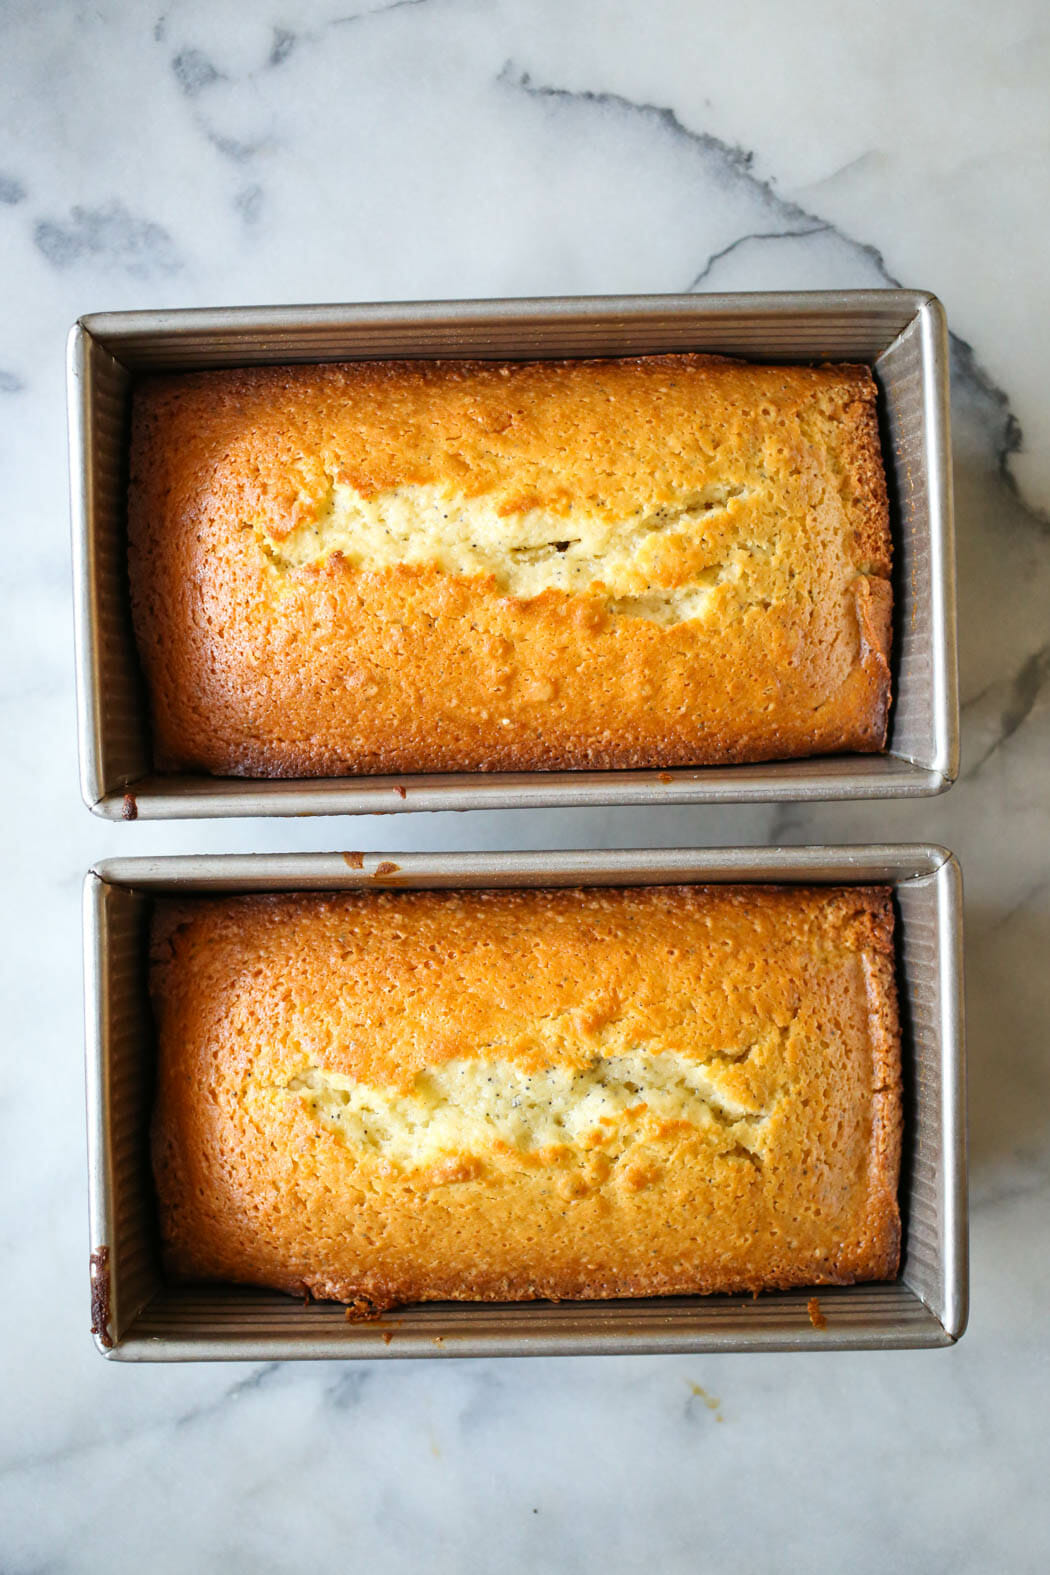
- In a large mixing bowl or the bowl of your stand mixer, combine eggs, extracts, oil, and sugar, and beat for 2 minutes. Alternate adding in flour mixture and milk and then mix until just combined. Add poppyseeds and mix until just combined. Pour into prepared pans. Bake.
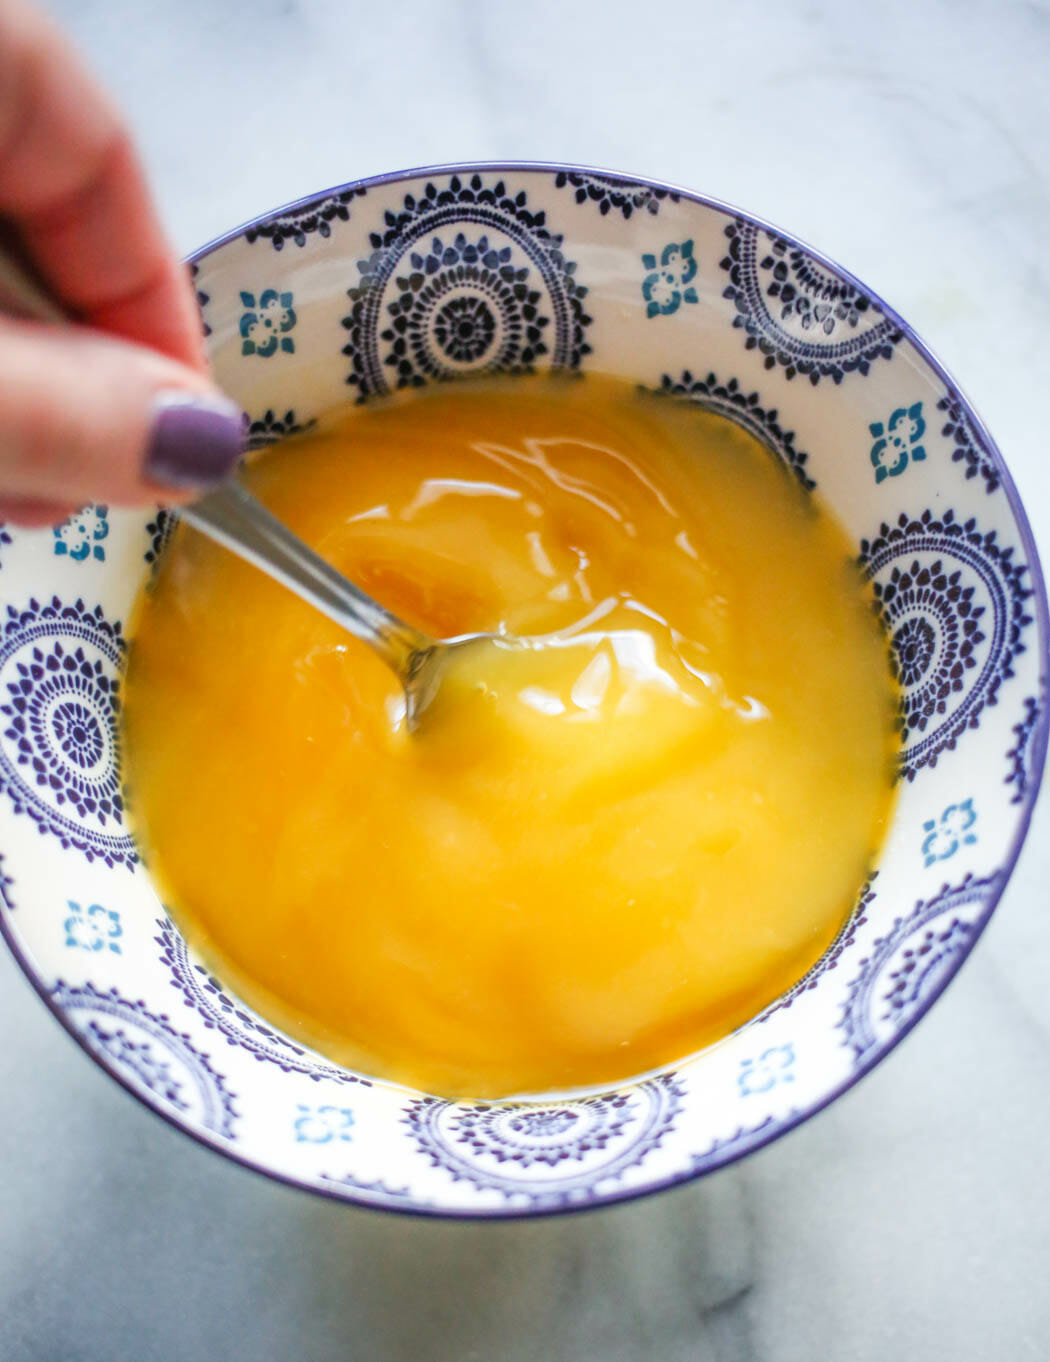
- When done, place on a cooling rack. While they are cooling, prepare the glaze. You’ll need some granulated sugar, orange juice, vanilla and almond extracts, and butter flavoring. Whisk together the glaze ingredients. When the loaves are cool, place them on a tray or baking sheet and drizzle the glaze evenly over the loaves. Allow to cool completely; the sugar in the glaze will form a delicious crust on the bread.

Storing and Other Tips
- Store finished bread, tightly covered, at room temperature and enjoy within 3 days for best results.
- If gifting, I would recommend delivering within a day of baking. If possible, try not to package these in cellophane until ready to deliver because after awhile, the moisture will condense in the bag and the glorious sugary crust on the bread will liquify and soak into the bread. Which, don’t get me wrong, tastes great, but the slightly-crispy texture on top of the soft bread may just be the best part.
Full-Sized or Mini Loaves?
- This recipe makes 2 large (8.5″ x 4.5″ or 9″ x 5″) loaves or 5 mini loaves.
- For gifting, I like using disposable bakeware. You can find disposable aluminum pans at any grocery store, or there are lots of cute paper baking pans available online or at craft stores, especially around the holidays.
Frequently Asked Questions
Definitely! You’ll just need to watch carefully and test with a toothpick for doneness. You don’t want to over or under bake this bread!
Sure. That sounds delicious! Since lemon juice isn’t as sweet as orange juice, you may find your glaze packs more of a punch.
You can, but I don’t know why you’d want to. It really is the best part!

Almond Poppy Seed Bread
Ingredients
Bread
- 3 cups all-purpose flour (390 g)
- 1 ½ teaspoons table salt
- 1 ½ teaspoons baking powder
- 3 eggs
- 1 ⅛ cup canola oil
- 2 ½ cups white sugar
- 1 ½ teaspoon vanilla
- 1 ½ teaspoon butter flavoring (optional) look for it near the vanilla and almond extracts
- 1 ½ teaspoon almond extract pure or imitation, both work great
- 1 ½ cup milk or buttermilk
- 1 tablespoon poppy seeds
Glaze
- ¾ cup white granulated sugar or powdered sugar
- ¼ cup orange juice
- ½ teaspoon vanilla
- ½ teaspoon butter flavoring
- ½ teaspoon almond flavoring
Instructions
- Preheat oven to 350℉. Grease 2 standard-size bread pans or 5 mini bread pans. Set aside.
- In a medium bowl, sift together flour, salt, and baking powder.
- In a large mixing bowl, combine eggs, oil, sugar, and extracts/flavorings and beat for 2 minutes.
- Alternate adding in flour mixture and milk and then mix until just combined. Add poppyseeds and mix until just combined.
- Pour into prepared pans (5 mini pans or 2 standard bread pans) and bake (35-40 minutes for mini pans, 1 hour for large pans; keep an eye on them). When done, place on a cooling rack and allow to cool completely.
- While cooling, prepare glaze by combining all glaze ingredients. Drizzle over loaves while still warm and allow to cool and harden.
Notes
- Store finished bread, tightly covered, at room temperature and enjoy within 3 days for best results.
- If gifting, I would recommend delivering within a day of baking. If possible, try not to package these in cellophane until ready to deliver because after awhile, the moisture will condense in the bag and the glorious sugary crust on the bread will liquify and soak into the bread. Which, don’t get me wrong, tastes great, but the slightly-crispy texture on top of the soft bread may just be the best part.


Questions & Reviews
Thanks for this amazing recipe! I made mini loaves for all our friends and neighbors for Christmas this year and they were a hit! I learned after a few batches to go really easy on the non-stick spray to keep them from getting all crazy on top when they bake. I got tons of compliments and had to make an extra batch because we couldn’t stop eating them too!
I just made this bread (let’s get honest…this is cake). I brought it over to my parents house to share and my little bro. tried a piece and told me that all he wanted for Christmas from me is more of this cake. lol – it really is just that good!
AMAZING!!!
Hi, I bought some ceramic mini loaf pans which are decorated for Christmas … going to give them as teacher’s gifts, etc. Do you think after I bake these that I can leave them in the ceramic pans that they are baked in, or do they need to be turned out to cool properly? Thanks!
Hey, I don’t know if you care or not, but I learned a trick on how to get the sides of quick breads to bake down instead of curling up. So I spray my pans with cooking spray, then flour them. I knock out the extra flour and then with a paper towel I wipe out the top half of the flour/grease. So basically just the bottom and an inch or so up the sides of the pan are greased and floured. It works really well, but takes a littel bit of extra time. If I don’t have time I don’t worry about it, but I like doing it if I’m giving them away. I love this recipe. Mine is a bit different, but very close to this one. I just made it this week and for the first time I was disappointed in it (besides the time I use part applesauce instead of oil–FYI that does not work with this bread :). It was much dryer than usual. I’m pretty sure it’s because I cut the oil down a little bit. I swear I’ve done that before and it still turned out perfectly moist, but it didn’t work so well this time. Lesson learned!
Love this recipe and have made it for years…however I inject some of the glaze right into the bread as well….so yummy!
Question for you smart ladies, can I use vegetable oil in place of canola oil? I never have canola oil…. what in the world is the difference, does it bake or taste different? Thanks, can’t wait to make these!! Mmmmmmmmmm!!
This bread is amazing!! I made mini loaves along with pretzel turtles and homemade marshmallows for my husband to give to his professors/fellow grad students. We’ve gotten so many compliments! Oh, and for what it’s worth, this recipe made 6 mini loaves for me.
Great recipe. Came out perfect as if you bought it at the bakery. Love this website and it is so cool that you are willing to share what you have learned and created. Thanks
If I don’t have butter flavor, can I use something else?
Just leave it out Rebecca, no big deal!