I am a Classic Hummus fangirl. I love it in a borderline obsessive way. And we have a lot of recipes for various hummuses–we have a great basic recipe in our first cookbook, we have Roasted Red Pepper Hummus, we have Black Bean Hummus, Edamame Hummus. If you can hummus it, chances are we’ve done it. Or thought about it. But this authentic Israeli version right here hits all the rights notes when you’re in the mood for good classic hummus!
Ingredients Needed
This is just a preview of ingredients and method, keep scrolling for full printable recipe.
- Chickpeas/garbanzo beans – Yes, those are the same thing! You want the dry ones you can buy in a bag near the other dry beans, NOT canned. However, in a pinch you can make it with canned chick peas.
- Baking soda – Depending on cooking method.
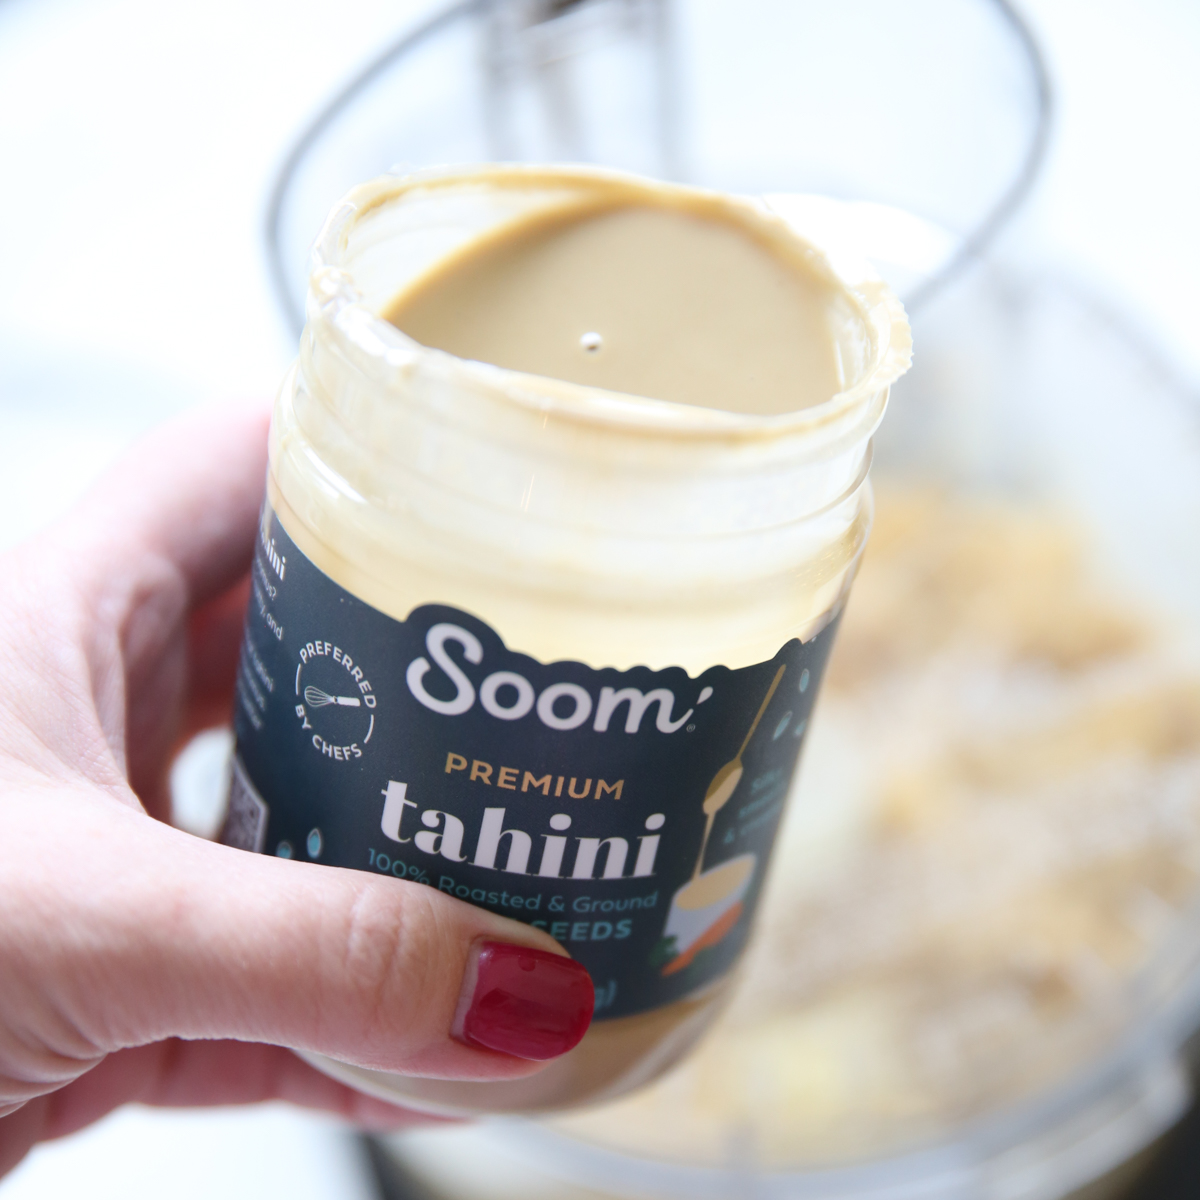
- Tahini – This is a paste made from sesame seeds. Look for it near international foods or kosher foods.
- Lemon juice
- Fresh garlic
- Kosher salt
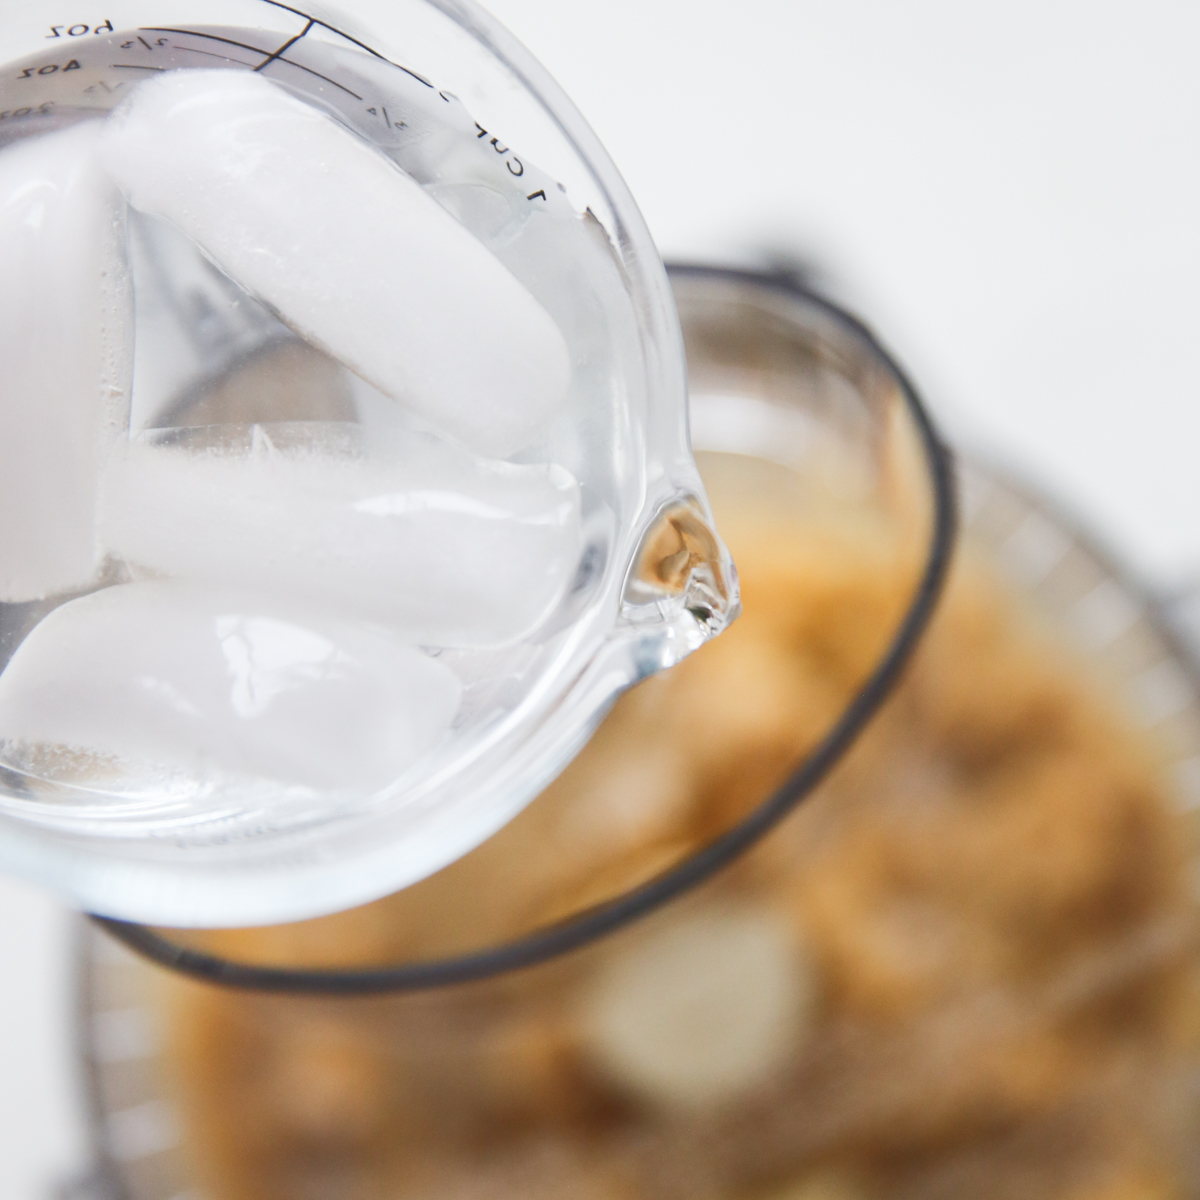
- Ice water
- Course salt and freshly ground black pepper
- Optional garnishes – Olive oil, chopped olives, roasted red peppers, chopped parsley, toasted pine nuts, etc.
Recipe Notes Before You Get Started
This recipe comes from the James Beard award winning book, Jerusalem: A Cookbook. It’ simple and perfect! Here’s a few notes you may find helpful:
- You’re cooking dried chickpeas instead of using canned chickpeas. The process is simple, especially if you have an Instant Pot. This is key to both the creamy consistency of the hummus, and also the flavor, but if it’s between canned chickpea hummus and no hummus, go for the canned chickpeas. P.S. Chickpeas and garbanzo beans are the same thing.
- This calls for 1 whole cup of tahini (sesame seed paste). If you’re not quite sure how much you love tahini, I recommend starting with 3/4 cup and then adding more if you want a bolder flavor.
- You want the water to be ice cold. Add enough water to your hummus at the end to get a creamy, easily spreadable consistency, more like fluffy buttercream frosting than thick, pasty hummus.
- I’ve made this in my blender (Blendtec, so a good one) and I’ve made it in my food processor. If at all possible, use a food processor for best results.
How to Make Classic Hummus
Continue scrolling below for full printable recipe.
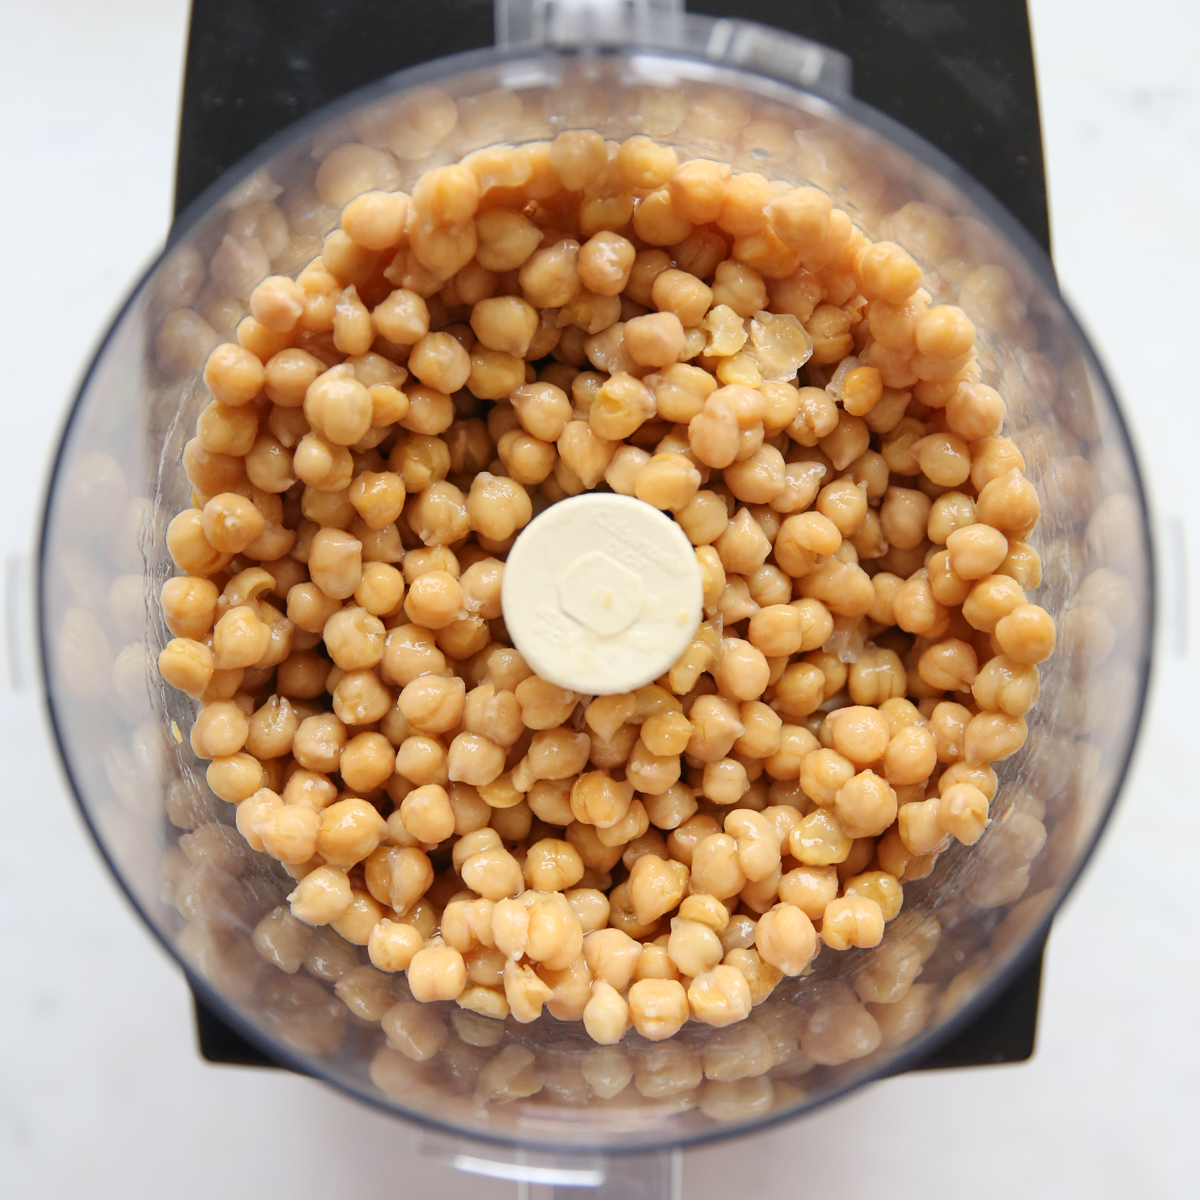
- Rinse and sort the chickpeas and then cook them. In the recipe card you’ll find instructions for both a pressure cooker and also the stove top.
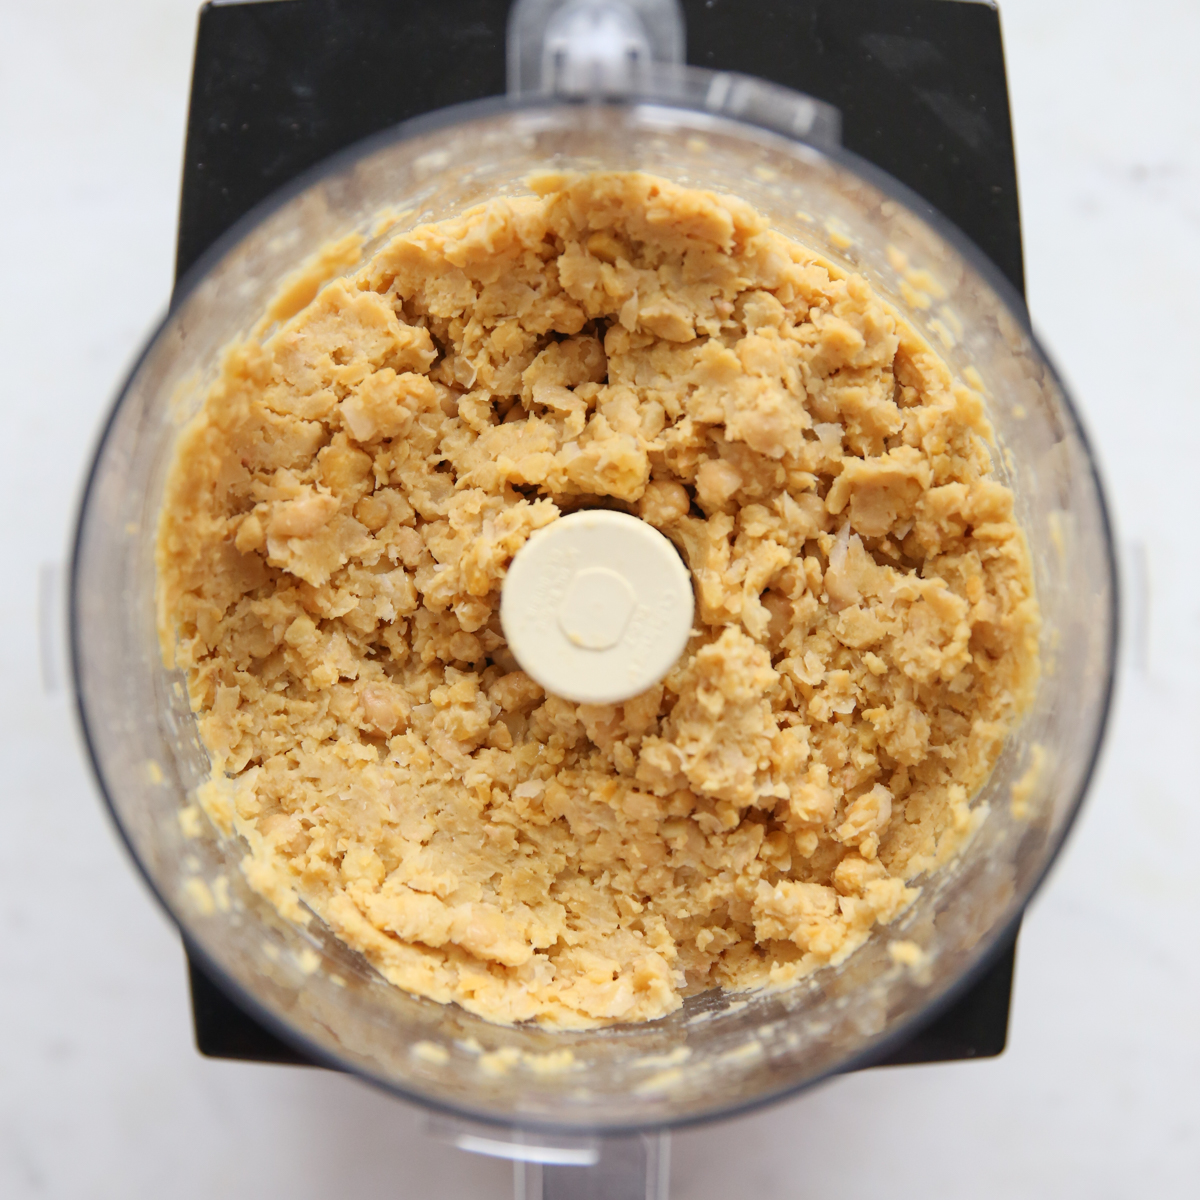
- Place cooked chickpeas in a food processor and process until smooth and pasty. With the machine running, add the lemon juice, tahini, garlic, kosher salt, and finally the ice water and process until the hummus is completely smooth and creamy . Allow to stand 30 minutes before serving. If refrigerating for future use, allow it to stand at room temperature for 30 minutes first. Of course you can eat it cold from the fridge- it will taste amazing. But both the flavor and texture is so much better once it comes back to room temperature.
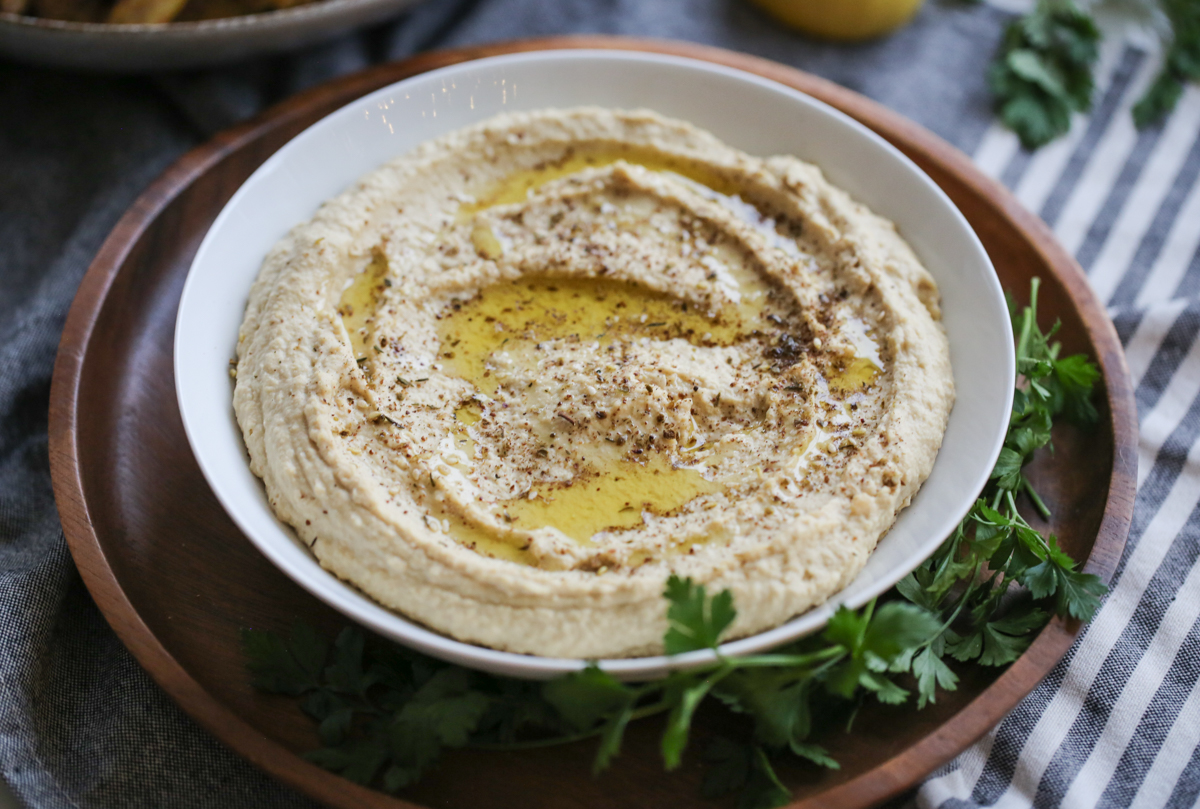
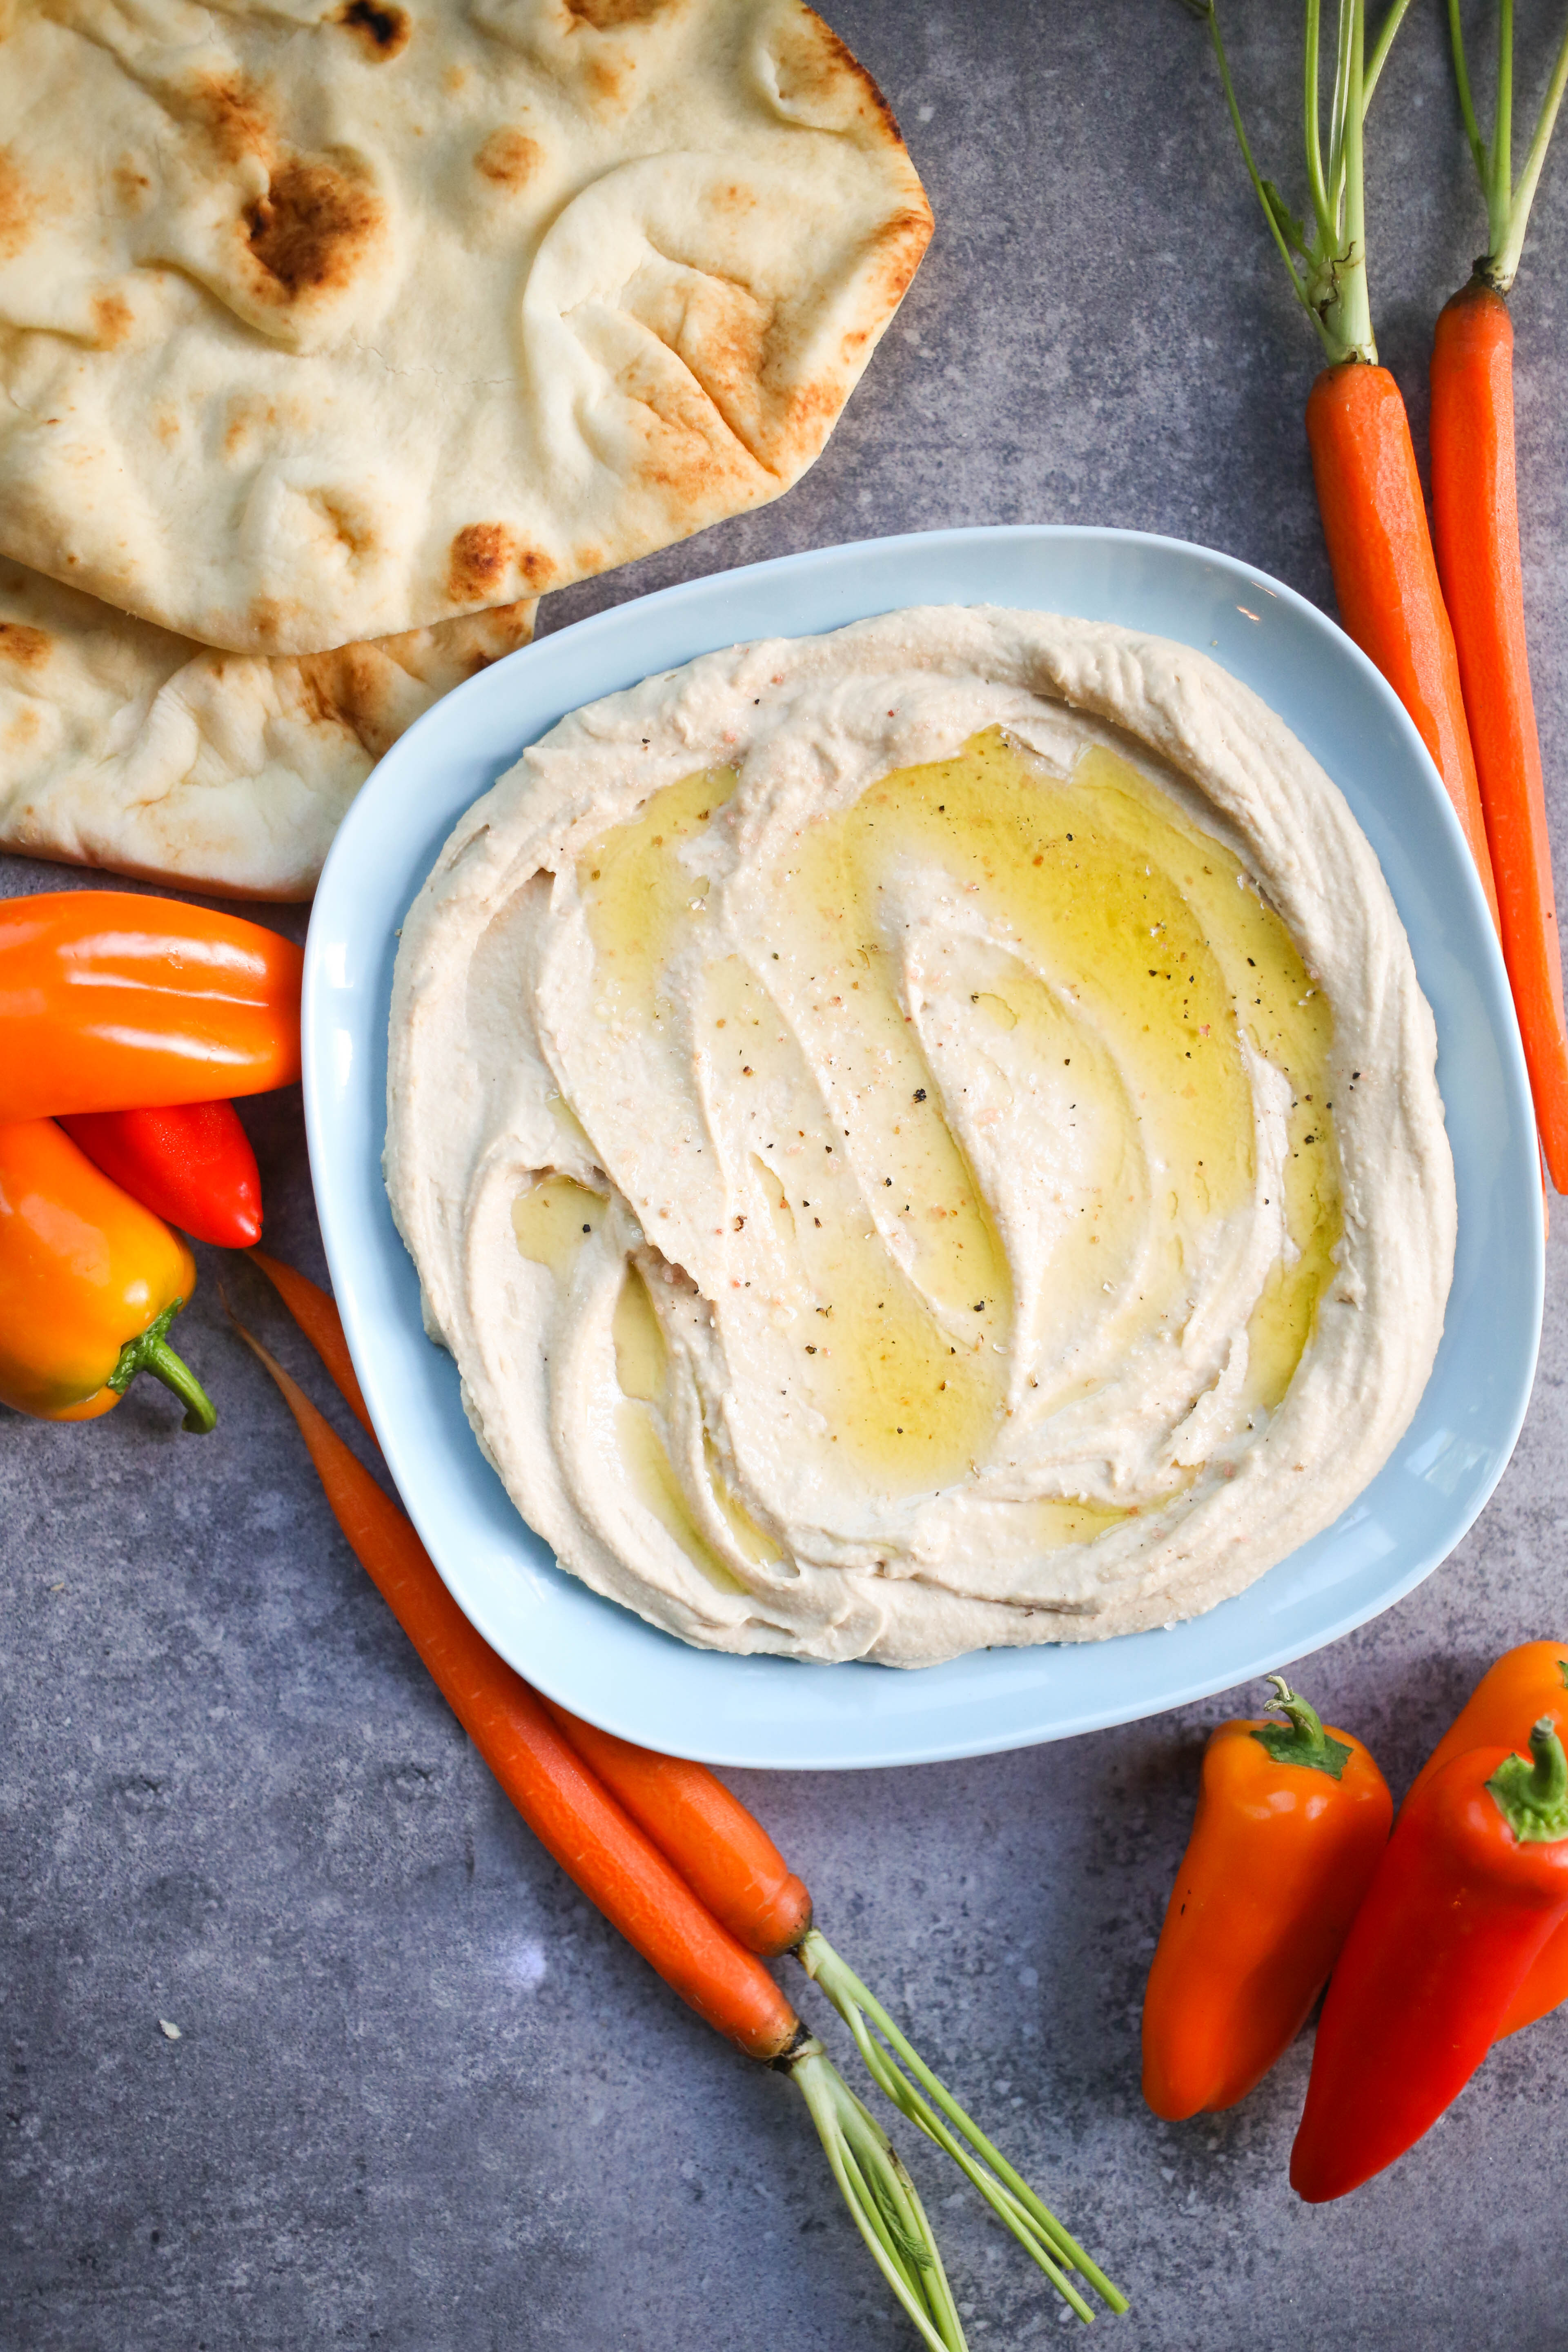
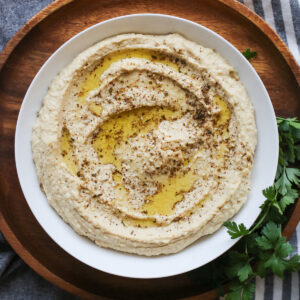
- To serve, spread a layer onto a plate or shallow bowl and drizzle with a good quality olive oil and, if desired, additional garnishes (like chopped olives, roasted red peppers, chopped parsley, toasted pine nuts, etc.). Serve with warm flatbread or pita, your favorite veggies, pretzel or pita chips.
Storing and Other Tips
- Store finished hummus in an airtight container in the refrigerator and enjoy within 4-5 days for best results.
- No time to cook garbanzo beans? You can also make this with drained, canned garbanzo beans. You’ll need about 3.5-4 cups.
Frequently Asked Questions
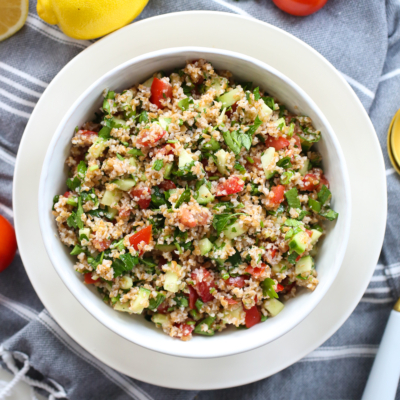
Hummus is most often eaten with flatbread, either torn in pieces or used as a scoop, raw veggies, as part of a platter with other items like olives, tabbouleh, and falafel, or as a spread on sandwiches or wraps.
Absolutely. The flavors really pop after a chance to sit. Feel free to prepare it one day and enjoy all week.
You can, although the texture may suffer a little. If desired, freeze individual portions and thaw overnight in the refrigerator when ready to use. You may need a little extra olive oil to restore its creamy texture after thawing.
Classic Hummus
Ingredients
- 1 ¼ cups DRY not canned chickpeas/garbanzo beans
- 5-6 ¼ cups water see instructions
- 1 teaspoon baking soda depending on cooking method
- ¾-1 cup tahini if you love tahini, go for the whole cup, if you’re iffy on it, stick with 3/4 cup; you can always add more later if you decide to
- ¼ cup freshly squeezed lemon juice
- 4 cloves garlic peeled
- 1 ½ teaspoons kosher salt
- 6-7 tablespoons ice water
- coarse salt and freshly ground black pepper
Optional Garnish Ideas
- olive oil
- zaatar seasoning
- chopped parsley
- chopped olives
- roasted red peppers
- toasted pine nuts
Instructions
- Rinse and sort the chickpeas and then cook them.
- To cook in an electric pressure cooker: Place rinsed chickpeas in the pressure cooker, add 5 cups water, and cook for 35 minutes.
- To cook on the stovetop:Cover the chickpeas with 2-3 inches of cold water and soak overnight. The next day, drain the chickpeas. Place a medium saucepan over high heat on the stove and add the chickpeas and baking soda. Cook for 3 minutes, then add 6 1/4 cups water and bring to a boil. Cook for 20-40 minutes or until the chickpeas are very tender (but not mushy), stirring frequently and skimming the foam and skins off the top.
- Drain chickpeas after cooking. Place them in a food processor and process until smooth and pasty, as much as you can. With the machine running, add the lemon juice, tahini, garlic, and finally the ice water and process until the hummus is completely smooth and creamy (think like fluffy buttercream frosting).
- At this point, feel free to adjust flavors if you like! You can add more lemon, garlic, or salt depending on your preferences.
- Allow to stand 30 minutes before serving. If refrigerating for future use, you can certainly use it straight from the fridge, but it's especially yummy when left to to stand at room temperature for 30 minutes first. To serve, spread a layer onto a plate or shallow bowl and drizzle with olive oil and, if desired, additional garnishes (like chopped olives, roasted red peppers, chopped parsley, toasted pine nuts, etc.). Top with coarse salt and coarsely ground black pepper.
Notes
- Store finished hummus in an airtight container in the refrigerator and enjoy within 4-5 days for best results.
- No time to cook garbanzo beans? You can also make this with drained, canned garbanzo beans. You’ll need about 3.5-4 cups. Just know that it is much better made from freshly cooked garbanzo beans!
Nutrition
*Disclaimer: this post contains affiliate links.


Questions & Reviews
This made a lot of hummus and is so good! How long do you think it will stay good in the fridge?
Hmmmmm…not totally sure. Maybe 3-4 days?
Stop buying tahini and make your own. You can get sesame seeds in bulk at Winco. Toast seeds on medium until dark brown; don’t let them burn. Cool then put in a food processor or blender with 3 Tb olive oil. Add more oil as needed but it’s delicious just like this and if they’re toasted enough. You’ll never buy tahini again.
Good idea and I might try this! Do you have any idea how many cups of sesame seeds you would need to get 1 cup of tahini? I imagine it would be a lot.