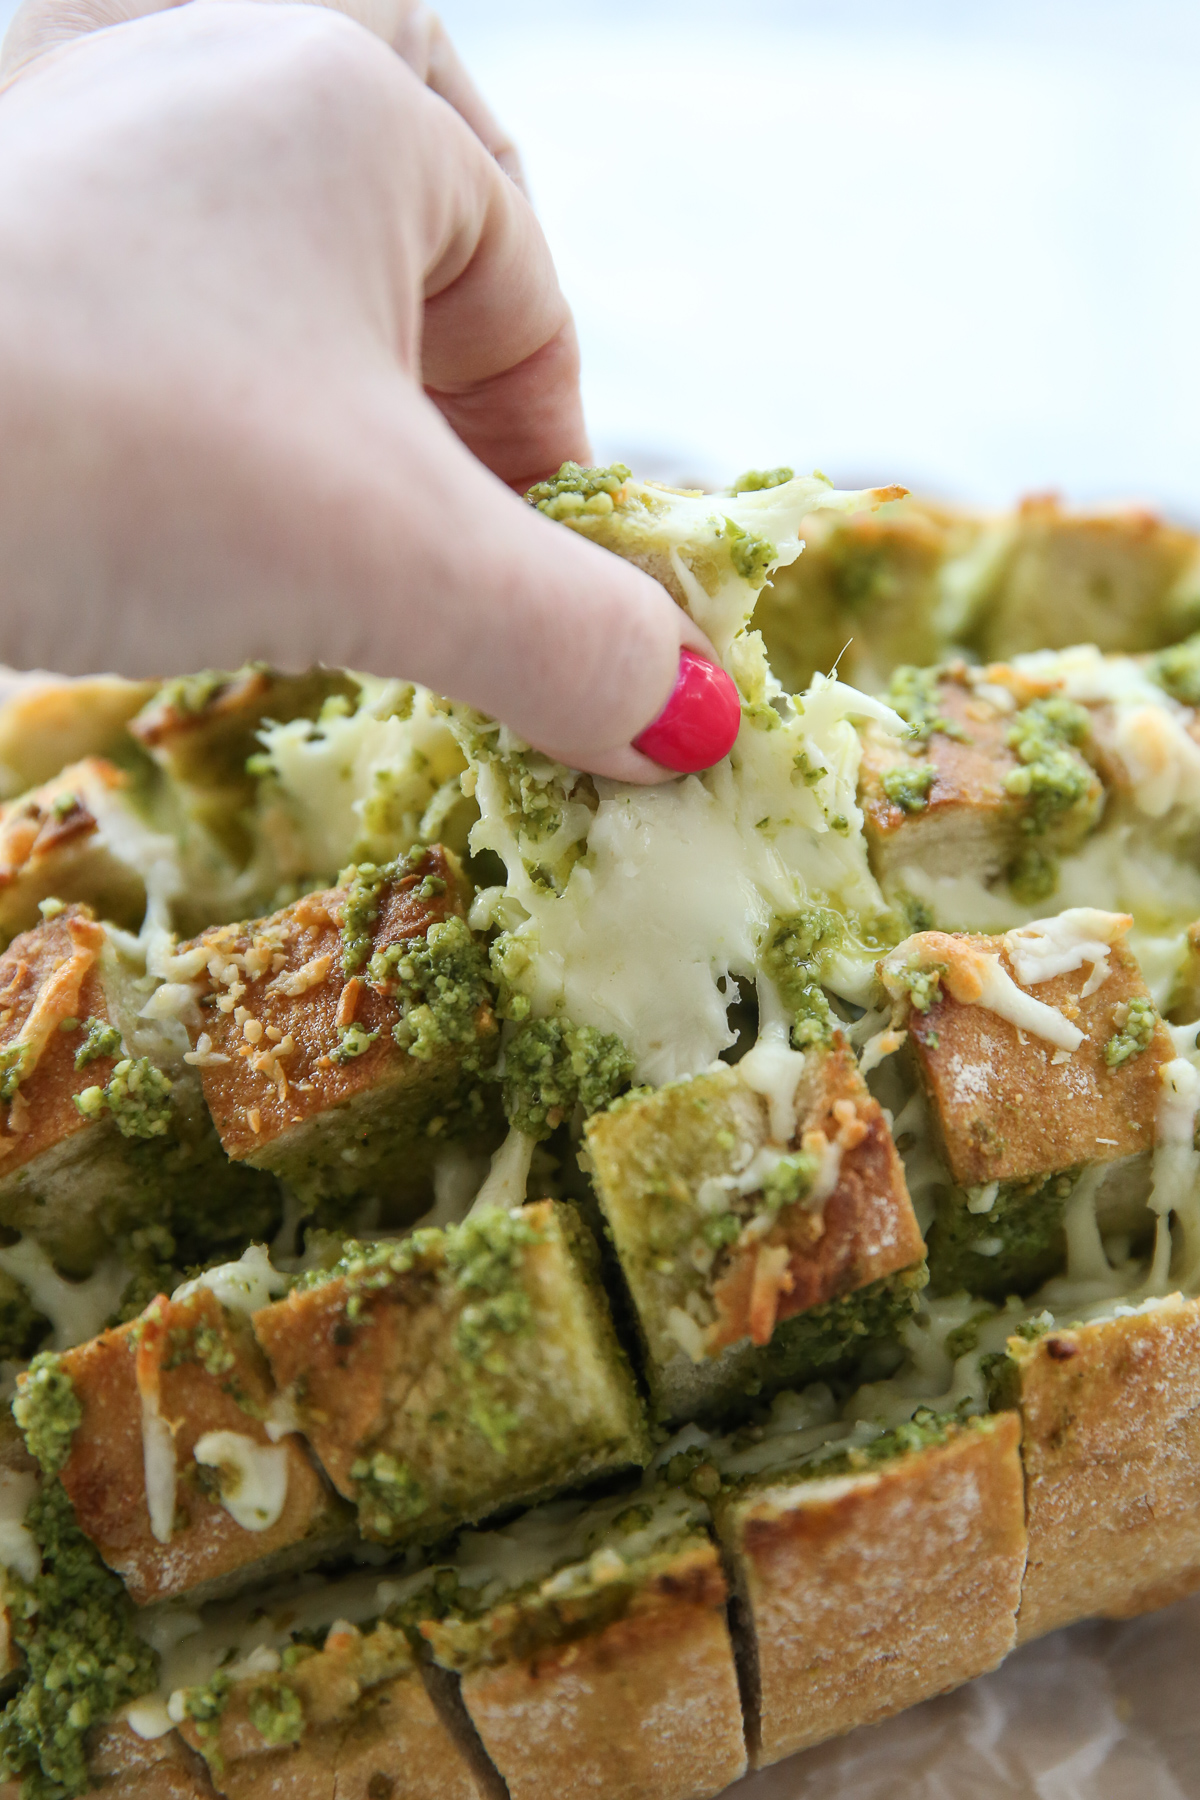
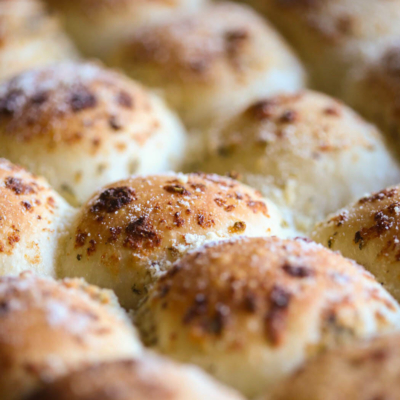
This cheesy garlic-herb bread is everything you want from a warm, shareable loaf; crisp edges, soft centers, and plenty of melty cheese tucked into every crack. The garlic and herbs soak into the bread as it bakes, giving it big flavor without being heavy. Mozzarella melts down into the loaf, creating those irresistible cheese pulls when it’s sliced. It’s rich, savory, and perfect for tearing apart while it’s still warm from the oven.

Ingredients Needed
This is just a preview of ingredients and method, keep scrolling for full printable recipe.
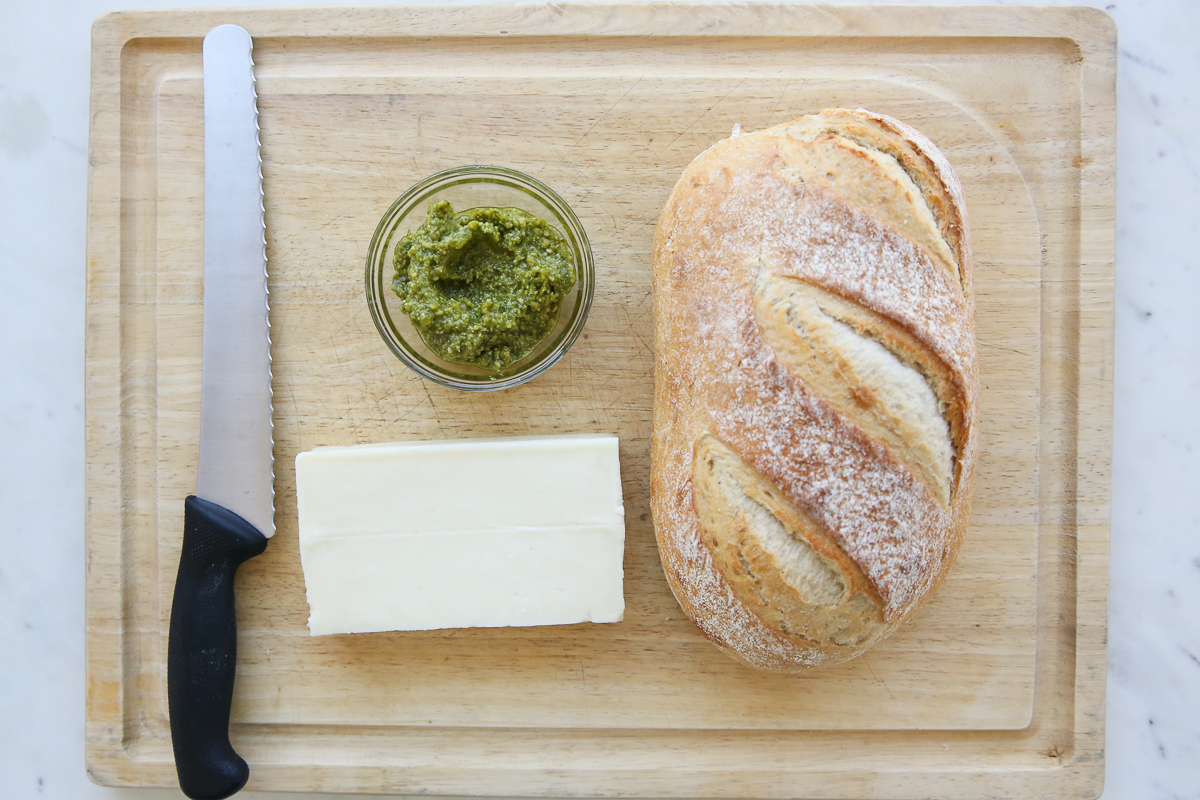
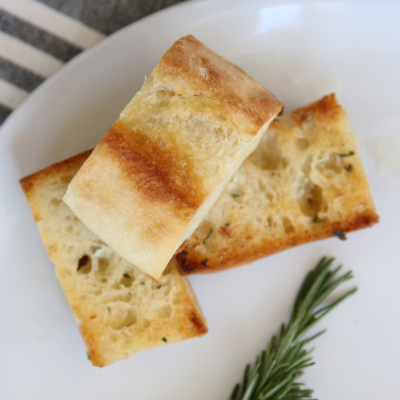
- Loaf of crusty bread – We love sourdough for this recipe. We recommend a 16 – 24 ounce loaf.
- Mozzarella – Or melty cheese of your choice, freshly shredded.
- Your choice of one of the following toppings
- Pesto – Buy premade or make your own Fresh Basil Pesto.
- Olive oil mixed with freshly pressed garlic
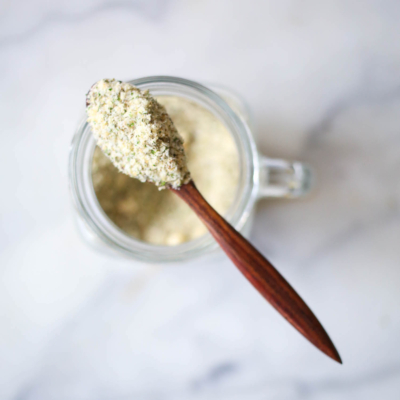
- Butter and garlic bread seasoning
- Butter mixed with freshly pressed garlic, fresh basil, rosemary, and parsley

How to Make Cheesy Garlic-Herb Bread
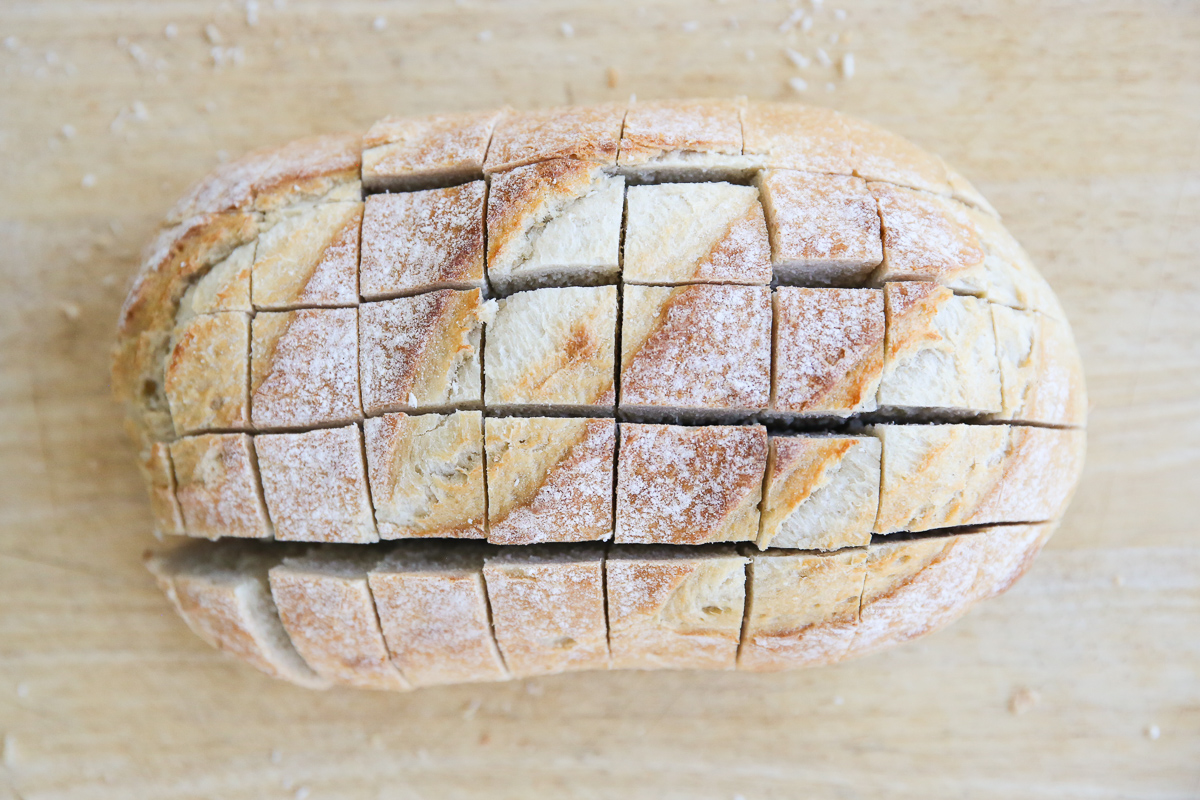
- You’ll start off by slicing your bread every 1 1/2 inches or so, creating a grid pattern. You don’t want to slice all the way through the bottom.
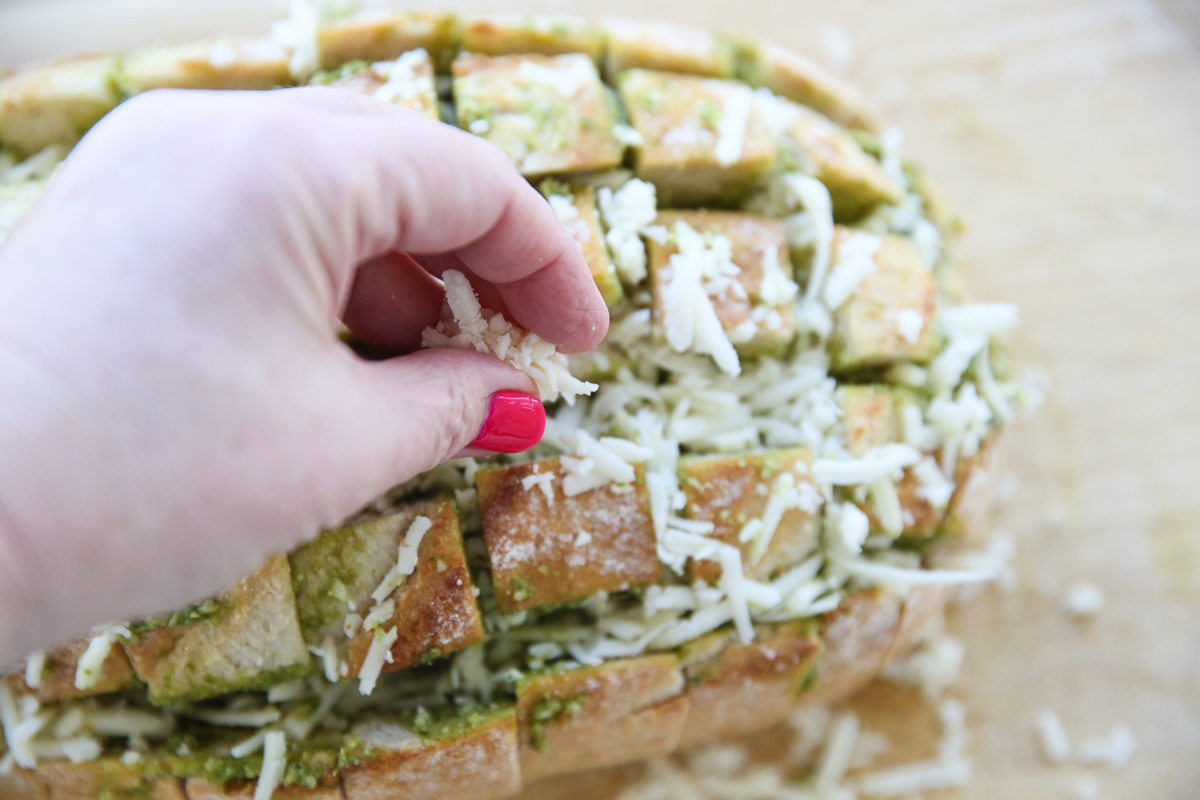
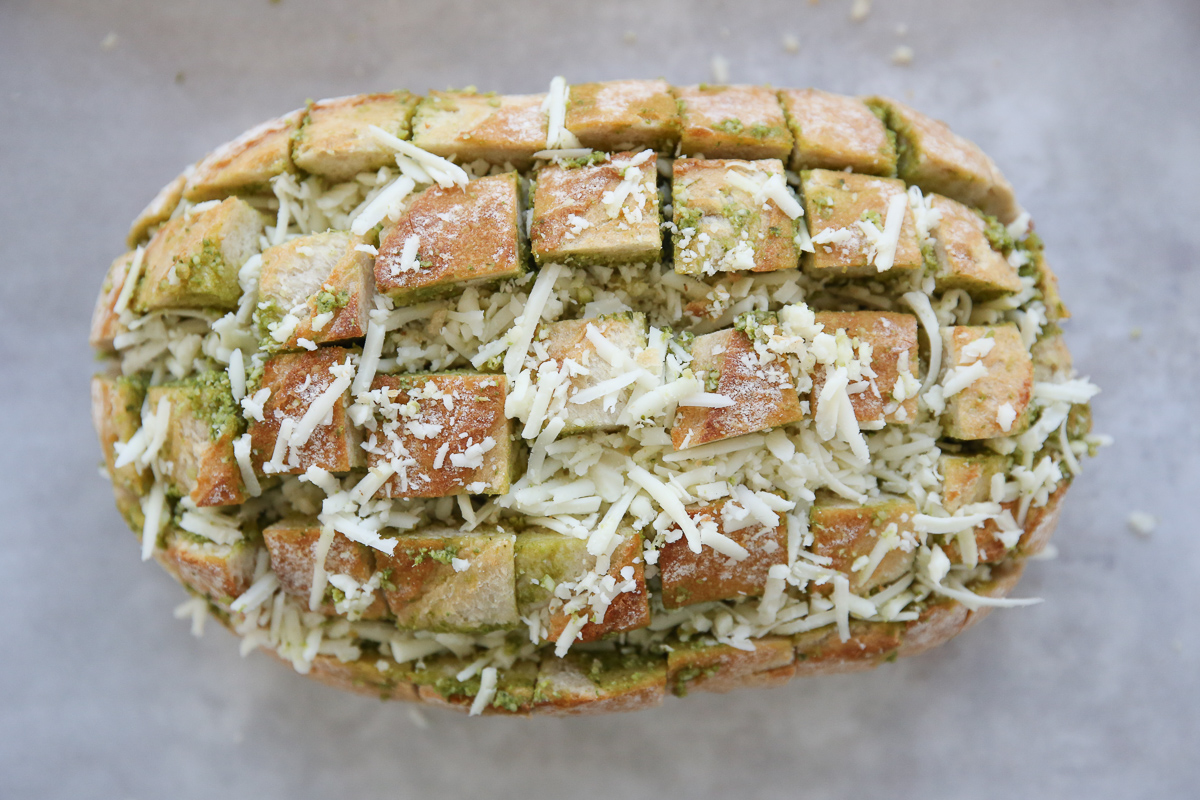
- Spread your chosen topping mixture between all the cuts. It doesn’t have to be perfect, just try to distribute it fairly evenly. Brush a little of the topping across the top of the loaf as well.
- Then gently stuff your shredded cheese into all the cuts, and sprinkle a little extra across the top.
- That goes into the oven on a foil-lined baking sheet for easy cleanup. After baking for about 15-20 minutes you’ll see your loaf fan out and crisp up. Let it sit for a few minutes after removing it from the oven, and then serve.

Storing and Other Tips
- Store leftovers, tightly wrapped, at room temperature and enjoy within 24 hours for best results. If stored in the refrigerator, enjoy within about 3 days.
- If you’d like to plan ahead, you can assemble the whole loaf, wrap tightly, and store in the fridge for up to 24 hours.
Frequently Asked Questions
Sure! Feel free to assemble your bread with toppings and cheese, then wrap in foil and store in the refrigerator until ready to bake. You can also assemble and freeze. Wrap the assembled loaf tightly in plastic wrap and then foil. Freeze for up to 1-3 months. When ready to bake, place the frozen loaf on a foil lined pan, tent loosely with more foil, and bake for 15-20 minutes, then uncover and bake for an additional 10-15 minutes, or until the top is golden and everything is hot and bubbly.
For best results, reheat leftovers in the oven at 350°F, wrapped loosely in foil, until warmed through, about 10-15 minutes. You can unwrap the last 5 minutes of baking to let it crisp up if desired. You can also reheat small pieces in the air fryer. Air fry at 300°F for 3-6 minutes. Both the air fryer and oven will give better results than microwaving, which can make the bread rubbery.
The amounts listed give good coverage, and you don’t want your bread dripping in oil or butter, but feel free to add a little extra as you see fit!
You can make a more traditional style garlic bread with this method and leave the cheese out if desired, especially if you’re using a garlic bread seasoning that has parmesan cheese in it already. Otherwise, just sprinkle a little salt and pepper on top of your desired fillings and call it a day.
Sure! You just want something kind of substantial that holds up well to being cut. If using a long, skinny loaf, like a baguette, I would just slice straight across in one direction (don’t cut all the way through).


Cheesy Garlic-Herb Bread
Ingredients
Bread and Cheese – Start here and then pick one topping option from the following list
- 1 loaf 16-24-oz. crusty bread (we recommend sourdough)
- 8 ounces mozzarella cheese freshly grated
Topping Option 1
- ½ cup pesto
Topping Option 2 – Mix and allow to stand for at least an hour before brushing onto bread
- ½ cup extra virgin olive oil
- 2-3 cloves pressed garlic
Topping Option 3 – Mix and allow to stand for at least an hour before brushing onto bread
- ½ cup extra virgin olive oil
- 2-3 cloves pressed garlic
- 3 tablespoons fresh rosemary chopped
Topping Option 4 – Mix before topping bread
- ½ cup butter melted
- 3 tablespoons garlic bread seasoning
Topping Option 5 – Mix before topping bread
- ½ cup butter melted
- 2 cloves pressed garlic
- 1 tablespoon fresh basil chopped
- 1 tablespoon fresh rosemary chopped
- 1 tablespoon fresh parsley chopped
Instructions
- Preheat oven to 350℉. Line a baking sheet with aluminum foil.
- Slice bread into 1 1/2″ slices, not cutting through to the bottom. Rotate the loaf 90 degrees and slice the bread again every 1 1/2″ so you have a grid of 1 1/2″ pieces that are still attached to the bottom of the bread.
- Place the loaf on the prepared baking sheet. Gently spread the desired filling into the cracks. Gently stuff the cheese into the cracks (you can just put the cheese going in one direction rather than on all four sides of each piece). Brush a little of the remaining filling on top of the loaf and sprinkle with a little remaining cheese.
- Bake for 15-20 minutes or until the bread is toasted on top and the cheese is melted. Allow to stand a few minutes before serving.
Notes
- Store leftovers, tightly wrapped, at room temperature and enjoy within 24 hours for best results. If stored in the refrigerator, enjoy within about 3 days.
Planning Ahead
- Refrigerator: Assemble the whole loaf, wrap tightly, and store in the fridge for up to 24 hours before baking.
- Freezer: Assemble the whole loaf, wrap tightly in plastic wrap and then foil, and freeze for up to 1-3 months. When ready to bake, place the frozen loaf on a foil lined pan, tent loosely with more foil, and bake for 15-20 minutes, then uncover and bake for an additional 10-15 minutes, or until the top is golden and everything is hot and bubbly.


Questions & Reviews
Kate, this looks incredible! I don’t think I could serve this on the side of pasta or any meal for that matter… I’d eat it all first! 🙂 Wonderful recipe. Thanks for sharing!
Ok the bread looks AMAZING! I am totally going to make that probably tonight…but I really want to share a tip for the ear situation..last year my ear stayed plugged like that for 9 months. Every doctor just kept telling me that it would eventually clear, but a student nurse finally had the key to success! You need to puncture a stool softener liquid gel tablet and squeeze it in your ear and let it sit for 15 minutes and then rinse with warm water. It may take a couple of times, but it breaks through the mucous and wax so that your ear can finally drain! Good luck!
AWESOME! I’m so going to try that!!
Why do I have to be at work right now; when I want to be going to the store, getting the ingredients, and making this. This looks SCRUMDITILIUMPTIOUS.
What a great idea! I love the idea of leaving the bread whole and making it pull-apart finger food…what a great appetizer. I think I’ll make it this weekend along with some other appetizers (sweet and sour lil smokies, anyone? 🙂 for a get-together with some friends of ours.
My only problem is that I’m allergic to pine nuts. Have you ever tried this with something else besides pesto? I’m thinking marinara sauce. Or does anyone know a pesto recipe that doesn’t have nuts (of any kind) in it?
Jen, you can still make your own pesto- just leave out the nuts! You might decrease the oil just a bit, or add extra parmesan to make up for nuts.
https://fit-over50.news/2009/09/fresh-basil-pesto/%3C/a%3E%3C/p%3E
It’s also good with some english walnuts. I use both in my pesto because I saw it on Barefoot Contessa and walnuts are SOOO much cheaper than pine nuts.
My issue is with the sourdough. I’ve tried and tried, but I don’t like it. I’ll eat it as a sandwich as long as there are STRONG flavors that will overcome the twang of the bread, but that’s it. Any suggestions? I’m afraid some of the other artisan breads would dry out…
Jen, You can use pistachios instead of pine nuts. I make it that way all the time, freeze it in ice cube trays and use throughout the year to make panini sandwiches!
This looks fabulous! Making it this weekend. Thanks!
I totally just saw this on another blog not long ago, but she called her Bloomin’ Onion Bread and she used a few different ingredients, but basically the same thing. Anyway, I was intrigued then, and now I am more intrigued!! This looks amazing and what a great new thing to serve to guests at parties!
Love this idea!! The pesto is a yummy choice and the fact that your is from your garden is making me jealous 🙂
Wow. Yum!
I can’t decide if it is the fact that it is bread, or the pesto, or the cheese, or all of it together but OMG this looks AMAZING. I want to make this…now, but I think someone in my house wouldn’t like my cooking at 4:30am.
I really like this idea. Good bread (not the store brought but bakery) would have to be one of the things I could not live without. Thanks for the different way to apply the ingredients looks like you still get that satisfying crunch when you bite into it. Yum.