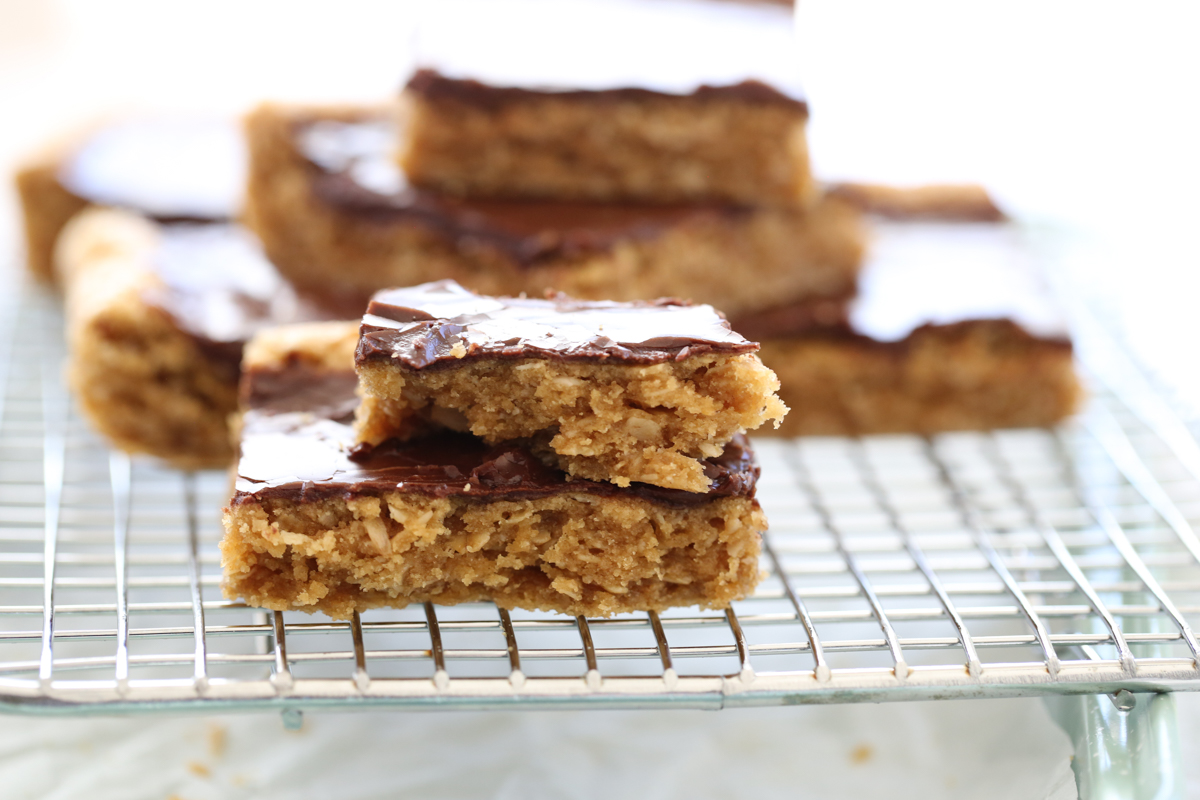
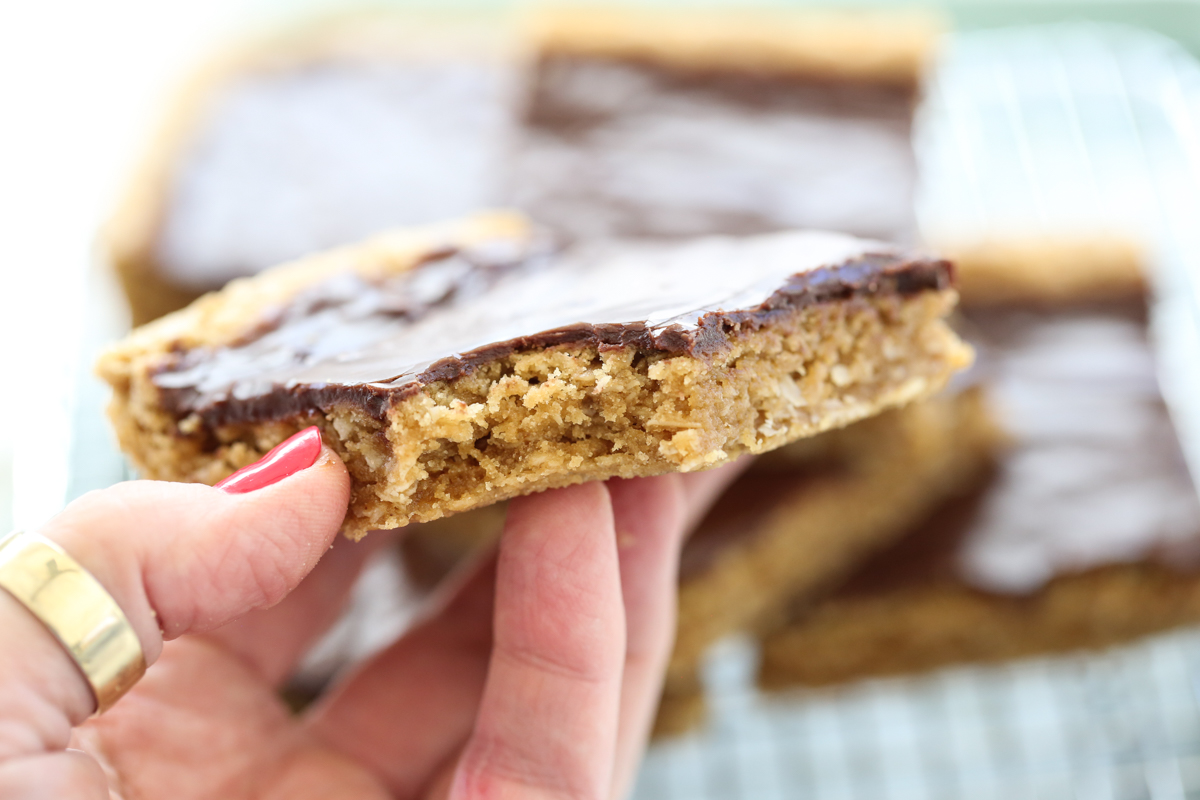
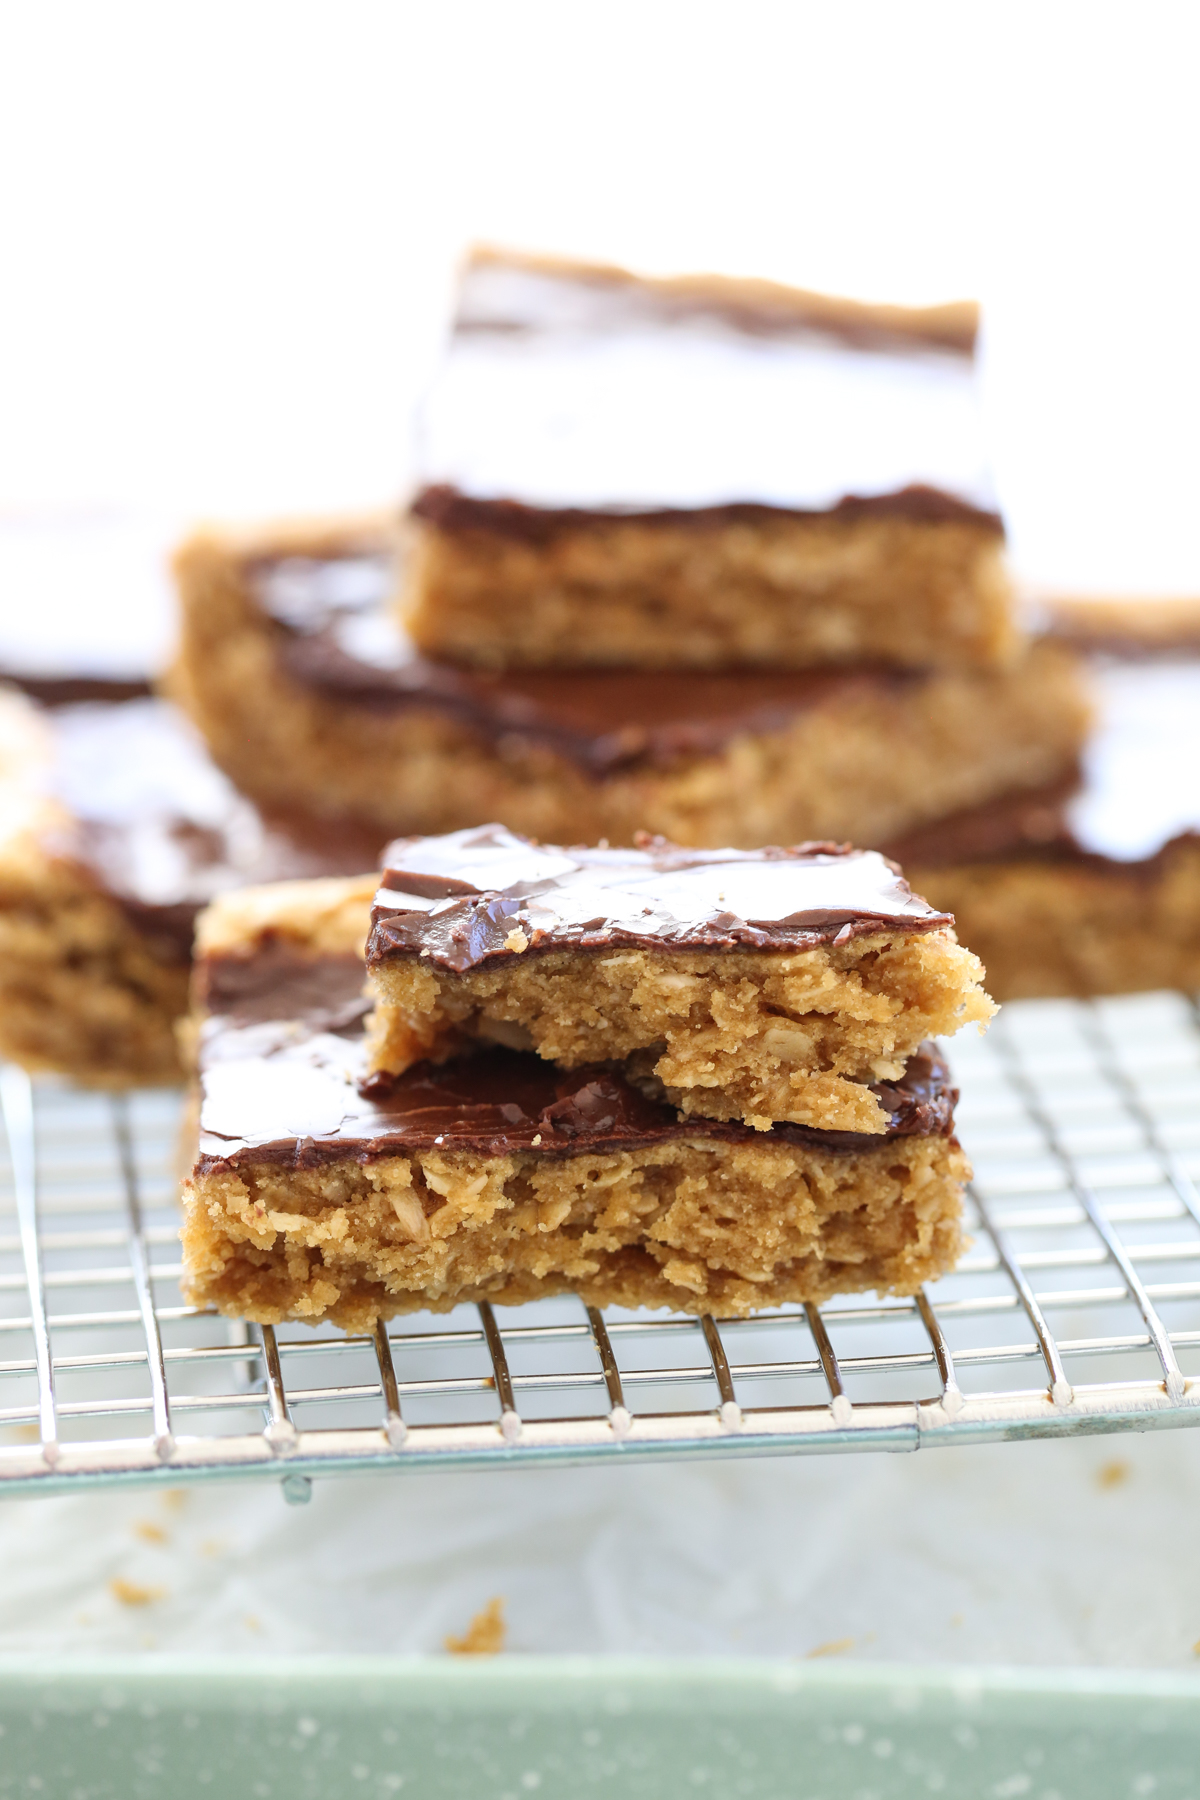
These Peanut Butter Cookie bars are reminiscent of a retro dessert that used to be served at many cafeterias across the US! They’re incredibly soft, rich in peanut butter flavor, with bite from some added oats, and covered in a smooth and rich chocolate icing. My favorite thing about this recipe (besides how good they are) is how many they make. They bake up in a sheet pan, and because they’re rich, you can cut them fairly small, so it’s the perfect dessert to feed a crowd. I often take them to parties and potlucks because of this (as long as I’m sure it’s a function that’s safe for peanut recipes!)
Ingredients and Equipment List
- Peanut Butter – you can use creamy or chunky peanut butter. I’ve never tried this recipe with a natural peanut butter (if you do, let me know!) But standard brands like Skippy and Jiff work great.
- Butter – unless you have an allergy or food intolerance, I recommend real butter (salted).
- Sugars – you’ll use a combination of granulated white sugar and light brown sugar.
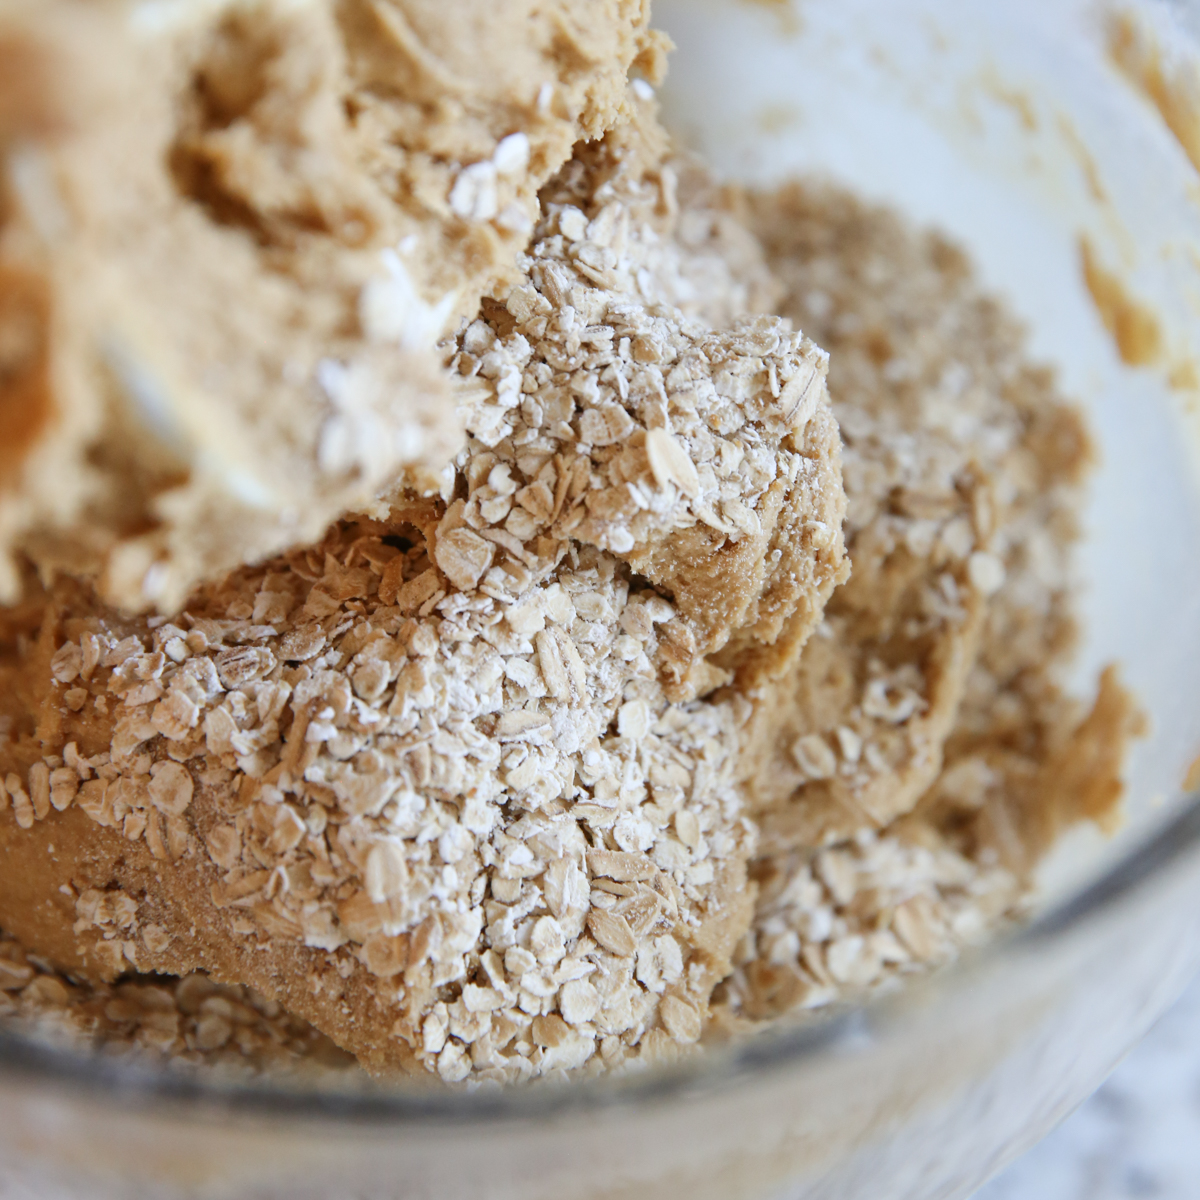
- Oats – quick oats give these bars extra chew. If you don’t have quick oats, I like to pulse my old fashioned oats in the blender a few times to break them up just a bit.
- Cocoa Powder – cocoa powder is used in the icing, and you’ll want to used unsweetened.
Instructions
These cookies are incredibly quick and easy to whip up. It’s simply a basic cookie dough, frosted with the icing while it’s still warm.
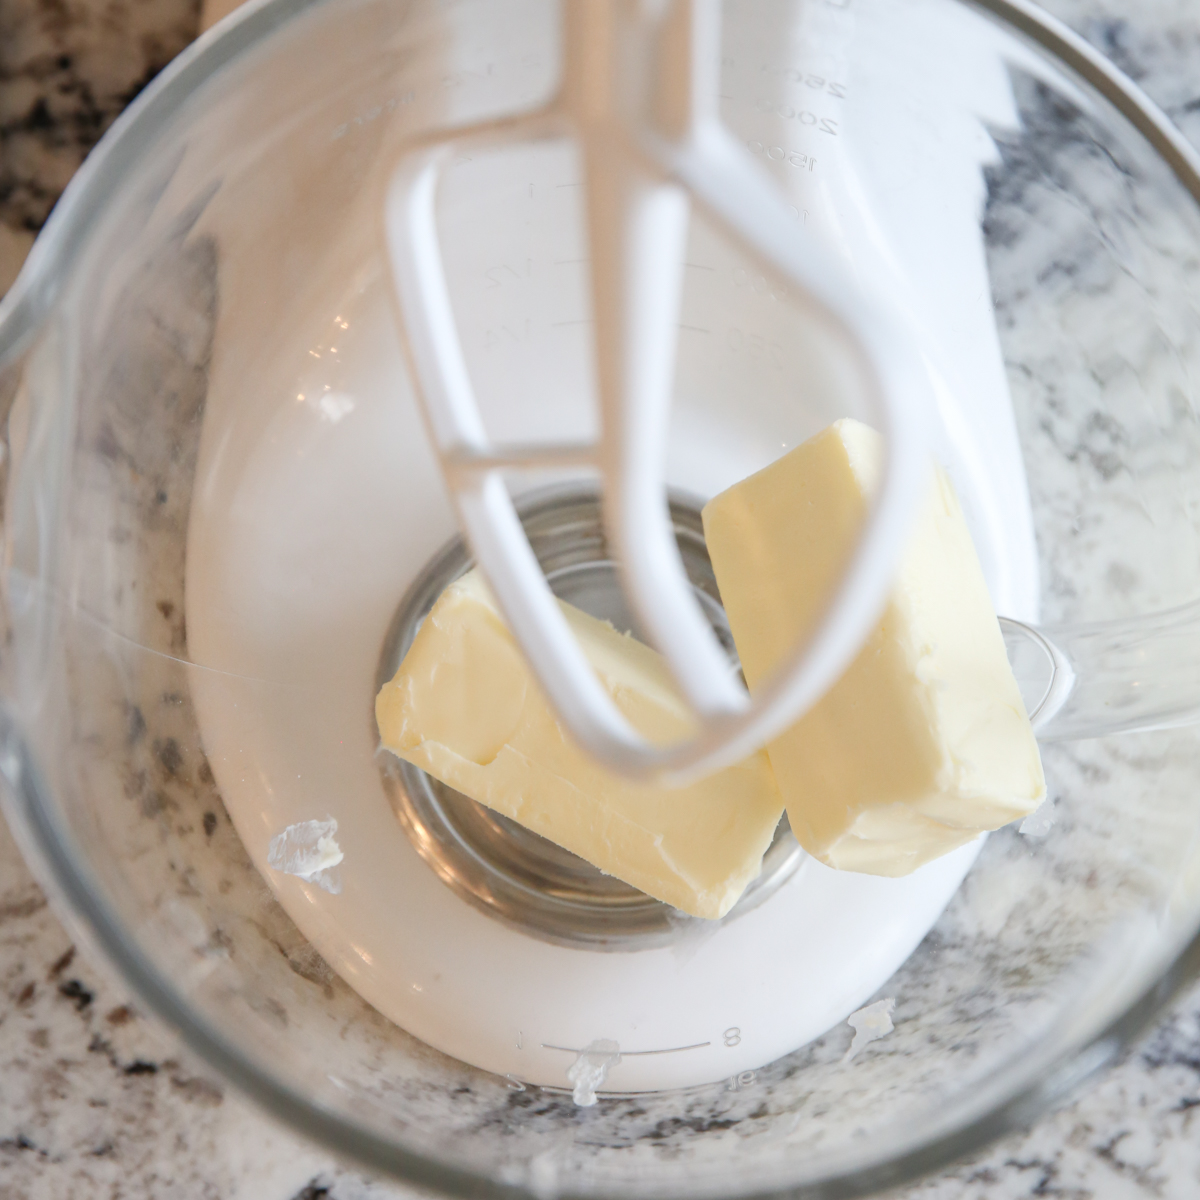
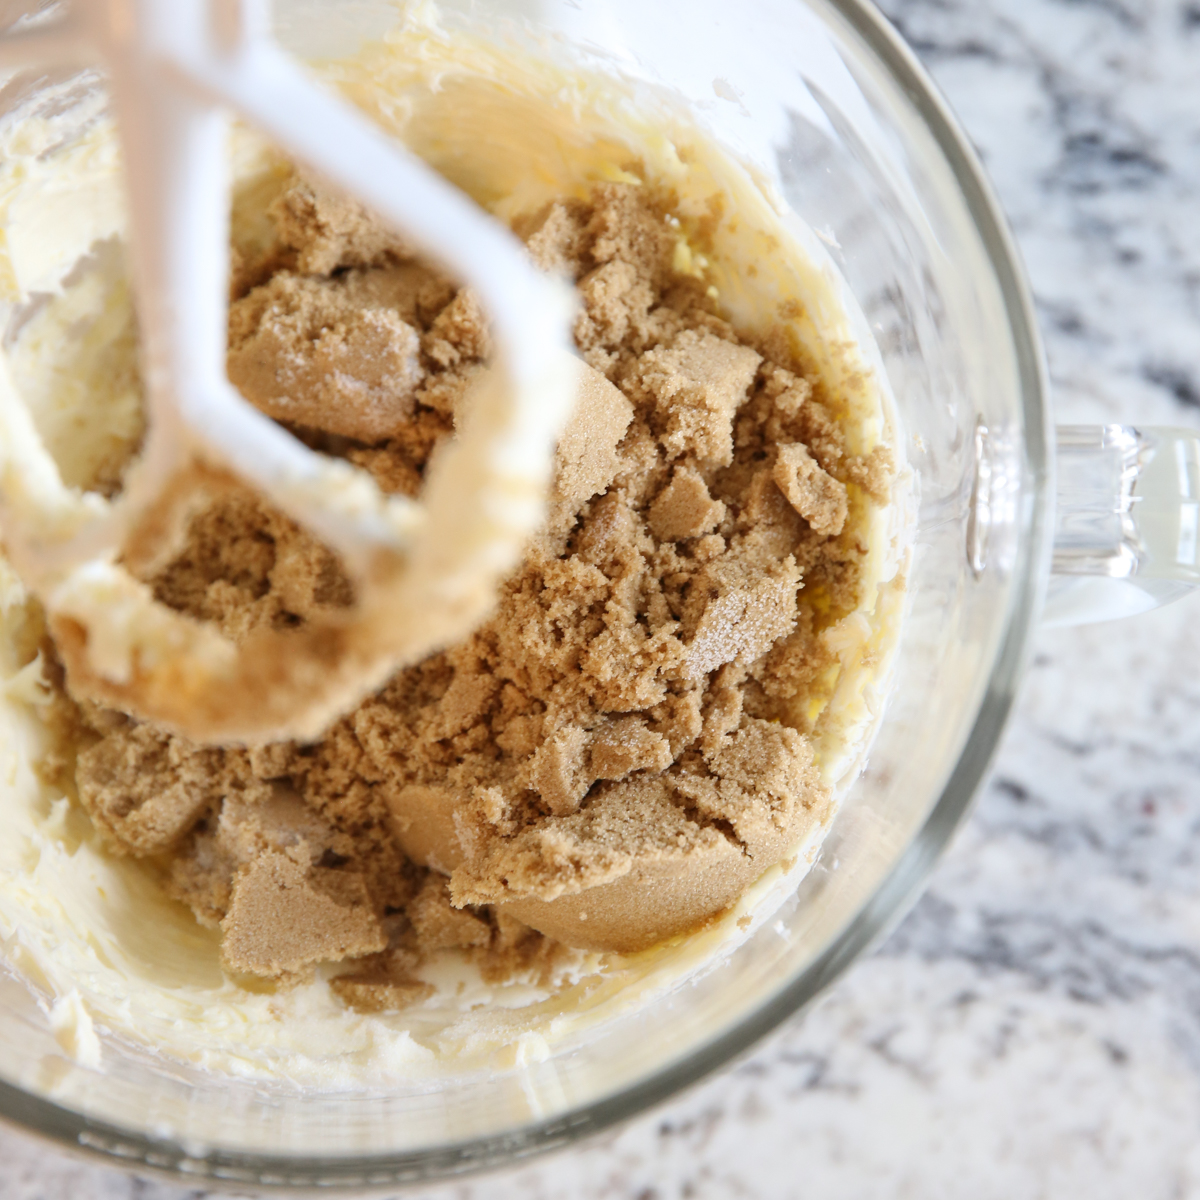
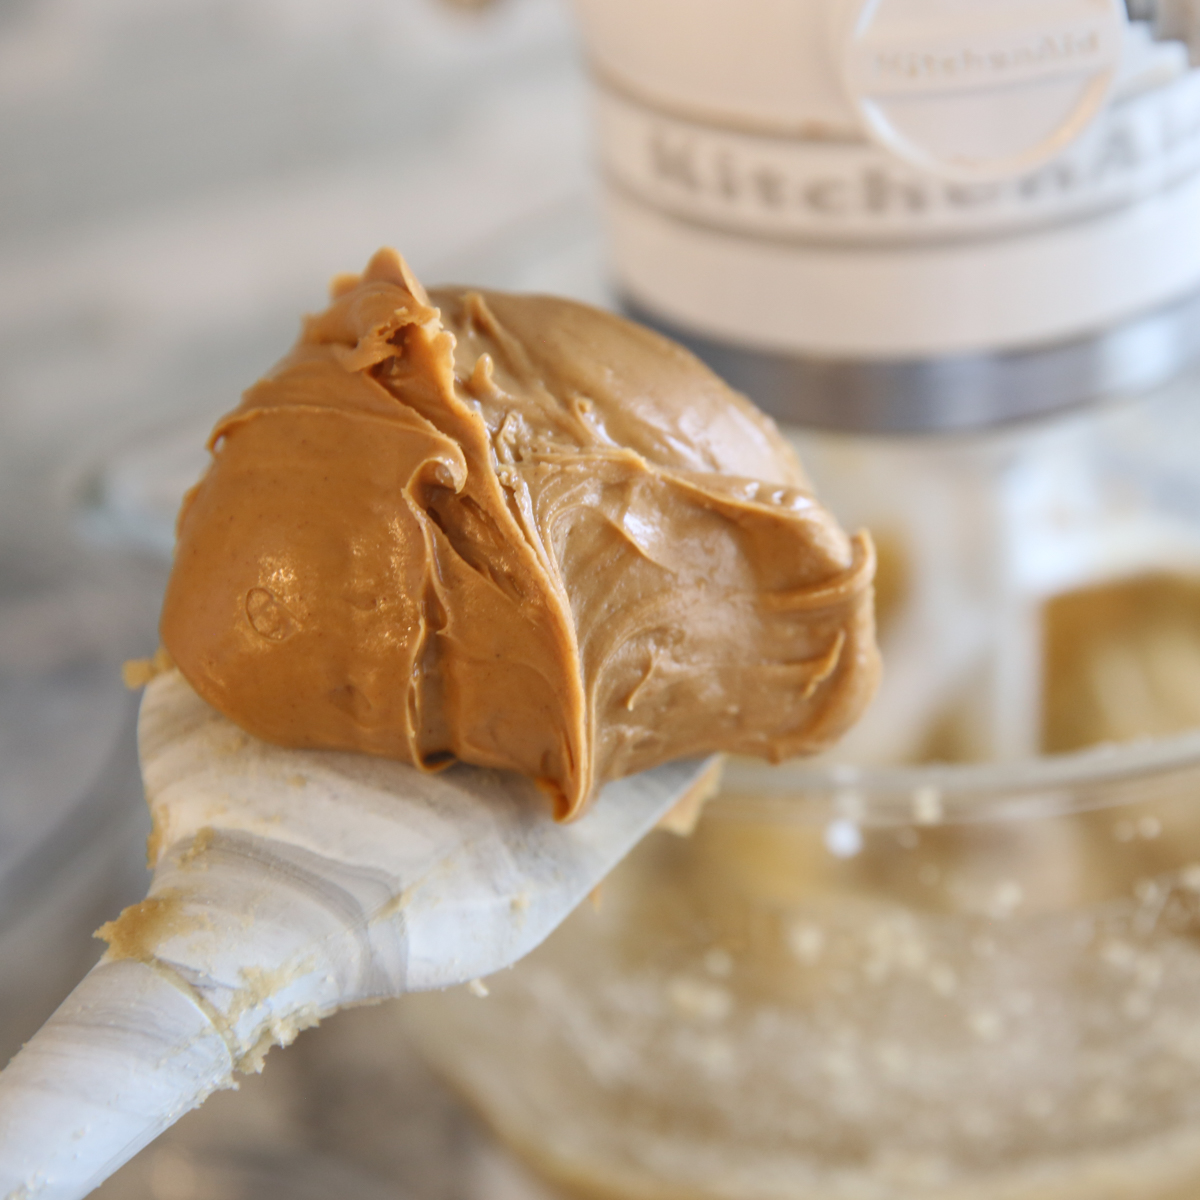
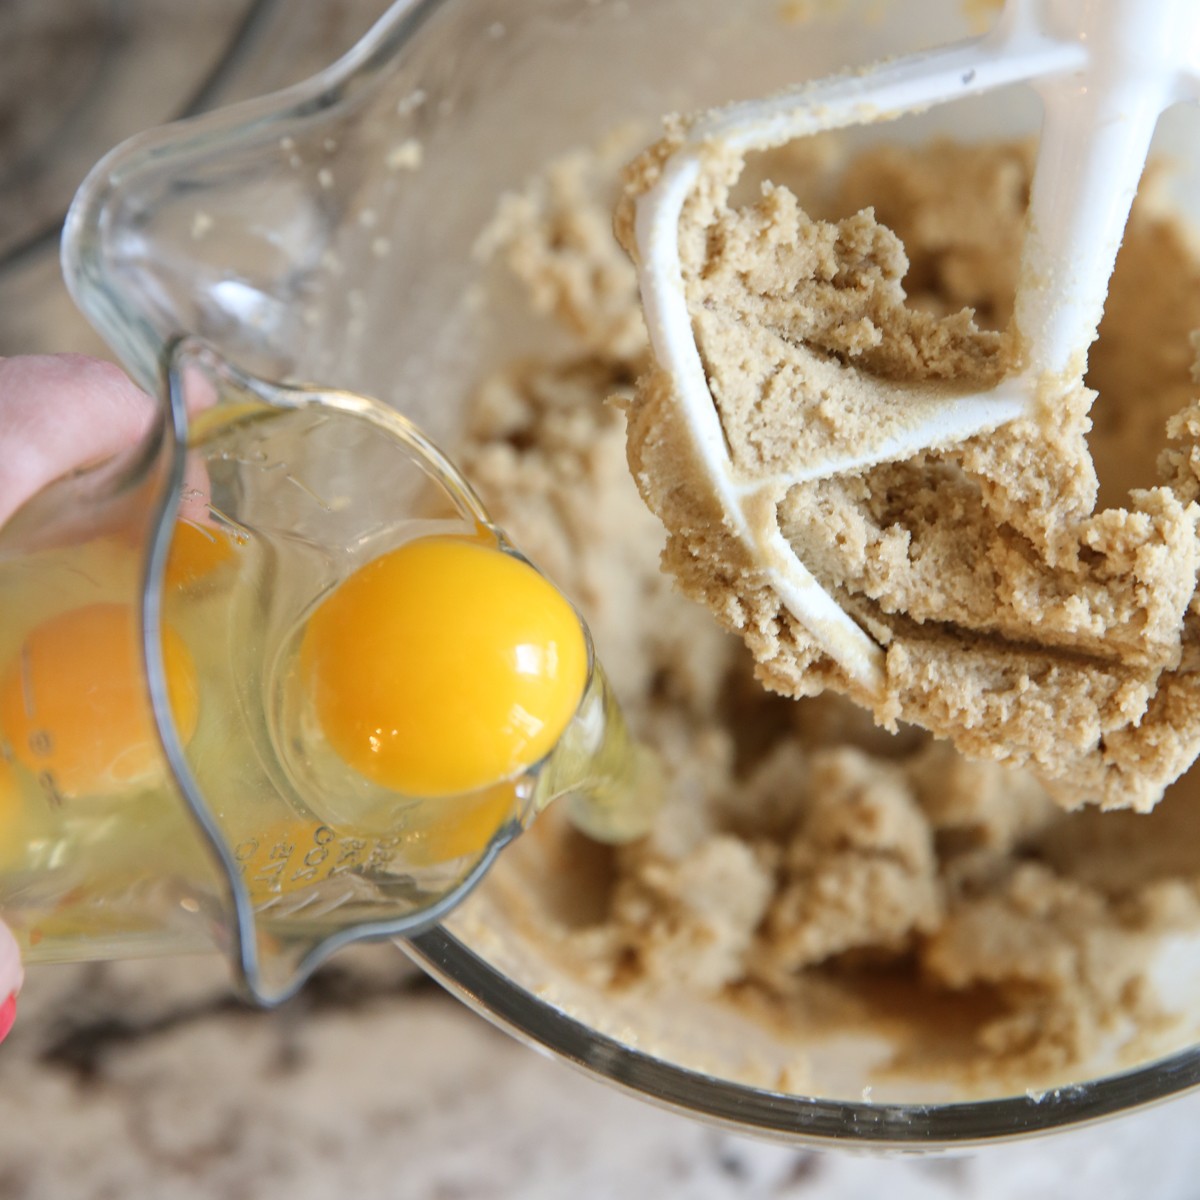
- Make Dough: This is standard cookie making procedure here. You’ll cream together butter and sugar, then add peanut butter, eggs, and vanilla.
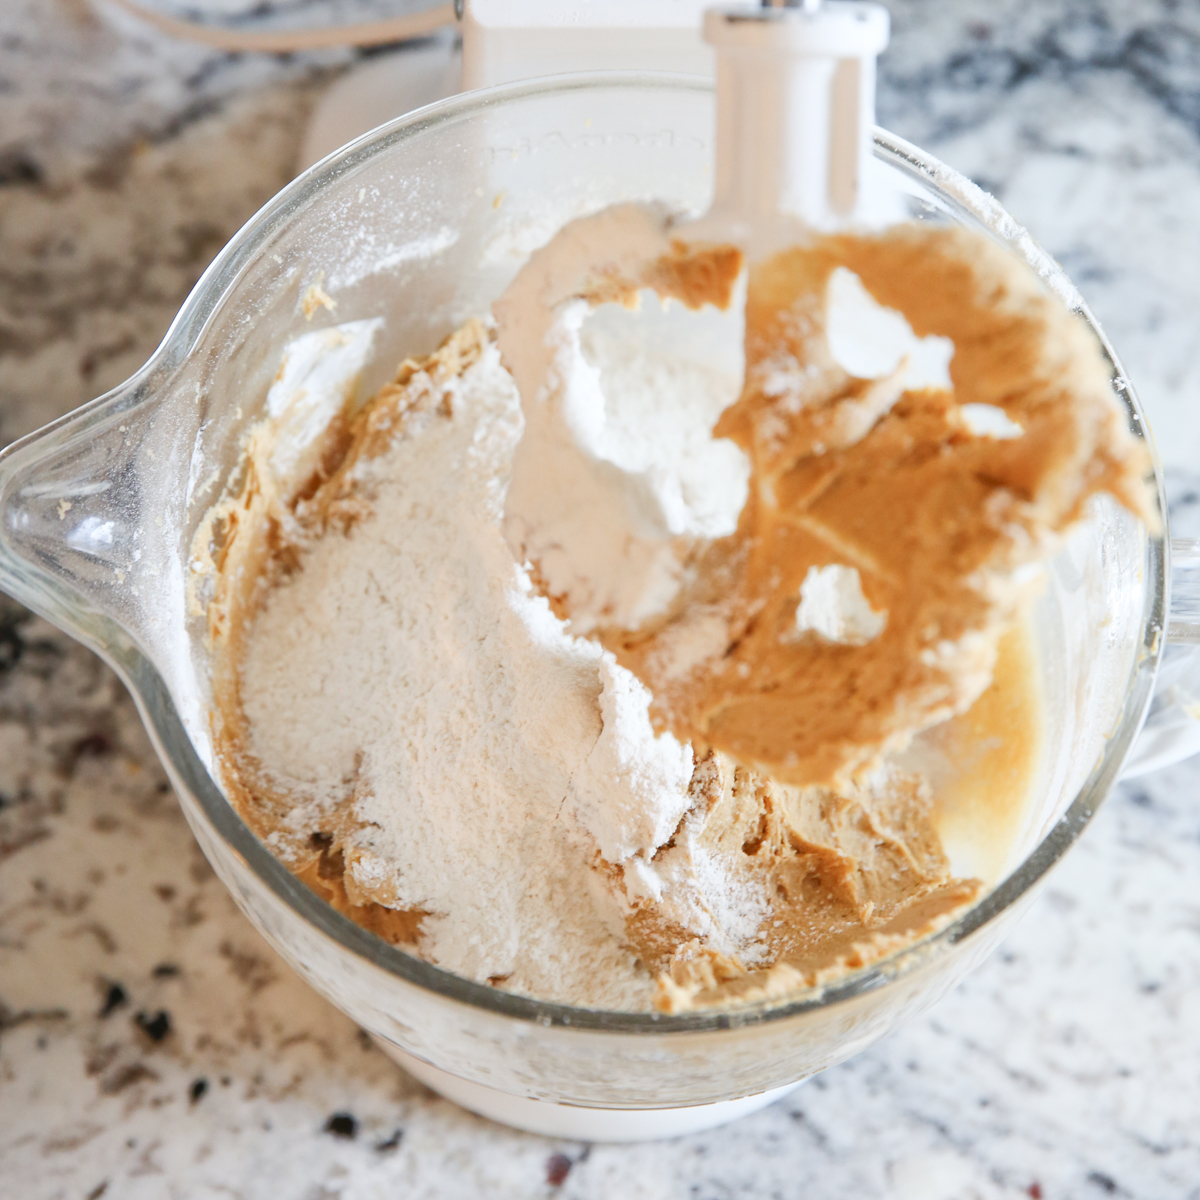
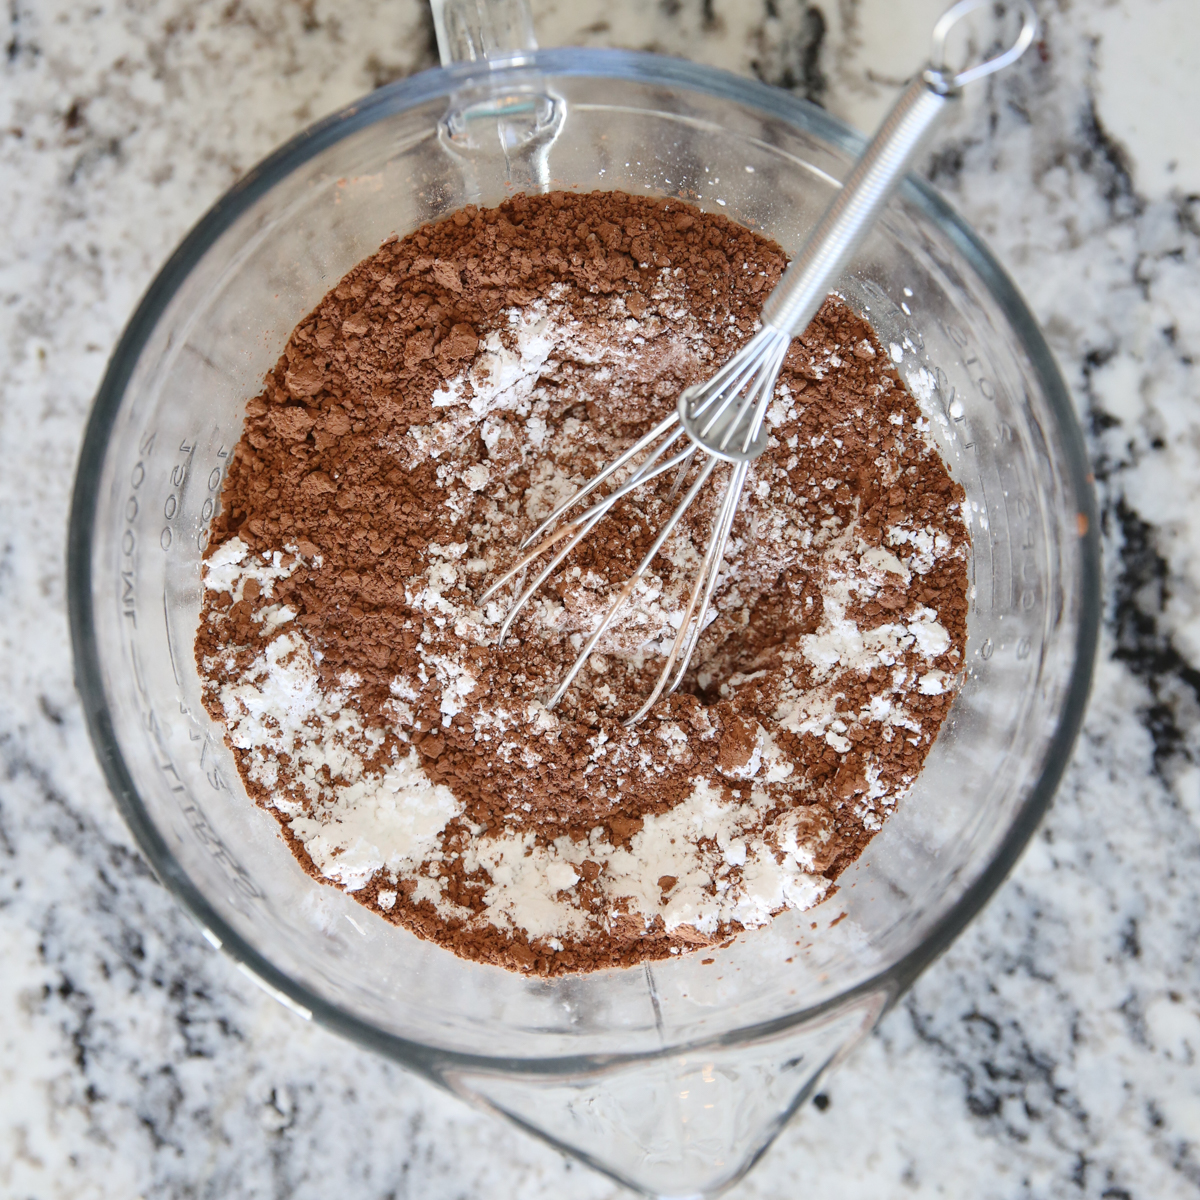
- Whisk together your dry ingredients and add those until combined.
- Stir in the oats.
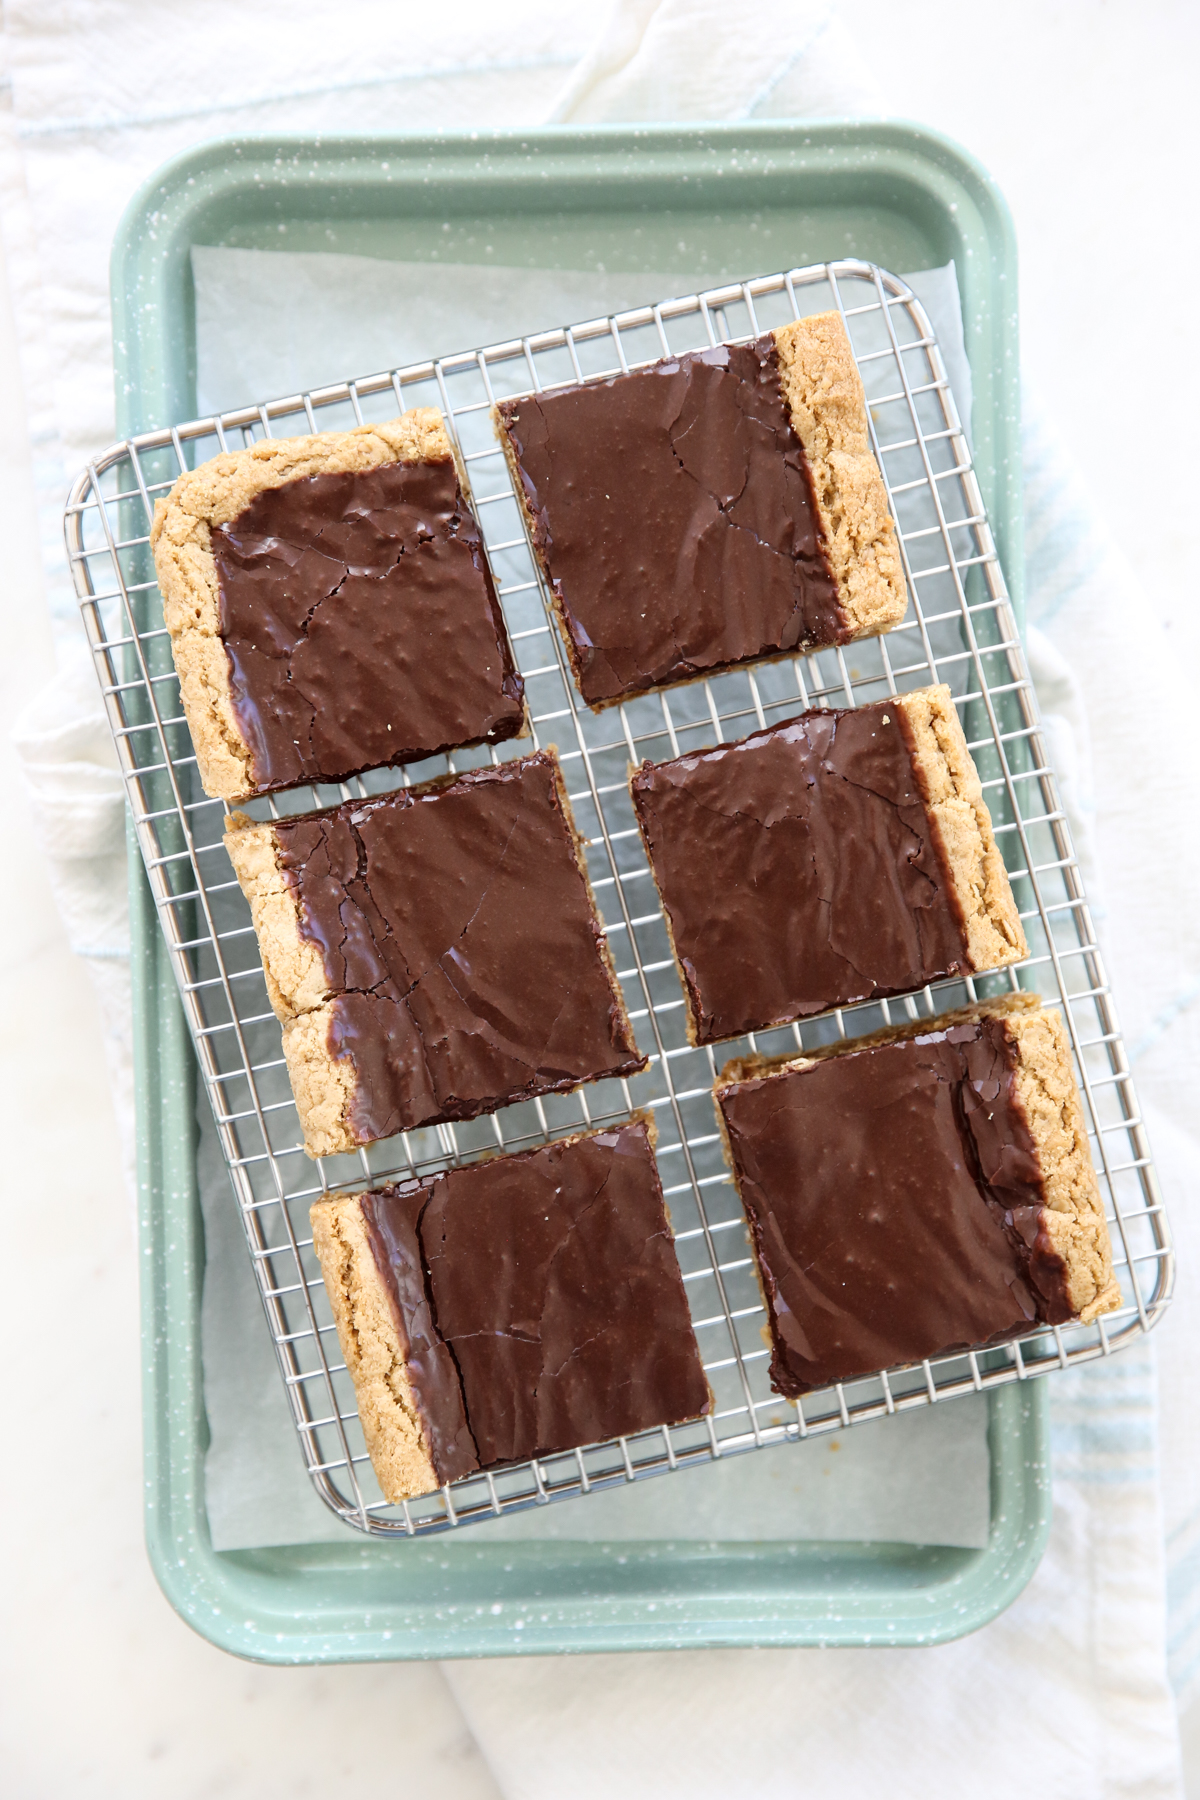
- Press into a parchment-lined baking sheet and bake.
- Now, right here there’s an optional step: If you want to go full send, you can also drizzle on some melted peanut butter on top of the warm bars so there’s a layer of peanut butter underneath the chocolate icing. I used to always make them that way, and it’s deliciously indulgent, but I think they’re equally fantastic (and a little less rich) with out the PB layer so I usually skip that step these days.
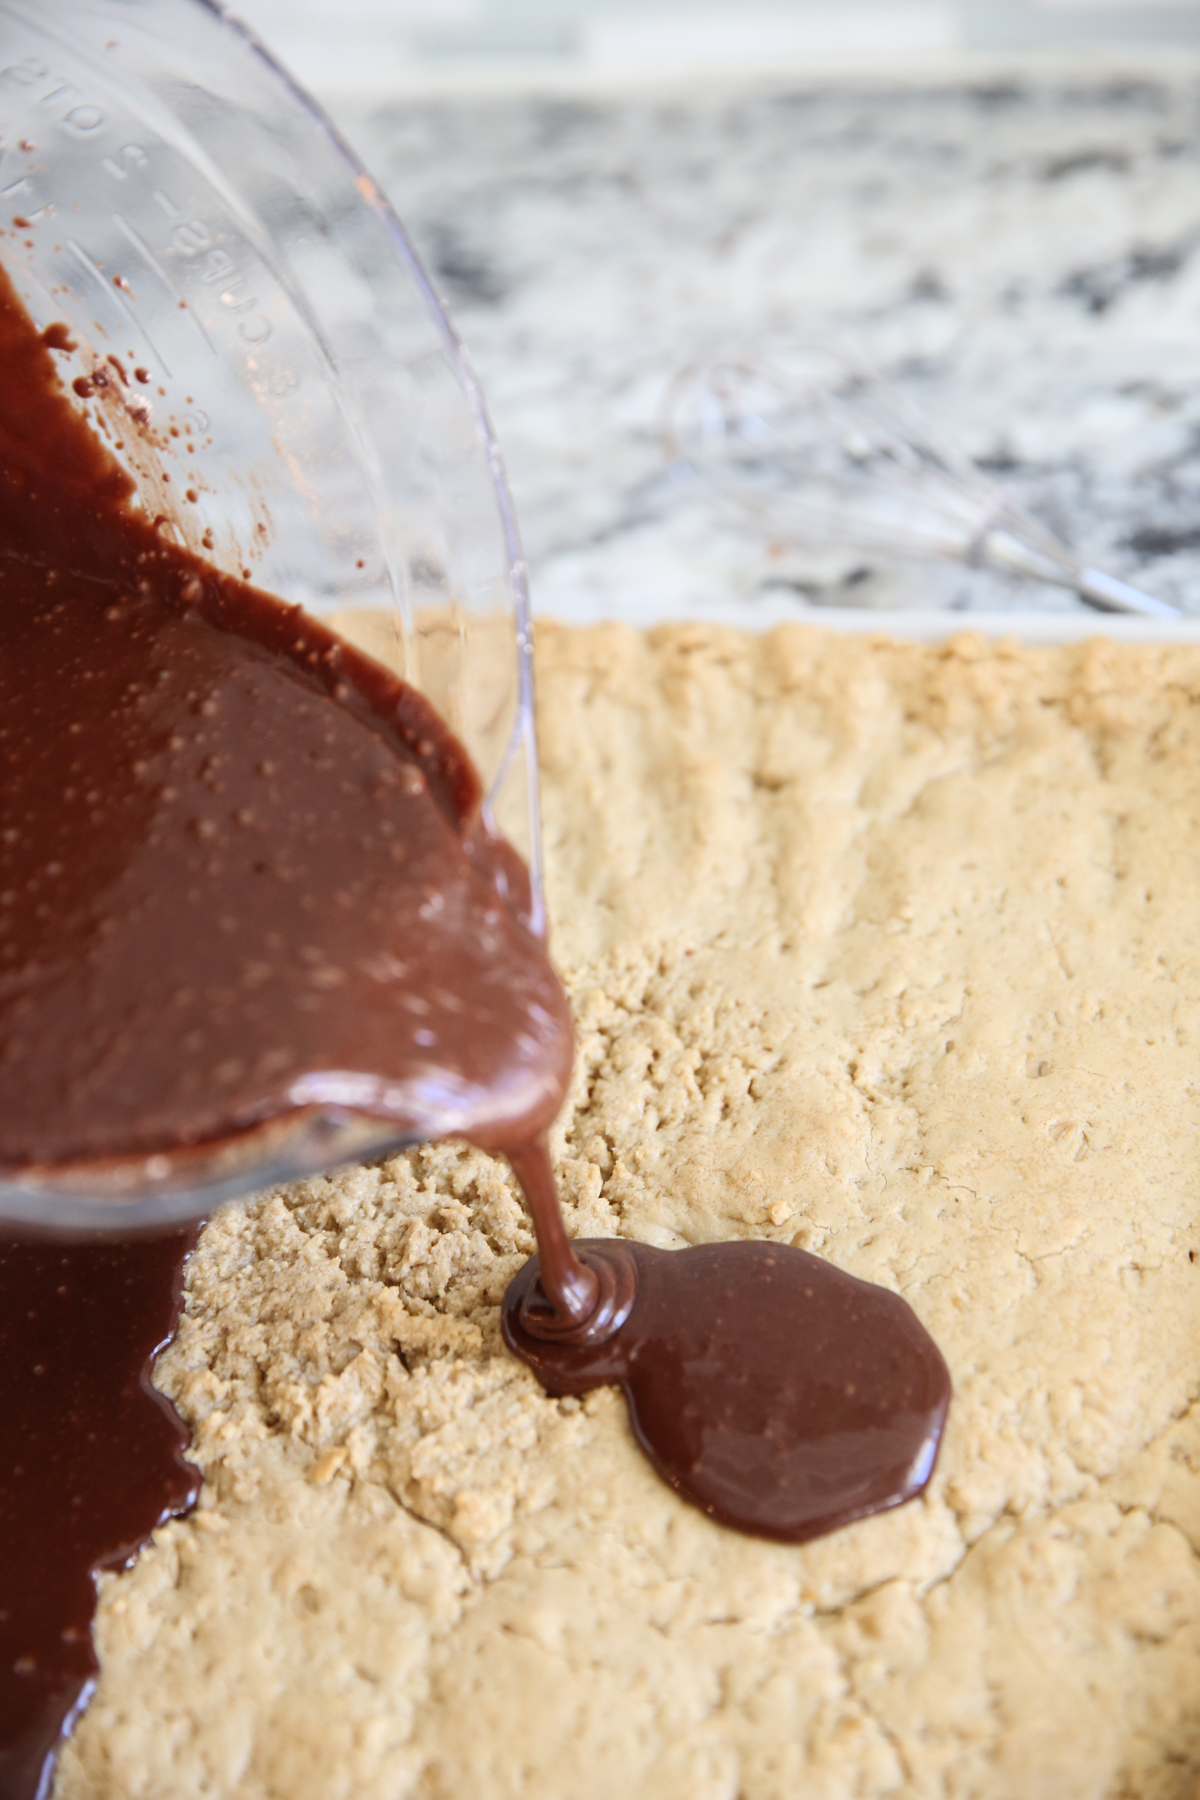
- Mix up your frosting and spread on top of warm bars.
- Wait until they’re cool to slice!
Frequently Asked Questions
- Can these be made ahead of time? YES! They are are actually extra great made ahead of time (dare I say better on day 2?) Since they’re super soft they just seem to get better. You can cover the cooled pan in foil or plastic wrap and cut on day 2, or keep the sliced bars in an airtight container. I would also imagine they freeze well, though I haven’t tried that.
Chocolate-Frosted Peanut Butter Cookie Bars {School Lunch Peanut Butter Fingers}
Unbelievably soft and chewy peanut butter cookies in bar form, topped with a rich chocolate glaze, just like the ones you remember! Made in a sheet pan to feed a crowd.
Servings
Equipment
Ingredients
For the Cookie Base
- 1 cup real butter 2 sticks at room temperature
- 1 cup granulated sugar
- 2 cups brown sugar
- 1 ½ cups peanut butter chunky or smooth
- 3 eggs
- 2 teaspoons vanilla
- 1 ½ teaspoons baking soda
- ½ teaspoons table salt
- 3 cups all purpose flour
- 3 cups quick oats
- ¾ – 1 cup peanut butter optional, see notes in recipe below
For the Fudge Frosting
- 4 cups powdered sugar
- ½ cup cocoa powder
- ¼ teaspoon table salt
- ⅓ cup butter softened; make sure it’s really soft, you can microwave it if you need to – even melted is ok!
- ⅓ cup boiling water
- 1 teaspoon vanilla extract
Instructions
- Preheat oven to 350 degrees. Spray a rimmed cookie sheet (standard half-sheet pan) lightly with non-stick spray, or line with parchment paper, and set aside.
- Cream butter and sugars for 3-4 minutes, until creamy and slightly fluffy. Add peanut butter and vanilla and beat until combined. Add eggs, one at a time and beat between each addition. Combine flour, baking soda, and salt and add mixture to dough. Beat to combine. Add oats and mix until incorporated.
- Press dough into prepared pan into a flat layer. Bake for about 20-30 minutes, until puffed and set, but not browned on the edges. The center should be puffed and set, but still soft. The edges of the cookie bars should be puffed and kind of cracked like a baked cookie looks.
- Optional Step: Some people like to drizzle on a layer of melted peanut butter onto the warm bars so there's a layer of peanut butter under the icing. If you'd like to do that step, I just microwave 3/4-1 cup of peanut butter until it's melted and smooth and can easily be drizzled over the top of the warm bars. You'll want to spread it gently so you don't tear your cookie layer.
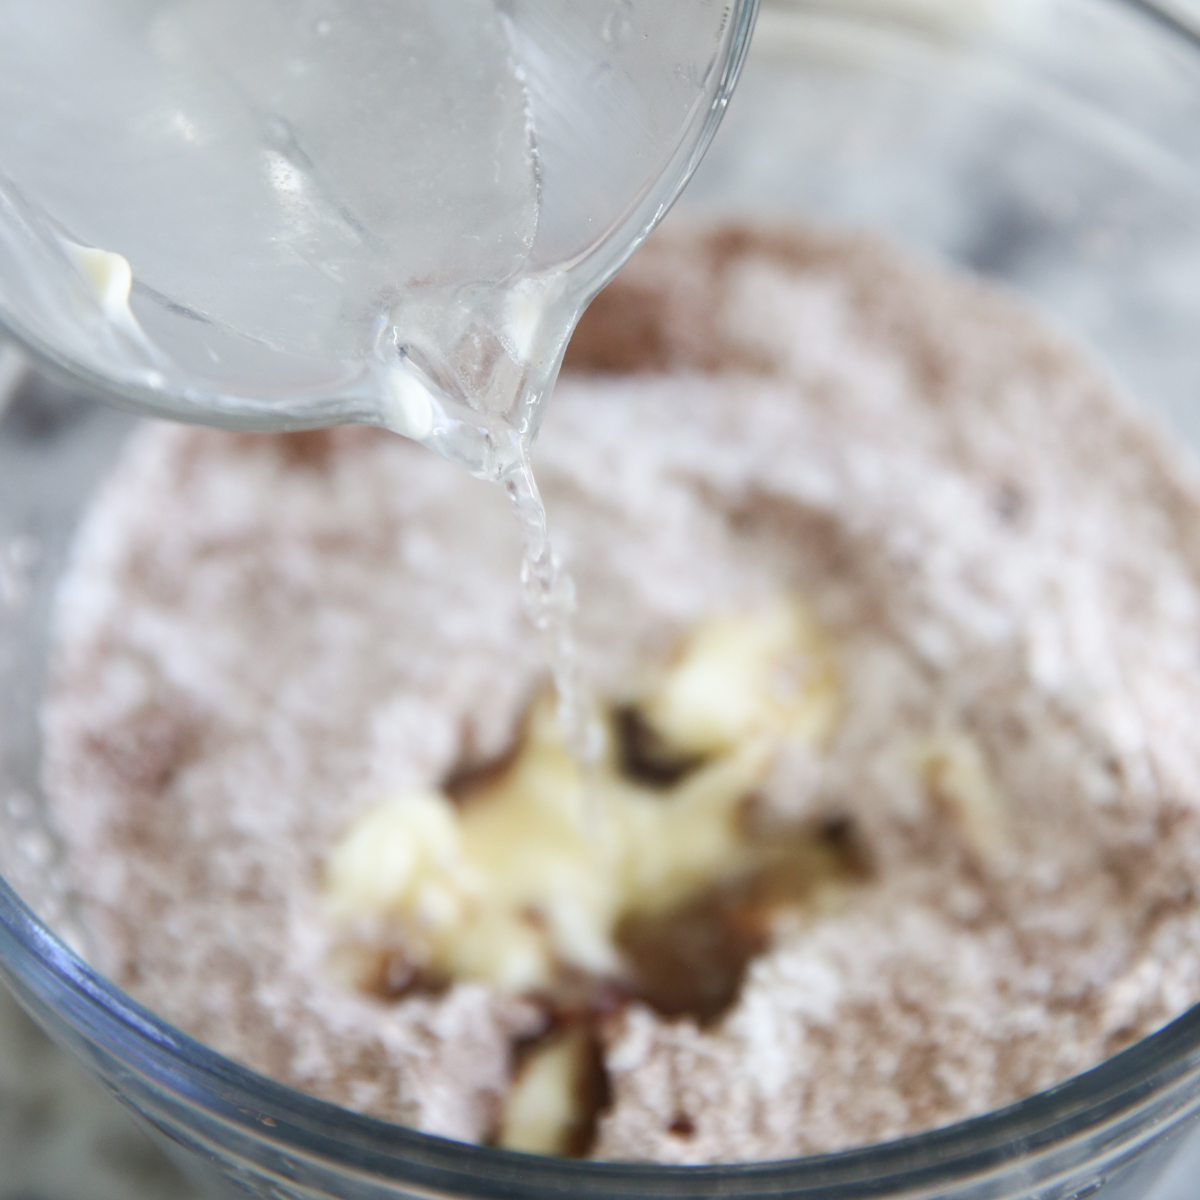
- When cookies are just about done, prepare frosting. Whisk together powdered sugar, cocoa powder and salt. Add butter, boiling water, and vanilla. Beat until smooth and glossy.
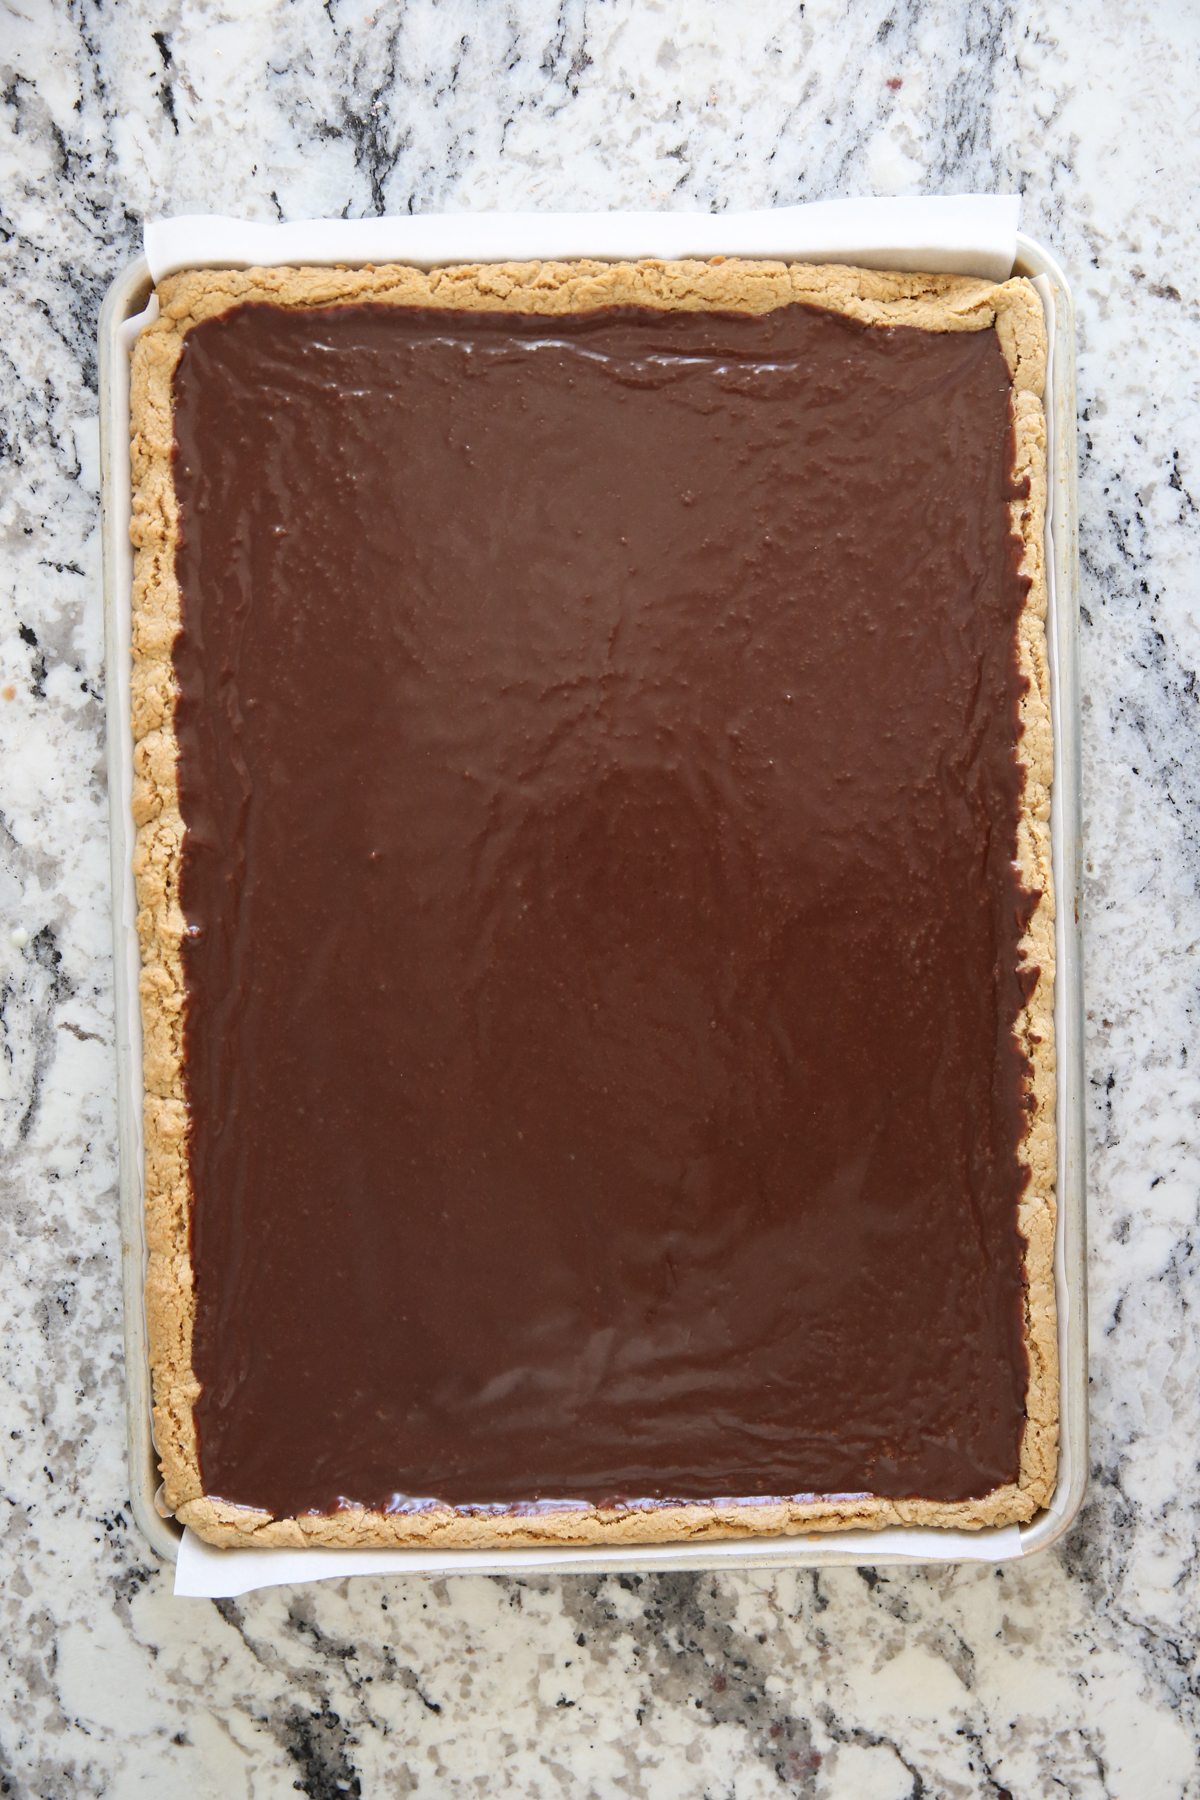
- When cookie crust is done baking, pour warm frosting over the top and spread into an even layer. Let bars cool before cutting in.
Notes
The nutritional information was calculated according to cutting the sheet pan into 36 bars.
These are best made 1 – 2 days ahead of time.
Nutrition
Calories: 303kcal, Carbohydrates: 48g, Protein: 6g, Fat: 11g, Saturated Fat: 3g, Polyunsaturated Fat: 2g, Monounsaturated Fat: 5g, Trans Fat: 0.1g, Cholesterol: 18mg, Sodium: 186mg, Potassium: 167mg, Fiber: 2g, Sugar: 32g, Vitamin A: 72IU, Calcium: 27mg, Iron: 1mg
Calories: 303kcal
Cost: 7
Did You Make This Recipe?Snap a picture, and hashtag it #ourbestbites. We love to see your creations on our Instagram @ourbestbites!


Questions & Reviews
So I have these baking in the oven right now. I used what I consider a standard size cookie sheet and the dough filled the cookie sheet right up to the rim before it was baked. I double checked the measurements and am nervous I put it in too small a pan. Help! Is your “standard cookie sheet” a sheet cake pan? I measured mine and it is 12 X 16.
My wife is making this right now and I am helping give her the instructions. She made them a month ago and I gave them to my clients on the river as part of there lunch…they are mmmmm good.
My mother in law makes her famous peanut butter bars on special occasions and they are delicious! I do believe however that you have created an even better recipe that is to die for! I followed your recommendation to eat these with vanilla ice cream…YUM!! I had to send half the pan to work with my husband so I didnt eat them all! Tomorrow is going to have to be a strictly water and veggies day to make up for eating so many today!
Made these tonight for our special Sunday dessert and they were delicious! For the future I was thinking of cutting them all up in about the same size and freeze them for my kids school lunches and pull them out when I need them!
This is my first time to your site, you come highly recommended by a friend.
I have been searching for this recipe for years, and I am so excited to find it! They have started making these at Golden Corral so I like to go there just to get my school lunch peanut butter bars fix! =0)
Also, I can’t believe that the above lunch lady said they made them stop making these bars because they were unhealthy. It’s so ironic looking at the school lunches they serve now…pizza, chicken nuggets, corn dogs etc. You can’t get much more un-healthy than school lunch in my oppinion!
I made these lastnight and they were divine!!! I don’t know if I did something wrong, but I couldn’t add all the oats. My dough was so thick I could only add one of the three cups. Are all the measurements right? It could have been the organic peanut butter I used, but other than that I did it all according to the recipe. I loved it and it still turned out great, thanks for sharing!
I’m guessing it was your PB because I’ve never had that problem, but I’m glad they still turned out great!
I made these a few days ago. They are amazing! Makes a ton, so plan on sharing with neighbors!!
I made these tonight, I live in the Seattle area so the opposite altitude of the above post, and mine were really soft too. My kids and I loved them, but they tasted like delicious cookie dough rather than cookies. If I cook it like 18-20 minutes will they firm up? Or is that just the texture?
you can definitely bake them a little longer, but the texture really is dough-y soft 🙂
I was so excited to make these as chocolate and peanut butter and cookies are my ultimate favorite combination. Mine didn’t turn out, though. 🙁 I live in Albuquerque, at about 5,000 ft and am wondering if the altitude had something to do with it? I even baked them for 5 or so minutes longer because they didn’t look done at all at 10-12 min. Sigh. If you have any high altitude baking tips, it would be greatly appreciated!
You could try cooking them a little longer, sorry I’m not much help with high altitude!
My Lunch lady peanut butter bars recipe says to bake for exactly 20 minutes, and I live at 4800 ft. Hope it helps!
I made these for a scout pack meeting and the parents and kids all raved about them. Thanks for the recipe. This will be a new favorite at our house! 🙂