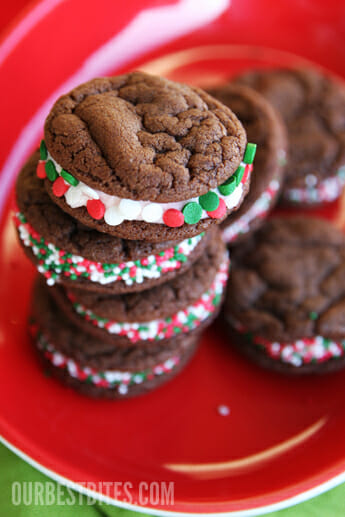
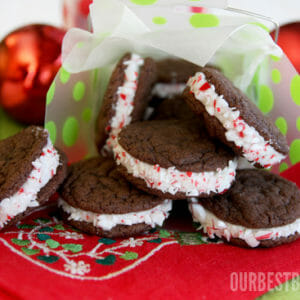
Soft, brownie-like cookies are sandwiched around a fluffy cream filling with a refreshing peppermint touch. They’re chewy but not cakey, and the sweetness is just right when paired with that creamy center. A quick melt-and-mix method makes them easy to whip up, and the double-layer look gives them a bit of polish without any extra drama. These are great for sharing, holiday trays, or packaging as a festive treat.
I looked for a long time for the perfect non-cake mix version of the “Homemade Oreo” cookie, and I found it on America’s Test Kitchen. (We do have a great cake mix version if you’re looking for that!) There’s tons out there and I’ve tried many and haven’t found exactly what I was looking for. They were often cakey or too crispy, or too whoopie-pie-ish. I wanted soft, but chewy with a sweetness that wasn’t overwhelming when sandwiched with frosting. The cookies are not only adorable (I made mini cookies) but they have the perfect almost brownie-like texture and flavor, with a slightly chewy outside and soft center.
Ingredients Needed
Cookies:
- flour
- baking soda
- table salt
- semisweet chocolate chips
- light brown sugar
- butter
- water
- egg
Filling:
- butter
- powdered sugar
- peppermint extract
- milk
- red or green food coloring, sprinkles, or crushed candy canes

How to Make Chocolate Peppermint Sandwich Cookies
This is a simple overview of the recipe, you’ll find a full printable recipe below!
- Cookies: Preheat oven to 350°F; line 2 baking sheets with parchment.
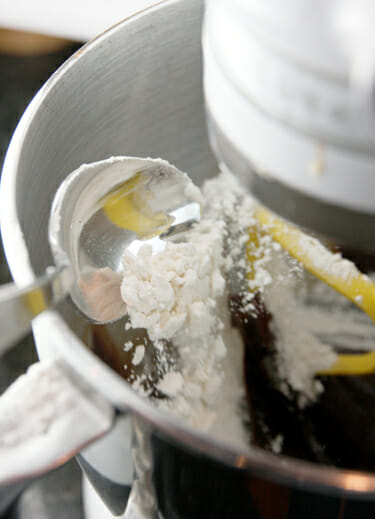
- In a medium bowl, mix flour, baking soda, and salt.
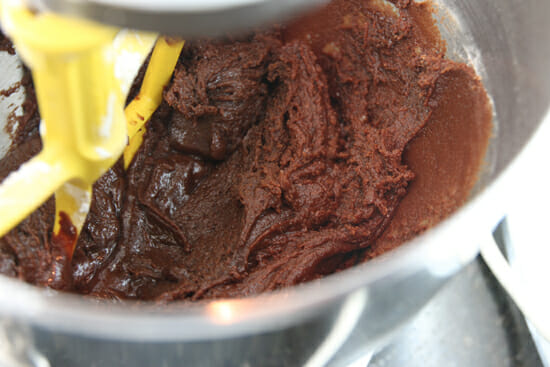
- In a saucepan over medium heat, melt chocolate chips, brown sugar, 5 Tbsp butter, and water; stir until smooth (sugar will still be grainy).
- Transfer to a large bowl, beat in egg, then stir in flour mixture until just combined.
- If dough is too soft, let sit or chill briefly. Do NOT add more flour!
- Roll into balls (1 tablespoon for large cookies, ½-inch for small) and place 2″ apart on baking sheets.
- Bake: 8–9 min for large, 5 min for small, rotating pans halfway. Cool briefly on sheets, then transfer to rack to cool completely.
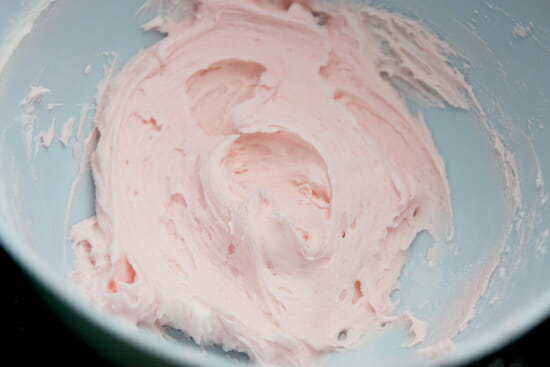
- Filling: Beat frosting ingredients with peppermint extract to taste. Add milk as needed for spreadable consistency; add food coloring if desired.
- Pipe frosting onto a cookie, top with another, and roll edges in sprinkles or crushed candy canes if desired.

Storage & Other Tips
Dough: It’s really important when making sandwich cookies to make the cookies a uniform size. You can measure out the dough, or use a cookie scoop. When I make sandwich cookies, I like to make them small. I figure you’re already getting 2 cookies in there, so giant ones can be kind of overwhelming. If I want small cookies, I use my cookie scoop and then just cut the dough so it’s even. For these cookies I cut a scoop from a standard cookie scoop into four. That’s pretty tiny! But the finished cookies were about the size of a silver dollar, which is where I wanted them.
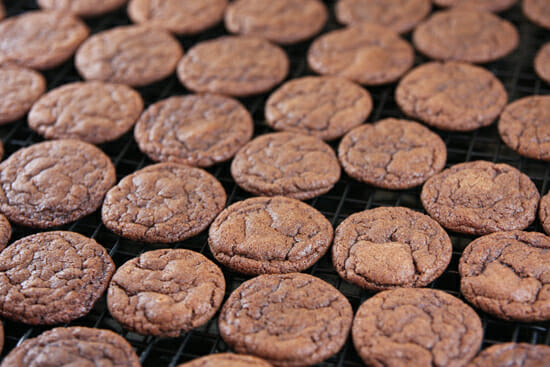
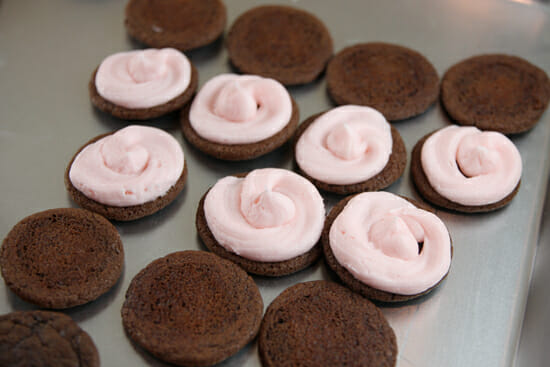
Baking: The most important thing about these cookies is that you don’t over-bake them. In fact, you want to under-bake them. It can sometimes be hard with chocolate cookies because you can’t use color for a visual clue. Instead look at the texture. The cookies should be puffed up, and the edges just barely set but the centers still soft. The cookies in the above picture have been sitting on the pan for a minute cooling so they’re starting to crack. Once they cool completely, they flatten out and crackle.
Frosting: Here’s my tip for frosting; keep it on the thick side. Like, just a little thicker than you think it should be. With sandwich cookies, you don’t want it to smoosh out when you bite into them, so if you keep the cookies extra soft and the filling just a tiny bit firm, then it usually ends up being a pretty good match. I also go a little strong on the peppermint extract because it mellows out once it’s combined with the cookies.
Assembly: Don’t spread frosting on each one. Put your frosting in a ziplock bag and cut the corner off. Place cookies that are close in size (because they’ll all be a little different) next to each other and pipe on the frosting, staying close to the edge. It’s soooo much faster than spreading it on, especially if you’re doing a ton of little cookies like I did. There should be enough to be generous, but don’t go too crazy or it will all just squish out.
Sprinkles: It’s easiest to pour some sprinkles in the palm of your hand and roll the cookie through them.
Or try white frosting with cute blue sprinkles for a winter or Hanukkah look.

My favorite though, is crushed candy canes. You only need one or two for a whole batch of cookies.

Pop them in some cute containers and you’re all set for giving (or munching!)


Chocolate Peppermint Sandwich Cookies
Equipment
Ingredients
Cookies
- 1 ½ cups flour lightly spooned into measuring cups and leveled (don’t scoop!)
- ¾ teaspoon baking soda
- ¼ teaspoon table salt
- 1 cup semisweet chocolate chips
- ¾ cup brown sugar light, packed
- 5 tablespoons butter
- 1 tablespoon water
- 1 large egg lightly beaten
Filling
- ½ cup butter
- 2 cups powdered sugar
- ½ -1 teaspoon peppermint extract
- milk as needed for consistency
- red or green food coloring, sprinkles, or crushed candy canes optional
Instructions
Cookies
- Preheat oven to 350℉. Line 2 baking sheets with parchment paper.
- Combine flour, baking soda, and salt in a medium bowl.
- Heat chocolate chips, brown sugar, 5 tablespoons butter and water in a medium saucepan over medium heat, stirring until melted and smooth (there will still be grains of sugar though).
- Transfer mixture to a large bowl and beat in egg. Stir in flour mixture until just combined. Don’t over-mix!
- If dough is too soft to work with, let it sit at room temp for a few minutes to firm up, or place in the fridge for a few minutes. Do not add flour.
- Gently roll balls, either 1 tablespoon full for large cookies, or about 1/2 inch balls for silver dollar sized cookies. See recipe notes for an important tip about yield amounts.
- Place about 2 inches apart on prepared baking sheets. Bake cookies until just puffed in the middle and edges are set but centers are still soft. About 8-9 minutes for large cookies, and about 5 minutes for small ones. If using 2 cookie sheets, rotate them half way through baking. Cool for a couple of minutes on the baking sheets and then transfer to a cooling rack and let cool completely.
Filling
- Beat all filling ingredients together, adding peppermint extract to taste. Add milk by the teaspoonful until a spreadable, but not too soft consistency is reached. Add food coloring if desired.
- Place frosting in a zip-top bag and cut off a corner. Pipe onto one side of cookie and place another on top. Roll edges in sprinkles or crushed candy canes if desired.
Notes
Nutrition


Questions & Reviews
Just made these with my 3 kiddos (3, 5, and 6). They LOVED helping roll the cookies in broken candy canes. Soooo yummy and so much fun for me and the kids. Thank you! These will definitely be a Christmas-time tradition!
My cookies also were not as flat, but they were still cute and tasted great so I didn’t mind. The last cookies sheet of my 3rd patch I forgot about and it was in the oven several minutes too long, and those cookies were flat, but still soft and chewy. I tried so hard not to overbake them – but in the end they worked better for me when baked longer. Maybe that will help you.
I just whipped up a batch of these for a dinner party tonight. Oh my, so delicious. I just might skip dinner and eat just the cookies!
These look so fun and yummy! I love how you list “real butter” in your recipe- because unsalted butter, I agree, is just not real butter. 🙂
Thanks so much for the recipe! We’ve made them twice so far (doubled the recipe the 2nd time!) When my hunter son saw the plate of little black rolled balls he asked if I was making deer poop. It stuck and now the younger kids call these cookies “reindeer poop” We love them!
these were yummy..had a slight problem with the frosting being melty…had to keep popping it in the fridge
I just made the cookies – I don’t know if they will make it to the sandwich stage. I was in a hurry yesterday and made the dough ahead of time. This morning I simply put the container in a bowl of warm water and made the cookies as it the dough softened. At first I thought I had made a mistake – but they turned out perfect!
I made these for a cookie exchange this week and they were Crazy Good! I even won a prize 🙂
I made these for a cookie exchange get together and everyone loved them! They turned out just like your pictures and the frosting in the ziplock bag works wonders!! thank you so much for a wonderful holday cookie!!!
Ohhhhhhh man! Are these good! I just finished making these and I am salivating thinking about eating another. I am doing a test run for a cookie party I am attending in 2 days, and these are the ones!!
They took me awhile (maybe 2 hours from start to finish), but admittedly, I am a super duper slow baker (and cook, for that matter). I used a regular sized cookie scoop and quartered the scoop of dough. Then I pressed the dough lightly together, not into an exact ball- and I came out with some decent looking final cookies. I think my next run, I’ll press them ever so slightly so they are less rounded on the bottom when they are cool. Perfect little mini sandwiches, and I got to just shy of 4 dozen.
For the frosting, I got impatient and just kept throwing in milk as I whipped it up. Not a disaster, but I overdid it and the frosting was not as creamy as it should’ve been.
Overall, this is a GREAT special occasion cookie recipe for me. Thank you!!!!
BTW- LOVE your site and asked my mom for your cookbook for Xmas. Hopefully she’ll deliver!! ; )