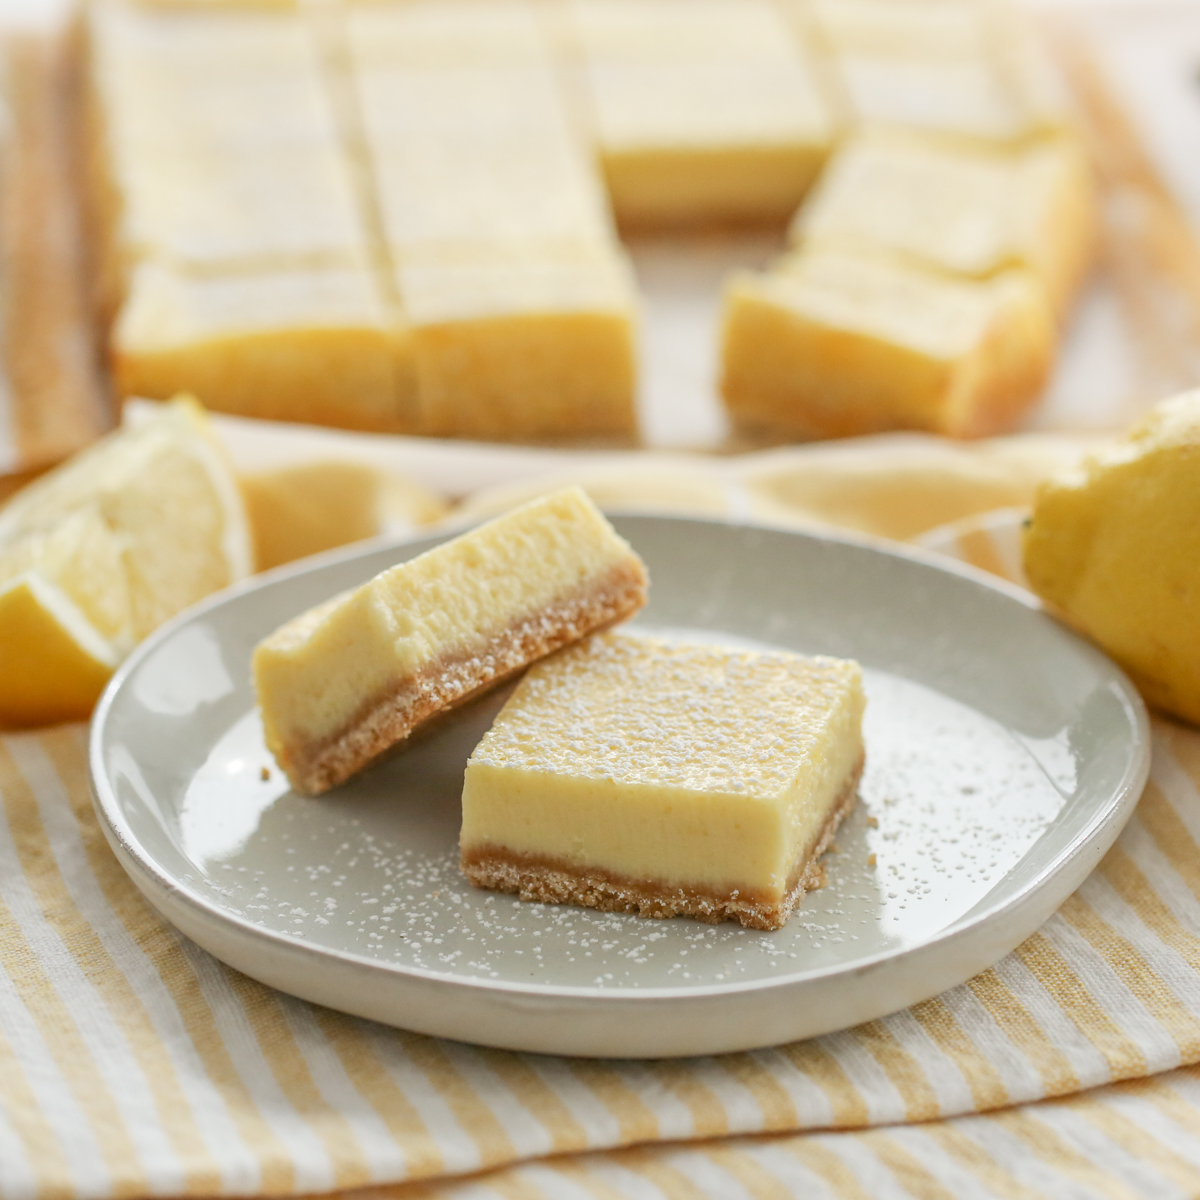
These creamy lemon bars are a twist on the classic lemon bar, and it’s more of a little lemon cheesecake bar. With the addition of cream cheese, they’re creamier than a standard lemon bar, but also not quite as cheesy and rich as a traditional cheesecake. They are super easy to whip up and have bright lemon-y flavor. They make a great ending to a simple meal, or a perfect treat for a party or gathering- I’ve also made them with lime and they’re delicious!
Ingredients Needed
This is just a preview of ingredients and method, keep scrolling for full printable recipe.
Crust
- Nilla wafers – The crust is made with Nilla wafer cookies. Name brand or store bought will both work. A lot of crusts are comprised of simply cookie crumbs and butter, but this one has some dry ingredients added to it, like flour and sugar. So you get the tender crumb from the flour, but the amazing cookie-ness from the Nilla wafers.
- All-purpose flour
- Brown sugar
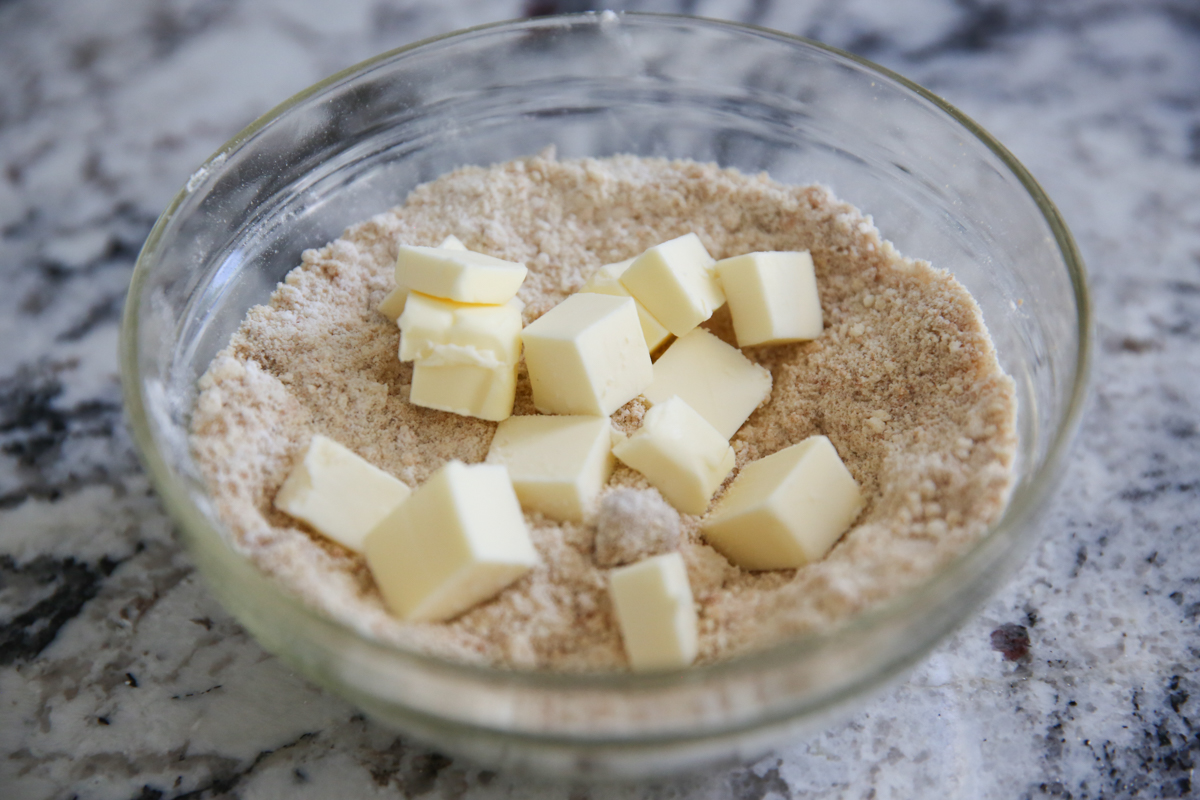
- Butter – This recipe was developed using real butter, so that is the best choice. Here’s a great tip for cutting in butter to create a flaky crust: use a cheese grater! If I’m making something like pie crust or biscuits I use a more traditional method, but for something like this, a cheese grater works perfectly. Popping your butter in the freezer for a few minutes before grating makes it even easier.
Filling and Serving
- Cream cheese –
- Granulated sugar
- Eggs
- Vanilla extract
- All-purpose flour
- Lemon (or lime) peel and juice – You will need both the juice and the zest of your lemons or limes. I don’t recommend bottled juice or dried zest. Fresh is best!
- Baking powder
- Powdered sugar – For dusting before serving.
Helpful Tools
- Foil or parchment – Lining your pan with foil or parchment makes it easy to lift the entire batch out of the pan at once and cut all the way through the edges.
How To Make Creamy Lemon Bars
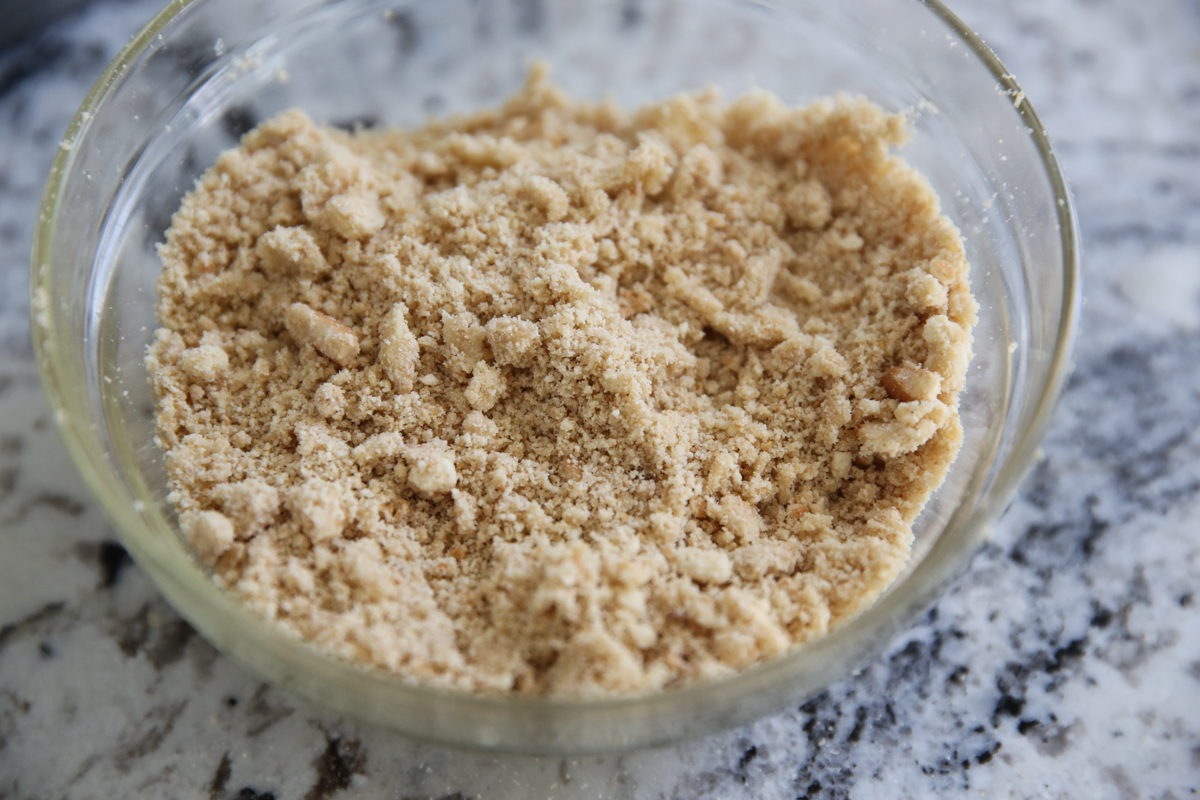
- Prepare crust by either chopping or grating cold butter into dry ingredients and then combining until it looks like crumbly wet sand.
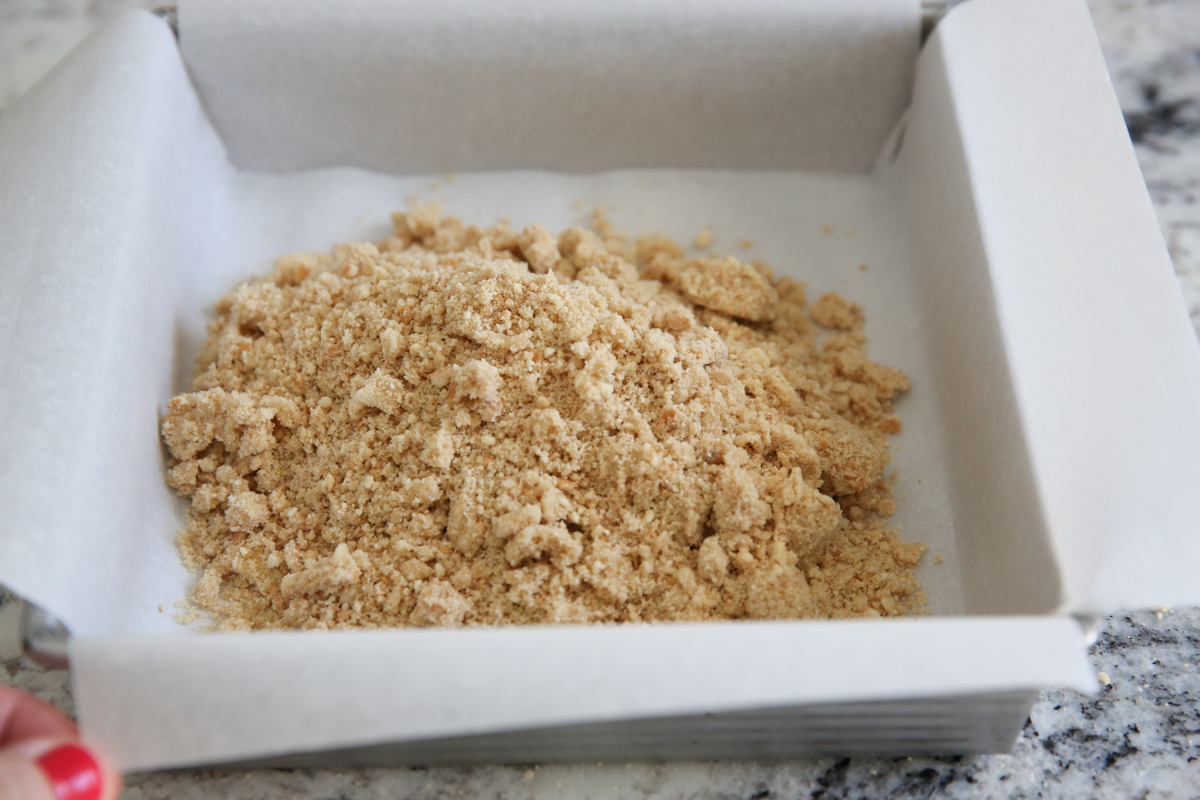
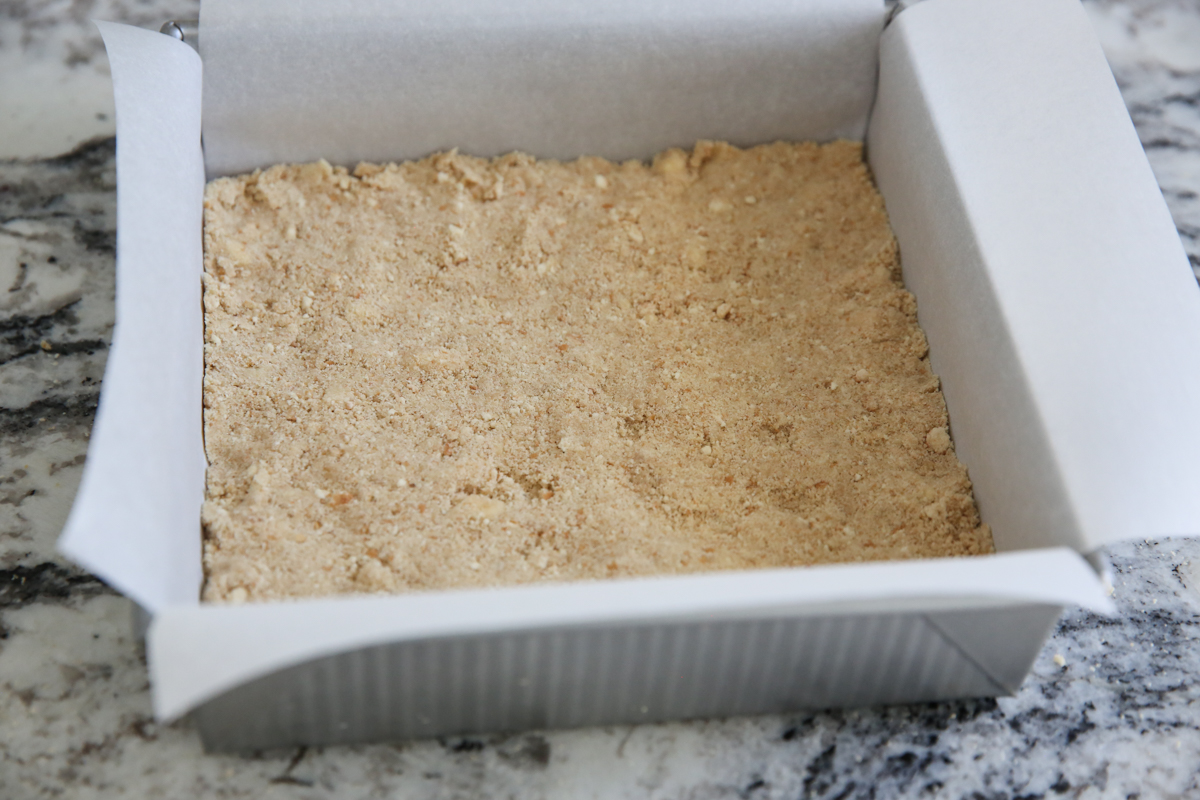
- Place mixture into a parchment-lined 8×8 pan and press down evenly. Pre-bake your crust while you prepare the filling.
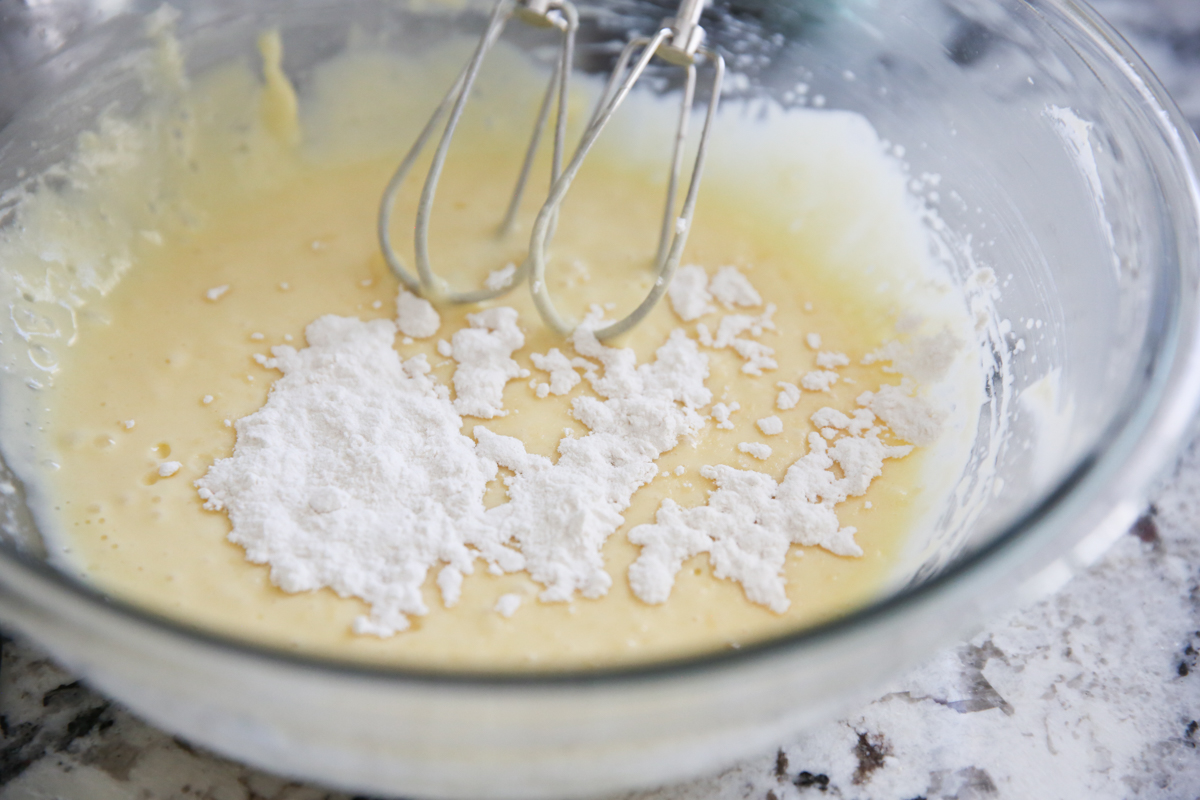
- For the filling, beat up cream cheese and sugar. You’ll also add in some eggs and vanilla and a tiny bit of flour and then fresh lemon juice and zest
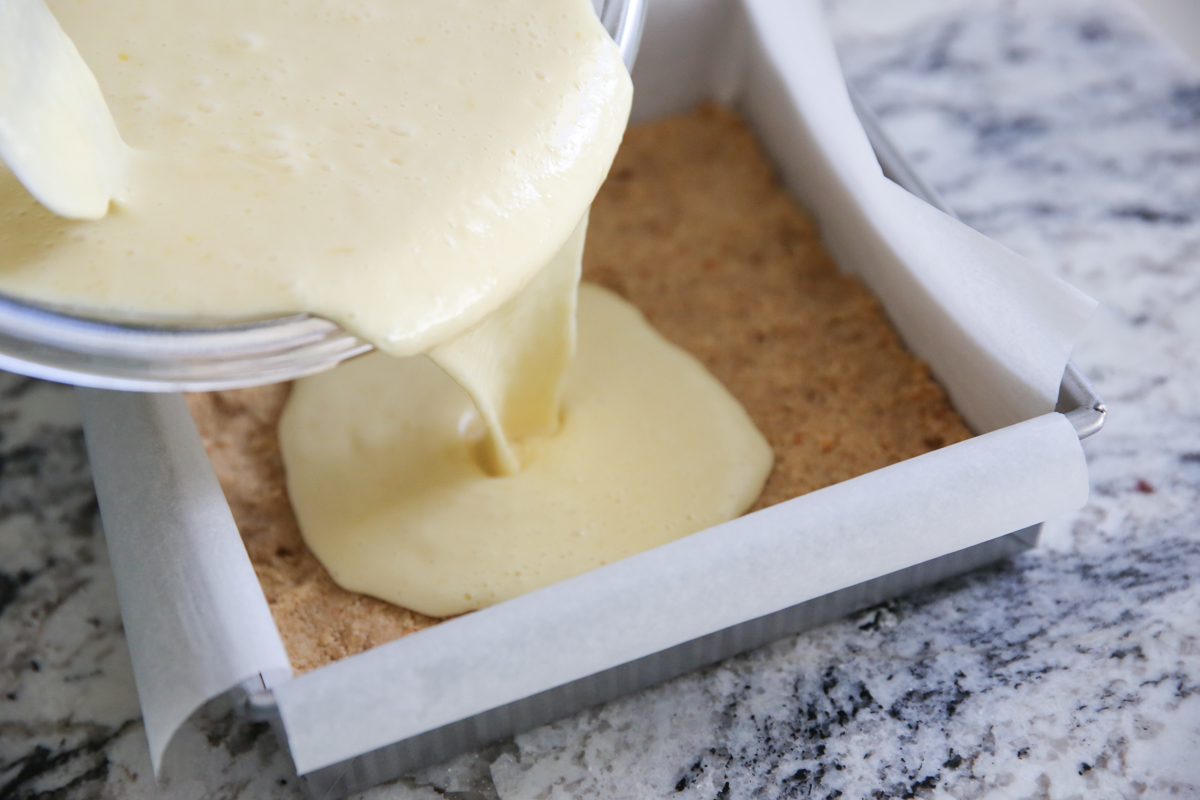
- Pour the batter into your partially baked crust and pop it back in the oven.
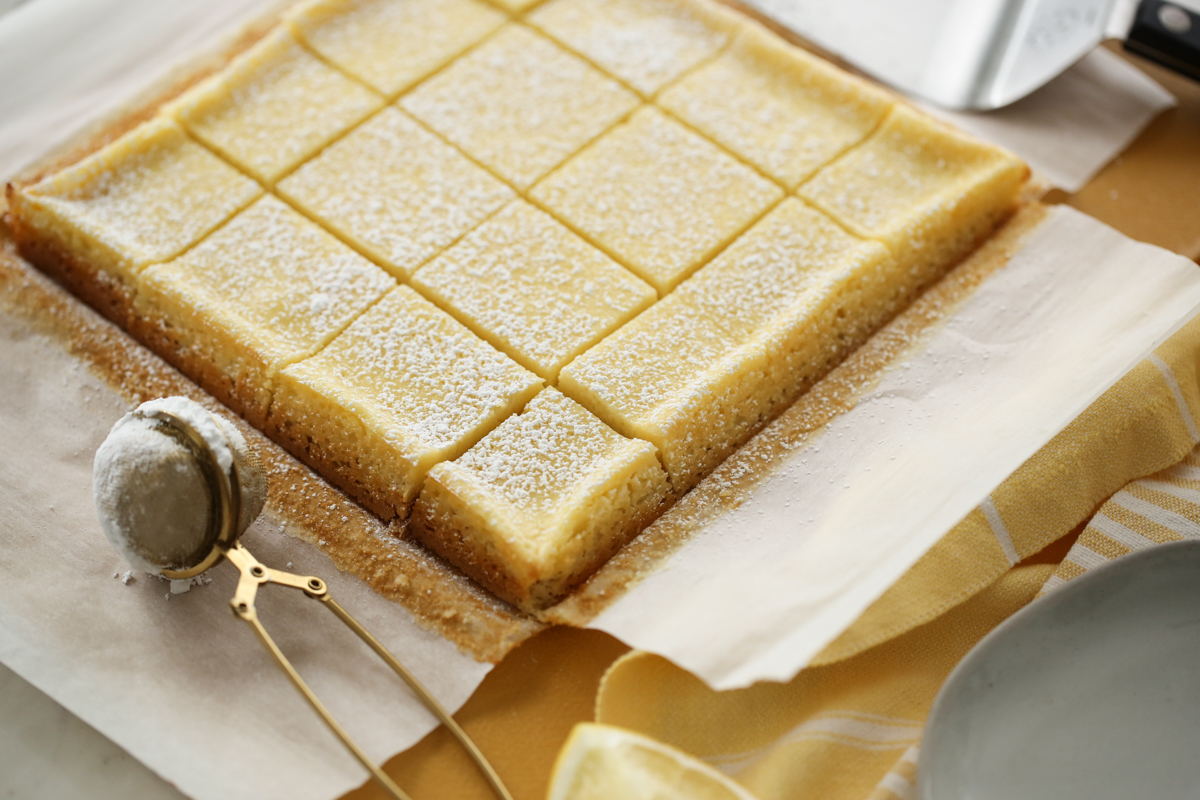
- After they are baked, cooled, and chilled you can pull the foil right out for easy cutting. Slice them into bars and sprinkle extra zest on top. You can also sprinkle them with powdered sugar, but just keep in mind the bars are moist so the sugar melts into them quickly. I do it right before serving just to make them look pretty.

Storing and Other Tips
- Store cooled lemon bars, tightly covered, in the refrigerator and enjoy within 5-7 days for best results.
- Lemon bars can freeze well for up t 3-4 months. Wrap bars tightly in plastic wrap and freeze, then transfer frozen bars to a freezer storage bag. Thaw overnight in the fridge before serving.
Frequently Asked Questions
You bet! These bars honestly get better with time. Feel free to make them a day ahead of time through the refrigeration step. When ready to serve, sprinkle with powdered sugar, garnish with zest, cut, and serve.

Creamy Lemon {or Lime!} Bars
Equipment
Ingredients
Crust
- 20 Nilla Wafers finely crushed
- ½ cup flour
- ¼ cup brown sugar firmly packed
- ¼ cup butter cold, no substitutions
Filling
- 1 8-ounce package cream cheese 1/3-less fat cream cheese is okay
- 1 cup granulated sugar
- 2 eggs room temperature; just place eggs in a bowl of warm water for about 10 mins
- 1 ½ teaspoons vanilla extract
- 2 tablespoons flour
- 3 tablespoons lemon peel grated, divided
- ¼ cup lemon juice fresh highly recommended
- ¼ teaspoon baking powder
Serving
- powdered sugar
Instructions
- Preheat oven to 350ºF. Line an 8-inch square baking pan with foil, with ends of foil extending over sides of pan. Spray lightly with non-stick spray and set aside.
- In a bowl, combine Nilla Wafer crumbs, ½ cup flour and the brown sugar. Chop butter into small pieces and then cut into crumb mixture with a pastry blender. If you don’t have a pastry blender, just use 2 knives, or even your fingers to break up the butter until mixture resembles coarse crumbs.
- Press crumb mixture firmly onto bottom of prepared pan. Bake 15 min.
- While crust is cooking, beat cream cheese and granulated sugar with electric mixer on medium speed until well blended. Add eggs, vanilla, 2 tablespoons flour, and baking powder; mix well. Blend in 1 tablespoon lemon zest and lemon juice and then pour mixture over crust.
- Bake 25 to 30 minutes or until center is set. Cool completely. Cover and refrigerate at least 2 hours, but preferably overnight. These bars improve with time. Sprinkle with powdered sugar and remaining 2 tablespoons grated lemon peel just before cutting into squares to serve.
- Store leftover squares in refrigerator.
Notes
- Recipe was adapted from Kraft.
- Servings and nutritional information was adapted for 16 squares, but the squares can be cut bigger or smaller depending on desired size.
- Store cooled lemon bars, tightly covered, in the refrigerator and enjoy within 5-7 days for best results.
- Lemon bars can freeze well for up t 3-4 months. Wrap bars tightly in plastic wrap and freeze, then transfer frozen bars to a freezer storage bag. Thaw overnight in the fridge before serving.
Nutrition


Questions & Reviews
I made these tonight. I love anything lemon! I feel like these need more lemon, but not sure to add more lemon juice or more lemon peel? I felt like it was onl a hint of lemon!!! But they were delicious!!!
Wow that was delicious! Made these for a fund raiser/supper tonight and they were gone in a flash! 5 Stars from SC
I wanted to make these for a birthday party, and randomly enough, I had key limes and no lemons. These are the.best.bars.ever. I am actually afraid to make them lemon cause the key lime bars were SO GOOD! And the funny thing is, we had too many treats and hardly any were eaten. So, in answer to someone’s question, yes, they freeze well. Cause I threw them in the freezer, and over the course of a few weeks, proceeded to eat pretty much the whole pan myself. LOL.
And just to add, I am usually a big lemon person, I love them. So I am sure I will try them lemon, I just wanted to say how delicious they are key lime 🙂
Just put these in the oven! I cannot wait to taste them! I am the only one in my house who loves lemony things…..so this is my personal Mothers day present!
How do you cut these? Mine came out very delicious but also very ugly looking because I had lots of trouble getting them out of the pan gracefully… any tips??
Did you line the pan with foil like it instructs in the post? That’s what that step is for, to make cutting super easy!
I brought these for dessert to a friend’s dinner party (who happens to have quite a thing for lemon bars). She loved them! Using the foil liner did make it sooo easy to cut them – always a problem when I’ve made lemon bars in the past. It made 16 perfect triangles for us – cut my square into 4 and then each 1/4th into 4 triangles. So pretty too!
Tested this recipe out as we want lemon bars for a wedding reception. These are an absolute hit! I got 35 small bite-size squares of the pan.
Mine had to cook for about 33-34 minutes for it to set up in the center.
Super easy to make & the clean up is a cinch with the foil liner – so I'm giving a shout out & a hallelujah for that!!!
Directions: Cool completely and then refrigerate for two hours. What I did: Took out of oven and refrigerated immediately. Waited a little more than one hour. Could not wait any longer. Cut up lemon bars. Ate one. Went to lemon heaven. They get better the longer they sit? Probably won't be any left in the morning. YUMMY!
I needed something sweet to make for a friend's baby shower this weekend, and your blog is one of my go-to sites for recipe ideas. I chose these because my friend is a big fan of anything lemon.
They were a huge hit – they disappeared incredibly quickly. This is definitely something I'll make again – thanks!
I've tried a ton of your recipes, and every one is always spot – delicious, and easy to make, especially with your detailed instructions.
Made these last night and they were a huge hit at a potluck! 8×8 just didn't sound like enough, so I used a 9×13. I increased the crust by half (30 cookies), and doubled the filling. They took a little longer to cook but turned out great!