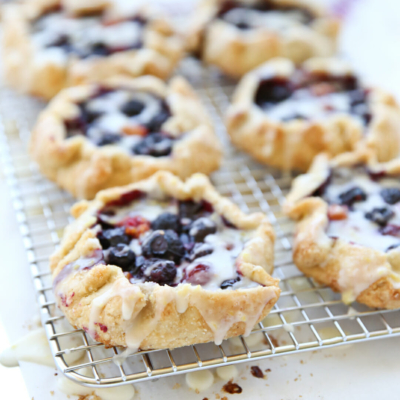
A Galette is basically a freeform pie without a pan. It’s the epitome of rustic summer dining if you ask me. It’s SO easy. You whip up a pie crust (in less than 5 minutes) fill it with any kind of fruit you have around and in about an hour you have a gorgeous, scrumptious, impressive, and filling dessert that will win the hearts of everyone at your table. While I sometimes fail at pie, galettes are pretty much foolproof! I love how simple they are and I love that they’re meant to be rustic so nothing needs to look perfect.

Ingredients Needed
This is just a preview of ingredients and method, keep scrolling for full printable recipe.
All Butter Pastry Crust
- All-purpose flour
- Butter – Use real butter here and make sure it’s cold straight from the fridge. This helps keep the fat separated from the flour in the pastry dough, which is what produces the light, flaky pastry texture we’re after when it goes in the oven.
- Salt
- Ice water – Very cold water helps the butter stay cold and separate from the flour as you mix up and work your pastry dough, resulting in a perfect, flaky crust.
Fruit Filling
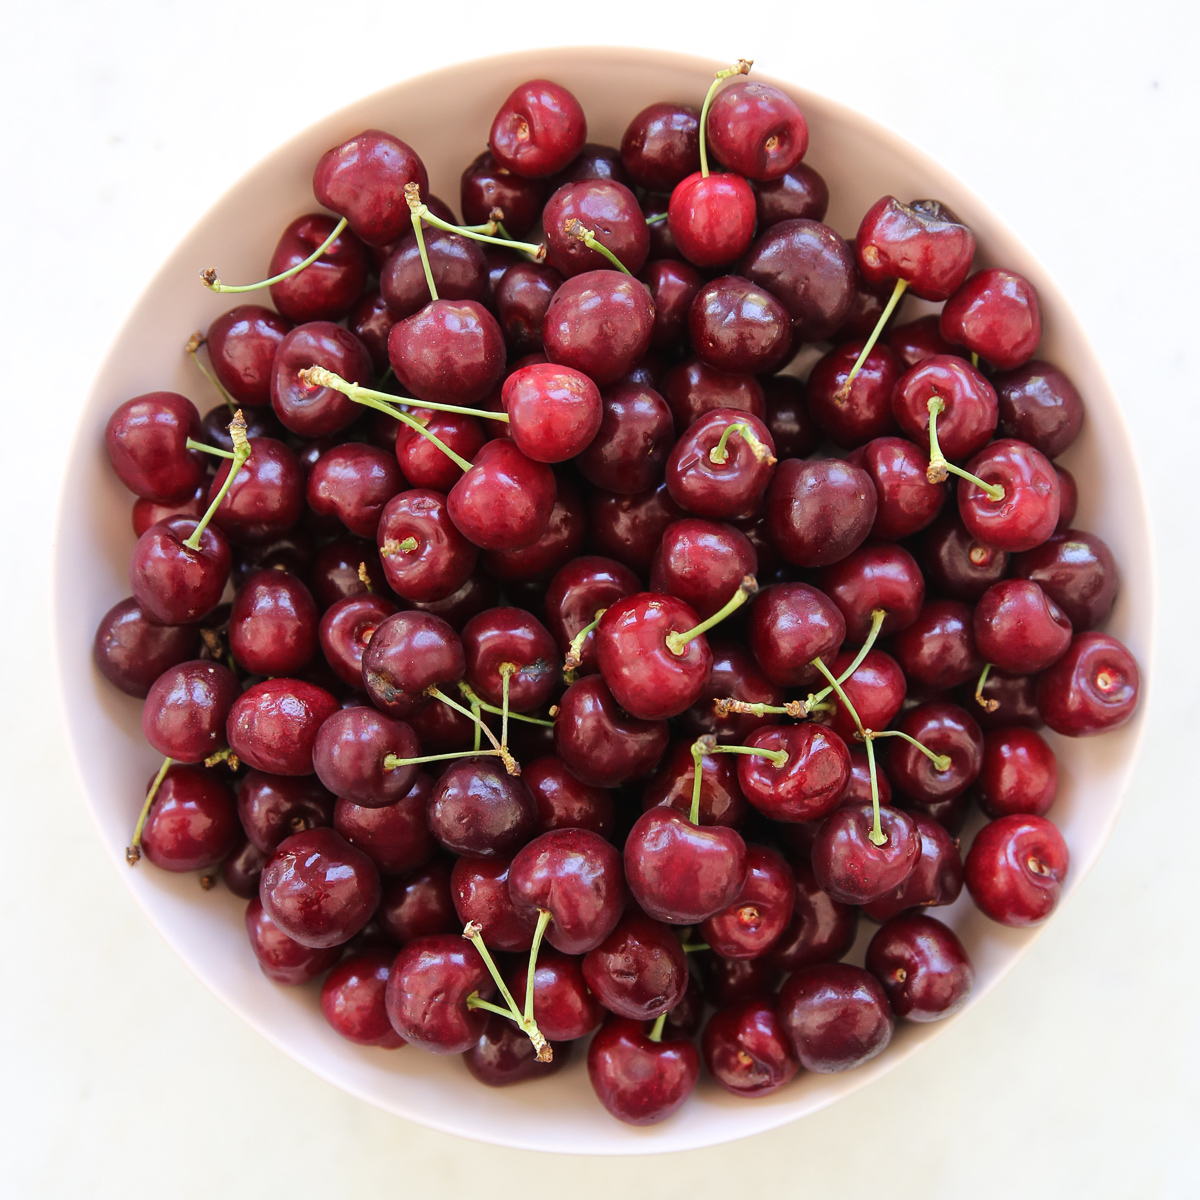
- Fruit of choice – Prepared (peeled, pitted, diced, etc.). Try it with apples, peaches, pears, blueberries, raspberries, cherries…you name it!
- Granulated sugar
- All-purpose flour
- Butter
- Optional add ins – Almond extract for a cherry pie or a squeeze of lemon juice and a sprinkle of cinnamon for apple, pear, or blueberry pies.


How to Make a Galette
Step 1: Prepare the Pastry Crust
See Recipe Tips section below for alternative crust options.
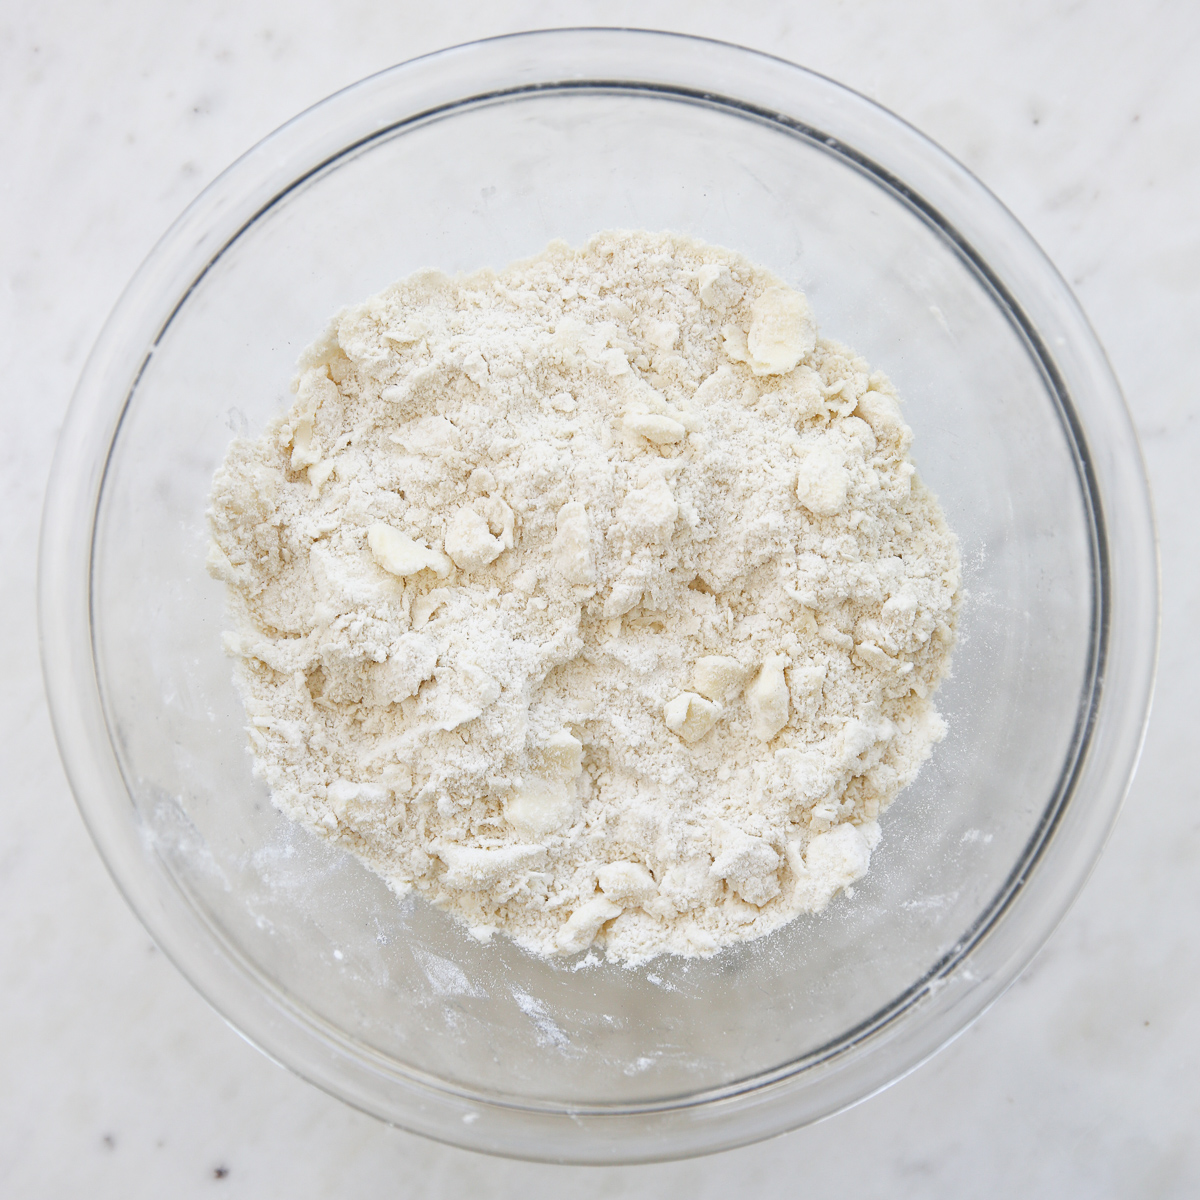
- Measure flour and salt into a bowl. Cut cold butter (straight from fridge) into small chunks and throw on top of the flour.
- Cut the butter into the flour until butter is in small crumbly pieces. It’s okay to use clean hands here and crumble the butter up by squishing it into the flour. You do want to leave chunks of visible butter, like in my photos below.
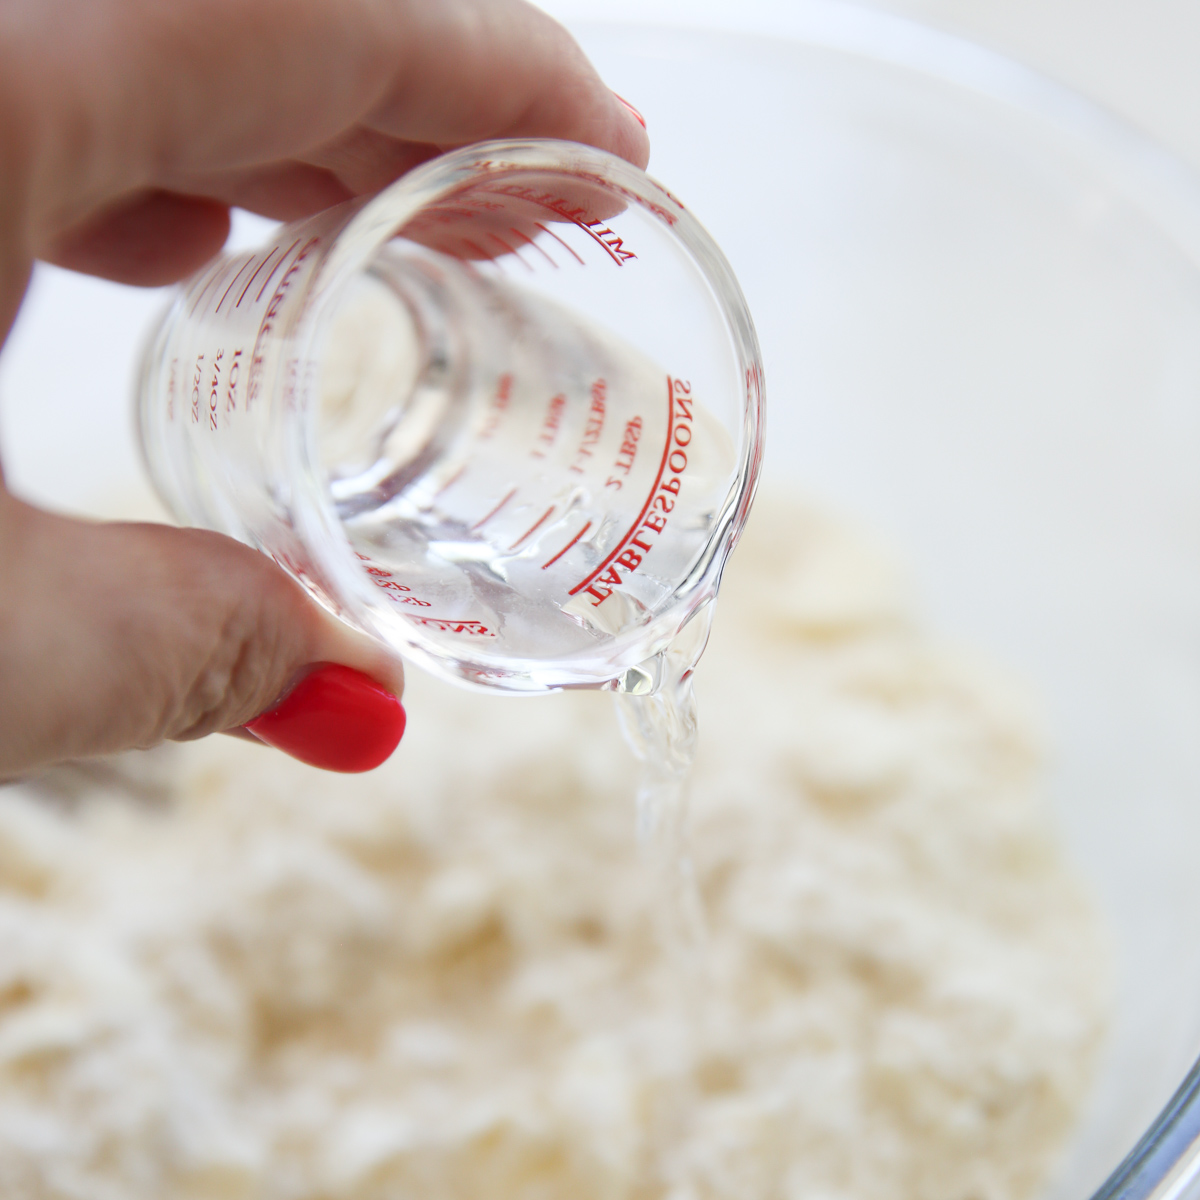
- Add ice water a tablespoon at a time while stirring dough mixture with a fork. It should look crumbly and shaggy, it should not turn into a wet cohesive dough with the fork.
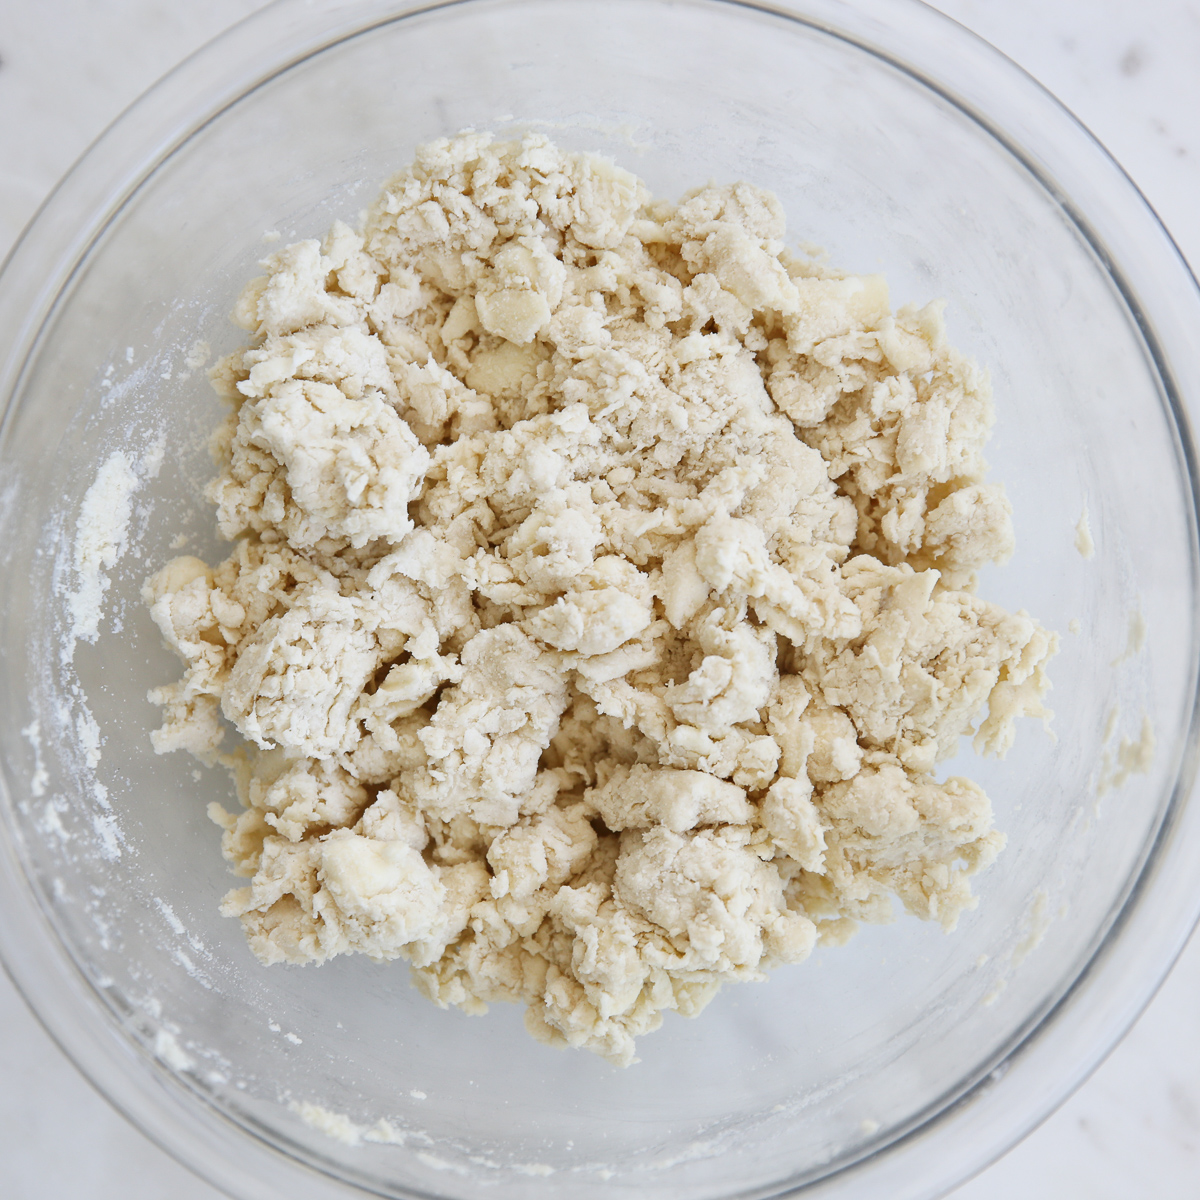
- Use your hands to bring it all together. It should form a ball as you press it together with your hands- that’s how you know there’s enough water.
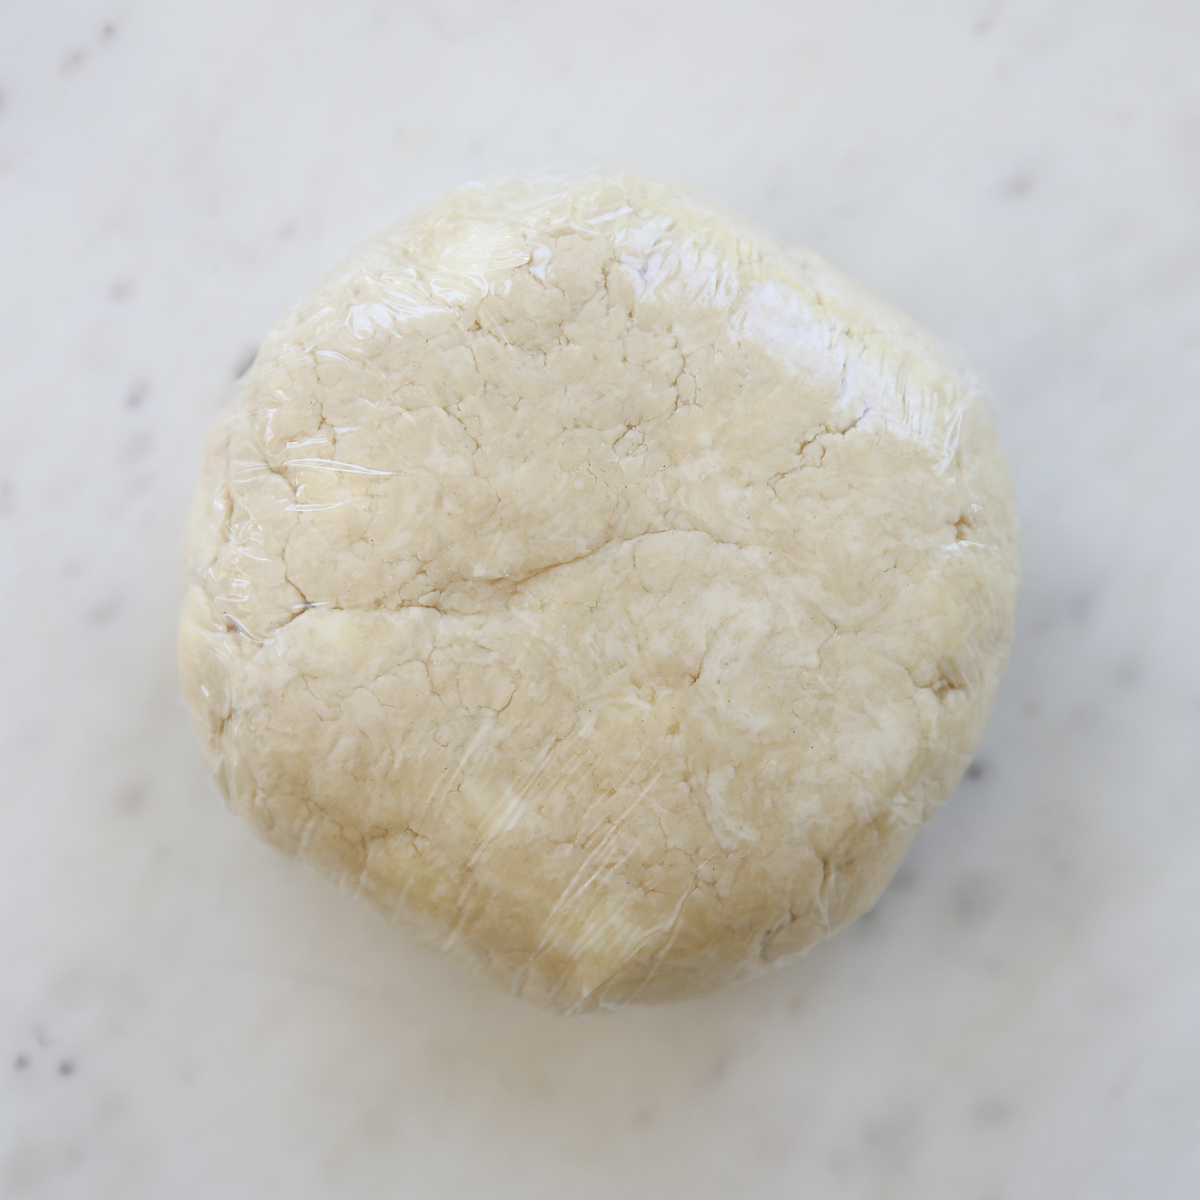
- You’re done! See? Less than 5 minutes. Pat it into a disk shape, wrap in plastic, and place in fridge. It’s very important that your dough is cold!
Step 2: Prepare Fruit Filling
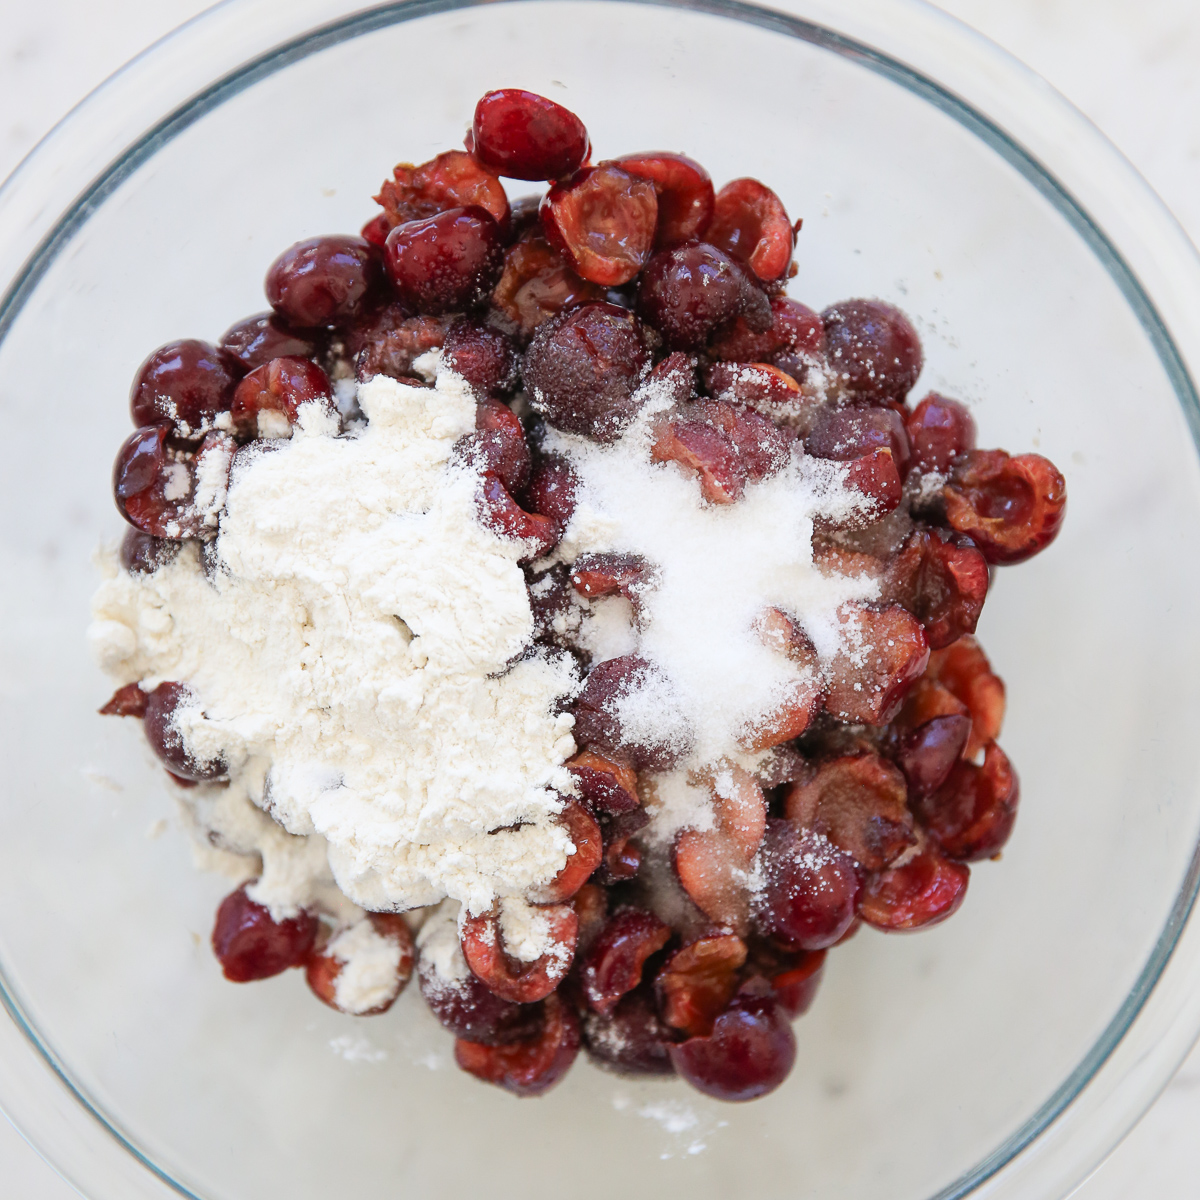
- Now pick a fruit. I’m using cherries, here. Sprinkle with some flour to help thicken the juices as it cooks, and some sugar to enhance the sweetness of the fruit. You are welcome to adjust the amount of sugar depending on the sweetness of your fruit, but sugar does add for flavor, and some thickness to the syrup. At this point you can also add any additional spices or extracts. I love adding a little almond extract to anything with berries or stonefruit, and things like cinnamon and cloves are delicious on apples.
- Stir it all up.
Step 3: Assembly
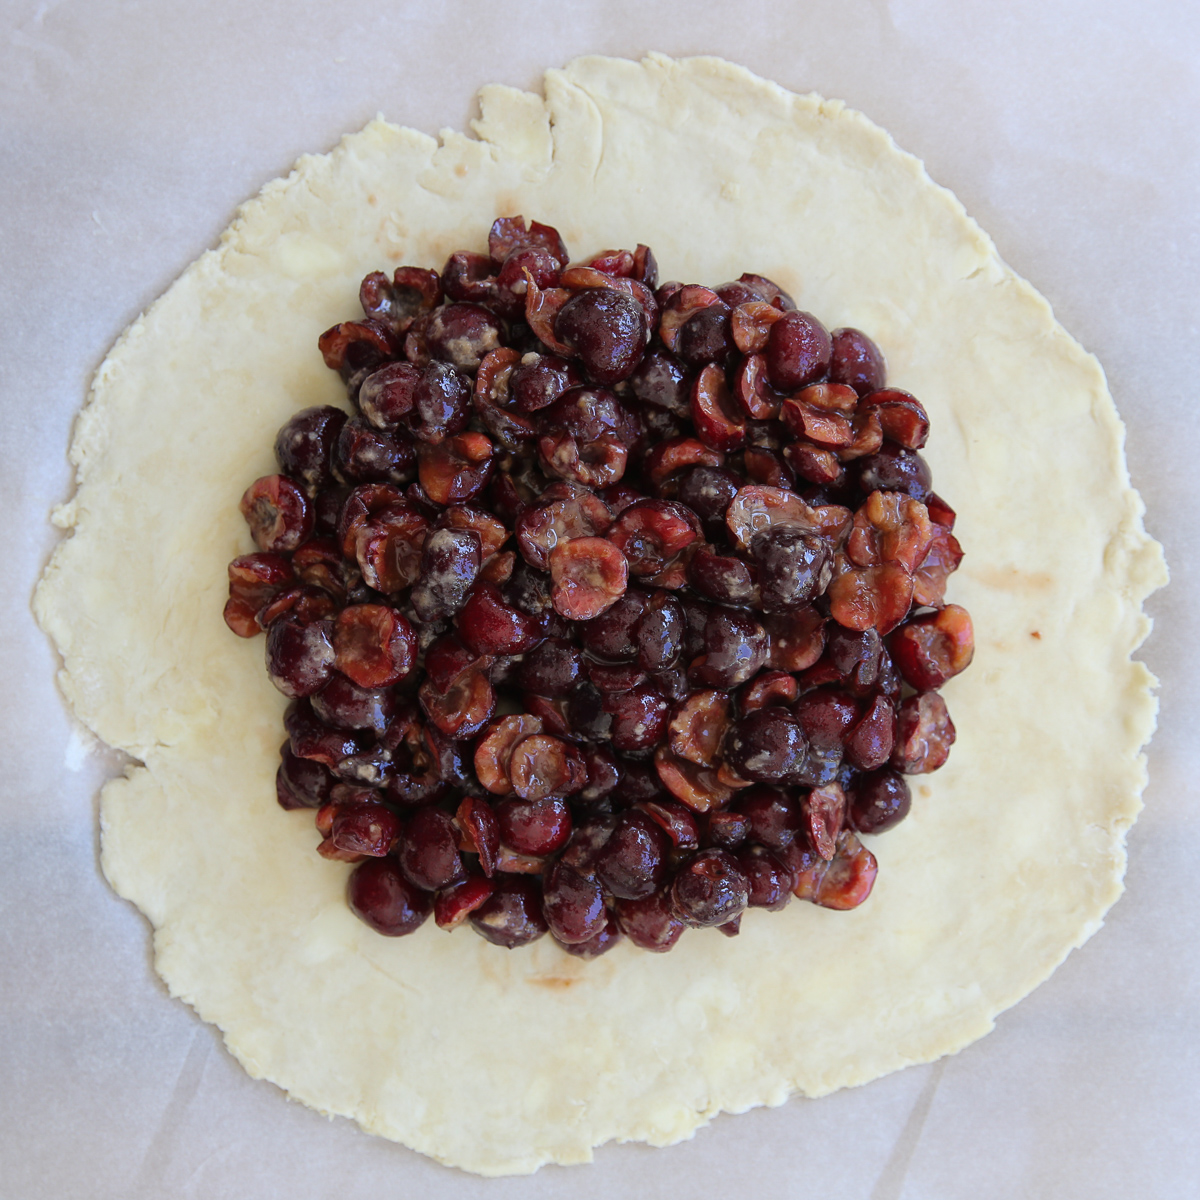
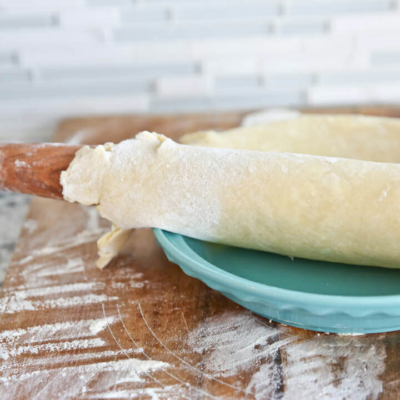
- Roll out your pastry dough on a lightly floured surface. You want it to be at least 12″ in diameter. TIP: I prepare my galette directly on a piece of parchment so I can just pick it up easily and place it on my baking sheet after.
- Use a paring knife or pizza cutter to trim edges if you need to so you have a circular shape, but don’t worry about it being perfect- that’s the beauty of a galette– it’s supposed to be messy looking!
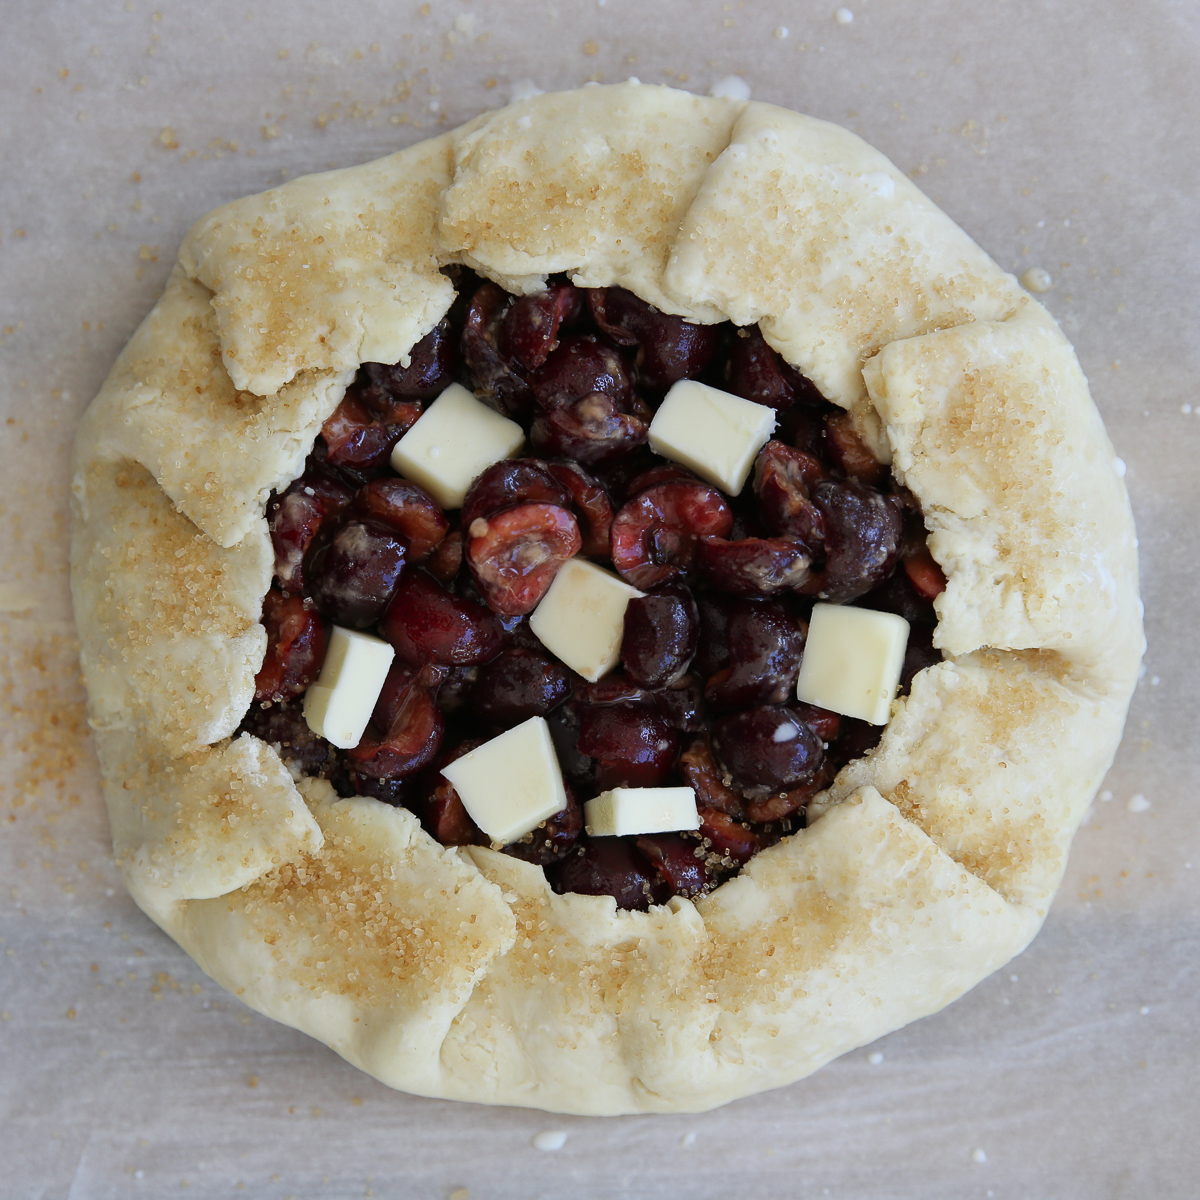
- Dump your fruit mixture piled up right in the middle, leaving at least 2 inches of dough border.
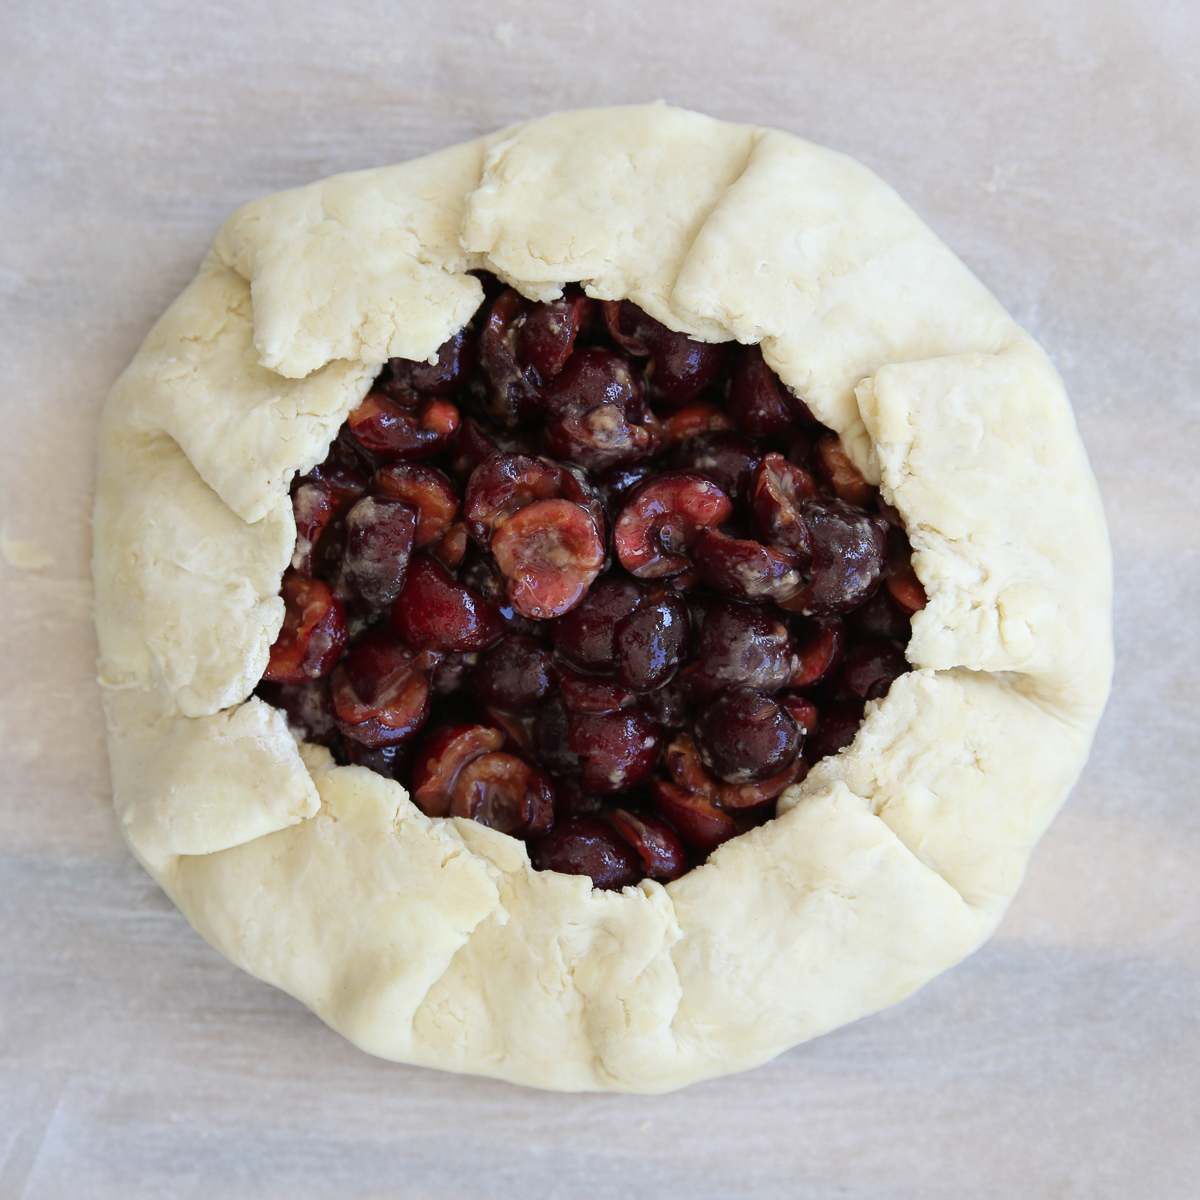
- Now take the edges of the dough and pull them up, pleating as you go.
- Dip your fingers in some water and moisten in between the pleats to seal them a little better. When it’s all wrapped up, press lightly with your fingers all around it. Optionally you can brush the dough with a little cream or milk and sprinkle with coarse sugar, which creates a lovely sweet caramelized edge after baking.
Step 4: Bake and Enjoy!
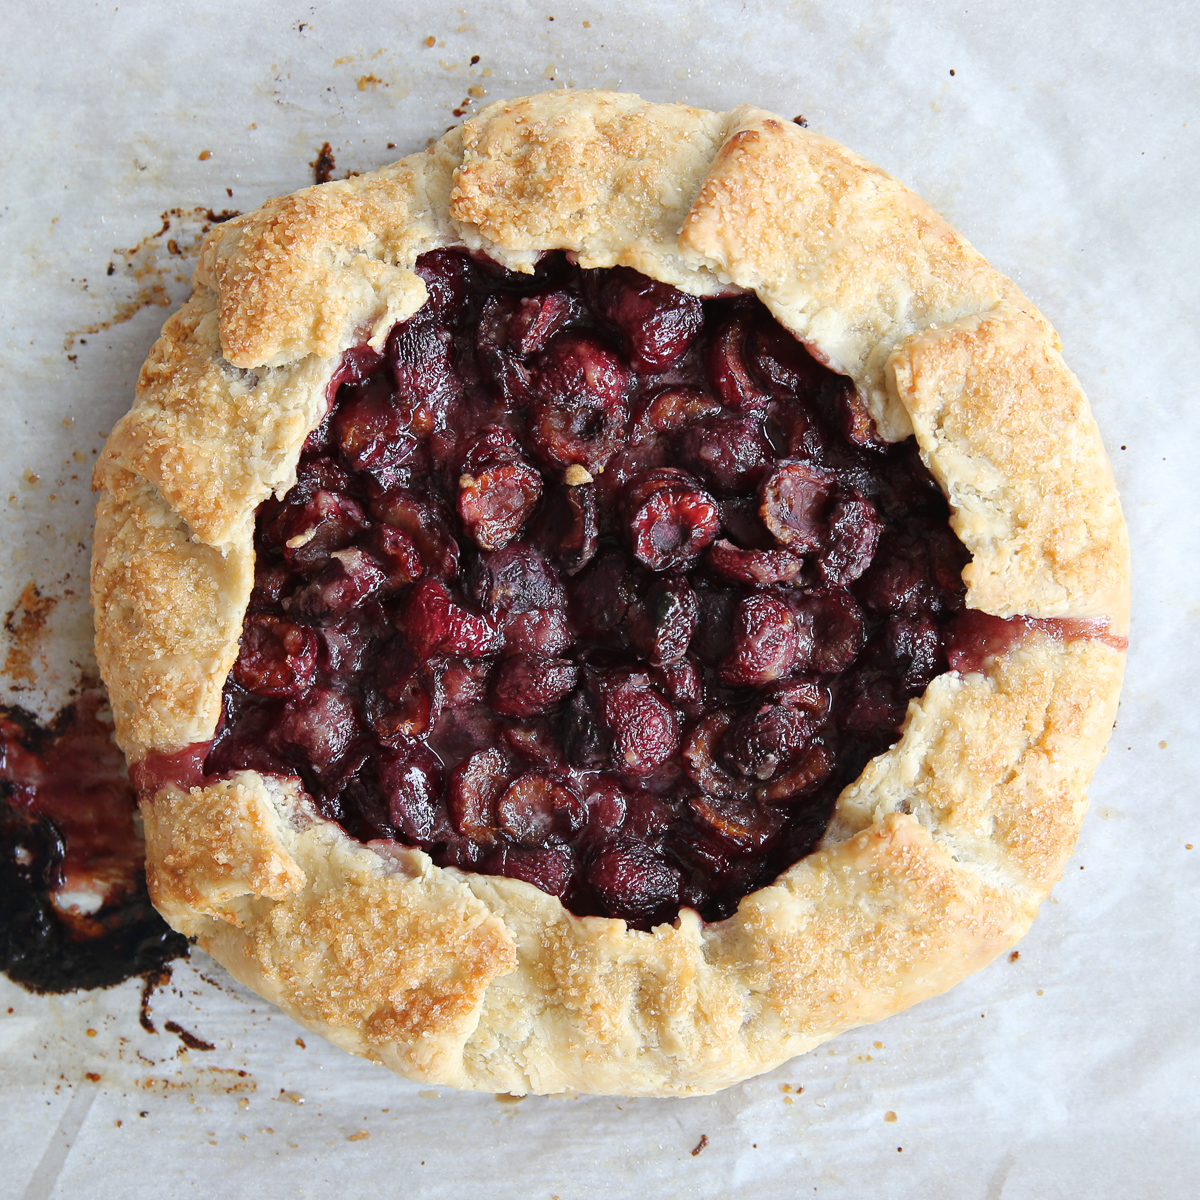
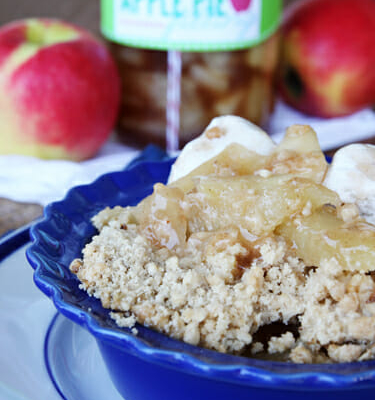
- Place in the oven for 50-60 minutes. The fruit should be bubbling and the crust golden brown. It’s okay if some bubbles out over the edge- it’s actually kind of a hallmark trait of a gallette! When finished remove from oven and place pan a cooling rack. Cool for about 10-15 minutes before serving.
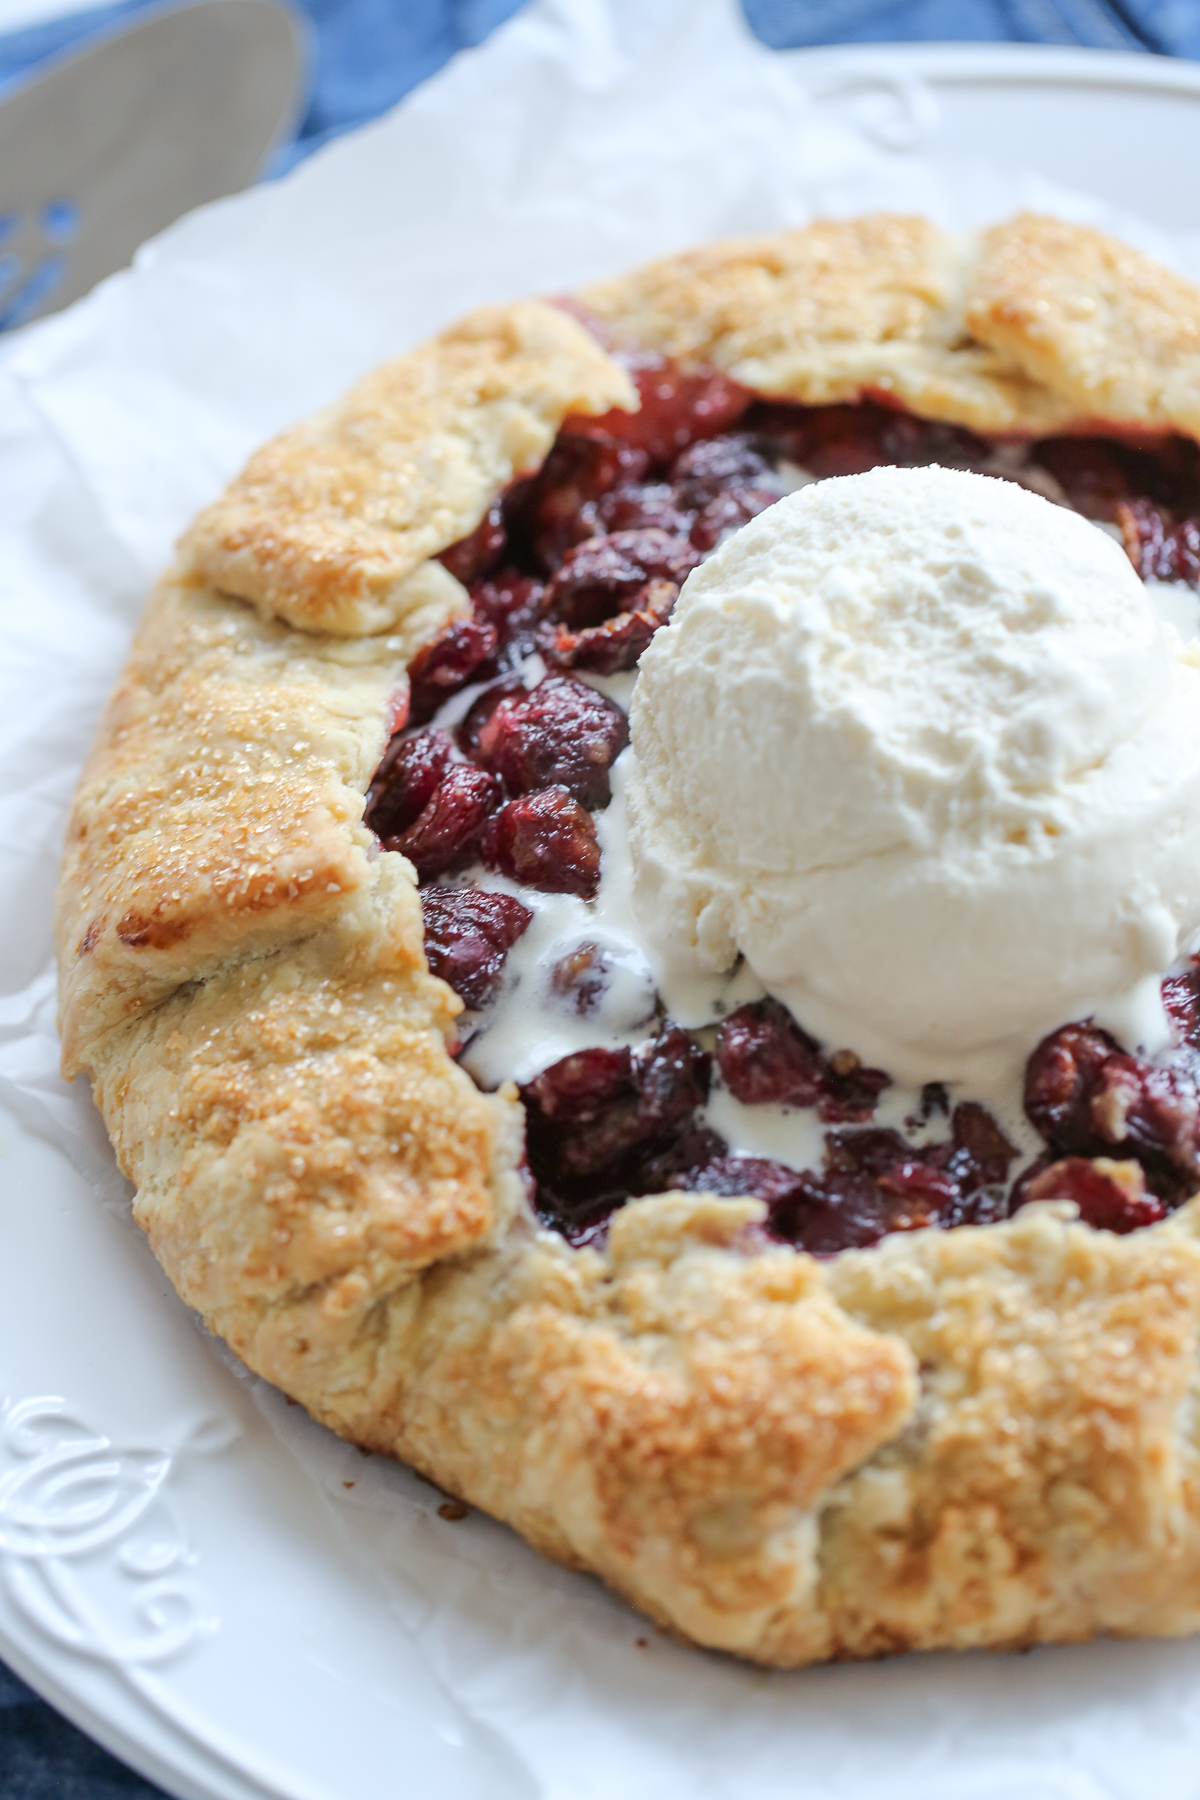
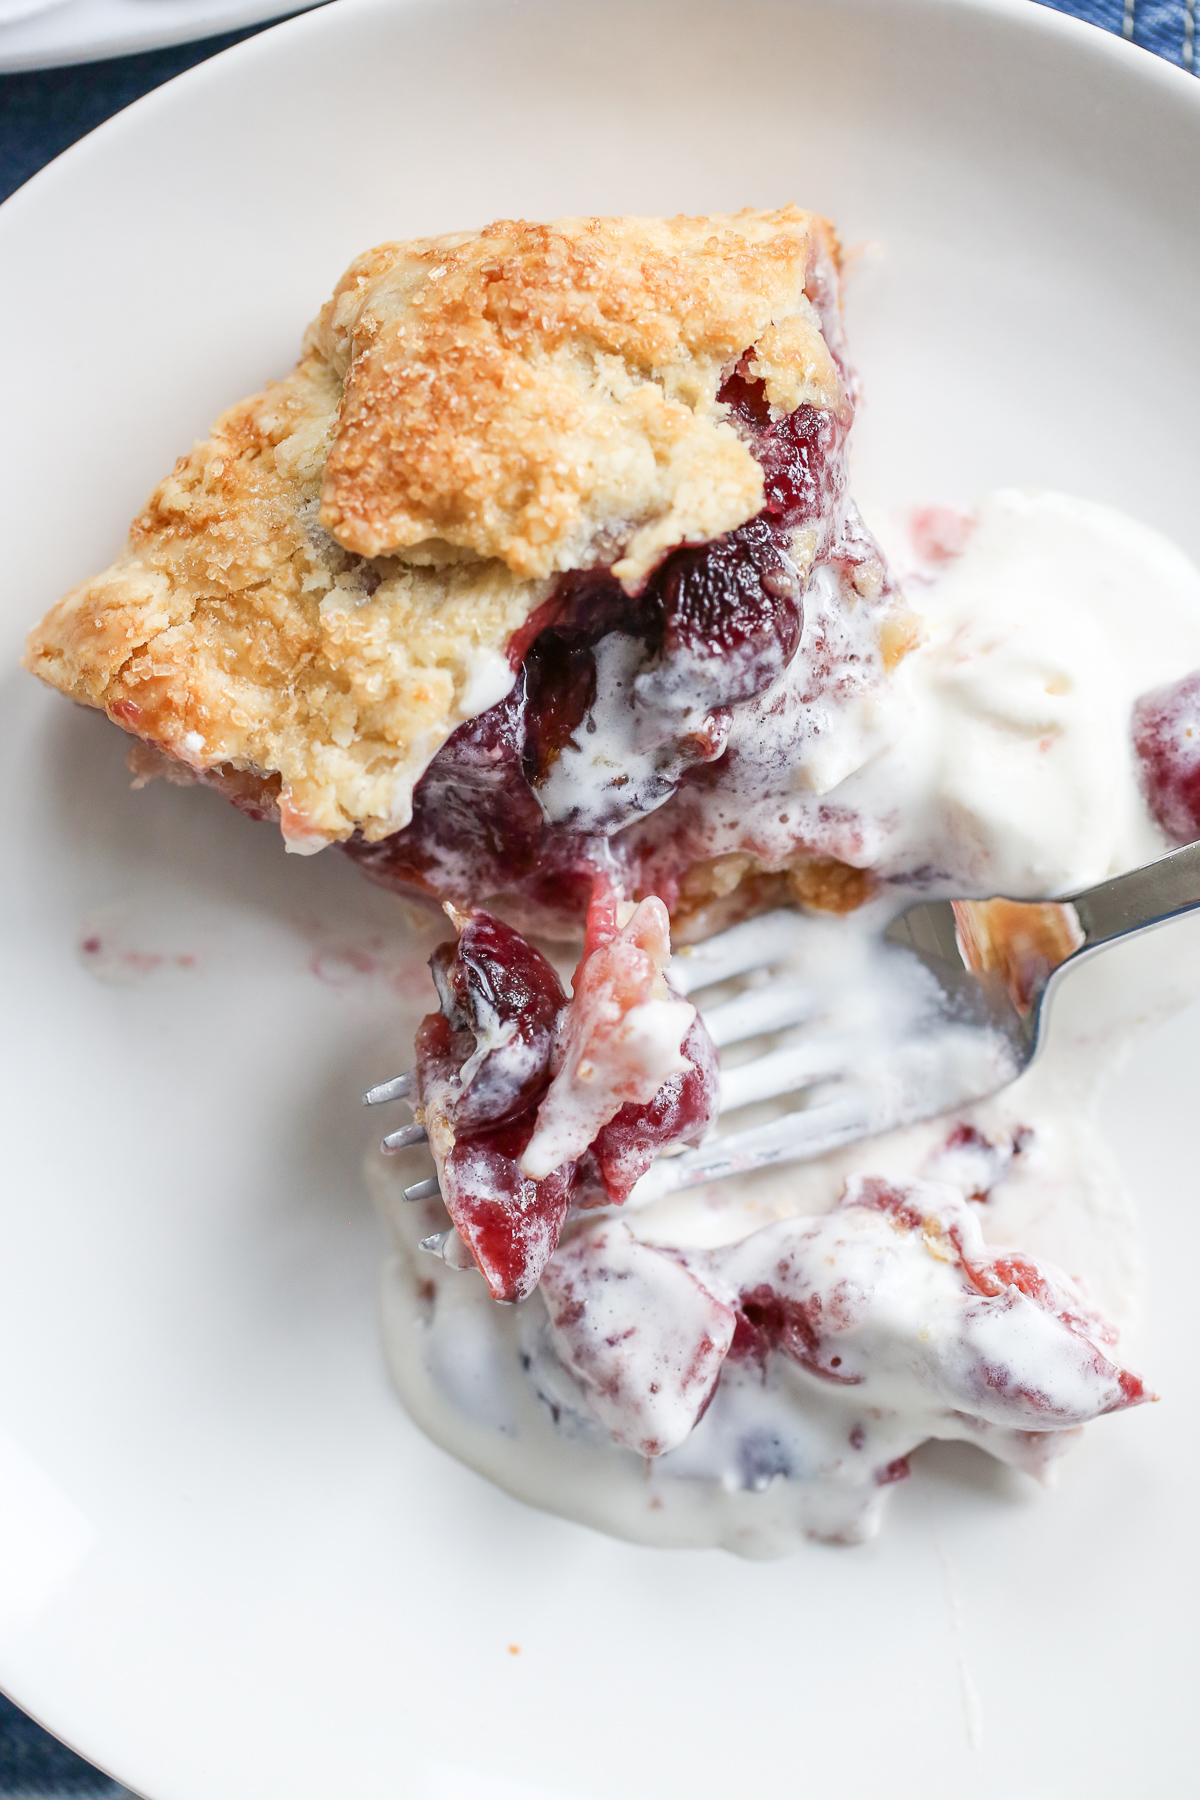
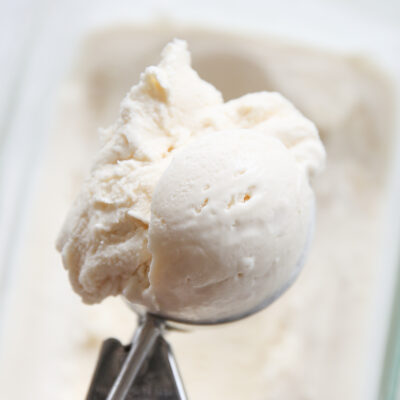
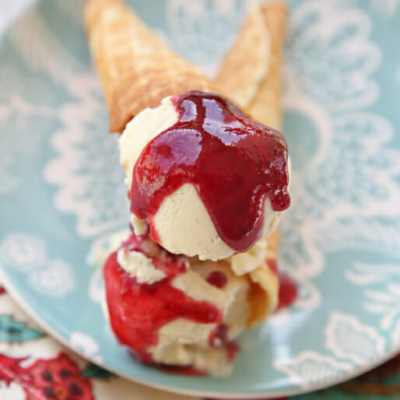
- Cut into wedges and definitely serve with a big scoop of ice cream on top!
Storing and Other Tips
- Store leftovers, tightly covered, in the refrigerator and enjoy within 3-4 days for best results.
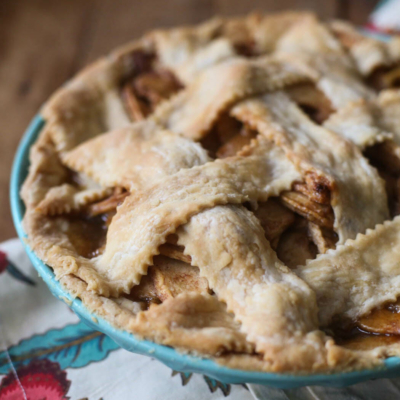
- If you’d like some other crust options, check out this Shortening Crust, this Cornmeal Crust, or this Pastry Style Pie Crust. All of them will work beautifully here.
- You can make the crust ahead of time and keep in the fridge (or freeze up to 3 months) until you’re ready to use it.
Frequently Asked Questions
Sure! Here are some fruits that pair especially well together: peach and blueberry, plum and blackberry, apricot and raspberry.
Yes, this will work with a store-bought crust if you have one you need to use up. If given a choice, however, I 100% recommend homemade. It comes together so quickly and will look and taste much better!
Yep! Prep your pastry dough up to 48 hours ahead of time. Wrap tightly and store in the refrigerator until you’re ready to roll it out to assemble and bake. Alternately, you could prepare the entire galette ahead of time and reheat in the oven at 350°F. Place the refrigerated pie on a parchment-lined baking sheet and cover loosely with foil. Heat for 15-20 minutes. Keep an eye on it. The crust should crisp up and the filling should be warmed through. Remove the foil in the last 5-10 minutes for more crispy crust edges.
Readers report great luck with canned peaches! Just be sure to drain them well. You can also use canned fruit filling if you’d like. Frozen fruit will work, just let it sit out for 15-30 minutes to thaw before mixing with sugar and assembling your galette.
Galette (Panless Pie: Any Flavor!)
Ingredients
All Butter Pastry Crust
- 2 cups all-purpose flour
- 11 tablespoons butter
- ¼ teaspoon salt
- 4-5 tablespoons ice water
Fruit Filling
- 4 cups prepared fruit peeled, pitted, diced, etc
- ½ cup granulated sugar feel free to use a little less depending on the sweetness of your fruit
- 3 tablespoons all-purpose flour
- 2 tablespoons butter for dotting on top
- ½ teaspoon extract of choice optional, almond is a delicious addition to most fruits
Optional Ingredients
- squeeze of lemon juice and/or sprinkle of cinnamon optional, these are great additions to apple or pear pies
- a little milk or cream to brush over finished crust
- 2 tablespoons coarse sugar for sprinkling over finished crust
Instructions
All Butter Pastry Crust
- Measure flour and salt into a bowl. Cut cold butter (straight from fridge) into small chunks and throw on top of the flour.
- Cut the butter into the flour. Until butter is in small pieces but still clearly visible.
- Add ice water a tablespoon at a time while stirring dough mixture with a fork.
- Use hands to bring it all together and pat into a ball. Wrap in plastic and put it in the fridge until ready to use. It's best if it can chill for a minimum of 30 minutes, but at the very least, chill while you prep your fruit.
Fruit Filling and Assembly
- Preheat oven to 375℉.
- Prepare your fruit of choice and add sugar to taste, up to ½ cup, as well as any optional extracts or spices you desire. Sprinkle flour in evenly and stir it all up.
- Place a piece of parchment paper that's large enough to cover your baking sheet on your work surface. Lightly dust your parchment and place pie dough down. Lightly dust the top as well. Roll out in a circle (it's okay to have rough edges!) You want it to be at least 12″ in diameter. Use a paring knife or pizza cutter to trim edges if you need to so you have a circular shape, but don’t worry about it being perfect- that’s the beauty of a galette– it’s supposed to be messy looking!
- Pick up parchment and place on a baking sheet.
- Dump your fruit mixture right in the middle of your pie dough.
- Take the edges of the dough and pull them up, folding over the fruit by aout 2 inches, pleating as you go.
- Dip your fingers in some water and moisten in between the pleats to seal them a little better. When it’s all wrapped up, press lightly with your fingers all around it. Cut your 2 tablespoons butter in small pieces and dot the fruit.
- Brush the folded over edges of the dough with a little milk and sprinkle with coarse sugar, if desired.
- Place in the oven for 50-60 minutes. The fruit should be bubbling and the crust golden brown. When finished remove from oven and place pan a cooling rack.
- Cool for about 15-20 minutes before serving. This helps the fruit to set up. Cut into wedges and definitely serve with a big scoop of ice cream on top!
Notes
- Store leftovers, tightly covered, in the refrigerator and enjoy within 3-4 days for best results.
- If you’d like some other crust options, check out this Shortening Crust, this Cornmeal Crust, or this Pastry Style Pie Crust. All of them will work beautifully here.
- Note that the crust recipe is quite generous. It gives you a little wiggle room to really get your galette the size you want. You can likely make one large galette and one small on with the crust recipe as written, or 4-6 mini galettes.
You can make the crust ahead of time and keep in the fridge until you’re ready to use it. - Nutritional information was calculated using cherries and 1/4 cup sugar. 1 slice is 1/8th of the recipe.


Questions & Reviews
I made this the other night and it was a hit!!! I had people tell me this was the best dessert they have had in a long time…. Thanks for the recipe!! And p.s.- You have a wonderful site!!!
Lisa, frozen fruit should work just fine. I would probably let the fruit stand for 15-30 minutes before hand so it's partially thawed. That way the sugar and flour has something to combine with. You'll get a better result if some of the juices can mix with that stuff first. Blackberries sound delicious right now- enjoy!
I'd like to make this using frozen blackberries…is there anything I need to know when using frozen fruit in this recipe or do I do everything just as instructed?
Just learned the BEST tip and tried it and it worked beautifully!!! Freeze the butter and then shred it (using the largest holes) into the flour….makes the ever daunting task of cutting in soooo much easier!!!! All I had to do was stir! WOW.
Made this yummy treat tonight after my son defrosted the berries on his face! It was part of our breakfast dinner. Everyone loved it!!!
What I love about galette's is that I can never make a pretty pie crust. It doesn't have to be pretty in this form!
Looks gorgeous – well done 🙂
I'm a dessert girl for sure and this is one of my favorite posts you have done… so unique and different, sure to get wow's and impress at my next family or neighborhood event. I think I'll make it tomorrow (or have my mom make it since she's in town and has taken over my job.
yum, yum, yum! I hope to make a peach one this weekend after grandma takes the kids peach picking!
Make sure you sprinkle the crust with turbinado sugar (sugar in the raw) — it makes all the difference!
Pie, oh pie. Freeform or pan formed it puts me in my happy place. As for faves I'm gonna have to go with wild Washington Huckleberry (the tiny red berries) and tart cherry with a bit of almond extract. Doesn't get much better than this.