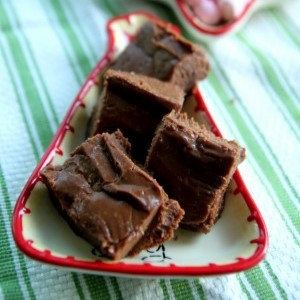
If you’re looking for a festive, fun, and downright delicious way to serve hot chocolate, this recipe has your name written all over it. These Hot Chocolate on a Stick squares are rich, creamy blocks of chocolatey goodness that melt into a perfect cup of hot cocoa when stirred into warm milk. They’re super simple to make, easy to customize with your favorite toppings or flavors, and they double as the cutest edible gifts. Whether you’re setting up a hot cocoa bar or adding a little holiday magic to your kitchen, these treats are a guaranteed hit.

Ingredients Needed
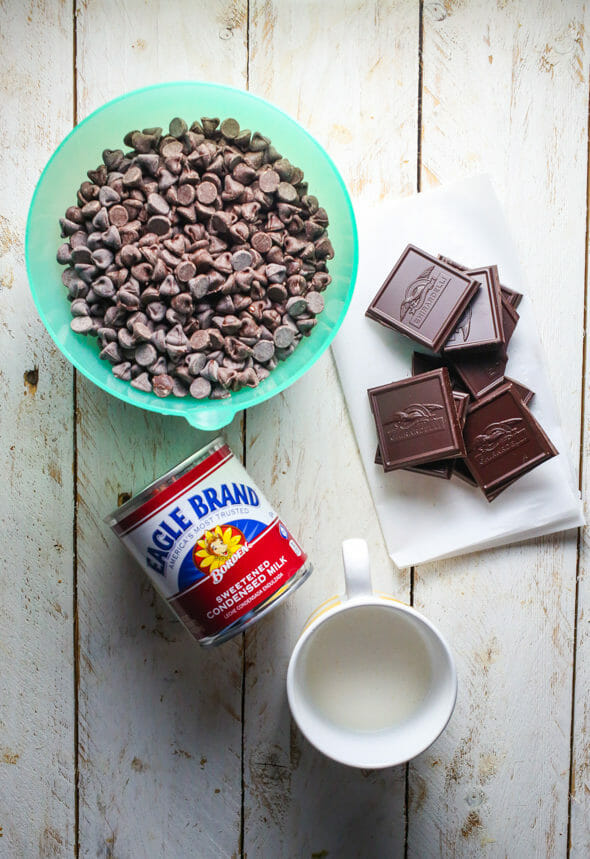
- heavy whipping cream
- sweetened condensed milk
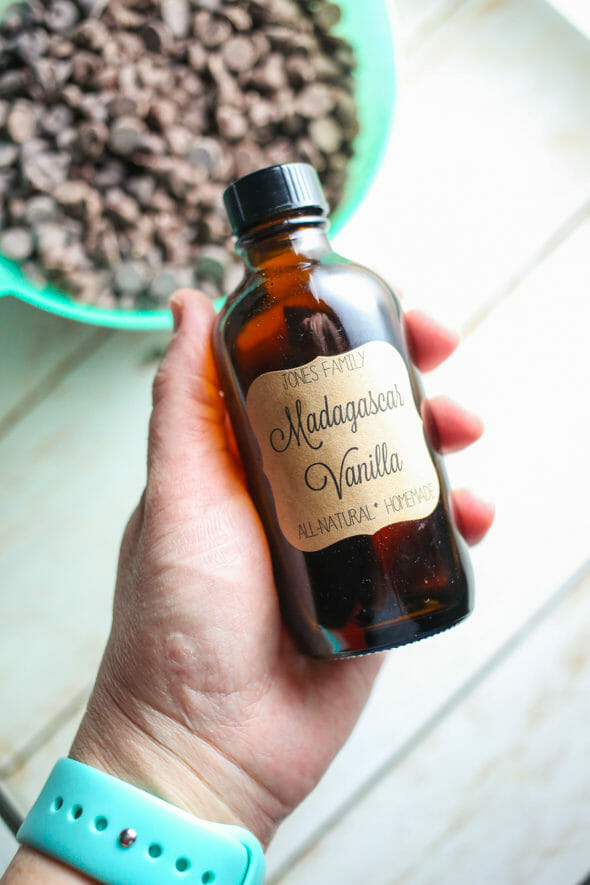
- vanilla
- unsweetened baking chocolate
- semisweet chocolate chips
- milk chocolate chips
- kitchen scale – this is very, very important. We highly recommend using a scale to measure out the chocolate instead of using measuring cups.

How to Make Hot Chocolate on a Stick
This is a simple overview of the recipe, you’ll find a full printable recipe below!
- Line an 8″ pan with parchment paper; set aside.
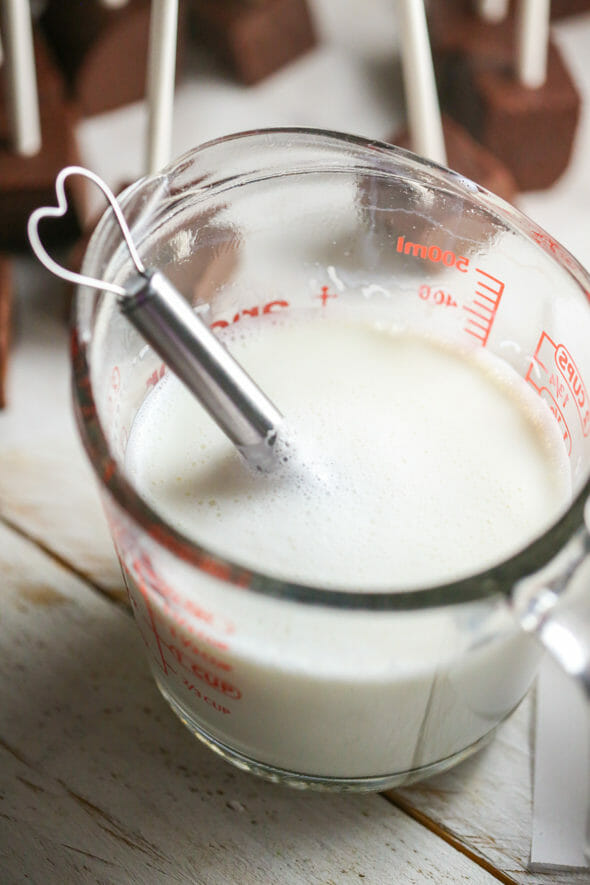
- In a saucepan, heat cream, sweetened condensed milk, and vanilla over low until steaming.
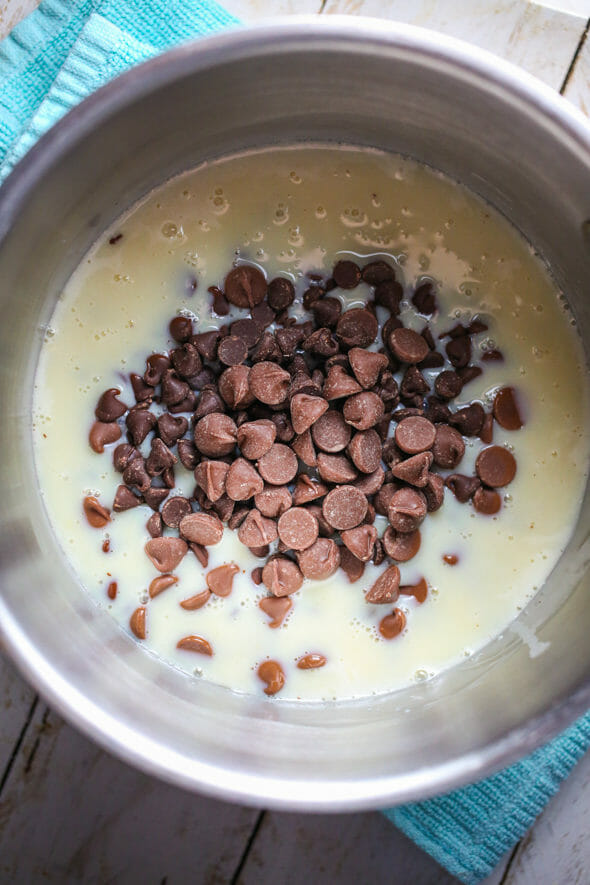
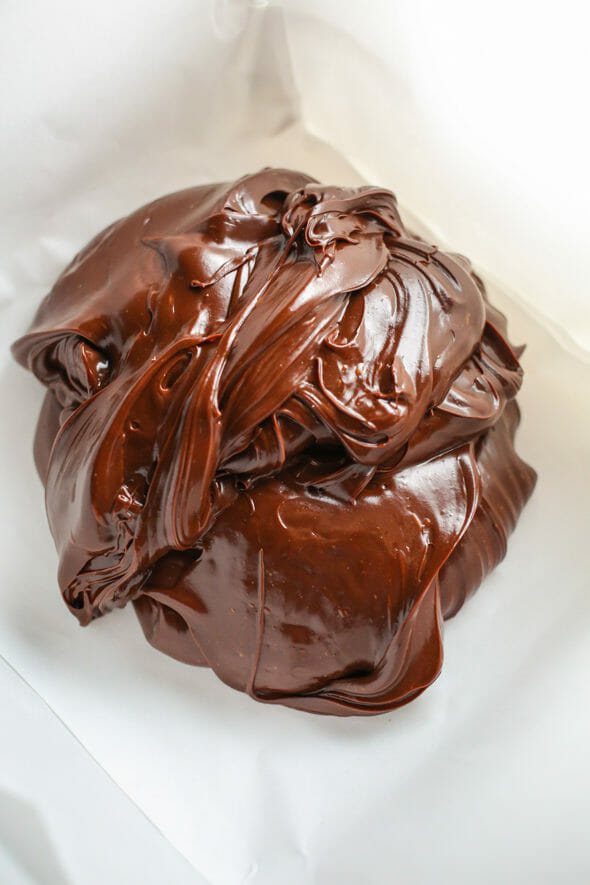
- Remove from heat, add chocolate, stir, and let sit for 10 minutes.
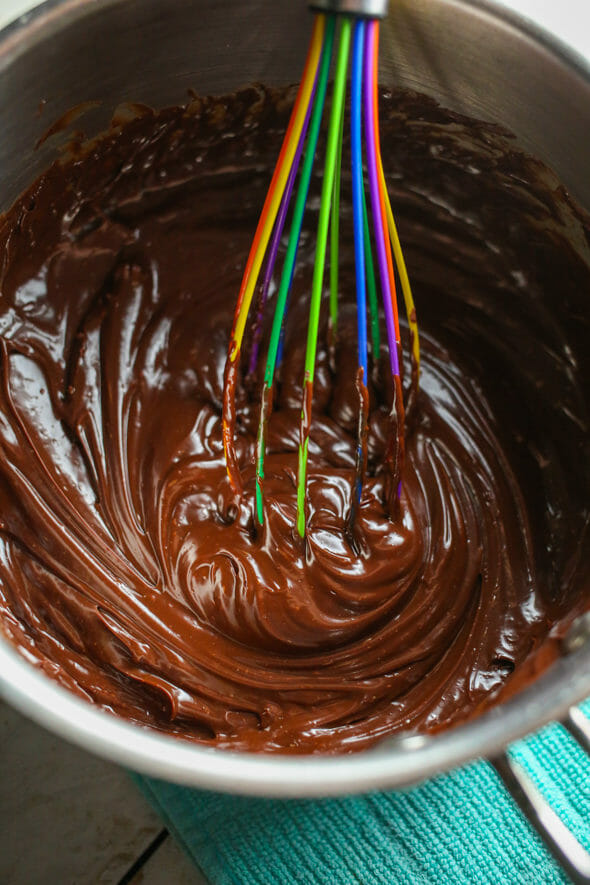
- Whisk until smooth and shiny; pour into pan and smooth the top. Cover and refrigerate overnight.
- Once chilled, remove from pan and cut into 36 cubes using a warm knife.
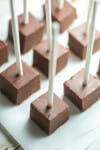
- Insert sticks or spoons into each cube.
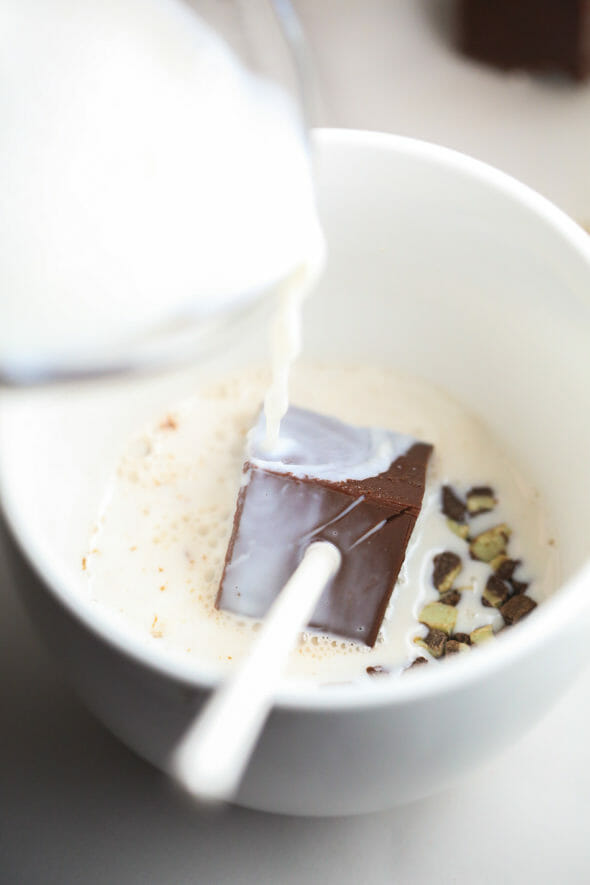
- To serve, stir into 8–10 oz hot milk. Optional: add peppermint, mints, caramel, marshmallows, or toffee.
How to Serve Hot Chocolate on a Stick
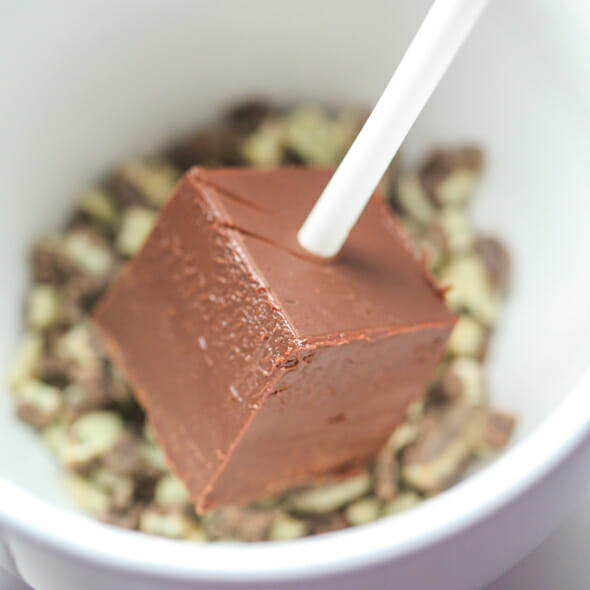
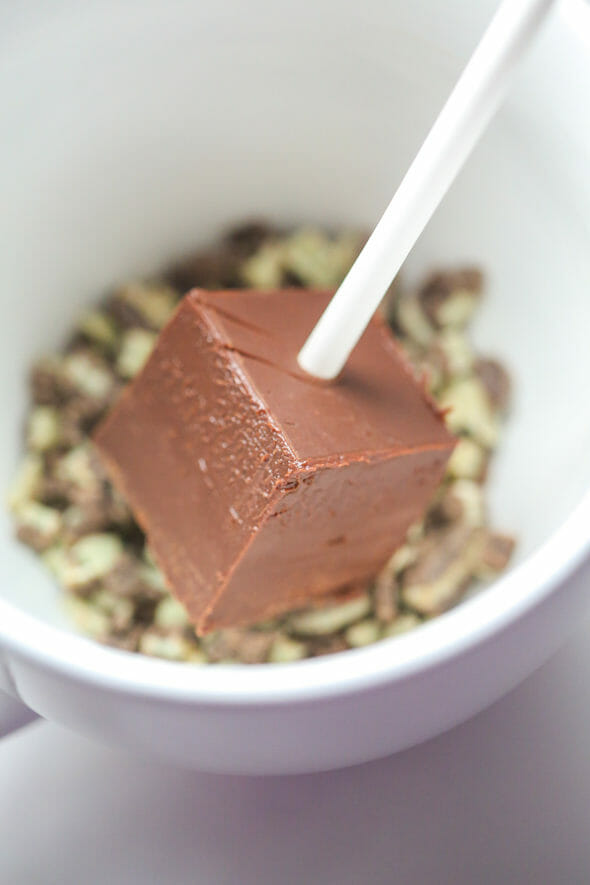
- To serve, heat 8-10 ounces of hot milk, and pour it over the chocolate cube.
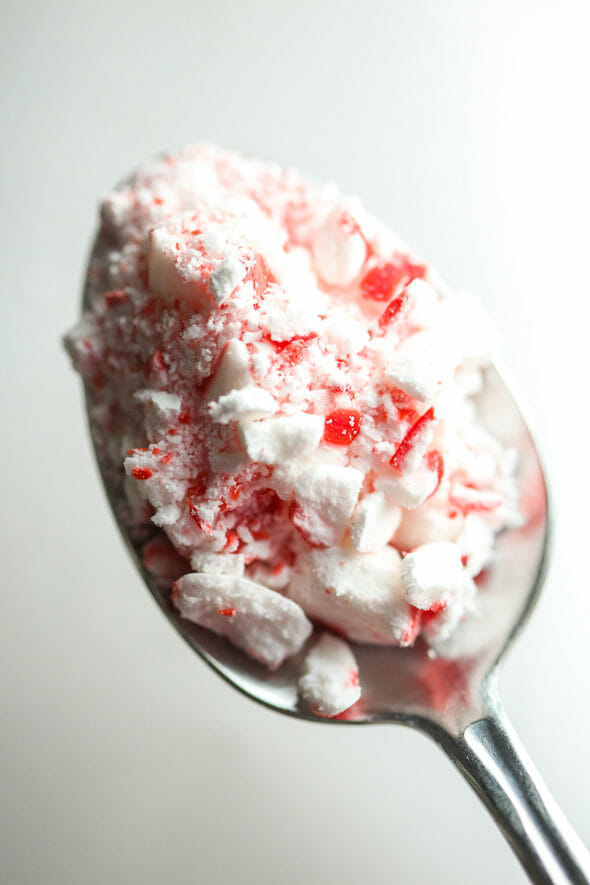
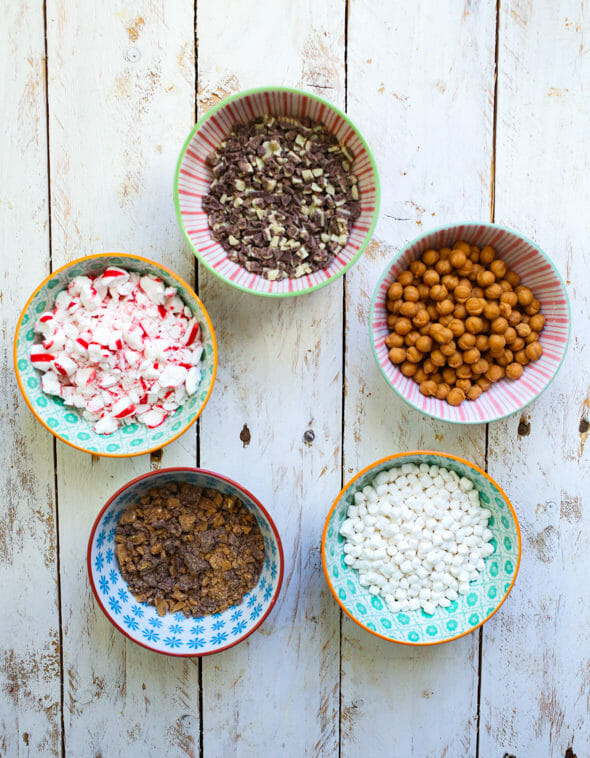
- You can add in crushed peppermint candies, chocolate covered mint candy pieces (like Andes mints, which are pictured), caramel drops, marshmallows, or crushed toffee pieces.
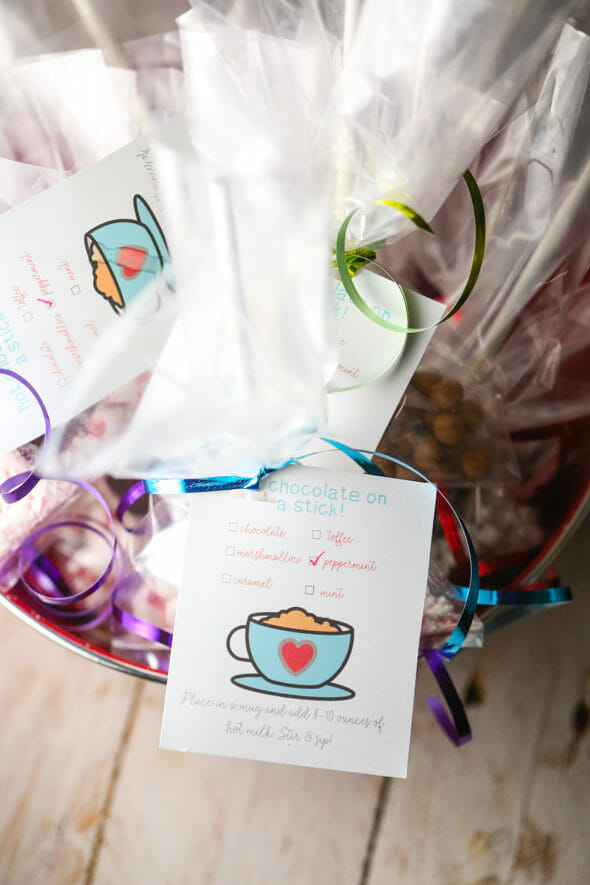
- To give as gifts, add 1-2 spoonfuls of whatever add-ins you want to the bottom of a cellophane bag. Add the hot chocolate on a stick and tie with a ribbon. Personalized tags are easy to create on Canva!
Storage & Other Tips
- Room Temperature (2–3 weeks): Store sticks in an airtight container in a cool, dry, dark place—ideal for preserving the chocolate and preventing bloom or moisture issues.
- Refrigeration (up to 2 weeks): Chill in a sealed container or individually wrapped to maintain shape and prevent melting. I put mine in a zip-top bag and kept them in the fridge for a few weeks during the holidays, and they held up great.
- Freezing (up to 1 month): Freeze unwrapped or wrapped sticks in airtight packaging; thaw in the fridge before gifting or serving.
- Important Tips:
- weigh all ingredients with a kitchen scale.
- I recommend making these similar to how you would make ganache, as you want to make sure the chocolate doesn’t burn or melt too quickly. Once the milk and cream are steaming, putting the chocolate in a glass/heat safe bowl and pour the milk over the chocolate. Let it sit for a few minutes to melt, then whisk to combine.
- Make sure your milk doesn’t boil, it should just get to the point where it is steaming.
Frequently Asked Questions
Yes, chilling allows the mixture to fully set so it can be sliced cleanly. If you’re short on time, 4–6 hours in the fridge may work, but overnight is best.
Lollipop sticks, wooden spoons, or even candy canes work great! Just make sure they’re food-safe and sturdy enough to hold the cube.
Stored in an airtight container in a cool, dry place, they’ll last 2–3 weeks. You can refrigerate or freeze for longer storage (see storage tips).
Whole milk makes the creamiest cocoa, but any milk (including almond, oat, or soy) will work. Just avoid water—it dilutes the richness.
Yes—just use a larger pan and keep the thickness similar for consistent results.
Hot Chocolate on a Stick
Equipment
Ingredients
- ½ cup heavy whipping cream
- 1 14-ounce can sweetened condensed milk
- 1 teaspoon vanilla
- 4 ounces unsweetened baking chocolate weighed
- 14 ounces semisweet chocolate chips weighed
- 4 ounces milk chocolate chips weighed
Instructions
- Line an 8″ pan with parchment paper and set aside.
- Combine all chocolate in a glass or heat-safe bowl. Set aside.
- In a medium saucepan, combine the whipping cream, sweetened condensed milk, and the vanilla. Heat over low heat, stirring frequently, until the milk is steaming. Do not allow milk to boil.
- When milk is steaming, remove from heat and pour on top of prepared chocolate. Allow to stand for 10 minutes. Do not stir.
- After 10 minutes, whisk the mixture until it is smooth and shiny. Transfer the chocolate mixture into the prepared pan and smooth the top as much as possible. Cover the pan and refrigerate overnight.
- After the chocolate has chilled, invert the pan and transfer the chocolate onto a clean surface. Using a sharp knife, lightly make 6 score marks 1 ½" apart in one direction and then repeat in the opposite direction. Run the knife under hot water, wipe dry, then cut straight down along one of the lines. Run the knife under hot water, wipe, cut, and repeat until you have 36 blocks that are more or less the same size.
- Insert a large lollipop stick, wooden apple/candy stick, or even disposable wooden spoons into the middle of each chocolate cube.
- To serve, melt the chocolate cube in 8-10 ounces of hot milk. You can add in crushed peppermint candies, chocolate covered mint candy pieces (like Andes mints), caramel drops, marshmallows, or crushed toffee pieces.
Notes
- To give as gifts, add 1-2 spoonfuls of the add-ins to the bottom of a cellophane bag. Add a hot chocolate on a stick, then tie with a ribbon.


Questions & Reviews
I made these for Christmas break for my kiddos. They turned out great! My kids loved the flavor and are going to have a hard time going back to hot chocolate powder! Definitely a keeper for special occasions.
This is perfect! I bought a few of these at a gourmet food place last month so I could figure out how to make them (they were selling them for over $3 each!). Some of them were milk and dark chocolate. Some were white chocolate and some were caramel chocolate. Before I could get to them, my husband ATE them! He didn’t even pay attention to the packaging and information on it and assumed they were lollipops! He couldn’t even describe the texture to me and simply said, “They’re delicious!” So thank you for this recipe. I shall try it with the white chocolate as well to see how that comes out too! =) Too late to make them for my coworkers at school, but I’m thinking Valentine’s Day! =)