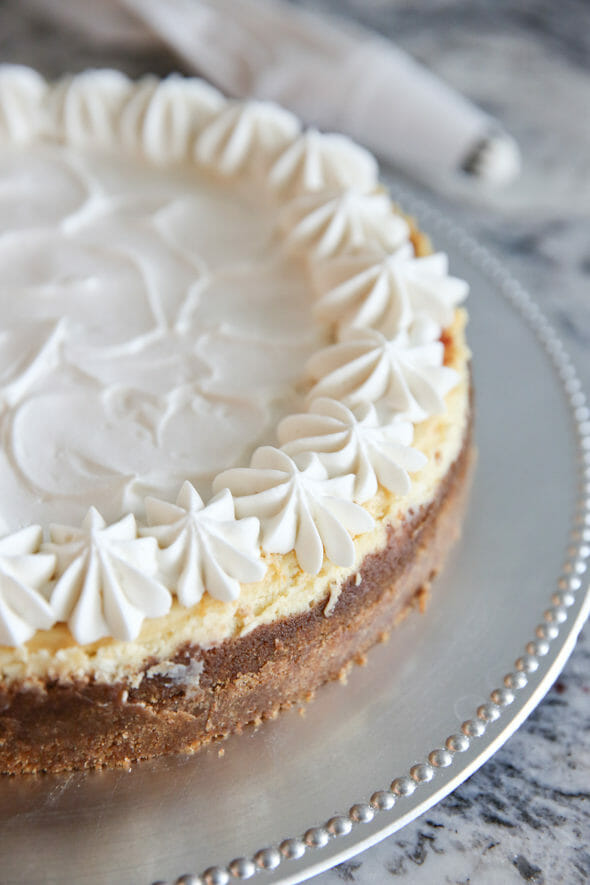
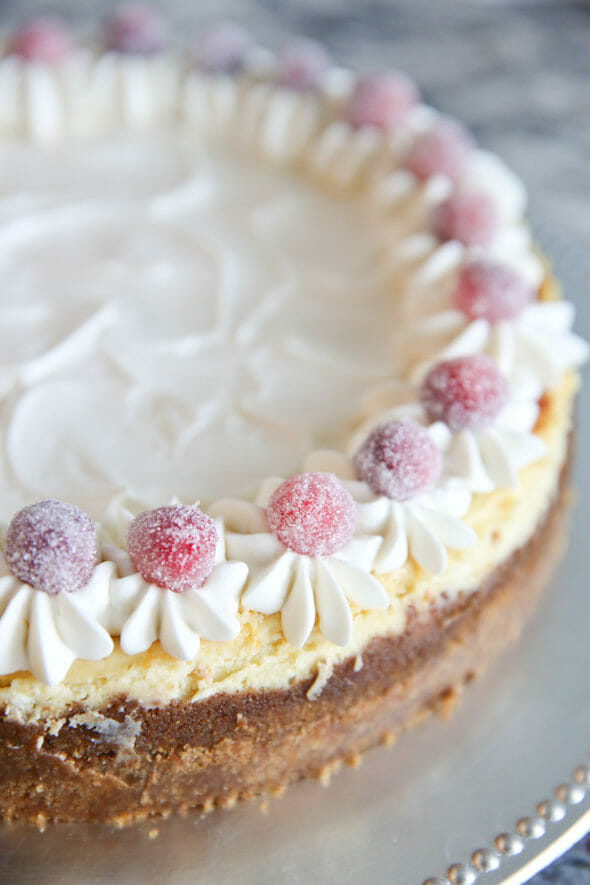
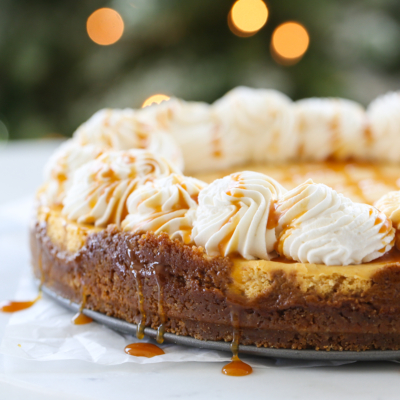
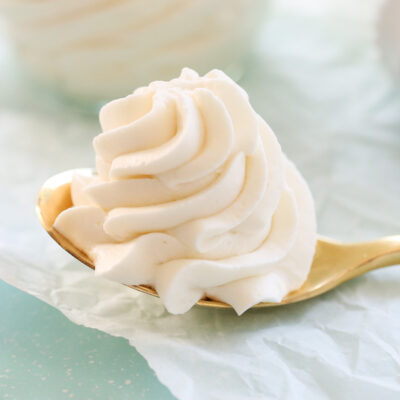
Have you ever wondered how professional bakeries get that amazing, perfectly shaped whipped cream on their fancy desserts? The kind where you think it’s frosting, but then you take one bite into it and realize it’s the most perfectly light, whippy, fresh cream? Chances are it’s just stabilized whipped cream. If you like to bake, this is one little trick you need in your cooking arsenal. This method produces the perfect whipped cream that you love, but with a stabilizing agent, which means that it won’t fall flat or melt or get all goopy if it sits around for a while. If I’m taking dessert somewhere, or I know it’s going to sit in my fridge or on the counter for a bit, or I plan to pipe it and I want it to retain its shape, I always use this method. There are a few options you use for stabilizing whipped cream. I’ll show you one main recipe below, with two easy optional methods as well!
Ingredients Needed
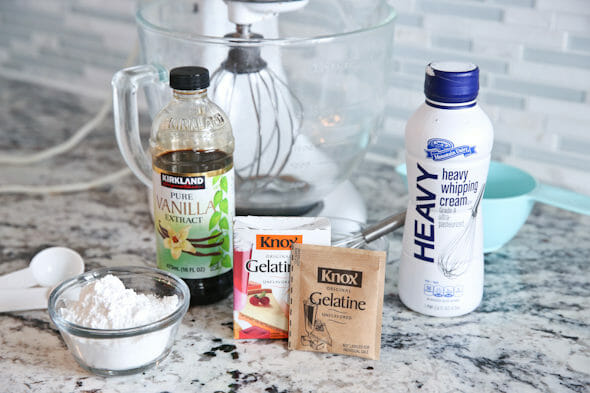
- Unflavored gelatin – Such as Knox brand. Find this near the Jell-O on the baking aisle, usually up on the top shelf.
- Cold water
- Heavy cream
- Powdered sugar
- Vanilla extract
How to Make Stabilized Whipped Cream with Gelatine
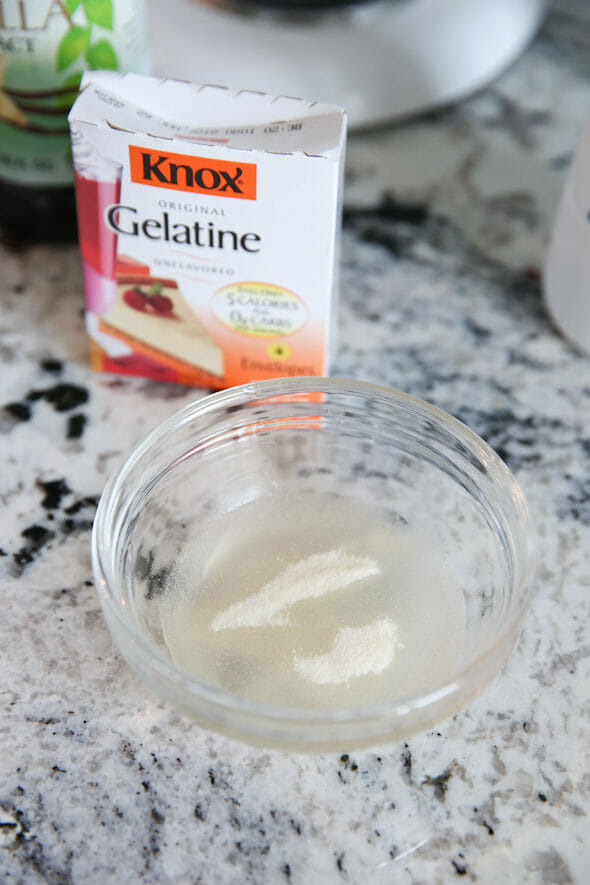
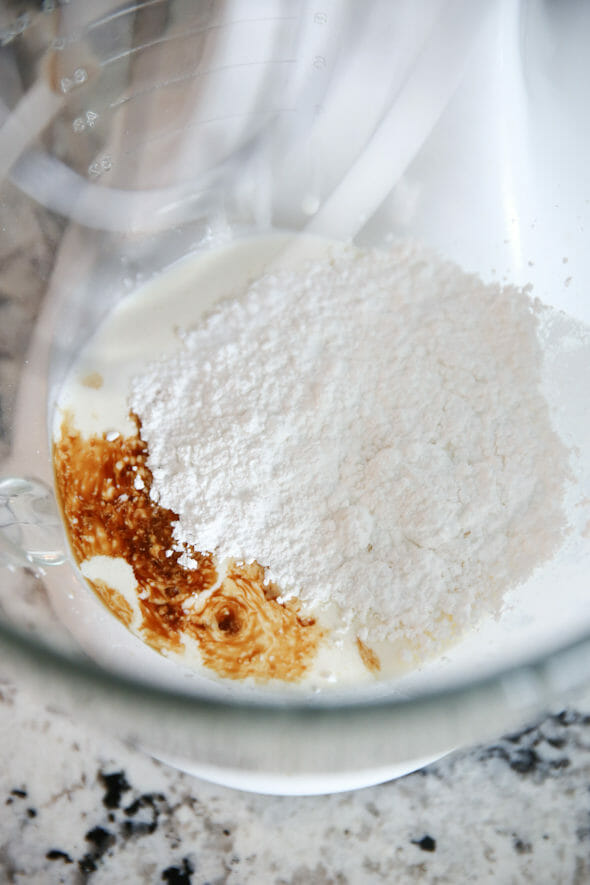
- Stabilized whipped cream starts with most of the same ingredients as regular whipped cream. The little secret is a bit of unflavored gelatin. This won’t change the flavor or really the texture either, it simply provides some staying power. Sprinkle a teaspoon of gelatin over some cold water. If you’ve never worked with unflavored gelatin, it might seem weird, but it’s normal! You need to let this mixture sit for about 5 minutes to “bloom.” It will be thick and semi-solid.
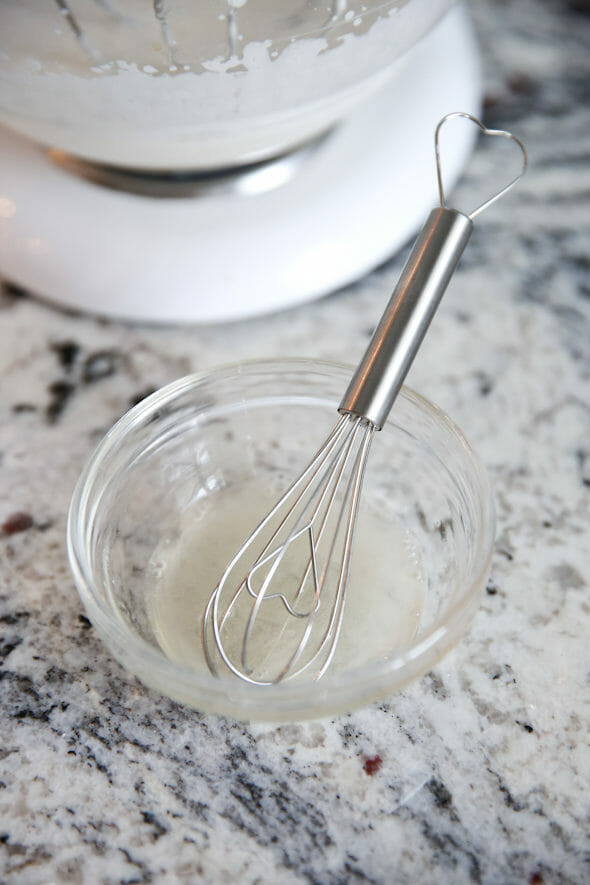
- Once it’s done blooming, you’ll heat it in the microwave just until melted. It only takes about 5-10 seconds, no need to boil it. Just whisk it until smooth.
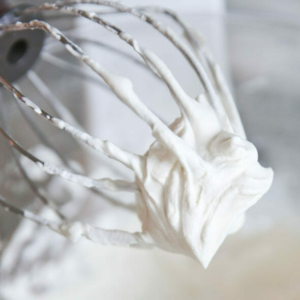
- I recommend you do this in a stand mixer with the whisk attachment. If you don’t have a stand mixer, use a hand mixer. Place the heavy cream, vanilla, and powdered sugar in the mixer and beat for about a minute.
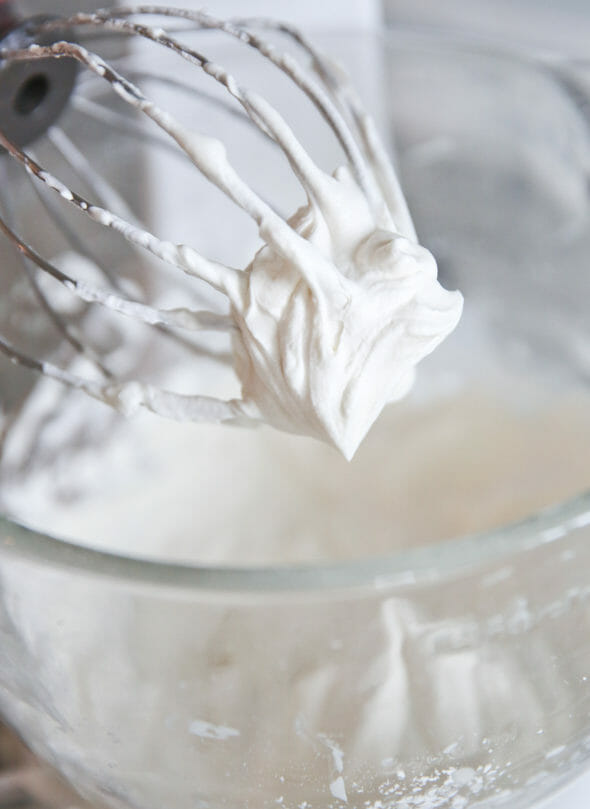
- Then very slowly add the gelatin in a smooth, steady stream, as the mixer is running. Continue beating as normal until you reach medium-stiff peaks.
- At this point, just use the whipped cream as you normally would. It works really well for spreading and piping. As it sits in the fridge, it will set up a little more, and it will last significantly longer than regular whipped cream.
Storing and Other Tips
- Store leftover stabilized whipped cream in an airtight container in the refrigerator and use or consume within 2-3 days for best results.
More Stabilization Methods
- Pudding Mix– adding 1-2 tablespoons of dry vanilla pudding mix per pint of whipped cream helps stabilize because it too, contains gelatin. It will add a slight color to your whipped cream, and a little bit of flavor.
- Cream Cheese – cream cheese is another great stabilizer. As little as 2 ounces softened cream cheese beat into a pint of cream will help stabilize and up to a whole 8oz of cream cheese creates a gorgeous silky whipped frosting that feels like a whipped cream/frosting hybrid. (Click here for a recipe!) If using this method, be sure to beat softened whipped cream until completely smooth and creamy before adding cream in a slow drizzle. Otherwise it’s easy to get lumps.
Frequently Asked Questions


Stabilized Whipped Cream
Ingredients
- 1 teaspoon unflavored gelatin like Knox, found near Jell-o in the baking aisle
- 4 teaspoons cold water
- 1 cup heavy cream
- ½ cup powdered sugar more or less to taste
- ½ teaspoon vanilla extract
Instructions
- Place cold water in small bowl and sprinkle gelatin over it. Let sit for 5 minutes. While it’s sitting, place heavy cream, powdered sugar, and vanilla in the bowl of a stand mixer with the whisk attachment or in a mixing bowl if using an electric beater. Once gelatin is set, place bowl in microwave and heat until gelatin turns to liquid, about 10 seconds.
- Turn mixer on to start beating cream. Let it run for about 1 minute and then with the mixer on high, very slowly pour the melted gelatin in, in a small steady stream.
- Continue beating cream until you reach medium-stiff peaks. Spread or pipe whipped cream as desired.


Questions & Reviews
Perfect!
I have loooked at a few different recipes using the gelatin as a stabilizer. This one is the winner and not only because the author has a phenomenal last name. 😉
Turned out great! Thanks for the detailed directions 🙂