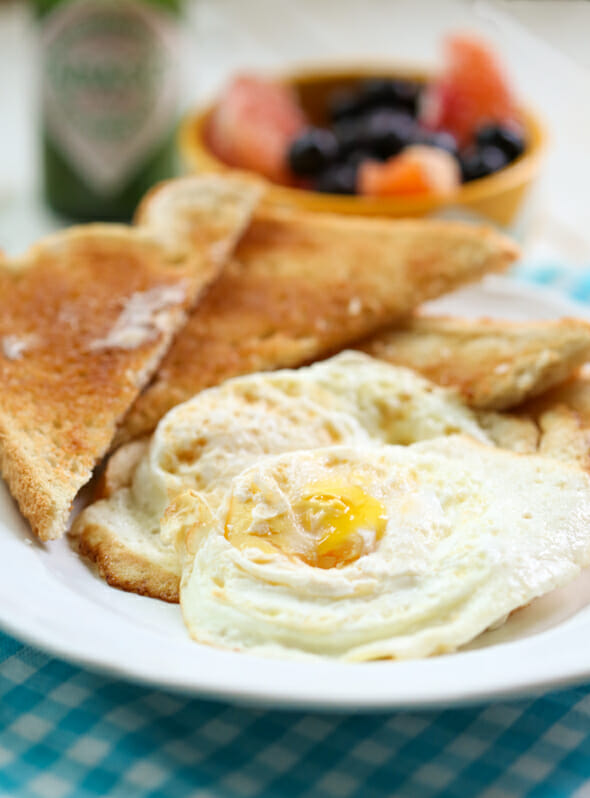
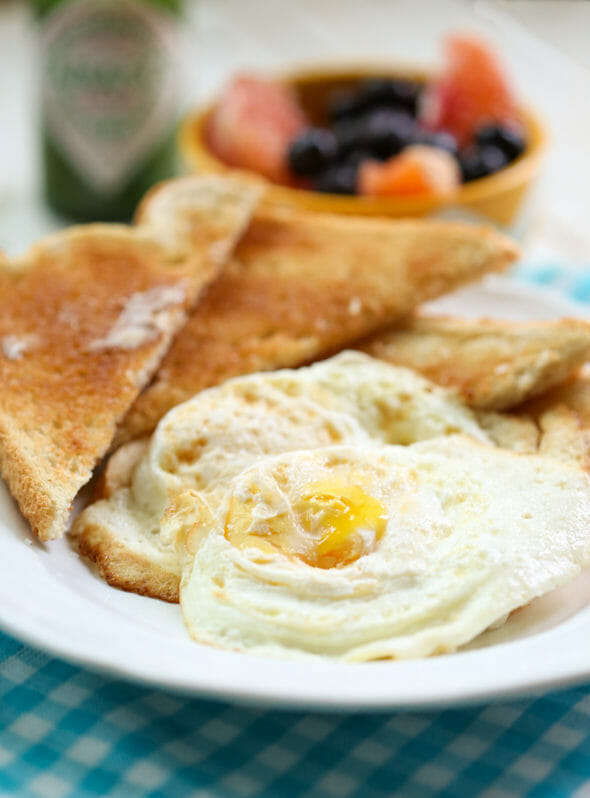
Making a good fried egg should be simple. I set out to to make the Perfect Fried Egg for me with the following requirements:
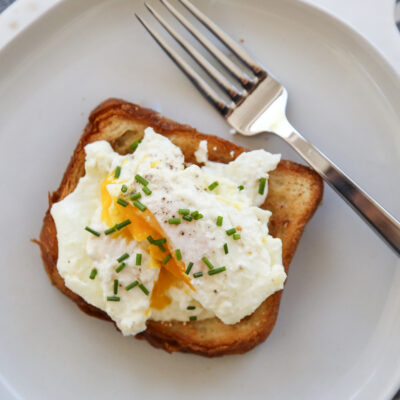
1) Fully-cooked white. No sliminess. Anywhere. Also, I really like the crispy white parts around the edges.
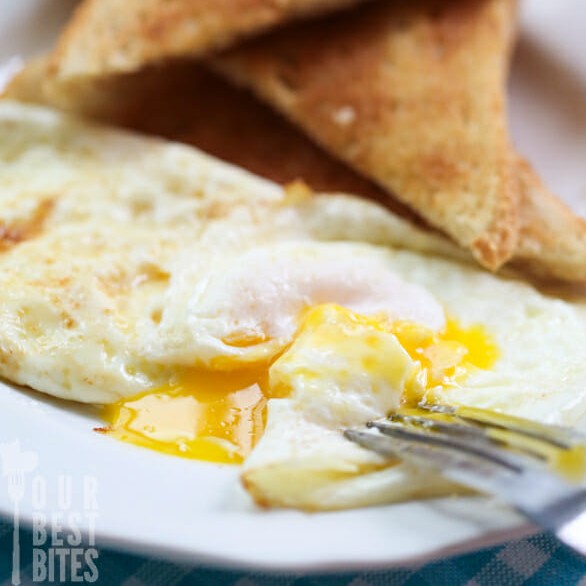
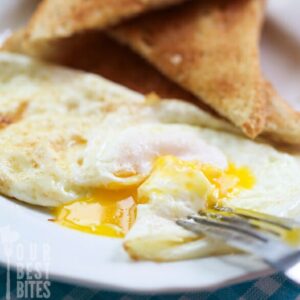
2) Yolk cooked long enough to be firm-ish but still runny.
Of course, everyone likes their eggs fried a little differently–some like them sunny side up, which means they’re not getting flipped at all (and thus potentially slimy), some people don’t like the crispy white edges, some people want the yolk totally solid. Which is all totally possible here–if you like ’em sunny side up, don’t flip them. If you want the yolk solid, cook the egg a little longer after you flip it. I’m just going to share a few tips I found along the way to make things a little easier.
Ingredients and Equipment Needed
This is just a preview of ingredients and method, keep scrolling for full printable recipe.
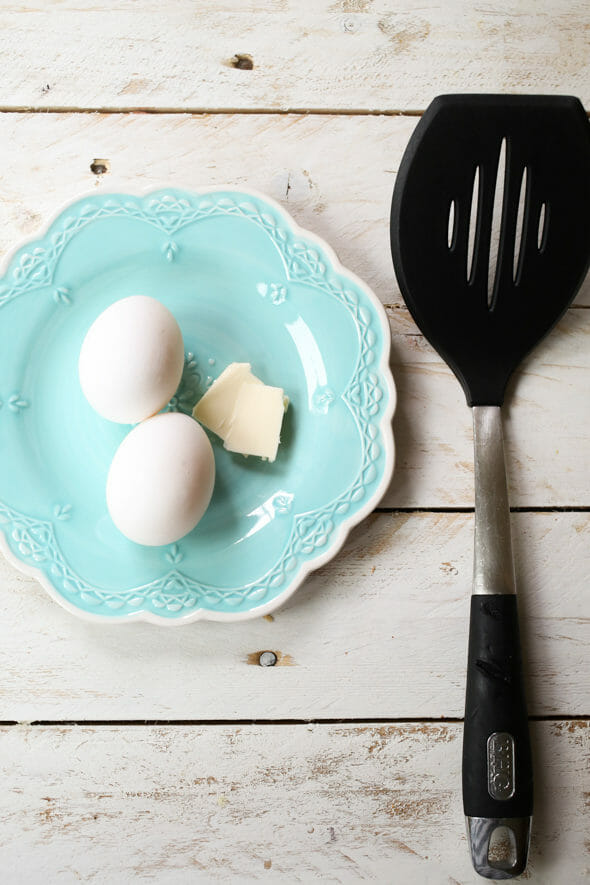
- Eggs
- Butter – I can only guarantee results here using real butter. Cooking spray just doesn’t quite cut it for me.
- Non-stick pan – Use a bigger pan than you think you’ll need. Or, even better, an electric skillet. I know, I know, you have visions of the perfect little round eggs and think it’s going to happen in that tiny skillet you got in your wedding pots and pans. I can tell you from a lot of first-hand experience that it’s SO much easier to flip eggs when you have plenty of room. So bring out the big guns–it’s worth it, I promise. And if you want your perfect eggs, you can always use egg or pancake molds (this is just an example–there are lots of different options and shapes!).
- Thin, wide spatula – You’re dealing with something very delicate and want to disturb it as little as possible. I have a very thin silicone spatula that I use for stuff like this, but I really want this one.
How to Make the Perfect Fried Egg
- Okay, are you ready? Heat a non-stick skillet to heat set to just a little above medium. When you can hold your hand about 2 inches from the surface and tell that it’s very hot, add 1/2-1 teaspoon of butter per egg. Melt the butter, and spread it into a circle about 6″ in diameter.
- Carefully crack a cold egg into each melted butter circle (cold eggs will spread less; fresh ones will, too, but hopefully your eggs are reasonably fresh). It will start cooking immediately from the outside in. Sprinkle each egg with a small pinch of salt. Cook for about 2-3 minutes, watching the whites carefully–the area around the yolk will become more solid and opaque and if you gently poke the yolk, it will bounce back and won’t feel as fragile as a raw yolk will.
- Once the “thickest” part of the white is almost completely cooked, gently jiggle a thin spatula under the egg and quickly flip it. Cook for about 1 more minute and then quickly remove the egg from the pan and serve it immediately (the yolk will continue to cook for a little while after you remove it from the pan, so if you’re after the runny yolk, be quick!). I serve mine with another tiny sprinkling of salt and a few shakes of green Tabasco sauce.
Storing and Other Tips
- While fried eggs are best eaten fresh, you can absolutely save leftovers in an airtight container and store them in the fridge. I’d eat them within 2-3 days for best results.
- For a sunny side up, instead of flipping your egg, add a tiny splash of water to the pan to create steam and pop a lid on to trap the steam. Allow the steam to cook the top of the egg whites.
Frequently Asked Questions
Stainless steel has a bit of a learning curve and is more temperamental than other pan choice. While there are definitely ways to fry a perfect egg in a stainless steel pan, I prefer non-stick for consistent results and that’s what this tutorial is written for.
As many as your pan allows, while still providing enough room to get your spatula under them! If you need to make a bunch at once, you may want to try this Large Batch Poached Eggs and Fried Eggs recipe where you bake the eggs in the oven.


How to Make the Perfect Fried Egg
Equipment
- nonstick skillet
- wide, flat spatula
Ingredients
- eggs
- butter
Instructions
- Heat a non-stick skillet to heat set to just a little above medium. When you can hold your hand about 2 inches from the surface and tell that it’s very hot, add 1/2-1 teaspoon of butter per egg, melt the butter, and spread it into a circle about 6″ in diameter.
- Carefully crack a cold egg into each melted butter circle (cold eggs will spread less; fresh ones will, too, but hopefully your eggs are reasonably fresh). It will start cooking immediately from the outside in. Sprinkle each egg with a small pinch of salt. Cook for about 2-3 minutes, watching the whites carefully–the area around the yolk will become more solid and opaque and if you gently poke the yolk, it will bounce back and won’t feel as fragile as a raw yolk will.
- Once the “thickest” part of the white is almost completely cooked, gently jiggle a thin spatula under the egg and quickly flip it. Cook for about 1 more minute and then quickly remove the egg from the pan and serve it immediately (the yolk will continue to cook for a little while after you remove it from the pan, so if you’re after the runny yolk, be quick!) I serve mine with another tiny sprinkling of salt and a few shakes of green Tabasco sauce.
Notes
- While fried eggs are best eaten fresh, you can absolutely save leftovers in an airtight container and store them in the fridge. I’d eat them within 2-3 days for best results.
- For a sunny side up, instead of flipping your egg, add a tiny splash of water to the pan to create steam and pop a lid on to trap the steam. Allow the steam to cook the top of the egg whites.
- Use a much bigger pan than you think you need, so you have room to flip your egg.
Nutrition


Questions & Reviews
The key to flipping your eggs is butter…real butter…so the eggs slide around the pan easily. I always flip mine over the sink too, just in case.
Hi! Can you tell me where you found the lovely saucer photographed above? Is it part of a dinnerware collection? Thx so much.
Count me in!!
Love this tute! Nothing better than a runny yolk dipped in toast.
Over-easy is definitely my favorite kind of egg! I can’t deal with slimy whites either, and the runny yolk is a must!
Something I discovered last summer, is that coating the pan with a tiny bit of olive oil instead of butter makes the eggs about a million times easier to flip and not stick to the pan. The butter flavor is great, but my success rate skyrocketed, and with quality olive oil it has a nice flavor too! 🙂
Oh,BLESS YOU! I love runny yolks, too, but don’t fry eggs that often because they smear and don’t cook just right. I may try this for dinner tonight now that you have gone to all that trouble doing the research. I even have one leftover biscuit from Sunday dinner that is asking to be toasted and enveloped in perfectly cooked eggs. Thanks!
I had egg issues until I got married…and now I like them. I think it’s because my mom didn’t like them…so neither did I. 🙂 I have been slower at liking fried eggs though. I will eat them if my husband makes them, but cooking them myself is a joke. You totally had me at “use the huge electric pan.” Um, ya. That’s totally what I will try next time! Maybe I’ll try it for hash browns next time too.
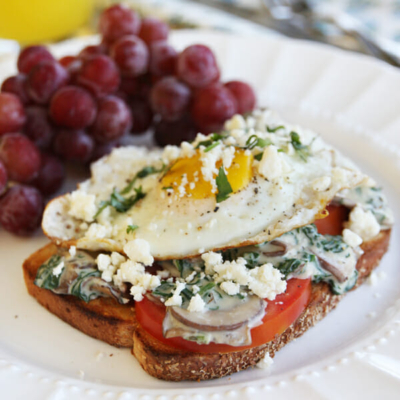
I have egg issues, too, but I think mine are the opposite of yours. I can only eat them scrambled. 🙂 But I LOVE your eggs on toast with creamy spinach sauce with scrambled eggs. It’s my favorite diet lunch in the winter (when it’s too cold for my other favorite diet lunch).
Oh my gosh deliciousness overload! Look incredible!Sure make this fried eggs!
Thanks so much for the tips! I love my fried eggs and runny yolks on my pancakes 🙂 this really grosses my 8 year old out.