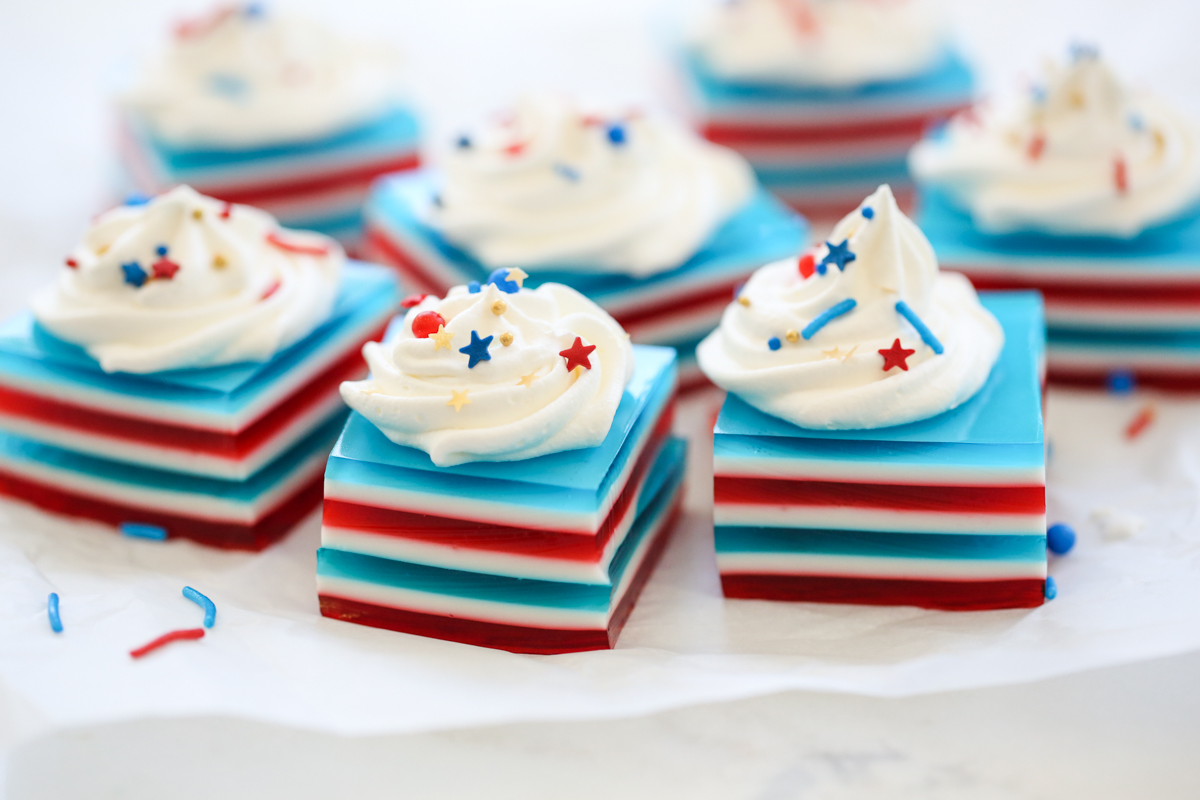
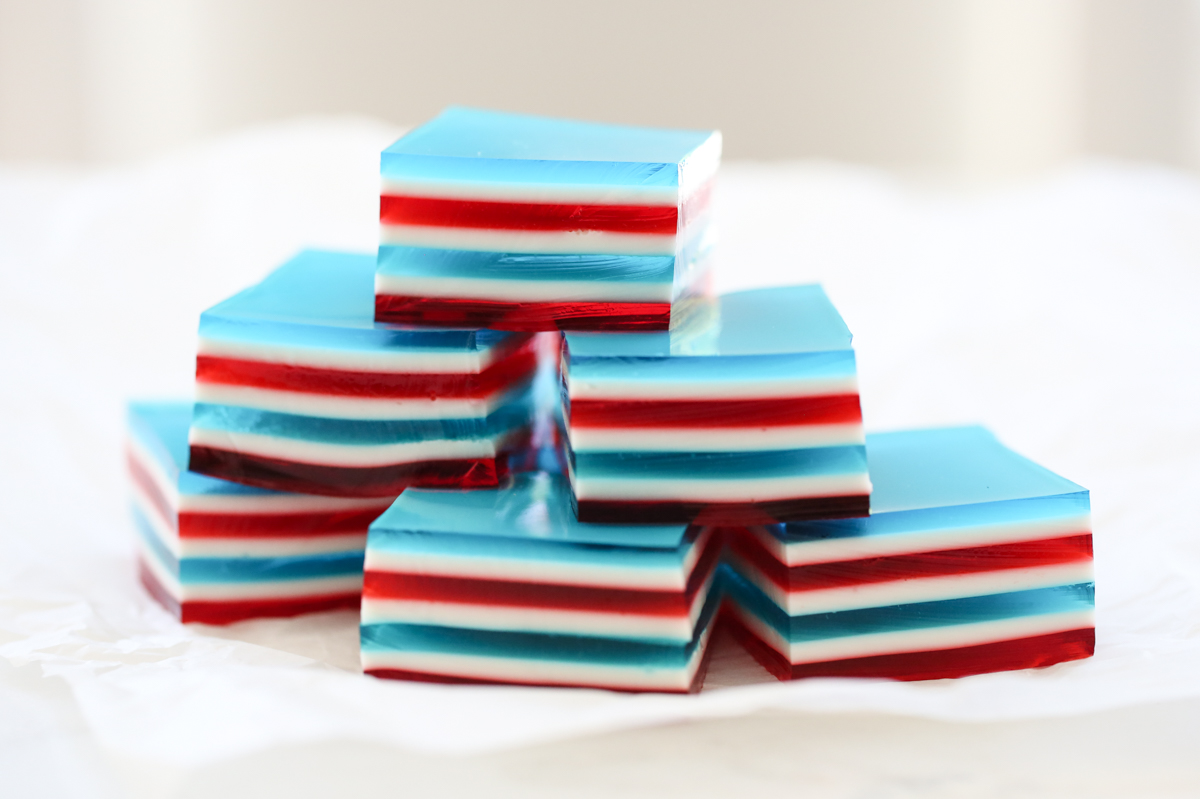
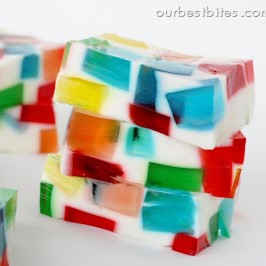
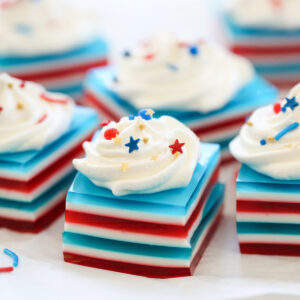
Layered Jell-O is a fun treat that’s perfect for holidays because you can customize your colors. (Another fun one is our Glass Block Holiday Jello.) It’s fun to make in a rainbow of colors, or just a few, depending on your preference. Today we’re going with red, white, and blue for the 4th of July. Layered Jell-O combines layers of colored gelatin interspersed with layers of a sweet and creamy sweetened condensed milk gelatin layer. It’s both festive and delicious!
Ingredient Notes
- Flavored Jell-O – You’ll need four 3-ounce packages of Jell-O (your choice of colors).
- Sweetened Condensed Milk – This creates your creamy white layers!
- Unflavored Gelatin – This is used to solidify the creamy condensed milk layers. Unflavored gelatin is usually on the top shelf above the flavored varieties.
- Sweetened Whipped Cream – Optional, but makes a great topping for serving!
- Non-stick Cooking Spray – This helps the Jell-O release from the pan nicely once it has firmed up.
How To Make Layered Jell-O
This may see confusing at first, but after you get the idea, you literally just repeat the same steps with every layer. You’ll want to plan to make this 1 day ahead of time to allow time for all the layers to cool. The steps are very simple, but it does take some time.
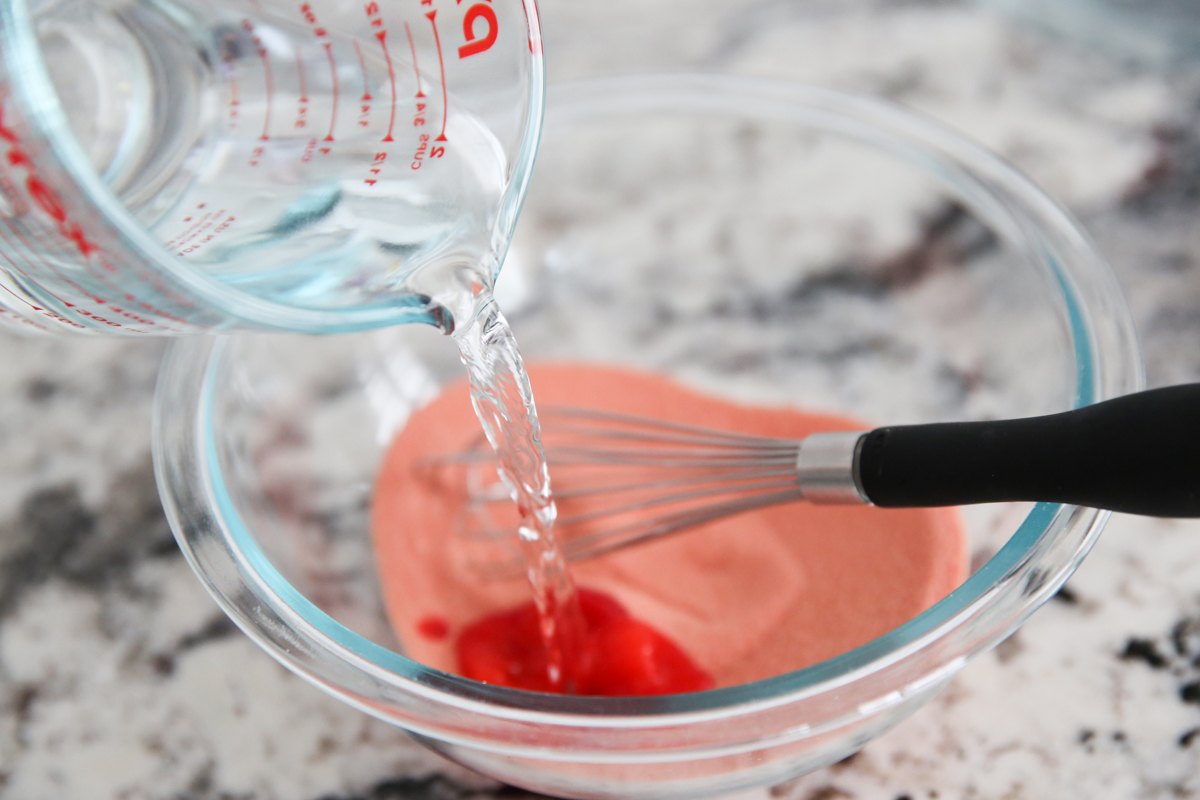
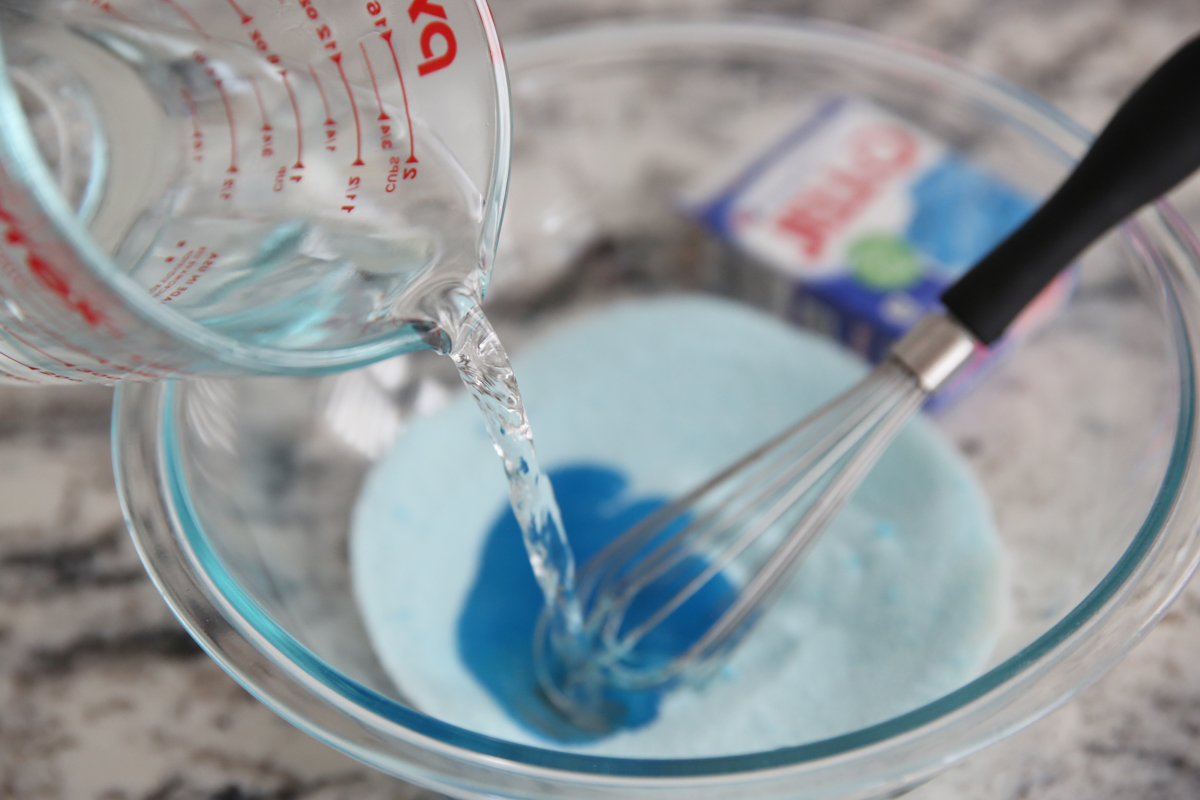
Colored Layers: Your color layers are small boxes of Jell-O with additional unflavored gelatin mixed in. This keeps the layers firm for layering, but not too firm to enjoy!
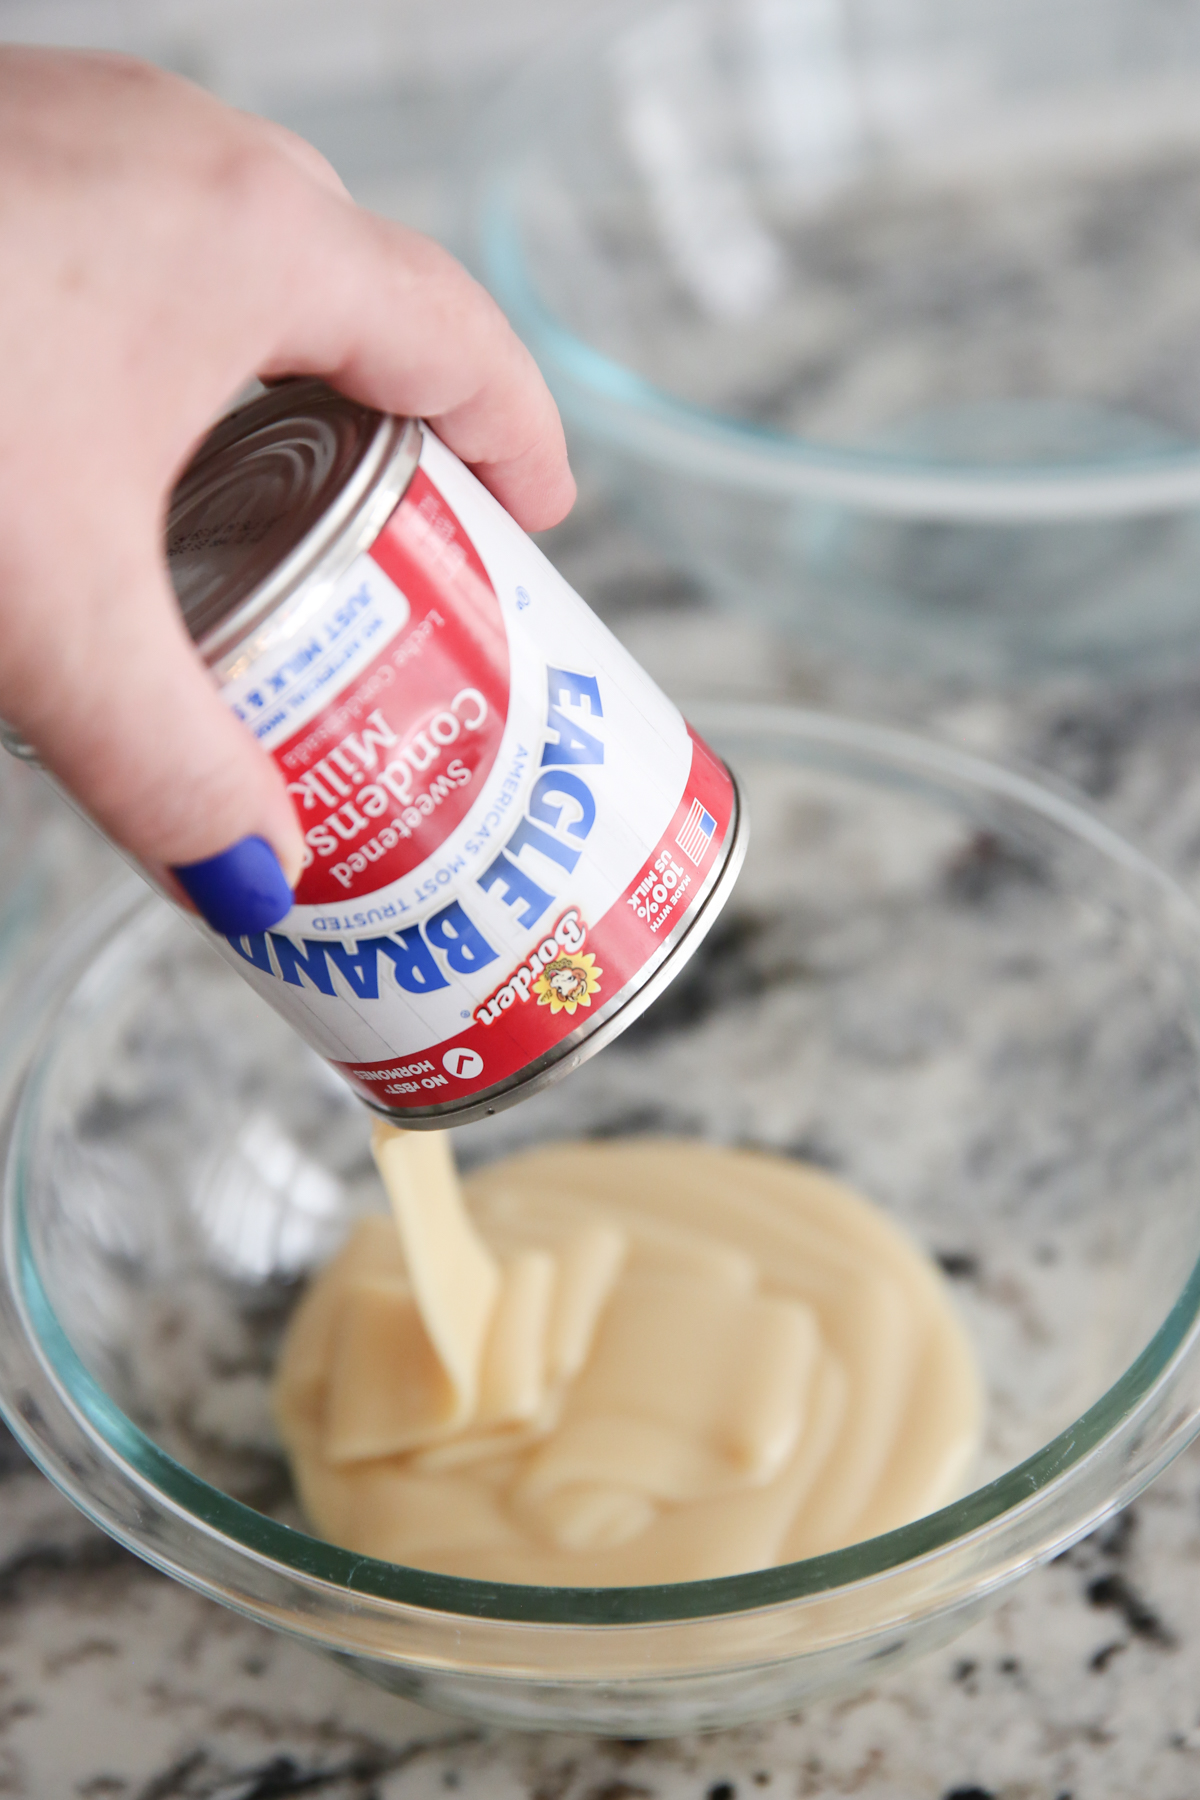
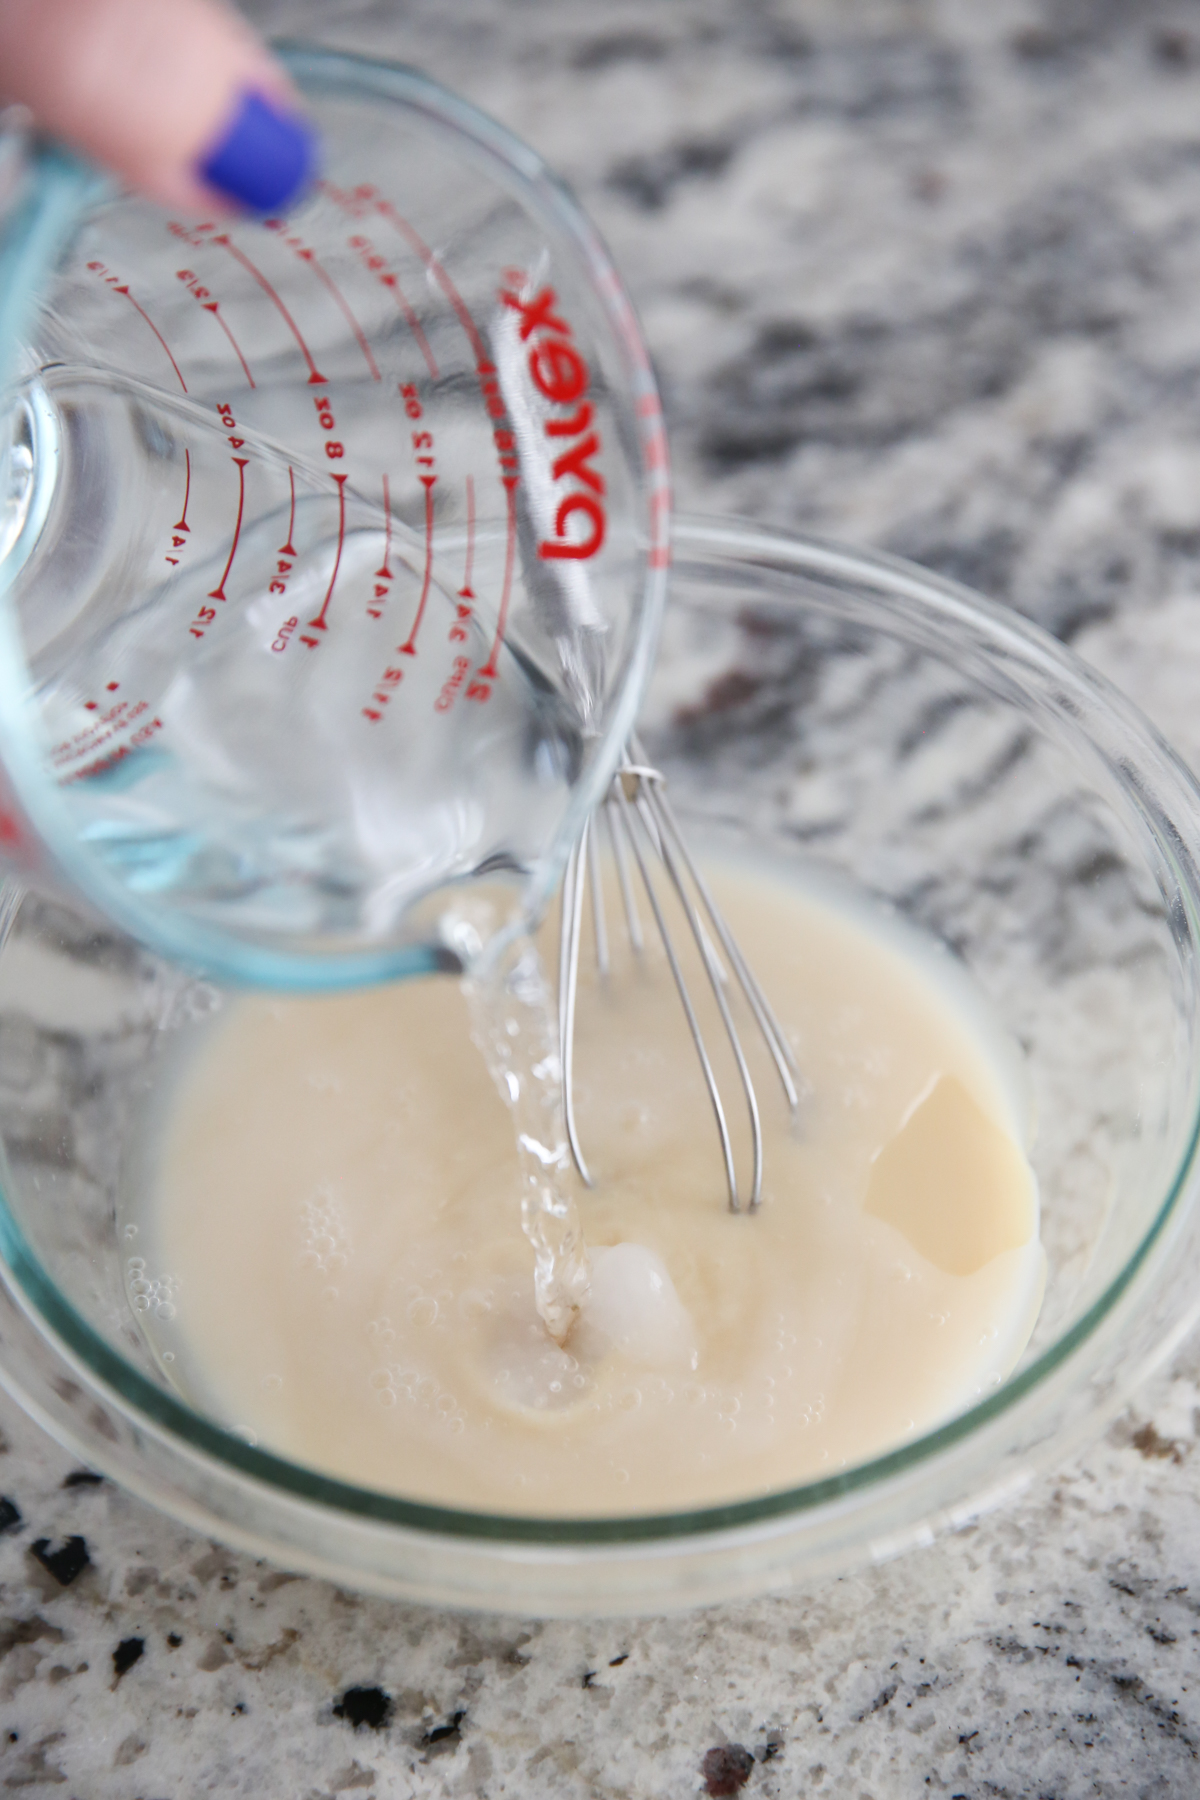
Creamy Layer: This layer is made by combining sweetened condensed milk, water, and unflavored gelatin. It’s a sweet, creamy Jell-O- which might sound strange, but it is actually such a great compliment to the fruity layers.
Here’s what the process looks like:
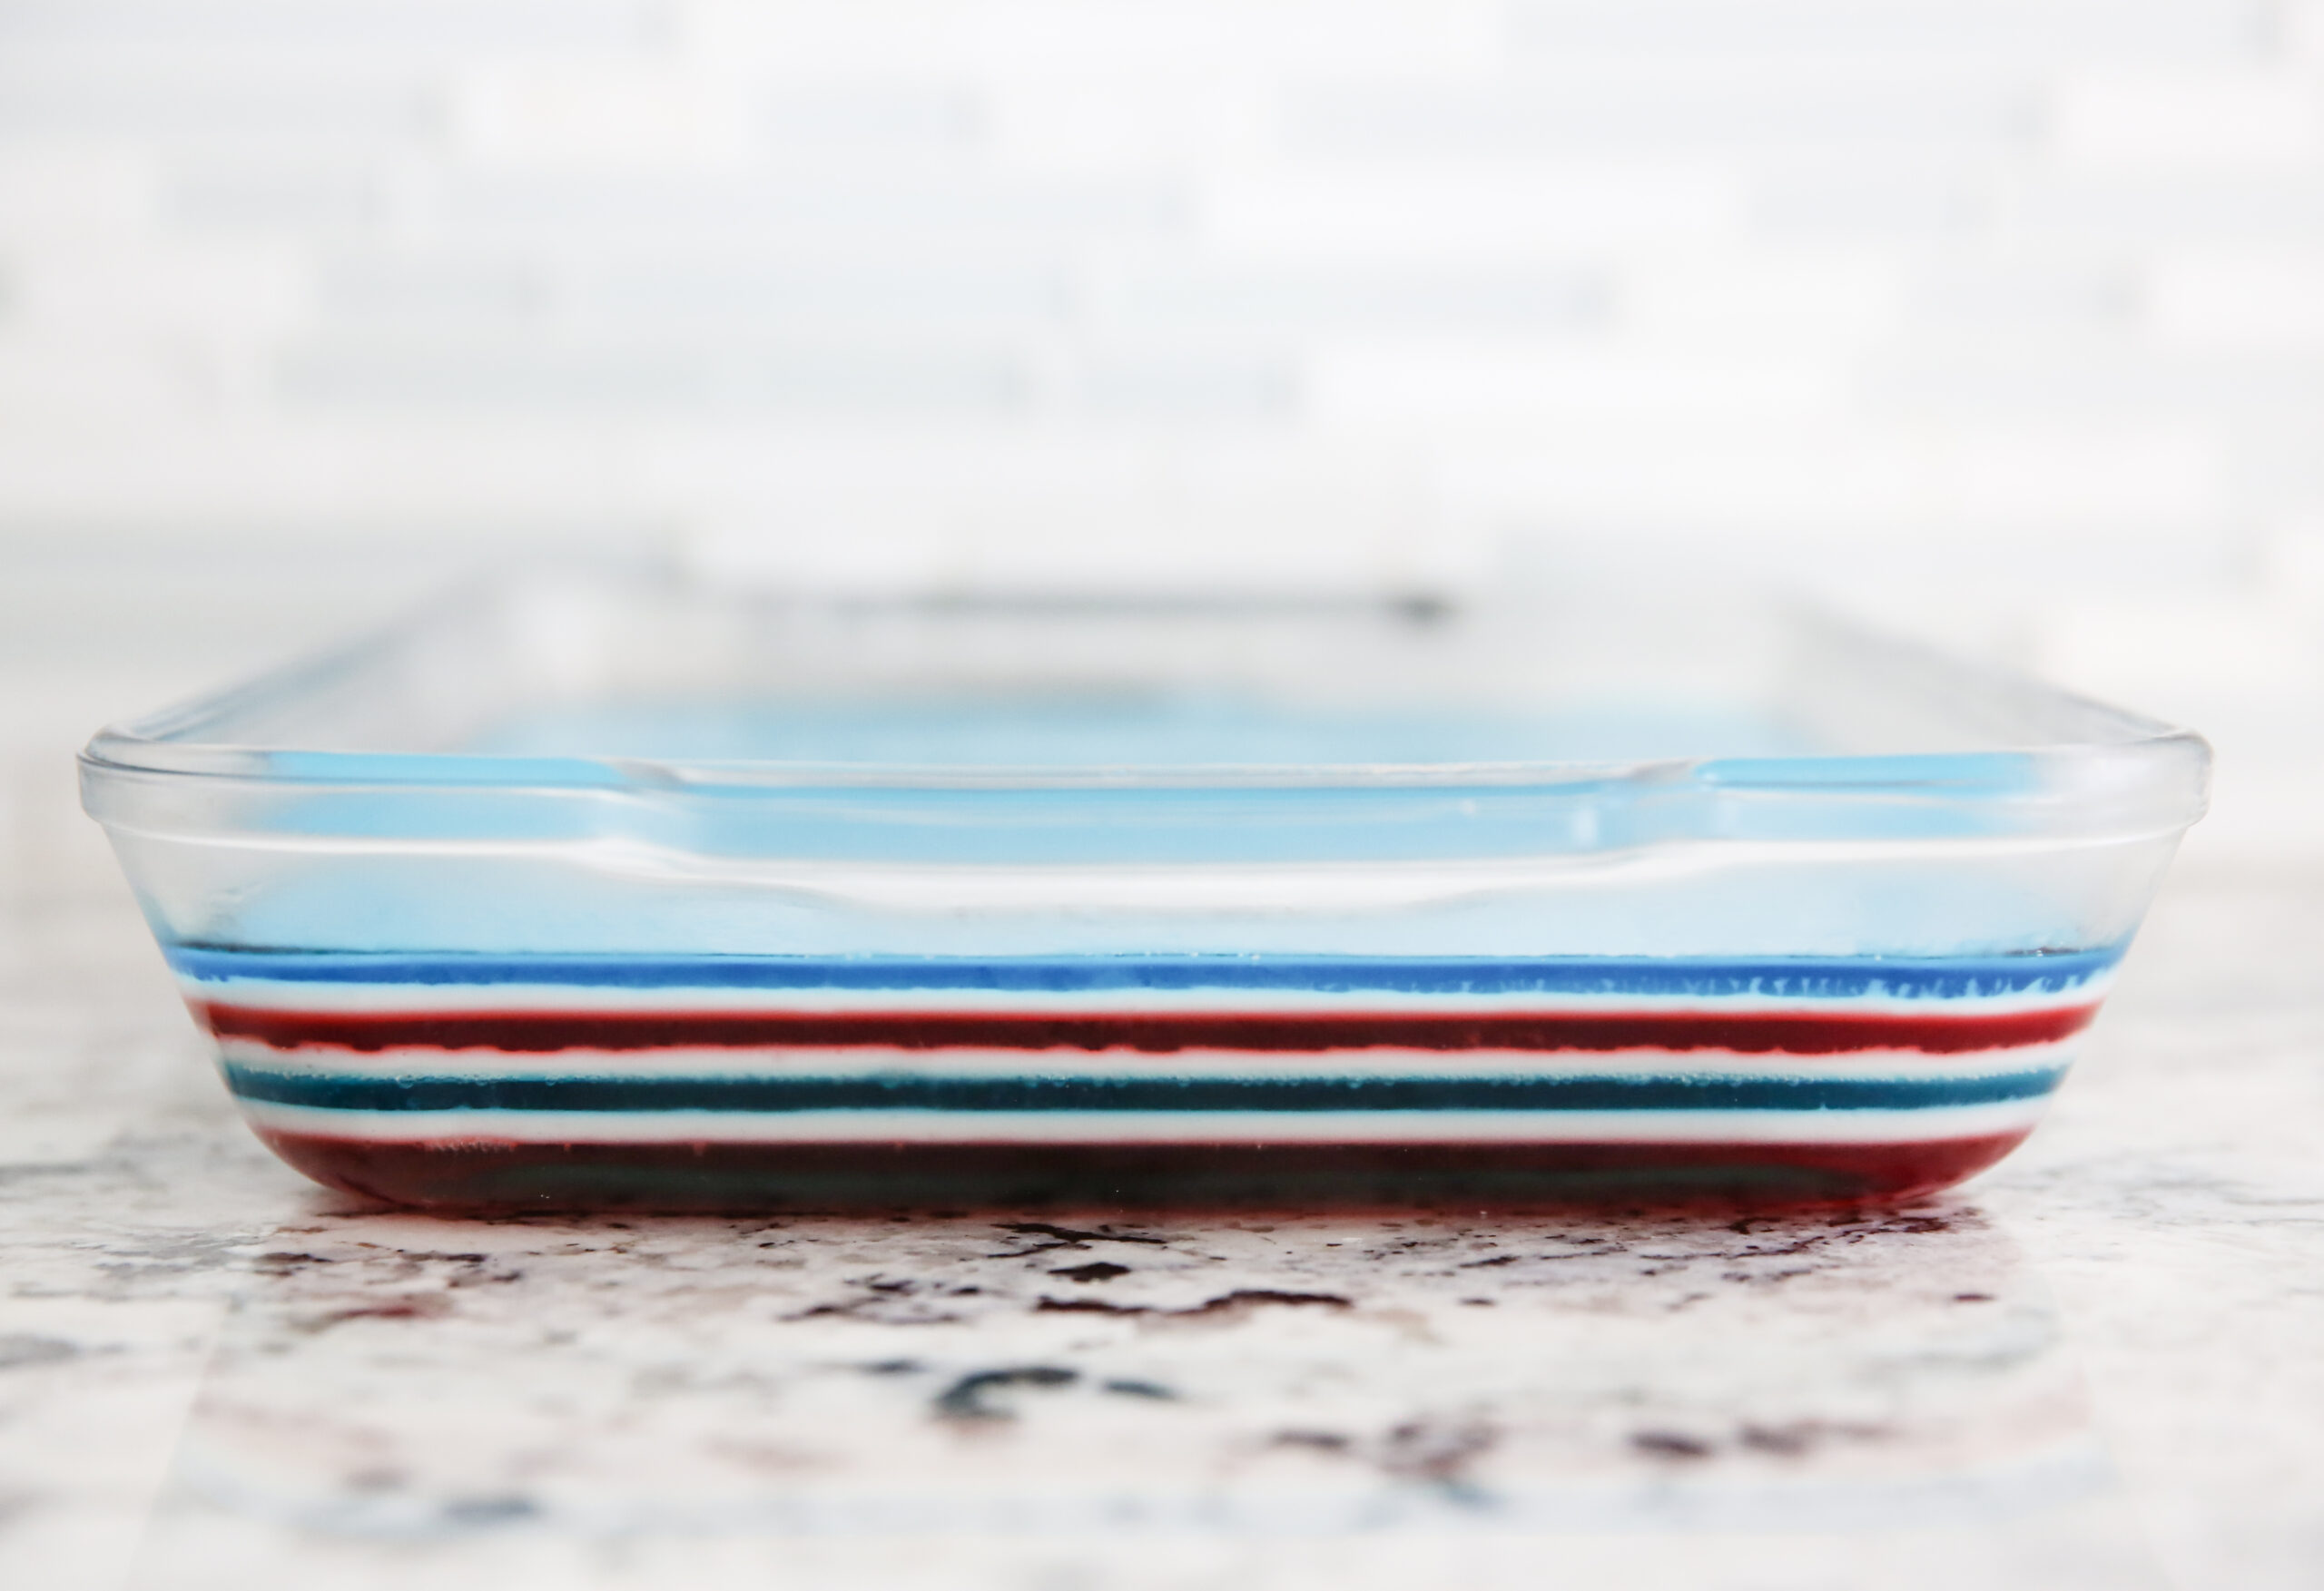
- In a small mixing bowl you’ll mix one 3-ounce package of Jell-O with 1 1/4 teaspoons (1/2 a packet) of unflavored gelatin and dissolve it in 1 cup of boiling water. Pour this mixture into your 9×13 pan sprayed wtih cooking spray and place that pan on a level shelf in the refrigerator. Because the Jell-O layers are so thin, each one should be set rather quickly, in about 10-15 minutes.
- While your first layer of Jell-O is setting, you’ll make your sweetened condensed milk layer. This single batch will be the full amount and you’ll simply use one cup of it at a time between your colored layers.
- Each time you finish a layer and put it back into the fridge, you’ll start mixing your next layer. Letting it sit on the counter while your previous layer chills gives it a chance to cool off.
- When all 7 layers are complete (4 colored layers and 3 white layers) and have set up, carefully cut them into squares and serve!
Storing and Other Tips
- This Jell-O is great make ahead recipe. You could make it up to 3 days in advance if needed; simply store, tightly covered, in the refrigerator. If you’re using whipped cream as a topping, add it right before serving.
- Don’t skip the cooking spray! Otherwise you may find it difficult to remove the Jell-O squares from the pan.
- When ready to cut your Jell-O, run your knife under warm water for a few seconds and then dry it before slicing. This will help create nice, clean cuts that show off those beautiful layers!
Frequently Asked Questions
You bet! Prepare the Jell-O in the pan and then store, covered, in the refrigerator until ready to serve. It’s good for a couple days at least! Cut as desired and enjoy!
Yep! Sugar-free, store brand, whatever you can find- as long as it’s the smaller sized packages, they will work here.
You can buy coconut sweetened condensed milk. While I have not tried it personally, I don’t see any reason why it wouldn’t work in this recipe!
Layered Jell-O
Equipment
- 1 Electric Tea Kettle This makes keeping the water at boiling point very simple.
Ingredients
- 4 3 ounce packages of Jell-O align your flavor choices with the preferred holiday color scheme
- 1 14 ounce can sweetened condensed milk
- 4 packets unflavored gelatin
- boiling water we suggest keeping a tea kettle warm
- Optional for topping: sweetened whipped cream or cool whip
Instructions
- Spray a 9×13″ pan with non-stick cooking spray and wipe out the excess with a paper towel. Set the pan aside.
- Mix 1 package of Jell-O with 1 ¼ teaspoons (½ packet) of unflavored gelatin. Add 1 cup boiling water and stir to combine completely. Pour the first layer into the prepared pan and refrigerate in a completely level shelf of the fridge for 20 minutes.
- While the first layer is setting, mix 1 cup boiling water with the can of sweetened condensed milk in a smallish-medium mixing bowl. Set aside.
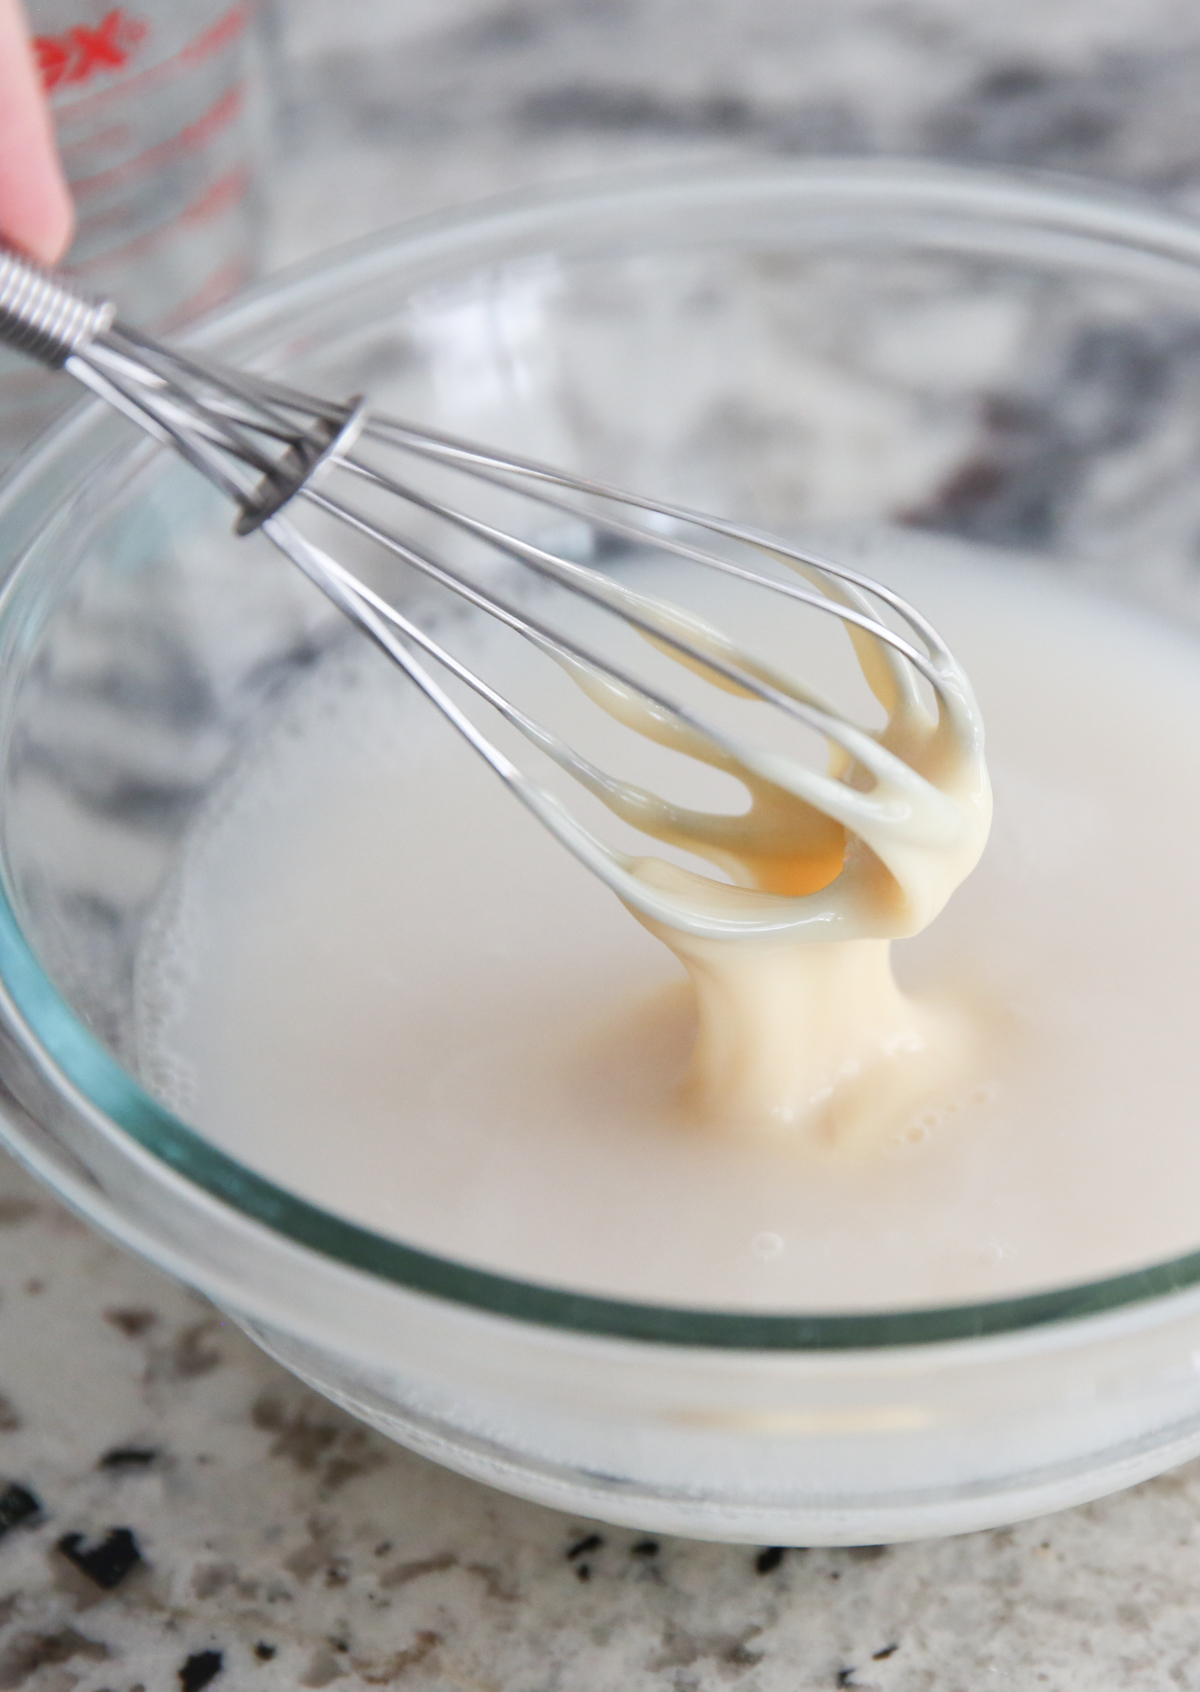
- In a small bowl, sprinkle 2 packets of gelatin over ½ cup cold water. Allow it to stand for 2-3 minutes or until the gelatin has absorbed the water and it becomes grainy. When it is ready, add ½ cup boiling water and stir until the gelatin is completely dissolved. Add the dissolved gelatin mixture to the sweetened condensed milk mixture and stir completely. Leave at room temperature.
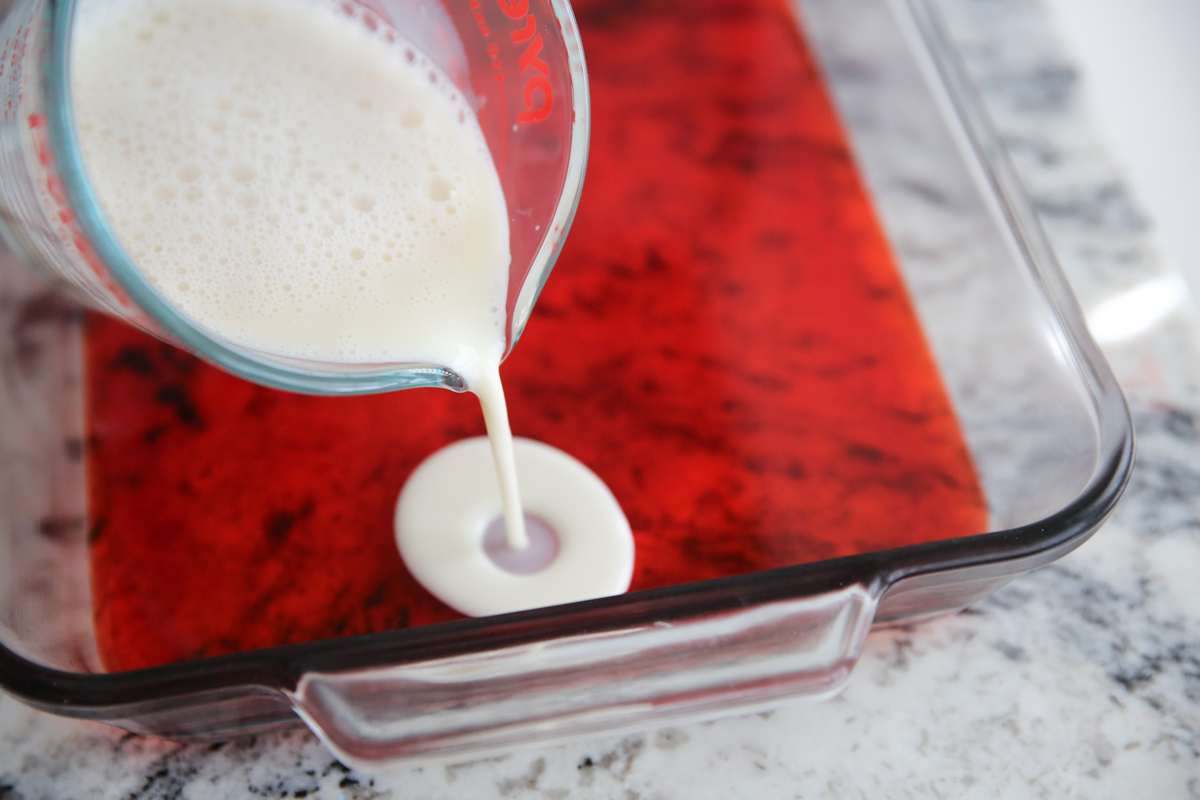
- When the first layer of Jell-O has set, carefully pour just 1 cup of the sweetened condensed milk mixture over the Jell-O layer and return the pan to the refrigerator. Chill for 15 minutes or until set.
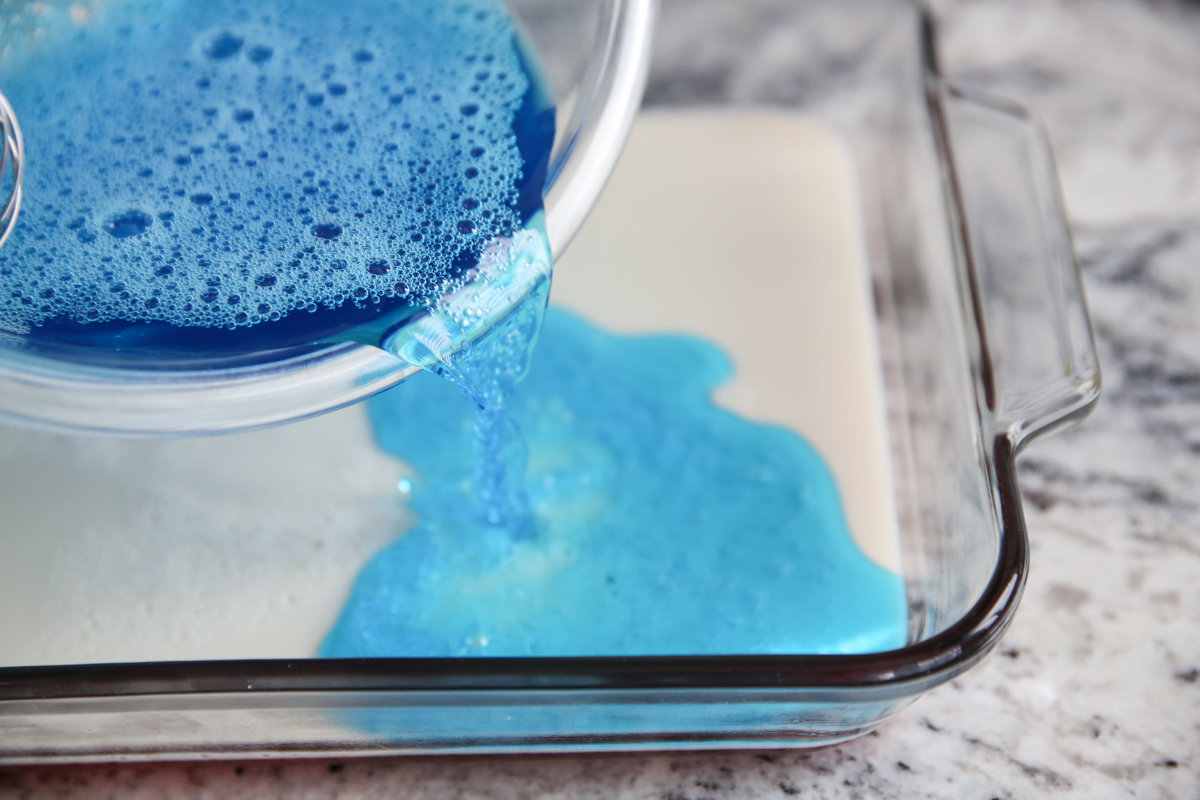
- After you return the pan to the refrigerator, repeat the Jell-O step (1 package Jell-O + 1 ¼ teaspoons unflavored gelatin + 1 cup boiling water). If you do it immediately after you put the pan back in the fridge, it should be room temperature by the time the sweetened condensed milk layer has set up. Pour it over the milk layer, chill, repeat with milk, then Jell-O, then milk, then Jell-O. You should begin and end with Jell-O layers and have 4 layers of Jell-O with 3 layers of milk in between. As you go, if the milk begins to set up, microwave it for 5-10 seconds to soften.
- When the last layer has set up, carefully cut into cubes. If you run your knife under hot water for a few seconds and then dry it, it will help make nice clean cuts. You can optionally top squares with some sweetened whipped cream or cool whip!


Questions & Reviews
This was time consuming yet easy, and really worth it! It was a big hit with both adults and kids, and I will use this recipe again with different colors for other holidays. Thanks for sharing!
The unsweetened Jell-O never sets up as firmly for me as the original Jell-O.
I wish I would have found this before Independence Day! Really phenomenal idea. When presented, it looks so difficult to make. Your guide makes it seem quite simple, though.
Thanks for the great looking recipe!
I have lost my original recipe, (daughter took it). I am used to making this with one large red layer with strawberries or rasberries and a blue layer with blueberries. It looks great in a clear pyrex dish. The white layer you gave recipe for is exactly the middle of this.
How would these come out with sugar free jello? Husband got all excited when he saw an end cap of jello and didn’t realize he bought the sugar free stuff. Trying to use the stuff up! This looks fun enough my people might try it!
I’m sure it would be fine! Let us know how it turns out if you try it!
I commented above before I saw your post. Personally, the unsweetened Jell-O doesn’t set up as firmly as the original Jell-O so you might need to let each layer cool longer before adding the next layer or take more care pouring the next layer onto the previous layer. I’ve even seen recipes that stated that you should not use unsweetened Jell-O.
I made this today & it looks really good, one suggestion that I have when pouring the second(third,fourth, fifth etc) layers pour the jello over the back of a spoon so it disperses more gently, my first layer got a little messed up but it was smooth sailing after that.
Also works great if you skip the gelatin and just mix every other jello layer with the condensed milk. Those layers will come out paler but makes for pretty rainbow layed jello
Thank you for the recipe! A note for your Readers – please DO be sure to let the first white layer cool to room temperature (as the recipe says) before pouring it in the pan. Otherwise, you will have a pink layer like I do – Ooops!!! =)
I always seem to end up with one layer that breaks through even though I think I’ve let it cool to room temp. I always pour the new layer over a spoon or rubber spatula held just above the lady layer to spread out the force of the new layer hitting the old layer – confusing?
You know, my mom always made this for Thanksgiving (a multi-colored version, 14 layers!) but she passed away before she was able to teach me how she made it. Thank you for putting this up. It brings back so many happy memories. 🙂
This is so cool! Would be totally cute cut using a star cookie cutter!