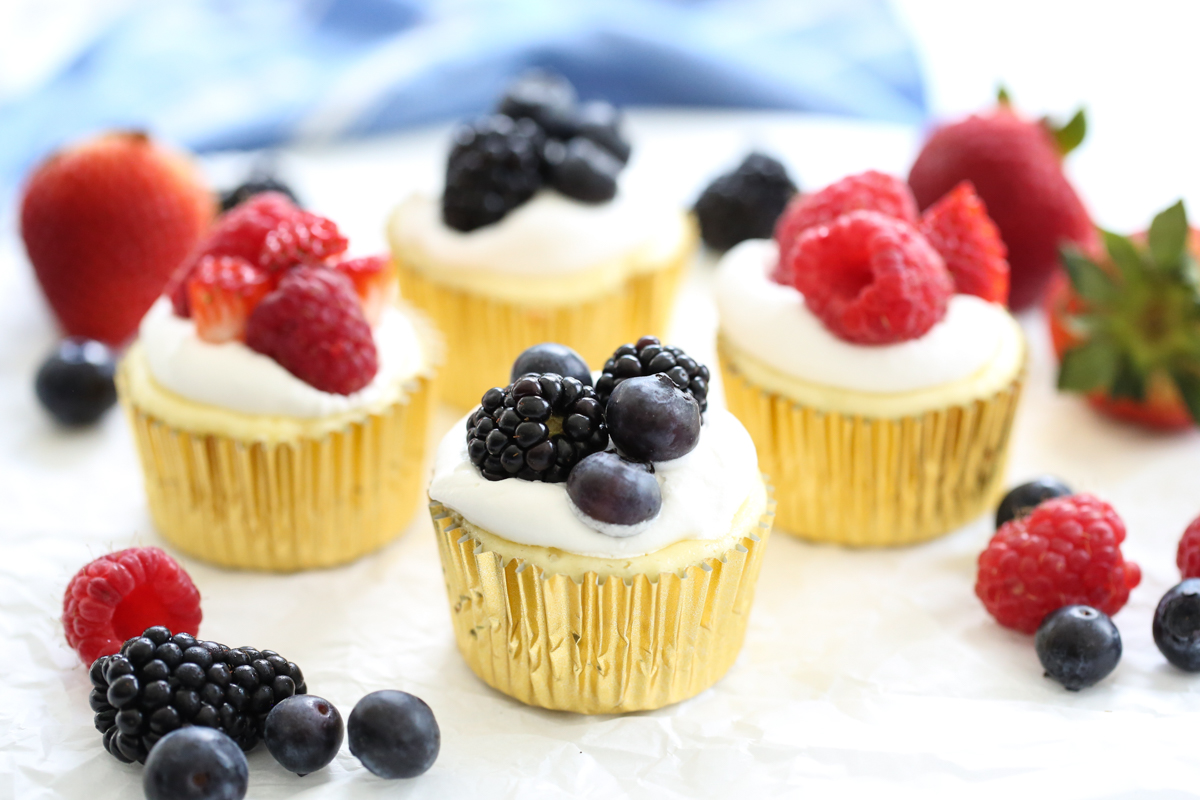
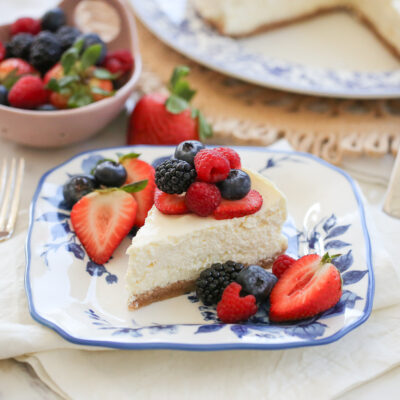
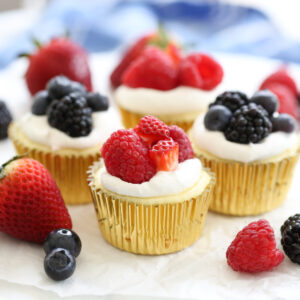
These mini cheesecakes are one of the desserts I make the most often! They’re incredibly simple and the recipe makes one dozen perfect mini cheesecakes. The tops naturally indent as they cool, making them perfect for topping with anything you can imagine- salted caramel, chocolate, lemon curd, whipped cream, etc. My Mom made these easy mini cheesecakes every single 4th of July for as long as I can remember and always topped them with cherry and blueberry canned pie filling. I love them with fresh red white and blue berries as well- the options are endless!
Ingredient Notes
- Nilla Wafers – These little cookies make the perfect crust when dropped in the bottom of a cupcake liner. Brand name or generic will be just fine. In the details below, you’ll find two different ways you can do the crust- one involves simply a single Nilla wafer cookie, and the other is a quick crust.
- Cupcake Liners – I find that foil cupcake liners work well. When you purchase foil liners, they come with paper dividers that can be discarded, or saved for a different use. These gold liners in my photos are from Walmart- they’re foil on the outside and paper on the inside and they worked great.
- Cream Cheese – You will need softened full fat or Neufchatel/low fat cream cheese. Avoid fat free. I do find using full-fat cream cheese produces a richer, creamier cheesecake.
- Sugar
- All Purpose Flour
- Baking Poweder
- Lemon Juice
- Eggs
- Vanilla
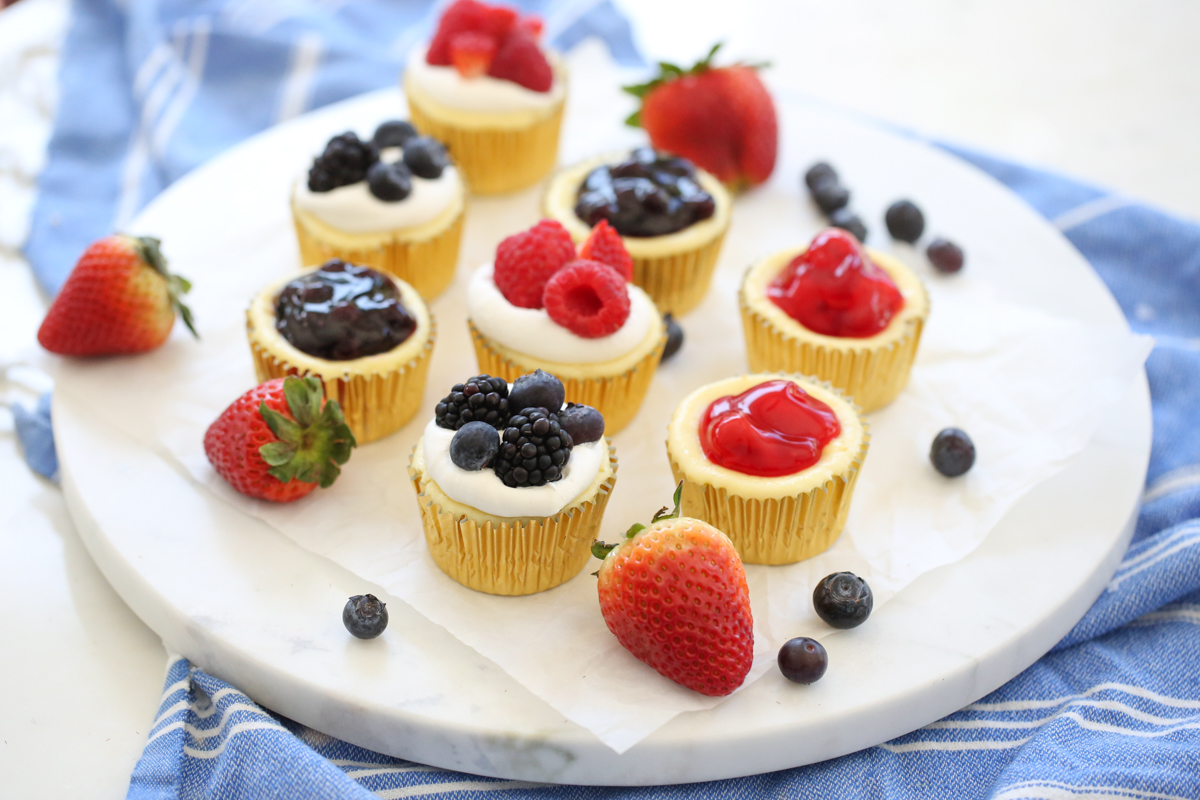
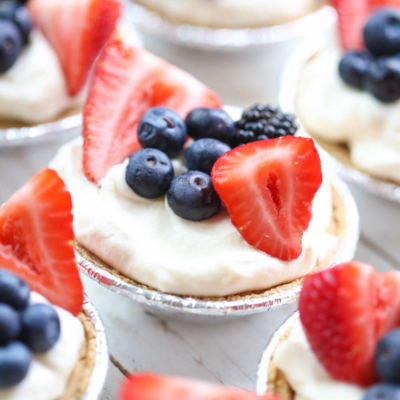
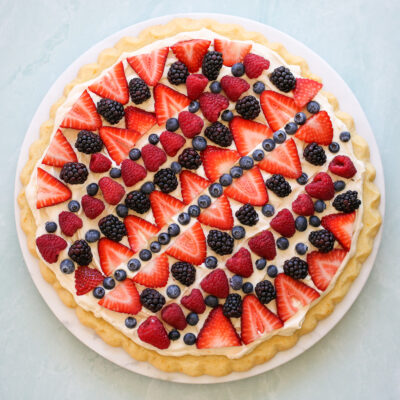
- Toppings – The options are endless here! Pie filling makes a quick and easy topper. Ganache and a berry is always a good combo, as is caramel sauce or lemon curd. If you’re making these for the 4th of July, I recommend cherry and blueberry pie fillings or whipped cream with strawberries and blueberries.
How To Make Cheesecake Tarts
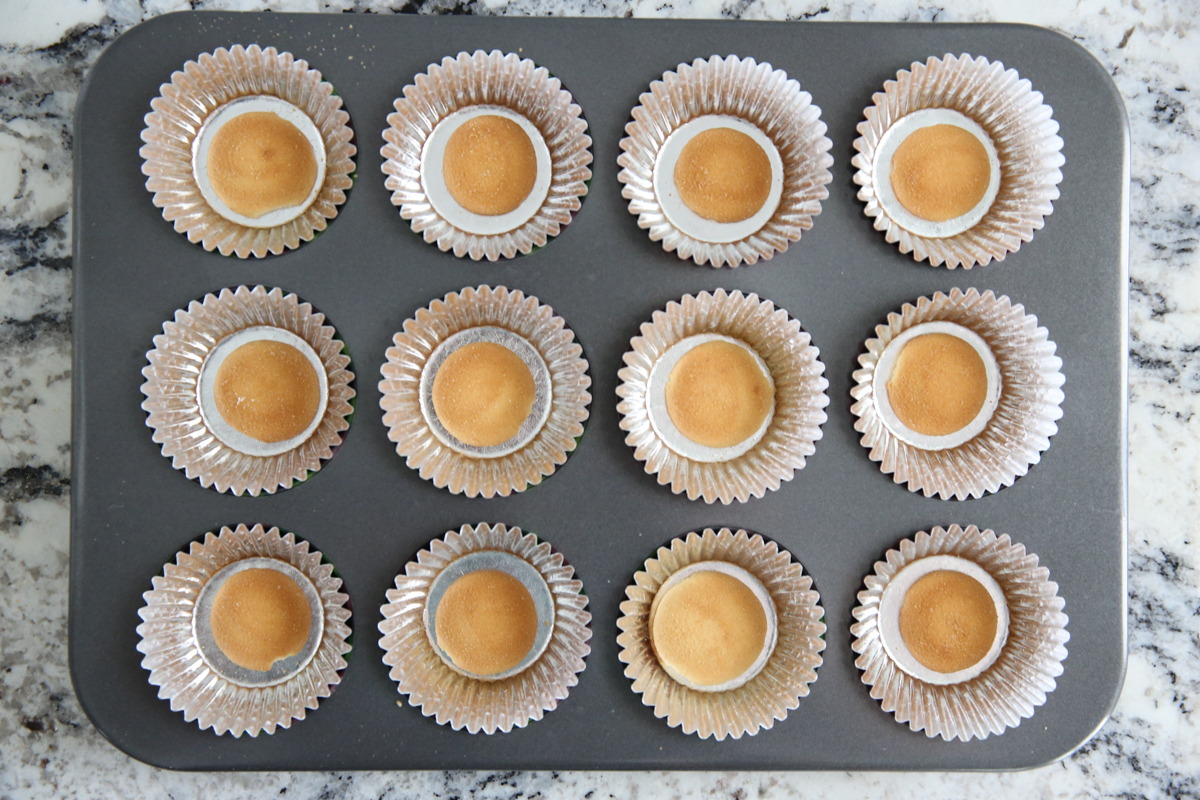
- Preheat your oven to 375°F. Fill a muffin pan with 12 foil cupcake liners. Place a single Nilla wafer at the bottom of each one, OR scroll down for another quick crust option.
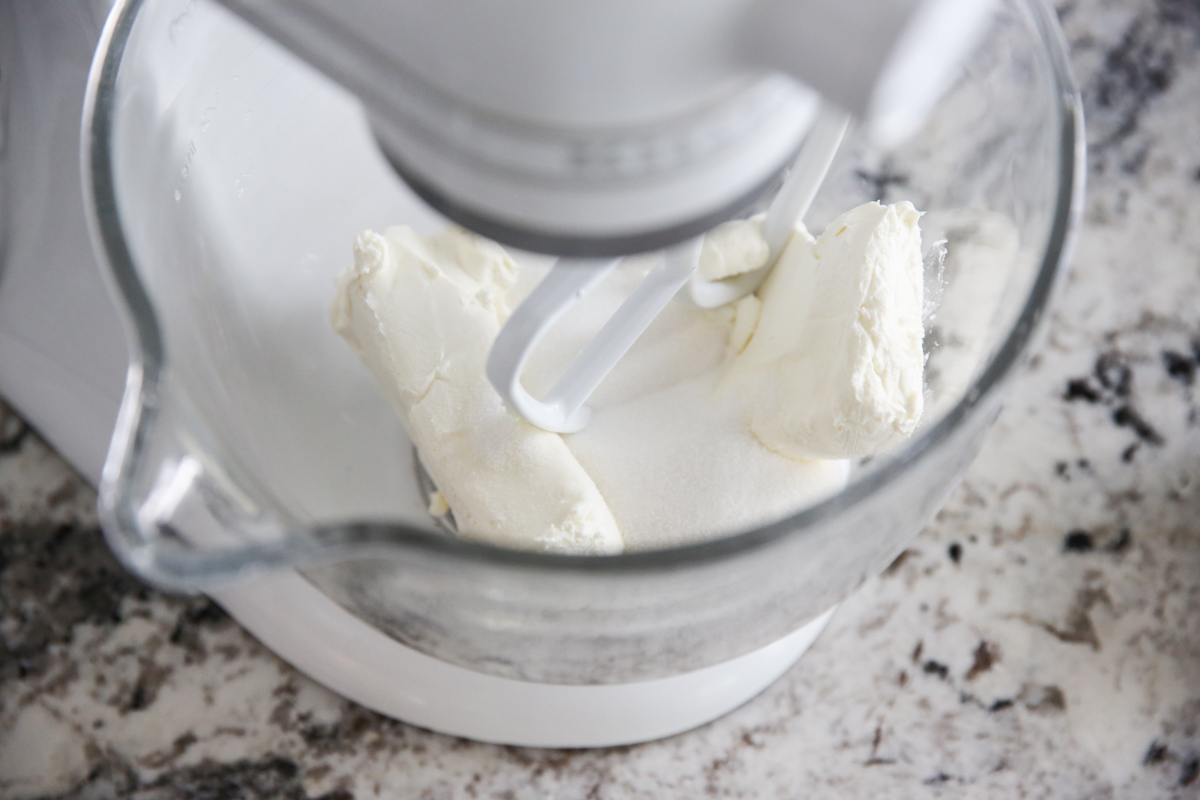
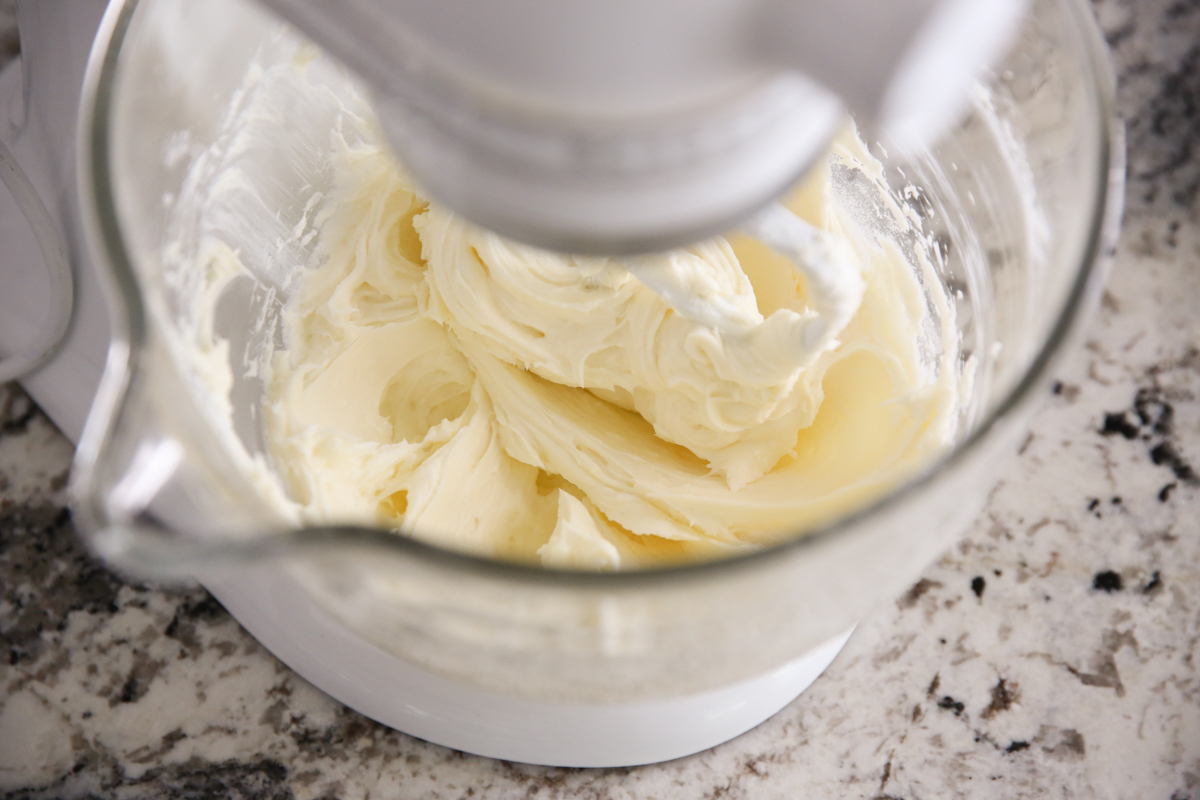
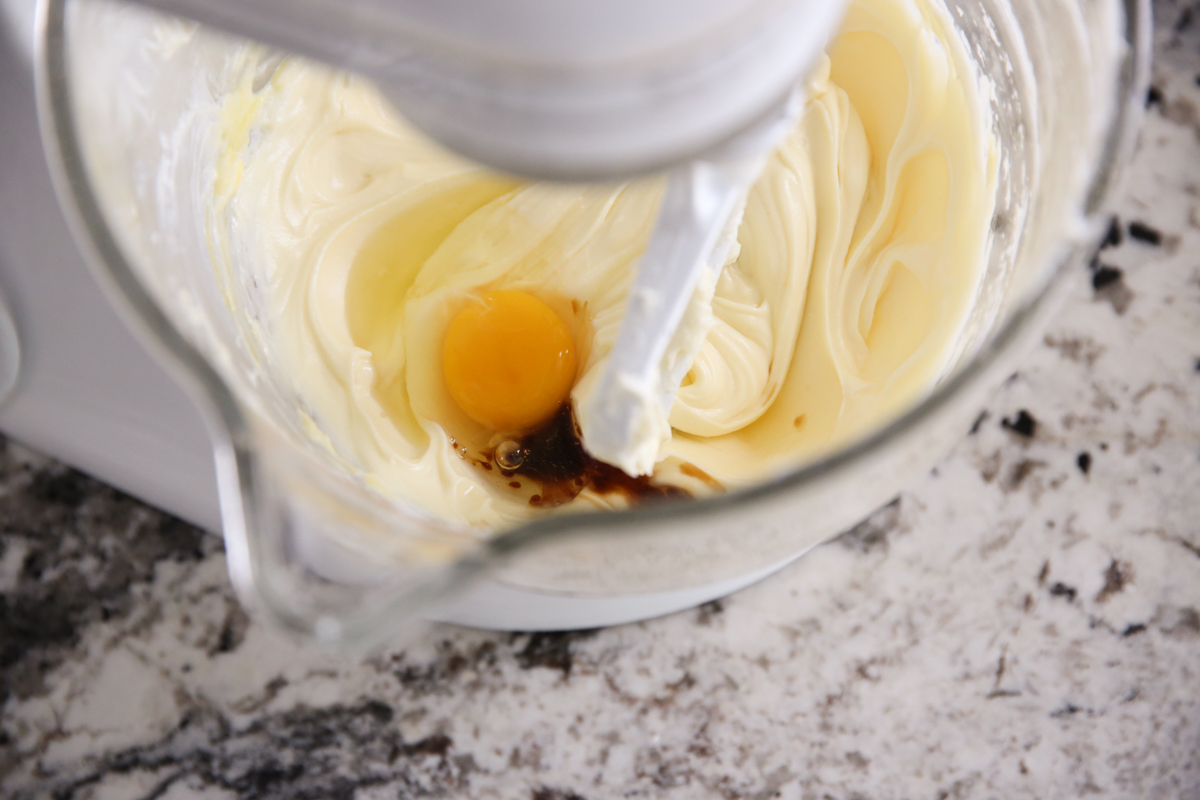
- With an electric mixer, beat some cream cheese and sugar. Add in a bit of flour and baking powder and beat to combine. Then add in a couple of eggs, one at a time, lemon juice, and vanilla. Beat to combine.
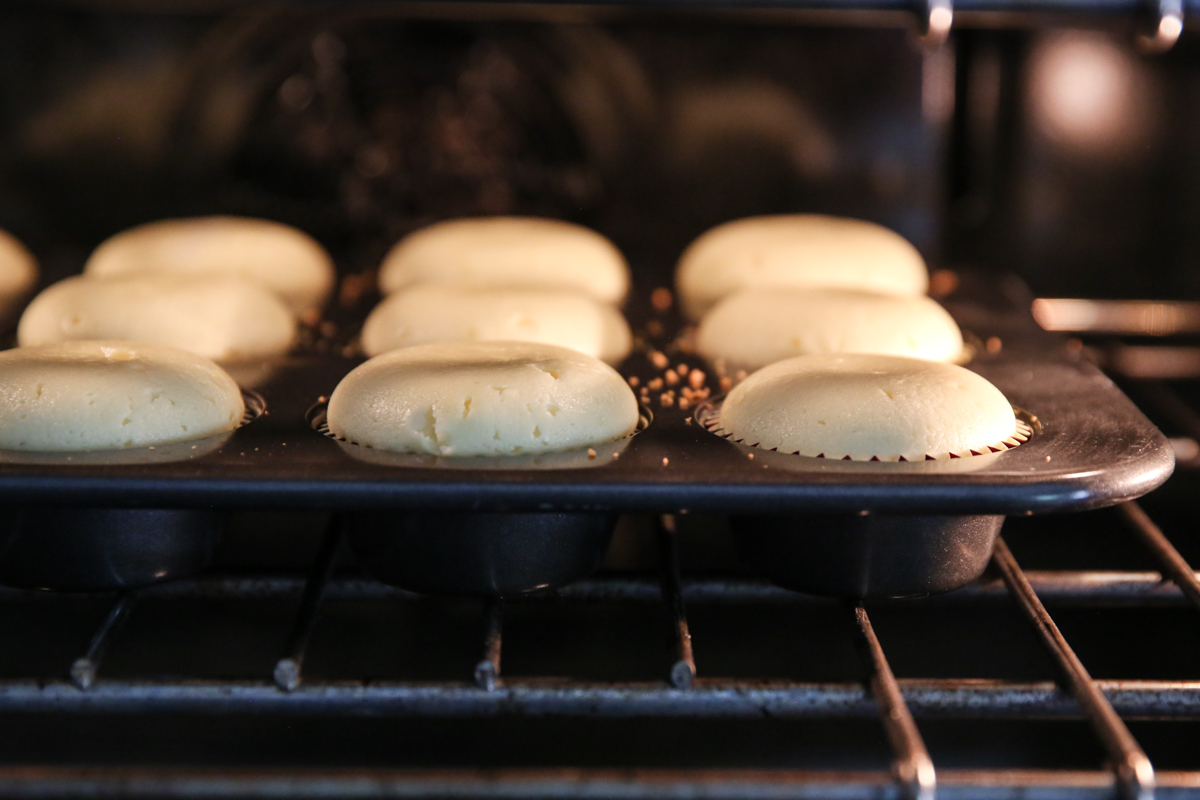
- Divide the batter between 12 muffin papers. They will be filled up close to the top, that’s okay! Bake for 15-18 minutes or until a toothpick comes out clean. They’ll puff way up during baking, but they’ll settle after being chilled.
- When you take them out of the oven, place them on a cooling rack and let them cool completely. While they cool, they will sink down in the center. Don’t worry- that’s normal! It makes the perfect little well to fill up with the fruit filling. Before you top them, chill in the fridge for at least 4-6 hours or preferably over night. Then top and serve. You can be creative and top with whatever you like!
Single Cookie Crust or Traditional Crust
I’ve always made these by placing a single Nilla wafer at the bottom of each cheesecake like my mom did. It’s incredibly quick and easy! The texture of the cookie after baking is a bit softer than a traditional cheesecake crust. If you’d like a more traditional crust, it’s super simple- I’ll include this option in the recipe card as well.
How to Top Mini Cheesecakes
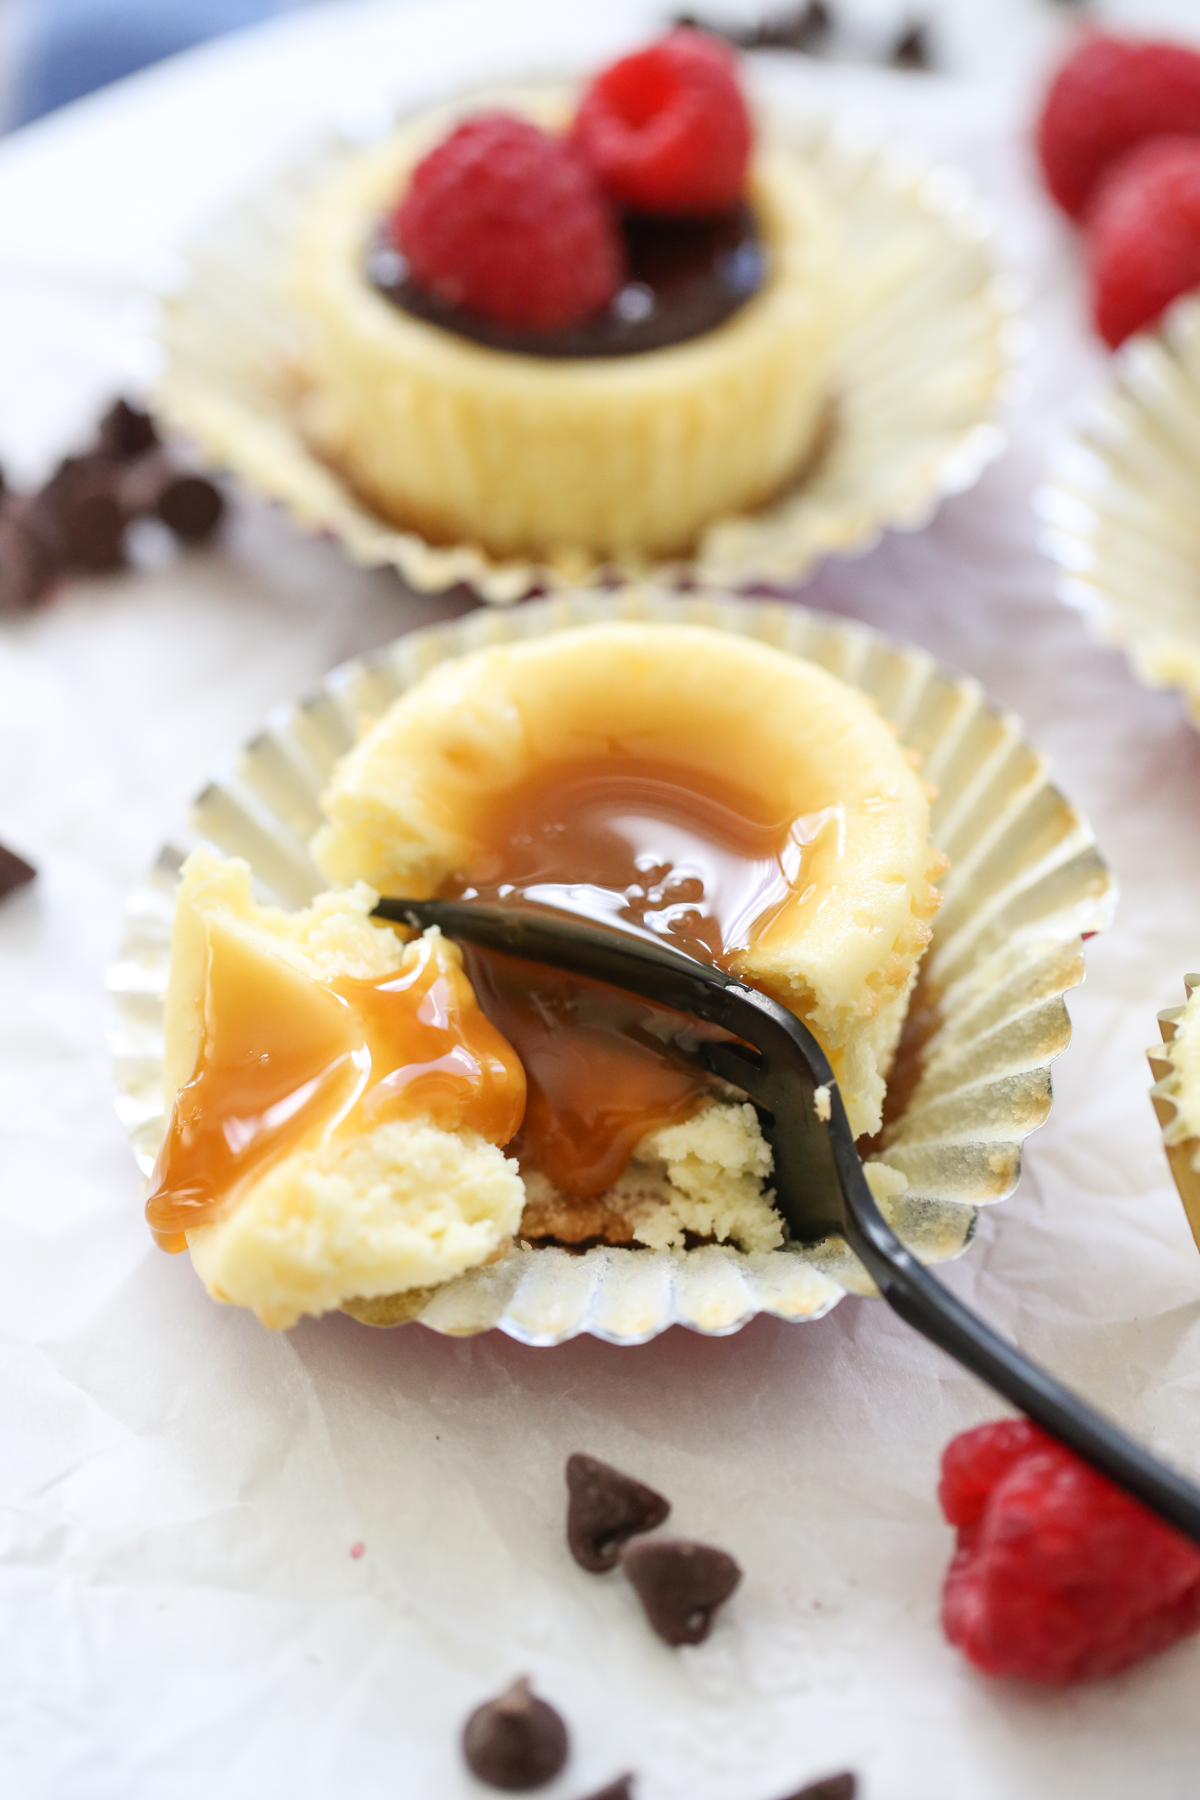
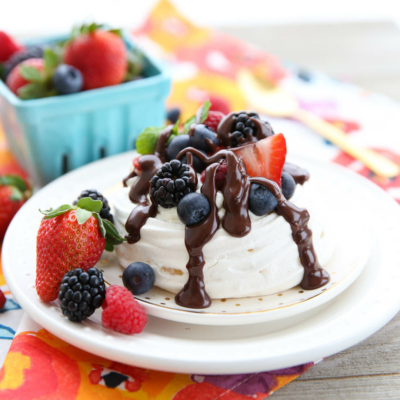
- The options are endless. Aside from fresh or canned fruit filling, another favorite of ours is chocolate ganache and a raspberry, or jarred caramel with a sprinkle of flakey salt.
- These are great because you really can just eat them with your hands in a few bites, kind of like a cupcake. Try canned pie filling for a no-fuss option, or a little whipped cream or cool whip with your favorite fresh fruit.

Storing and Other Tips
- Mini cheesecakes are a great make-ahead dessert option. Bake up your cheesecakes a day ahead of time and store, covered in cling wrap, in the refrigerator until ready to top and serve.
- To store leftovers, simply cover with plastic wrap or pop in an airtight container and pop them back in the fridge. These are best eaten within 2-3 days… if they last that long!
- I’ve always made these by placing a single Nilla wafer at the bottom of each cheesecake like my mom did. It’s incredibly quick and easy! The texture of the cookie after baking is a bit softer than a traditional cheesecake crust. If you’d like a more traditional crust, it’s super simple- I’ll include this option in the recipe card as well.
Frequently Asked Questions
I definitely recommend foil! The cheesecakes tend to stick to traditional paper liners.
The beauty of these mini cheesecakes is that they are a really low-fuss alternative to traditional cheesecake. You can test these cakes with a toothpick just like a cupcake. When it comes out clean, they are done! They will be a little golden on top, but not completely browned. They are pretty hard to mess up!
Mini Cheesecake Tarts
Equipment
Ingredients
Cheesecake Tarts
- 12 Nilla Wafer Cookies see below for more traditional cheesecake crust option
- 2 8- ounce packages cream cheese softened or at room temp
- ¾ cup sugar
- 2 tablespoons flour
- ¼ teaspoon baking powder
- 1 tablespoon fresh lemon juice
- 2 eggs
- 1 ½ teaspoon vanilla
- foil cupcake liners
Optional Toppings
- canned pie filling
- fresh berries
- whipped cream
- chocolate sauce
- caramel sauce
- lemon curd
Instructions
- Preheat oven to 375 °F. Fill a muffin pan with 12 foil cupcake liners and place one Nilla Wafer at the bottom of each one. (*Or see below for simple traditional cheesecake crust recipe)
- With an electric mixer, beat cream cheese and sugar until smooth and free of lumps. Add in flour and baking powder and beat to combine. Then add in eggs, one at a time, lemon juice, and vanilla. Beat to combine.
- Divide batter between 12 muffin papers, they will be quite full and that's okay! Bake for 15-18 minutes or until a toothpick comes out clean. They'll puff way up during baking, but they'll settle after being chilled.
- When you take them out of the oven, place them on a cooling rack and let them cool completely. While they cool, they will sink down in the center. Don't worry- that's normal! It makes the perfect little well to fill up with the fruit filling. It's also not abnormal for these little cheesecakes to have some cracks. No stress since you'll cover up the tops with toppings! you top them, chill in the fridge for at least 4-6 hours or preferably over night.
- Top and serve.
- *Traditional Cheesecake Crust Option
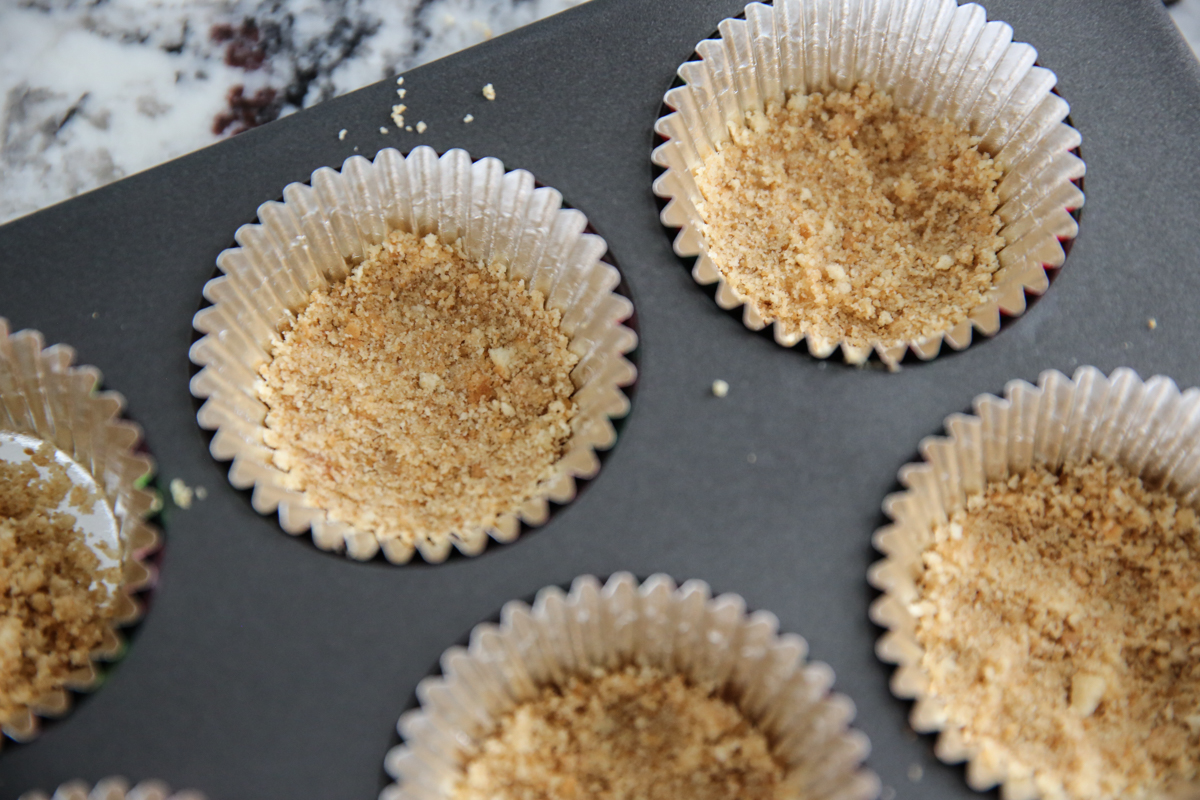
- Place 24 Nilla Wafer cookies in a blender or food processor (or simply place in a zip top bag and smash until crumbs). Place crumbs in a small bowl and mix with 1 ½ tablespoons butter, melted, and ¾ teaspoon sugar. Divide mixture evenly between muffin liners (should be about heaping tablespoon each) and gently press down.
Notes
- The filling options are endless. Aside from fresh or canned fruit filling, another favorite of ours is chocolate ganache and a raspberry, or jarred caramel with a sprinkle of flakey salt.
- These are great because you really can just eat them with your hands in a few bites, kind of like a cupcake. Try canned pie filling for a no-fuss option, or a little whipped cream or cool whip with your favorite fresh fruit.
- Mini cheesecakes are a great make-ahead dessert option. Bake up your cheesecakes a day ahead of time and store, covered in cling wrap, in the refrigerator until ready to top and serve.
- To store leftovers, simply cover with plastic wrap or pop in an airtight container and pop them back in the fridge. These are best eaten within 2-3 days… if they last that long!
- I’ve always made these by placing a single Nilla wafer at the bottom of each cheesecake like my mom did. It’s incredibly quick and easy! The texture of the cookie after baking is a bit softer than a traditional cheesecake crust. If you’d like a more traditional crust, it’s super simple, just follow the recipe as outlined above.


Questions & Reviews
I made these this week, and they were so good I made them a second time! Super easy (love that they only have a few ingredients) and they looked really cute.
I made one batch in the mini muffin tins, with mini nilla wafers. They still took 15+ minutes to cook, but they were really great.
Turned out great! I think they’d all disappeared in about 15 minutes after we set them out.
Made these for our Fourth of July festivities and they were a hit! Thanks for the great recipe, I’ll be using it a lot.
Look at this Sara
http://eatwithmolly.blogspot.com/
My sister Molly has a food blog
Your website is her post today!!
She does the cooking group for her ward and was telling me that a lot of ladies who reference her cooking blog will be using yours!
Sara I am making this tomorrow for a 4th of July BBQ, so excited. Also, I made your flank stk last night, to die for!!! Seriously, loving this blog.
I think I’m a liar. This makes closer to 12. I’m looking at the ones I made last night and they’re a little…small.
Okay, scratch that. The recipe makes 24! Kate just made them and told me, lol. When I made them for the photos, I must have made a half-batch. Also, sorry I forgot to put the oven temp in there. That’s what I get for posting at the last minute! Thanks to Kate for editing all that for me, lol.
ccmommy- you could totally make them in a mini tin. And let me just say that they would be SO so cute! I’m totally obsessed with mini-versions of food, lol. You’d just have to adjust the baking time a bit because they wouldn’t take as long to cook.
If you try that, let us know how it goes!
Could you use the mini wafers and use mini muffin tins? They looks so yummy, but I’d like to make them smaller for my kids.
I wasn’t either to vote either, but I’m here!
Those tarts look SERIOUSLY delish. Too bad my hubbie doesn’t like cheesecake. Then again, I guess I could just eat all of them…