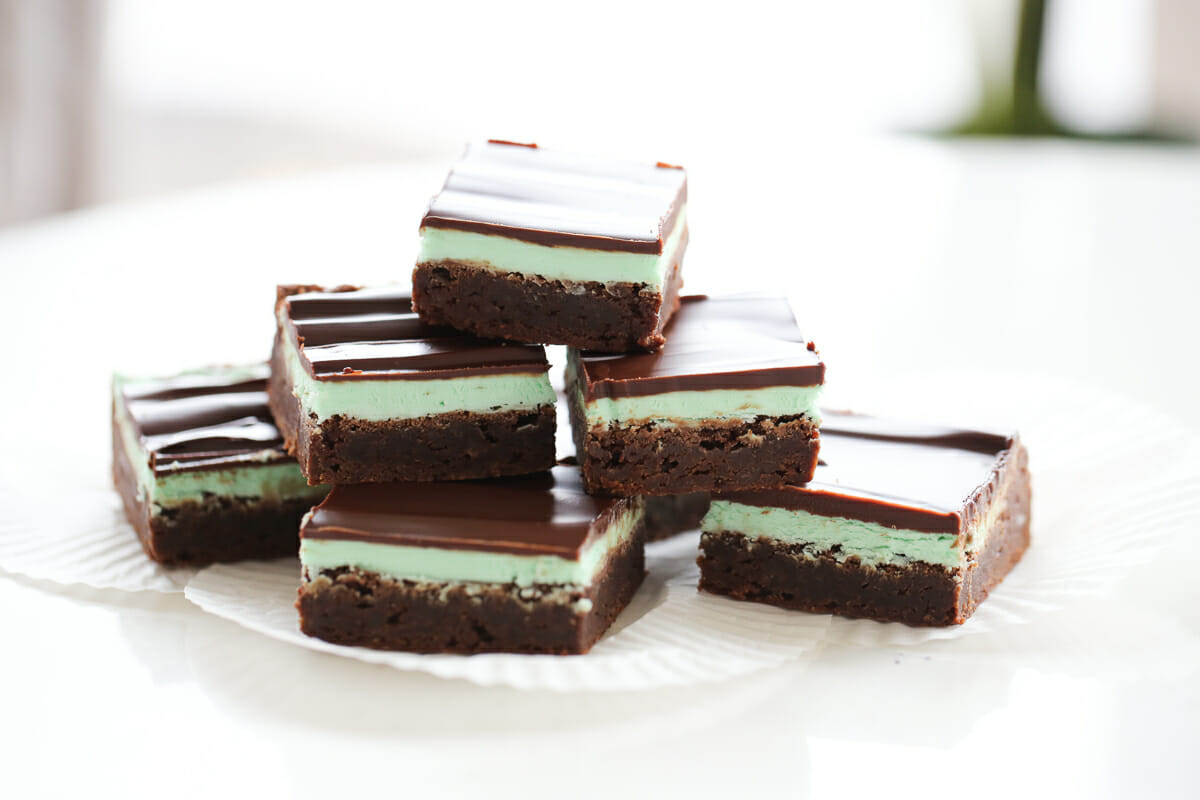
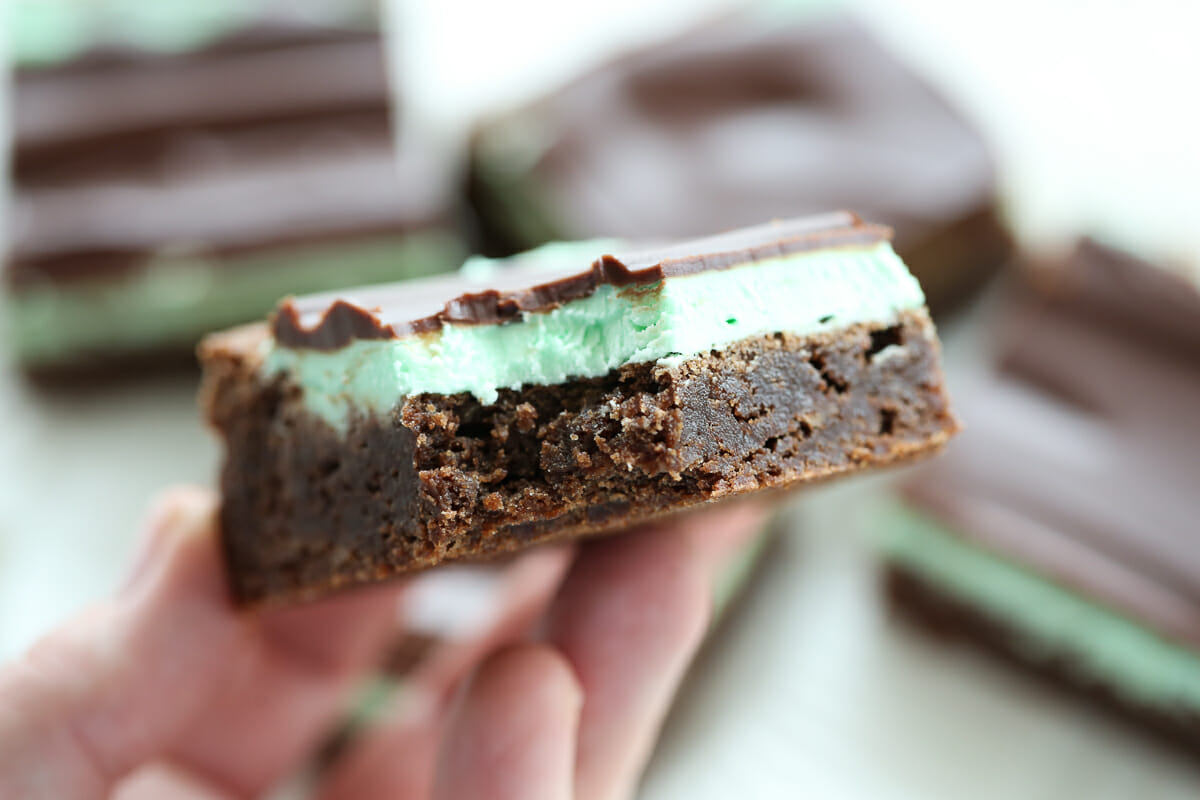
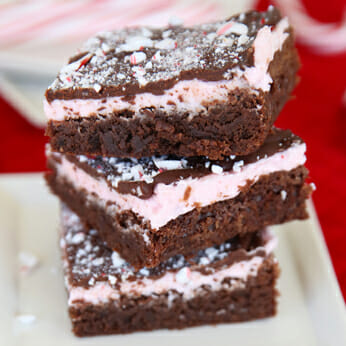
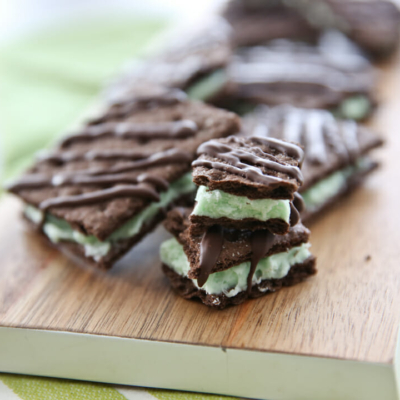
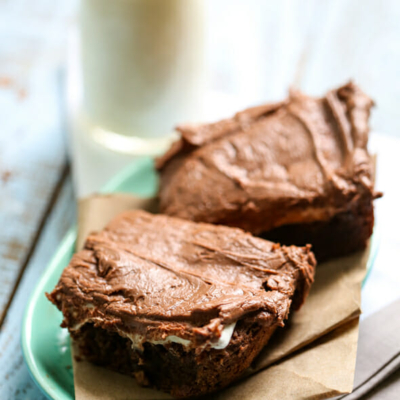
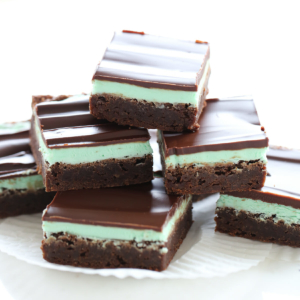
These rich and fudgy Mint Brownies are PERFECTION. The base layer is dense and chewy (in a good way) and it’s topped with a cool and creamy peppermint icing. The top layer is a buttery ganache and my favorite way to eat these is chilled from the fridge. This is the exact Mint Brownies recipe that my Mom has been making since I was a little girl. It’s actually the same brownie I turned into Peppermint Candy cane Brownies, too!
Ingredients Needed
This is just a preview of ingredients and method, keep scrolling for full printable recipe.
Brownies
- Unsweetened baking chocolate
- Butter – Use real butter.
- Eggs
- Granulated sugar
- Vanilla extract
- All-purpose flour
- Baking powder
Frosting
- Powdered sugar
- Butter
- Peppermint extract
- Milk
- Green food coloring
Chocolate Glaze
- Semi-sweet or dark chocolate chips
- Butter
How to Make Mint Brownies
- First you’ll whip up your brownies. I prefer a brownie that’s dense and chewy (as opposed to light and cakey). You can tell by the ingredient list that these mint brownies fall into the former category. There’s no cocoa powder in here; we use melted chocolate and only a little over 1 cup of flour in a 9×13 pan. Bake and cool your brownies.
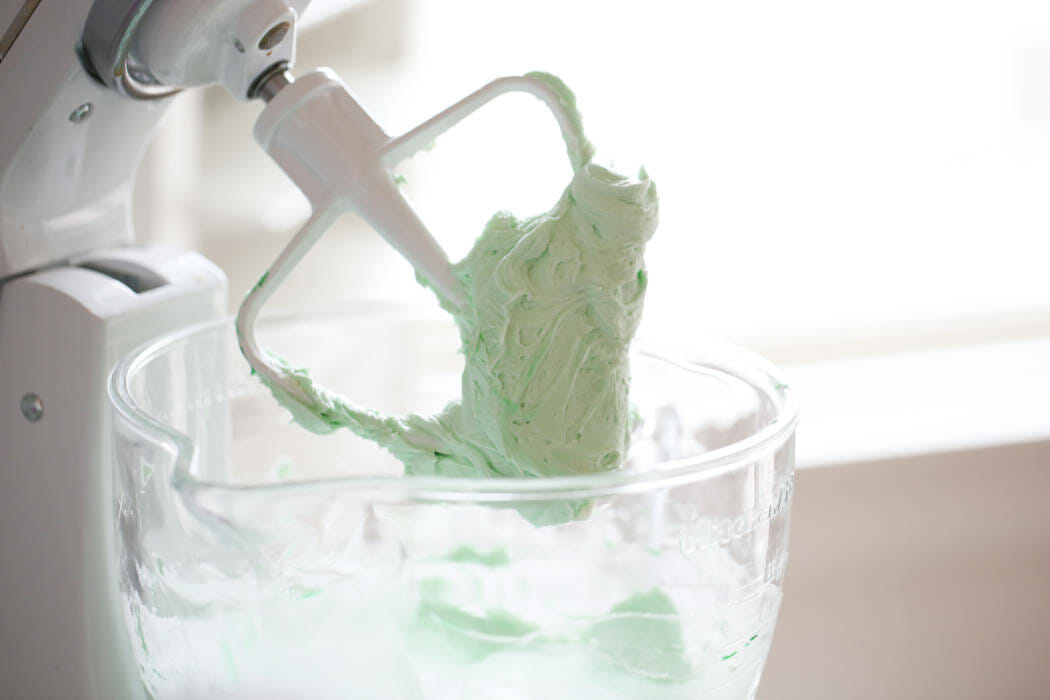
- Once the brownies are completely cool, pop them in the freezer while you make your frosting layer. This frosting is a pretty standard mix of butter, powdered sugar, peppermint extract, milk, and food coloring.
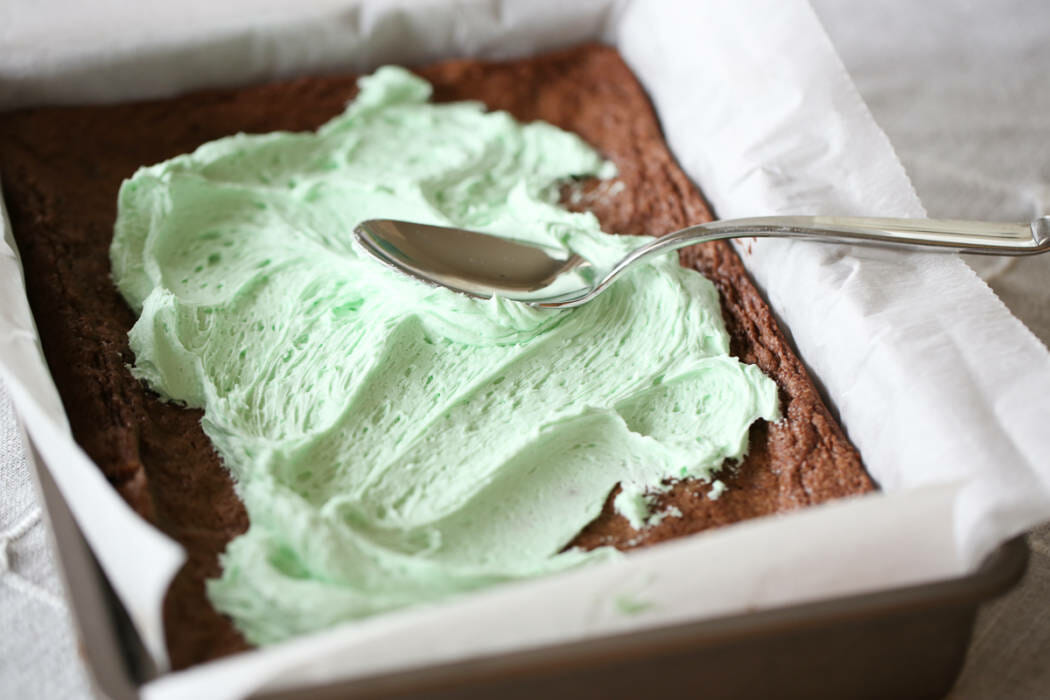
- Pull your brownies out of the oven and spread your frosting on in an even layer. Return the pan to the freezer while you make your chocolate glaze.
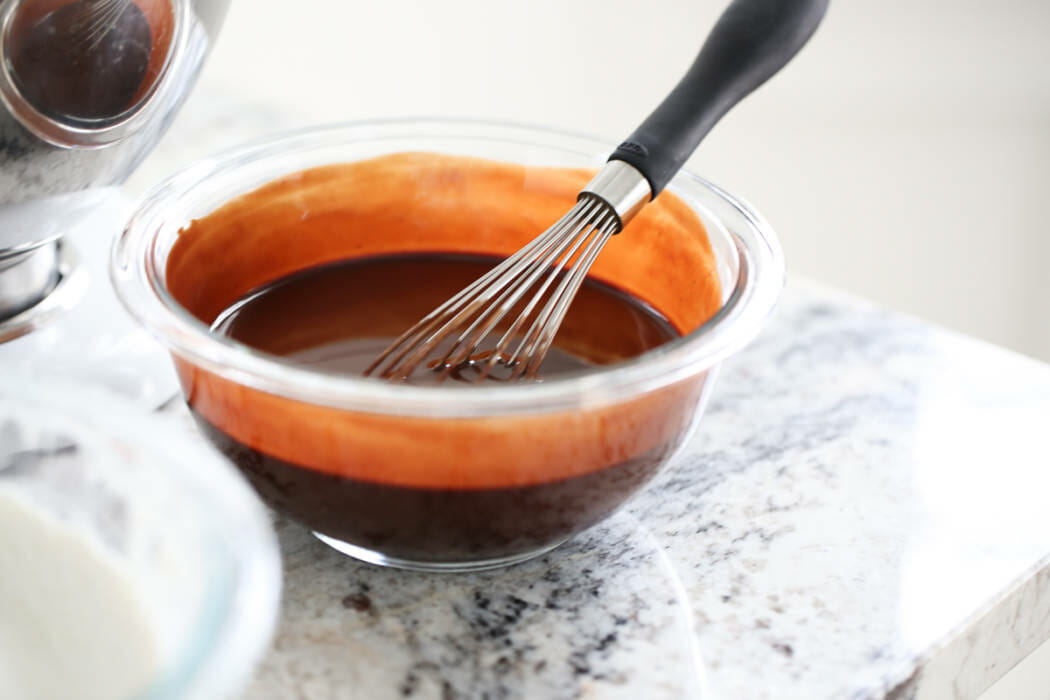
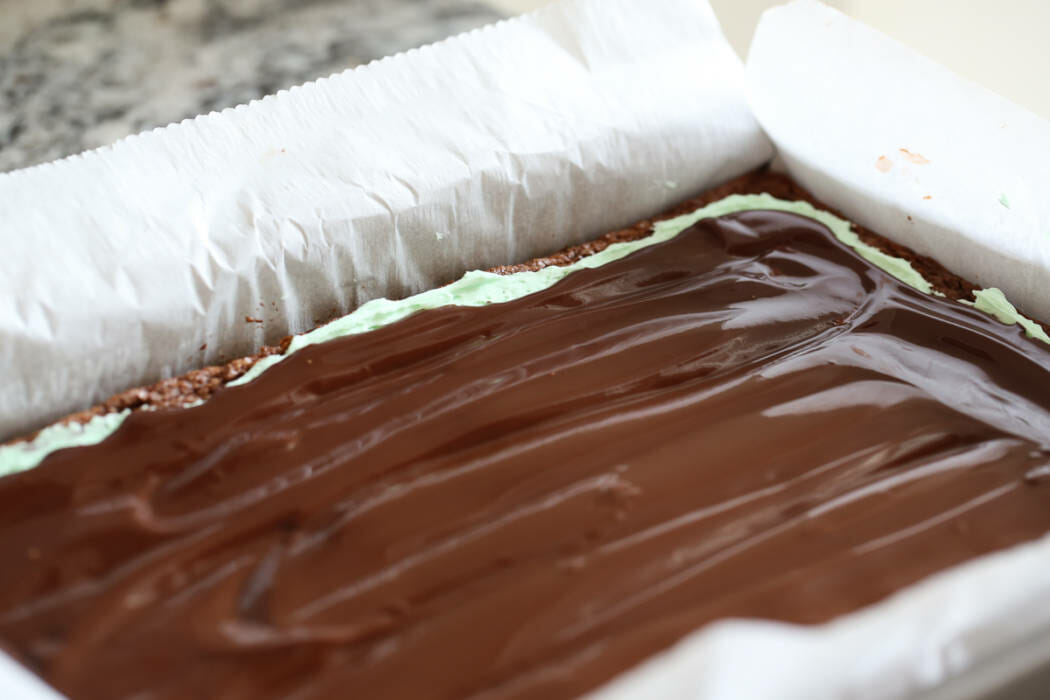
- To make the glaze, you’ll melt some chocolate chips and butter in the microwave until smooth. Set this mixture aside to cool for about 15 minutes so it doesn’t melt your frosting.
- When ready, pull your frosted brownies out of the freezer and carefully spread the chocolate glaze on top. Pop the pan in the refrigerator to allow the final layer to firm up, then cut into squares and serve.
Storing and Other Tips
- Store finished brownies, tightly covered, in the refrigerator and enjoy within 3-5 days for best results.
- Because these mint brownies are so ooey-gooey, I think they are best served chilled! I keep them in the fridge until we’re ready to eat them. There’s also something about a peppermint dessert being chilled that just makes it extra delicious.
- For chilling between steps, I like to use my freezer, but the fridge works, too, if that’s where you have room for them!
- A note on frosting: As written, you might feel like the frosting isn’t enough when you are making it! It’s a thin layer to add a cool peppermint flavor, but not so much that the brownie turns out overly sweet and takes over the chocolate element. That being said, if you like a thicker frosting layer, you can 1.5x the frosting portion of the recipe. I’ve done 1.5x for these photos because I think the thicker frosting layer photographs better, but I’ve been making them for years with the smaller amount and it’s pretty perfect! Up to you!
- A word about butter: I prefer unsalted butter on the glaze. However, you can use salted butter in all other steps. If using unsalted butter in the frosting and the brownies, add a couple pinches of salt to both. If you only have salted butter to use in this glaze step, that’s totally fine as well.
Frequently Asked Questions
Yes! These brownies store beautifully in the fridge. Feel free to make them up to 48 hours ahead of time.
Sure! Feel free to play around with frosting flavors. Lemon or orange would be delicious. Raspberry or almond would be great, too!
Mint Brownies
Equipment
Ingredients
Brownies:
- 4 ounces baking chocolate unsweetened
- 1 cup butter
- 4 eggs large
- 2 cups sugar
- 1 teaspoon vanilla
- 1 ¼ cups flour
- ½ teaspoon baking powder
Frosting:
- 2 cups powdered sugar
- 4 tablespoons butter extra softened
- 1 ½ teaspoons peppermint extract
- 1-2 tablespoons milk
- green food coloring
Chocolate Glaze:
- 6 ounces about 1 cup semi-sweet or dark chocolate chips
- 6 tablespoons butter I prefer unsalted butter here; see notes
Instructions
Brownies
- Preheat oven to 350℉. Line a 9×13 inch pan with foil or parchment making sure the foil extends over the edges by at least one inch. Lightly spray with non-stick spray and set aside.
- Chop both unsweetened chocolate and two sticks of butter into chunks and place together in a microwave safe bowl. Microwave in 30 second intervals, stirring in between, until just melted and smooth. Set aside to cool, stirring occasionally.
- With an electric mixer or stand mixer beat eggs, sugar, and vanilla for 2 minutes. While egg mixture is beating, measure out flour and combine with baking powder.
- While mixer is running, slowly add melted chocolate and beat to combine. Turn beater speed to low and add in flour by spoonfuls. Mix just until combined. Pour batter into prepared pan and bake for 20-30 minutes or until a knife poked in center comes out clean.
- Cool completely on a metal rack. When brownies have cooled to room temperature, place in fridge or freezer to chill and prepare frosting.
Frosting
- Combine all frosting ingredients, starting with 1 ½ tablespoon of milk, and beat until light and fluffy. Add more milk by teaspoonful as needed. Beat for a full 2-3 minutes to become light and fluffy. Spread frosting evenly over brownies and then place brownies in fridge to chill again.
- Chocolate Glaze
- While brownies are chilling prepare chocolate glaze. Place chocolate chips and 6 tablespoons butter in a microwave safe bowl. Microwave in 30 second intervals, stirring in between, until just melted and smooth. Set aside to cool for about 15 minutes and then carefully spread on top of the frosting layer. Return pan to fridge to cool. When chocolate has hardened, use edges of foil to remove entire brownie from pan. Cut into squares and serve.
Notes
- We love these served chilled.
- Since these have multiple steps, make them plenty ahead of time. They store well in the fridge if made a day or 2 ahead!
- If you like extra frosting and sweetness feel free to 1.5x the frosting ingredients. The photographs shown here are made with 1.5x frosting.
- A word about butter: I prefer unsalted butter on the glaze. However, you can use salted butter in all other steps. If using unsalted butter in the frosting and the brownies, add a couple pinches of salt to both. If you only have salted butter to use in this glaze step, that’s totally fine as well.
- Store finished brownies, tightly covered, in the refrigerator and enjoy within 3-5 days for best results.


Questions & Reviews
Yup, you got it Leda!
Hi!! This sounds yummie!!!! Just checking: T (tablespoon)…t (teaspoon) C (cup)…right?? THANX A LOT!
Awesome brownies! the mint frosting and chocolate really finished them off
Uh-mazing! I made these today, I was always a fan of the byu mint brownies but these are wayyyy better. Enough to put you in a coma. I totally agree about nuts in brownies, not a fan. Thanks!
My mom used to make these for special occasions when I was a kid. This recipe brings me back!! Thanks for posting!
Snow Maiden- it's funny you say that because when I was little my Mom made these with nuts and I HATE nuts in mint brownies!! I don't think it goes with mint at all! But your hubby would love my Mom's original version- toss some nuts in there some time for him! lol
My husband loves mint brownies but is very particular about how the perfect mint brownie should taste. I made these yesterday and he said they were among his top favorite! 🙂 He said the only thing that would have made them better was if they had nuts in them. 🙂 Thank you so much for the wonderful recipe and for helping me bring a little more happiness to his life! 🙂
No fair sneaking this in and no fair combining MINT and BROWNIES and sharing the recipe. How… can… I… resist?!
Thanks for this awesome recipe!! I made these today and had a house full of happy people, actually 3 houses full of happy people!! We shared with some friends. Amazing recipe!!
Wow, definitely will have to try this.