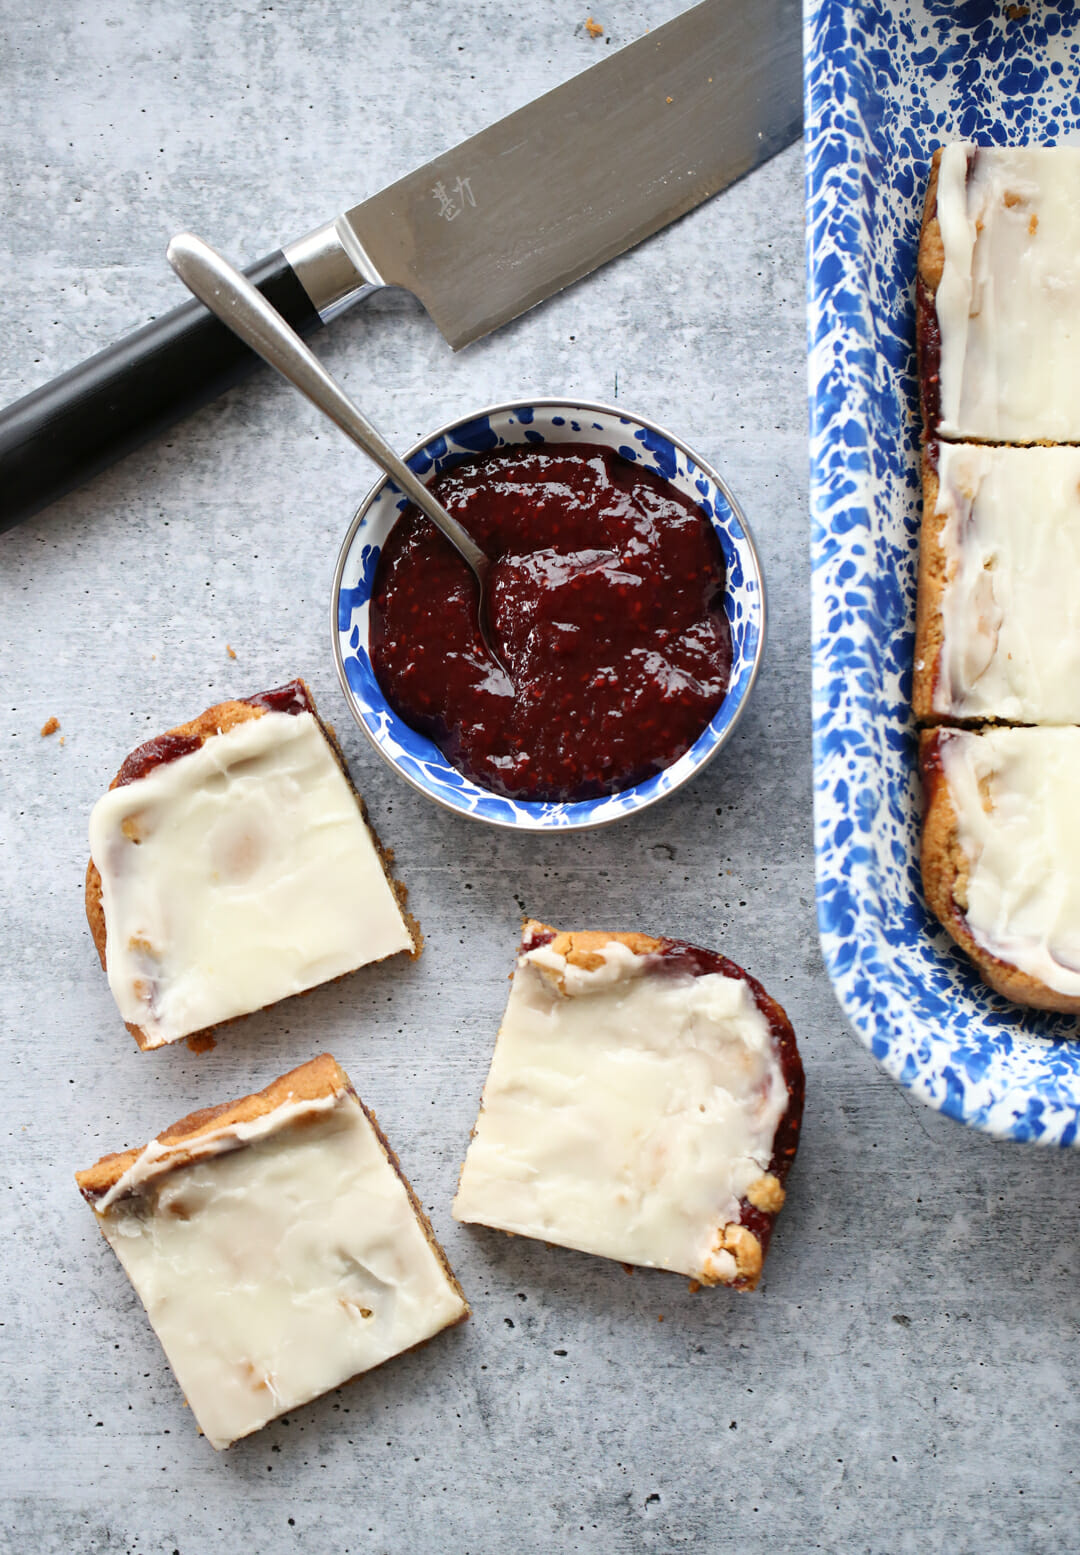
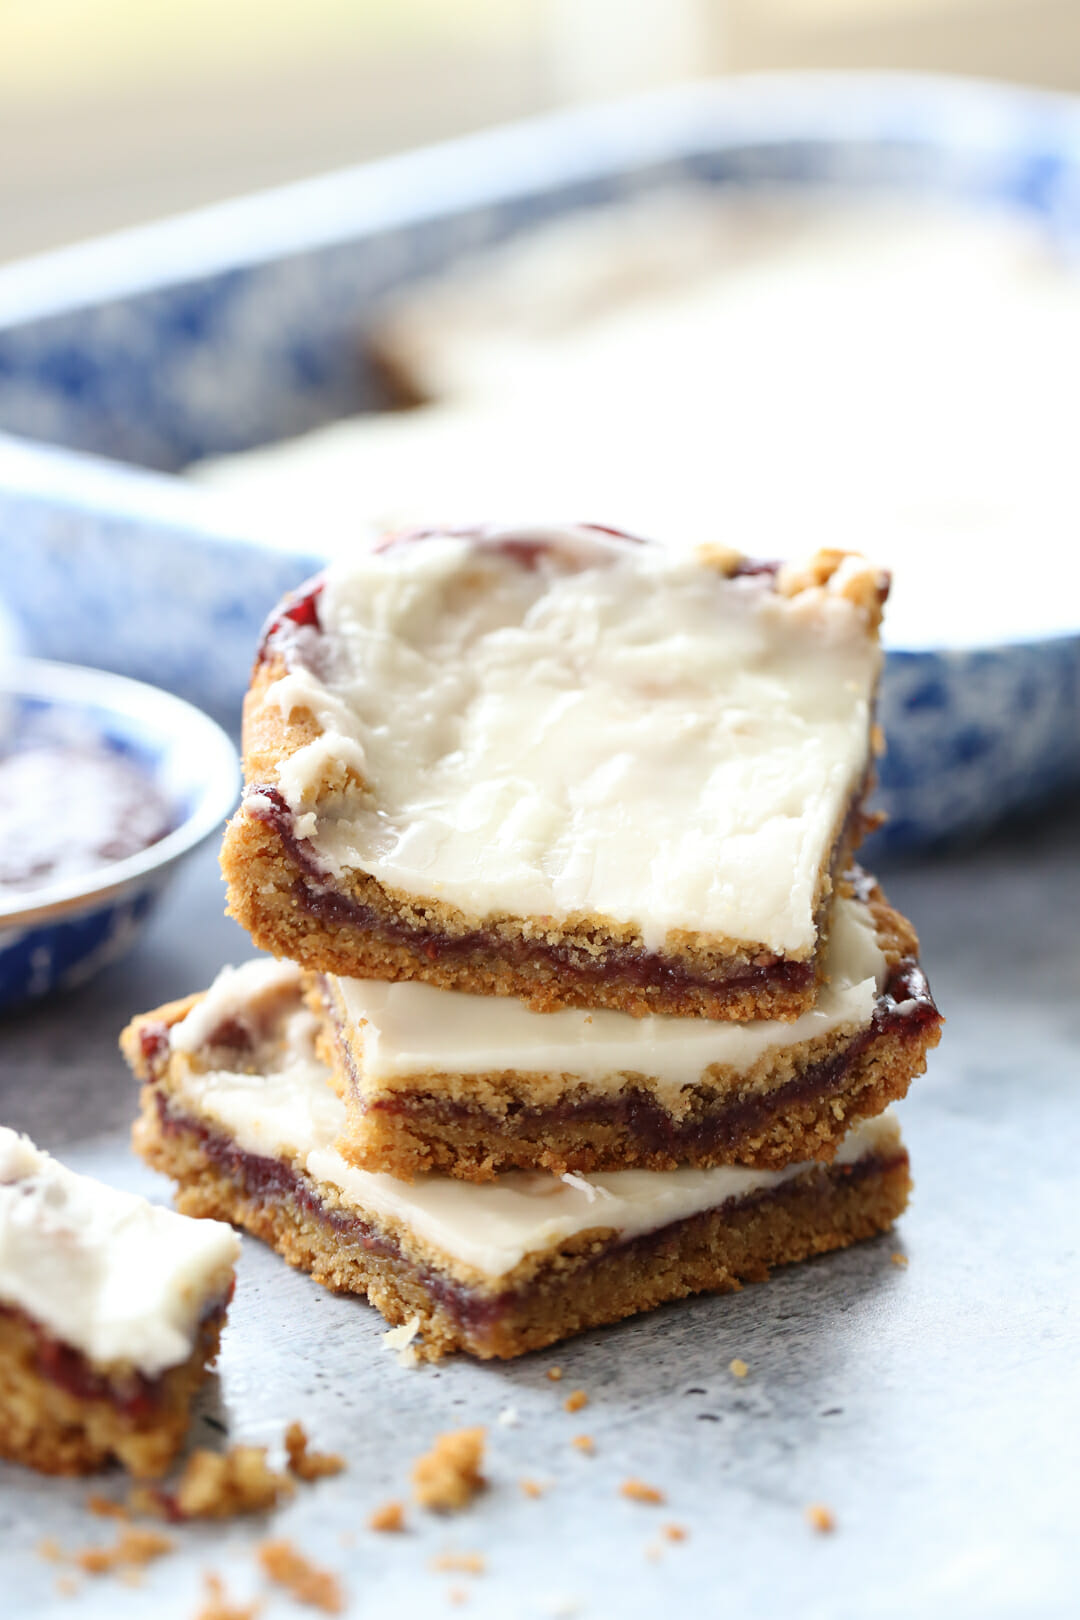
Peanut Butter and Jelly is one of the world’s best flavor combinations. These cookie bars are a family favorite and taking one bite into these blissfully sweet bars is like taking a big chomp into my childhood. We made these a lot growing up. In fact, I can still visualize the paper my Mom had with the recipe and a note that it was from our neighbor down the street, Sharon Mckenzie. They were a regular addition to summer pot-lucks, Christmas plates for neighbors, our weekly “Family Nights” and on lazy Sunday afternoons. It’s basically 2 layers of super soft peanut butter cookie dough sandwiching a layer of sweet berry jam, with a creamy, buttery vanilla glaze on top.
How I learned to Cook
People always ask me where I learned to cook. I really had to think about it at first since I can’t really pinpoint an exact point in my life where I became interested in all things culinary. I didn’t take a class, or watch a show, or read a book. I just…cooked. I always have. But as I reflect on my life and my past and all of the things that have made me into the person that I am, the answer to that question is crystal clear. I learned from my Mother.
She wasn’t a chef or even a super fancy cook. She just made good food. And she made it often. Growing up in our house, meal times were consistent, treats were plentiful, and the kitchen was the heart of our home. My Mom always took time to include the “little helpers” even if it meant a less-than-perfect finished product and constant exposure to that just led to a natural interest for me.
 Great Recipe to Make with Your Kids!
I mention this because this is one of those great recipe that’s really fun to make for (or with) your kids! My little ones love squishing the dough in the pan or drizzling the glaze. They can’t really be messed up too much so go ahead and invite a helper in the kitchen.
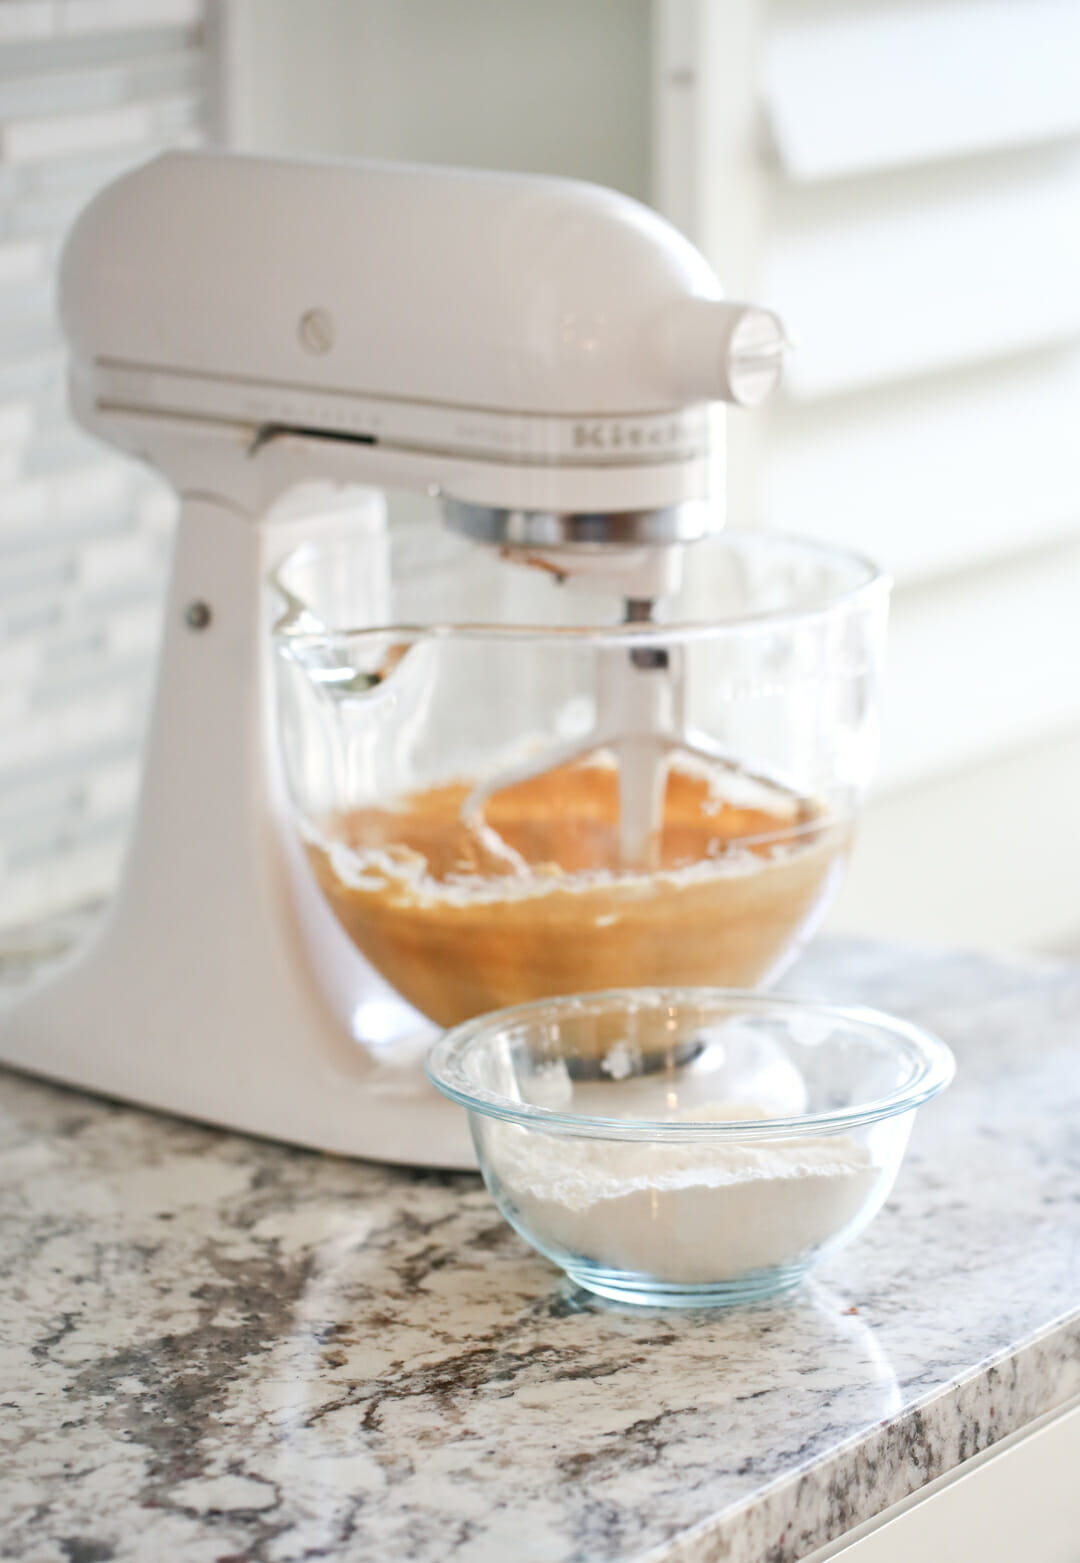
Making the Peanut Butter Dough
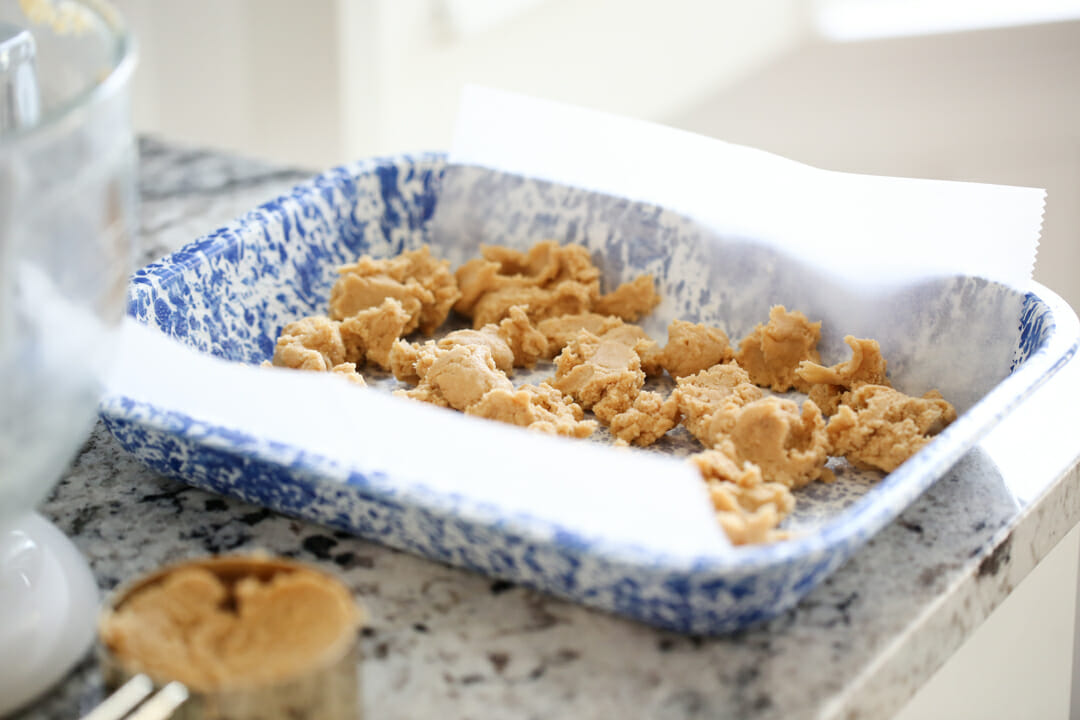
So these are super easy. You’ll make a quick peanut butter dough and press part of it into the bottom of a 9×13 pans. If you’re like me and you have 9×13’s that are a little bigger and ones that are a little smaller, I usually go for the smaller one. I like to crumble pieces of dough on the bottom of the pan and then press them in evenly with my hands. Parchment isn’t necessary here but I always use it so I can lift the whole pan of cookies out after they cool for easy slicing.
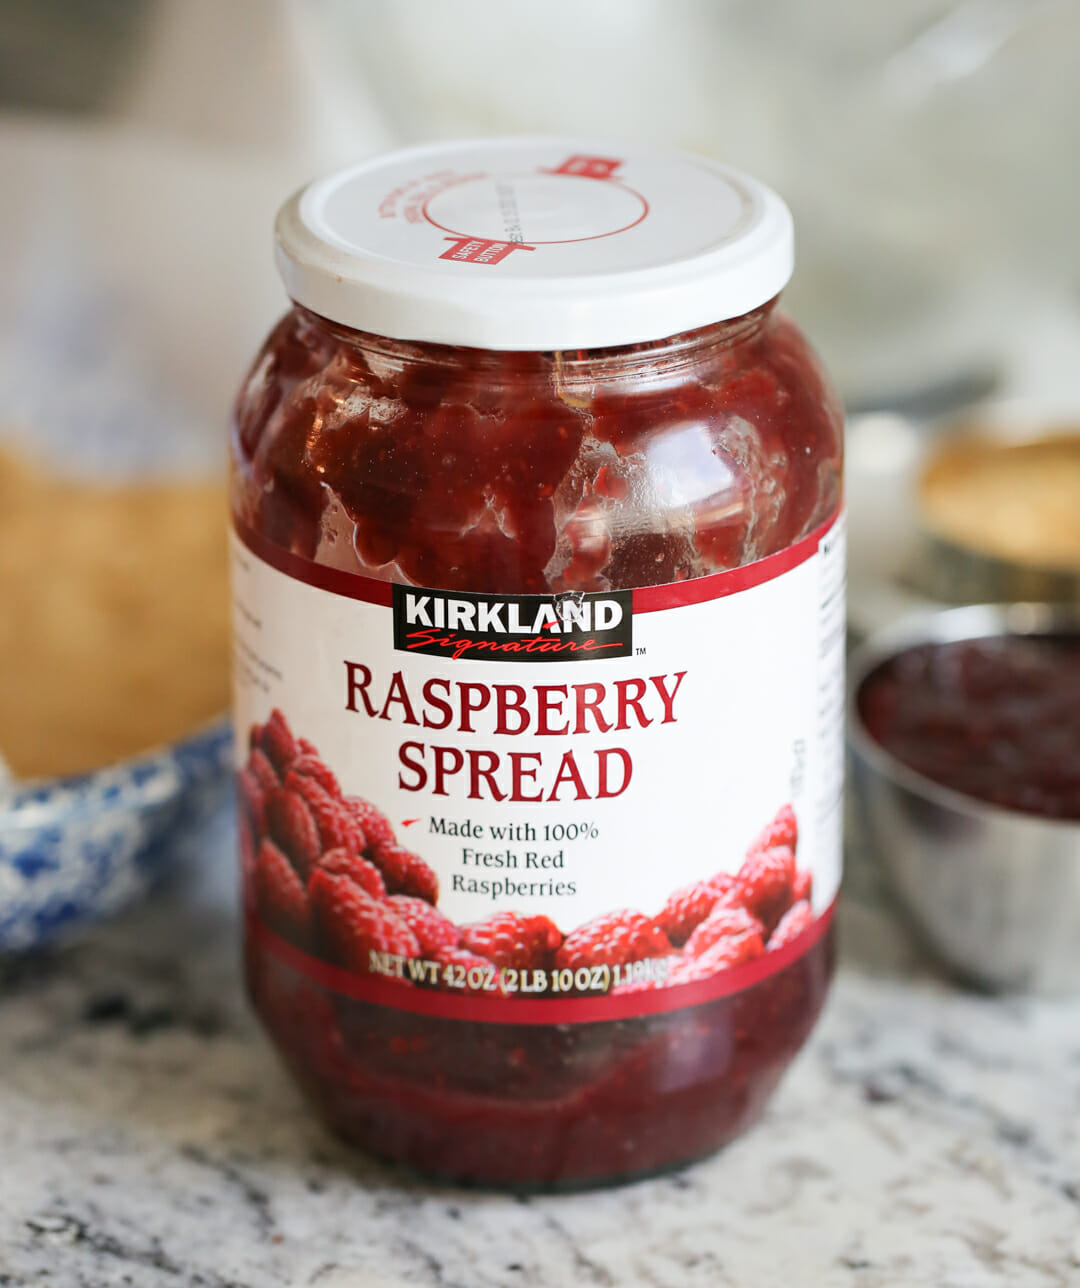
Spread on the Jam
You’ll then spread on a layer of jam. You can honestly use anything you have in your fridge. Really not a bad combo possible here. I always go with raspberry or strawberry. We really like jams that aren’t SUPER sweet; this one from Costco is one of our favorites.
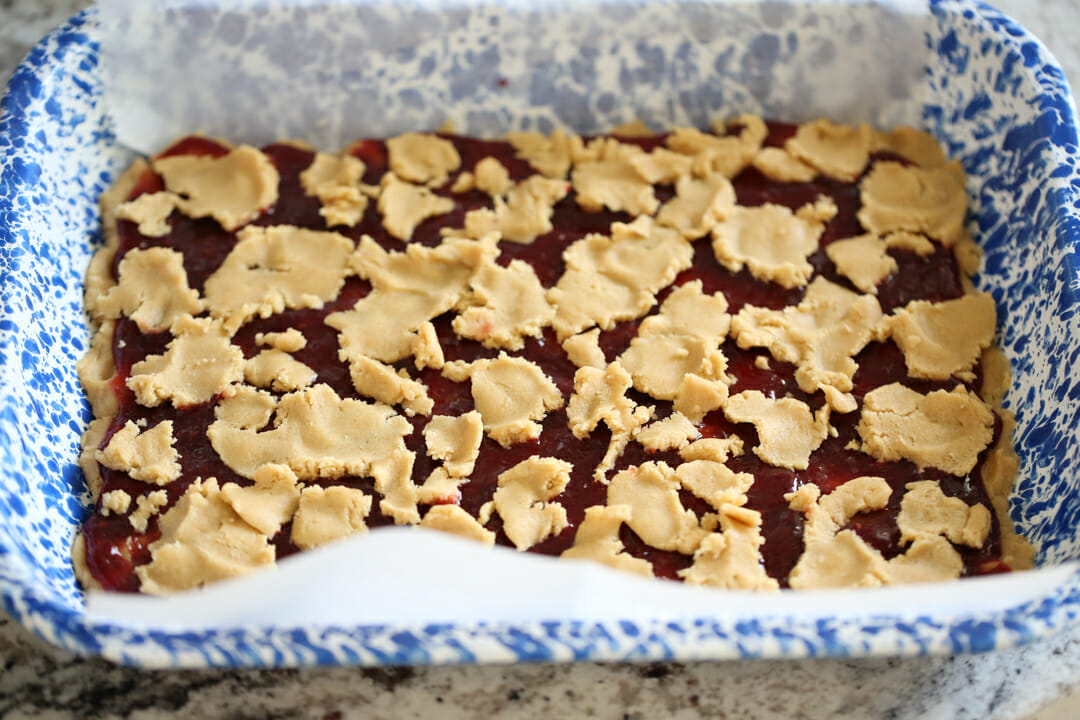
Top With More Dough
Spread the jam over the bottom dough in a nice even layer. Take the remaining chunk of your dough and use it to cover the jam layer. I take small pieces and press them with my fingers to create flat little pieces of dough. You can also crumble it if you want, but I like the pressing method. Some of the jam will still show through when you’re done and that’s fine. In this batch I’ve set aside just 3/4 cup of dough for the top, which is why you see quite a bit of jam popping through. You can reserve anywhere from 3/4 – 1 cup.
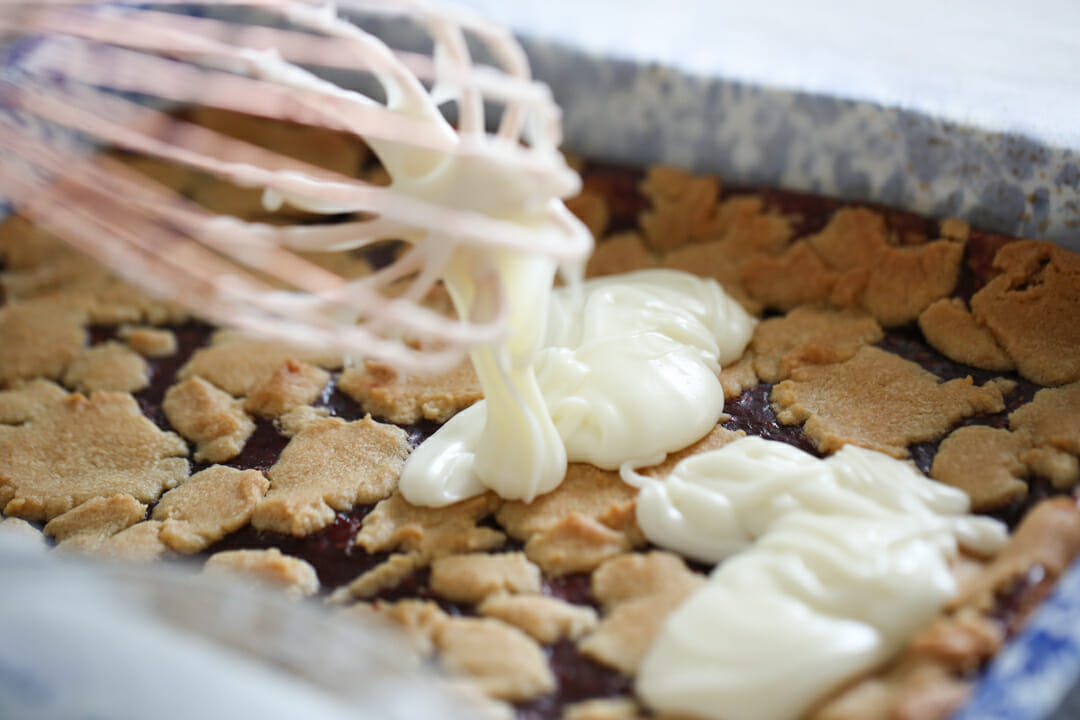
Drizzle on Glaze
After they bake, you’ll drizzle on a simple, buttery vanilla glaze.
My favorite are the edge pieces where the jam cooks up against the edge of the pan and gets kind of chewy.
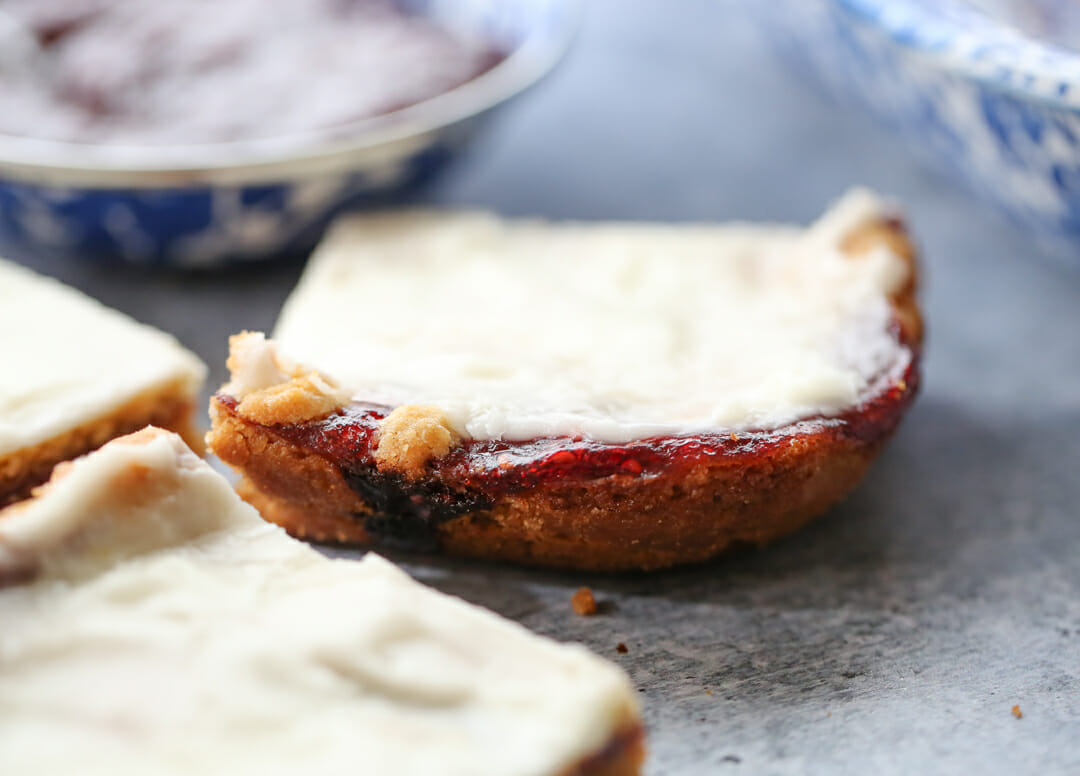
It’s like a perfectly soft peanut butter cookie with a surprising sweet burst of fruit in the middle.
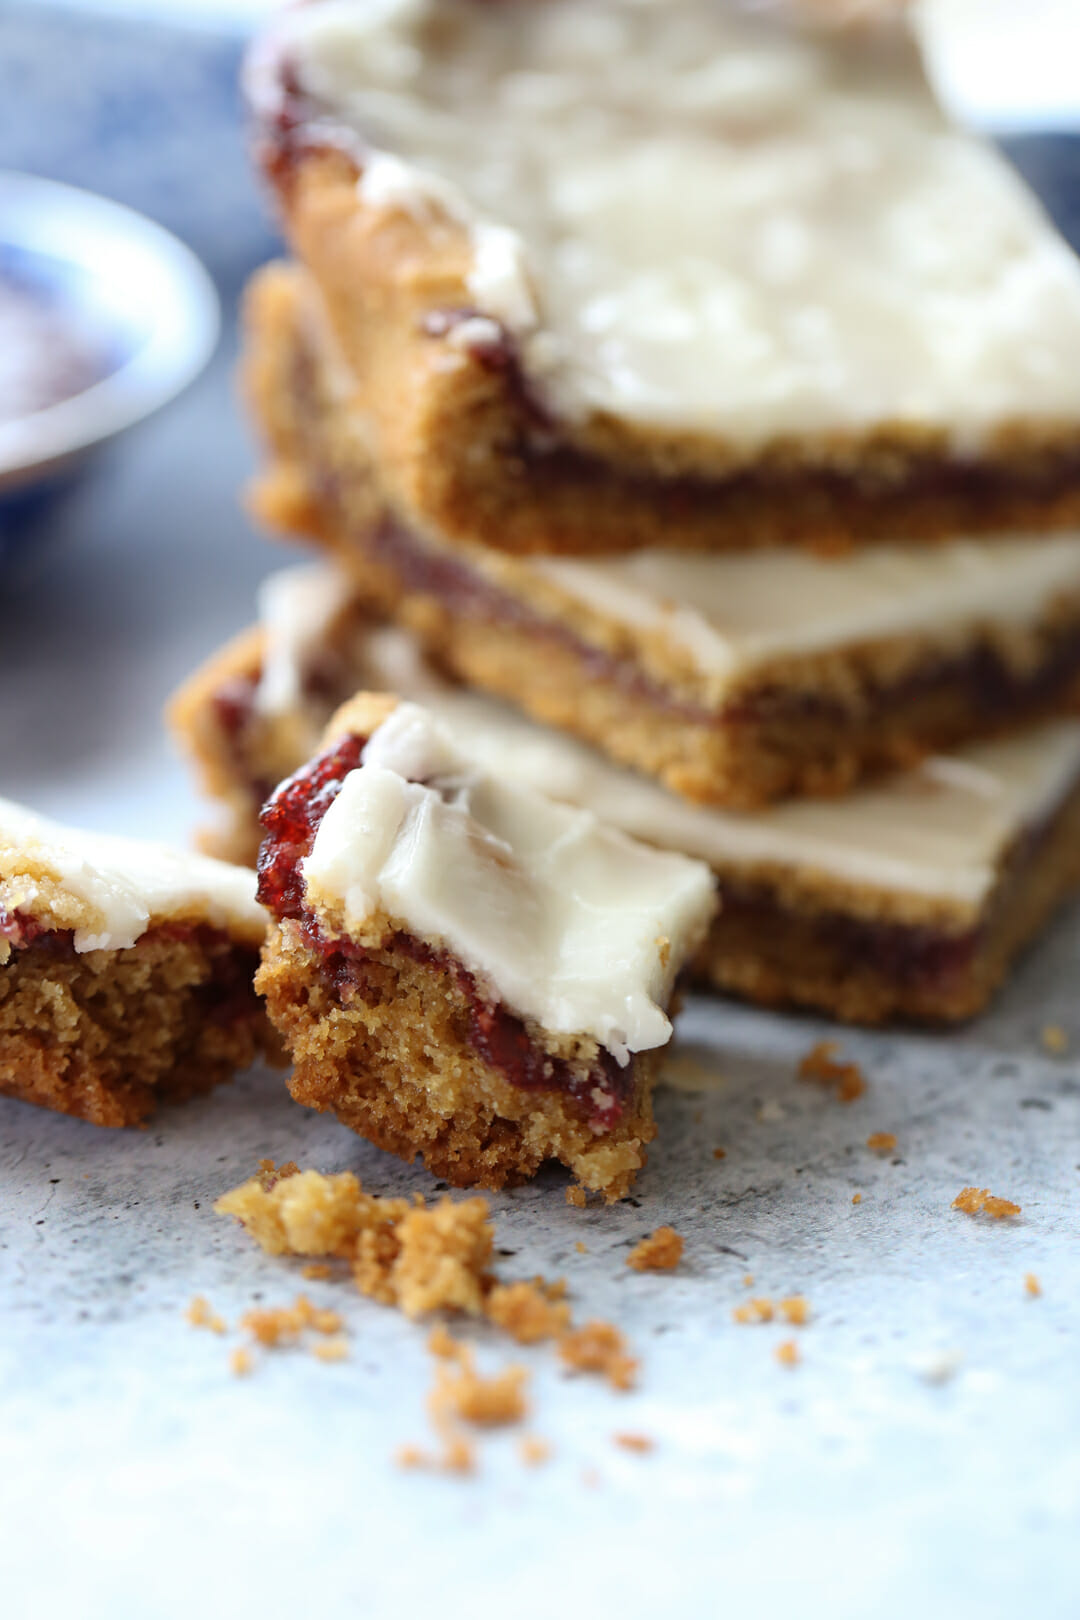
These stay super soft, by the way. I forgot I hid one from my kids from this batch and found it almost a week later and it was still perfection.
Try these out and they might be your new favorite thing, too.
Peanut Butter and Jam Cookie Bars
Ingredients
- Peanut Butter & Jam Bars
- 1/2 cup sugar
- 1/2 cup brown sugar
- 1/2 cup shortening
- 1/2 cup creamy peanut butter
- 1 large egg
- 1 teaspoon vanilla
- 1 1/4 cup flour
- 3/4 teaspoon baking soda
- 1/2 teaspoon baking powder
- 3/4 cup strawberry or raspberry jam
Glaze:
- 1/4 cup 4 tablespoons real butter, melted
- 2 cups powdered sugar
- 1 teaspoon vanilla
- 2 Tbs hot water
Instructions
- Preheat oven to 350 degrees.
- Cream shortening and both sugars together until light and fluffy. Add peanut butter and combine. Add egg and vanilla and mix until combined. Whisk together flour, baking soda, and baking powder and then add to dough until incorporated.
- Reserve 3/4 - 1 cup dough for later use.
- Take the remaining dough and press it into the bottom of an ungreased 9x13 pan. I crumble it evenly all over the bottom of the pan and then press it in with my fingers. Crumbling it first helps to create an even thickness.
- Spread jam on top.
- Take remaining dough and use your fingers to smash it into thin pieces and place on top of jam. It's okay if jam still shows through.
- Bake at 350 for 20-30 minutes. The top should be set and just barely golden brown. In my oven it's always about 24-25 minutes.
- When done, remove from oven and cool on a rack. While it's cooling you can mix up your glaze. Whisk the butter, powdered sugar, and vanilla together. Add water while whisking until glaze reaches desired consistency.
- Wait until they are completely cooled to room temp to glaze (or it really melts all over and falls to the center of the pan and forms a little pool in which you will impulsively dip your finger over and over again until the little pool is no more.)
- Let glaze set and then slice into squares.


Questions & Reviews
So I know my mom won't ever comment on here but she made these for my family (and hubby) while I have been out of town and they all loved them and said they were DELISH.
My husband seriously went out of his way to tell me about them. LOL, that's rare for him about treats.
Both my mom and grandma cooked from their senses and preferred to do it alone especially my grandma. As i got older I could help with peeling potatoes or making a salad but that was about it.
Your bars are going on my must try list.
Btw, I made the snickerdoodle ice cream and blogged about it! Thanks for sharing.
~ingrid
I learned from my mom too. You know, I'm not a fan of PB&J as a sandwich at all, but turn it into dessert and it sounds wonderful. 🙂
These look tasty for me and the kids. Voting – done! I love the food/cooking memories you shared about your childhood. I have a long way to go, but I hope to provide that for my kids too.
I will have to try this. Looks yummy and I LOVE PB! I haven't been able to access your blog the last few days from my favs because you were under the daily bite. So I had to google best bites and add you to my favs again. I hope others aren't having problems. Love your blog. You do a great job. and your pictures… Please… They are out of this world! I so need to take you up on your offer.
This sounds like something my kids would LOVE!! Thanks for sharing the recipe. Can't wait to try it out!
Nice, kiddie-friendly recipe!
a friend of mine just told me about your blog and i tried this recipe first… amazing!!! Thank you for sharing!!!
Keith Fam- yes, you could definitely use chunky PB if you're a chunky kind of gal (well ya know, in terms of Peanut Butter 😉
Yum! I love PB and J and can't wait to try this recipe. Do you think I could use crunchy PB? I love your blog and have made a bunch of the recipes. So good and so easy! Thank you.