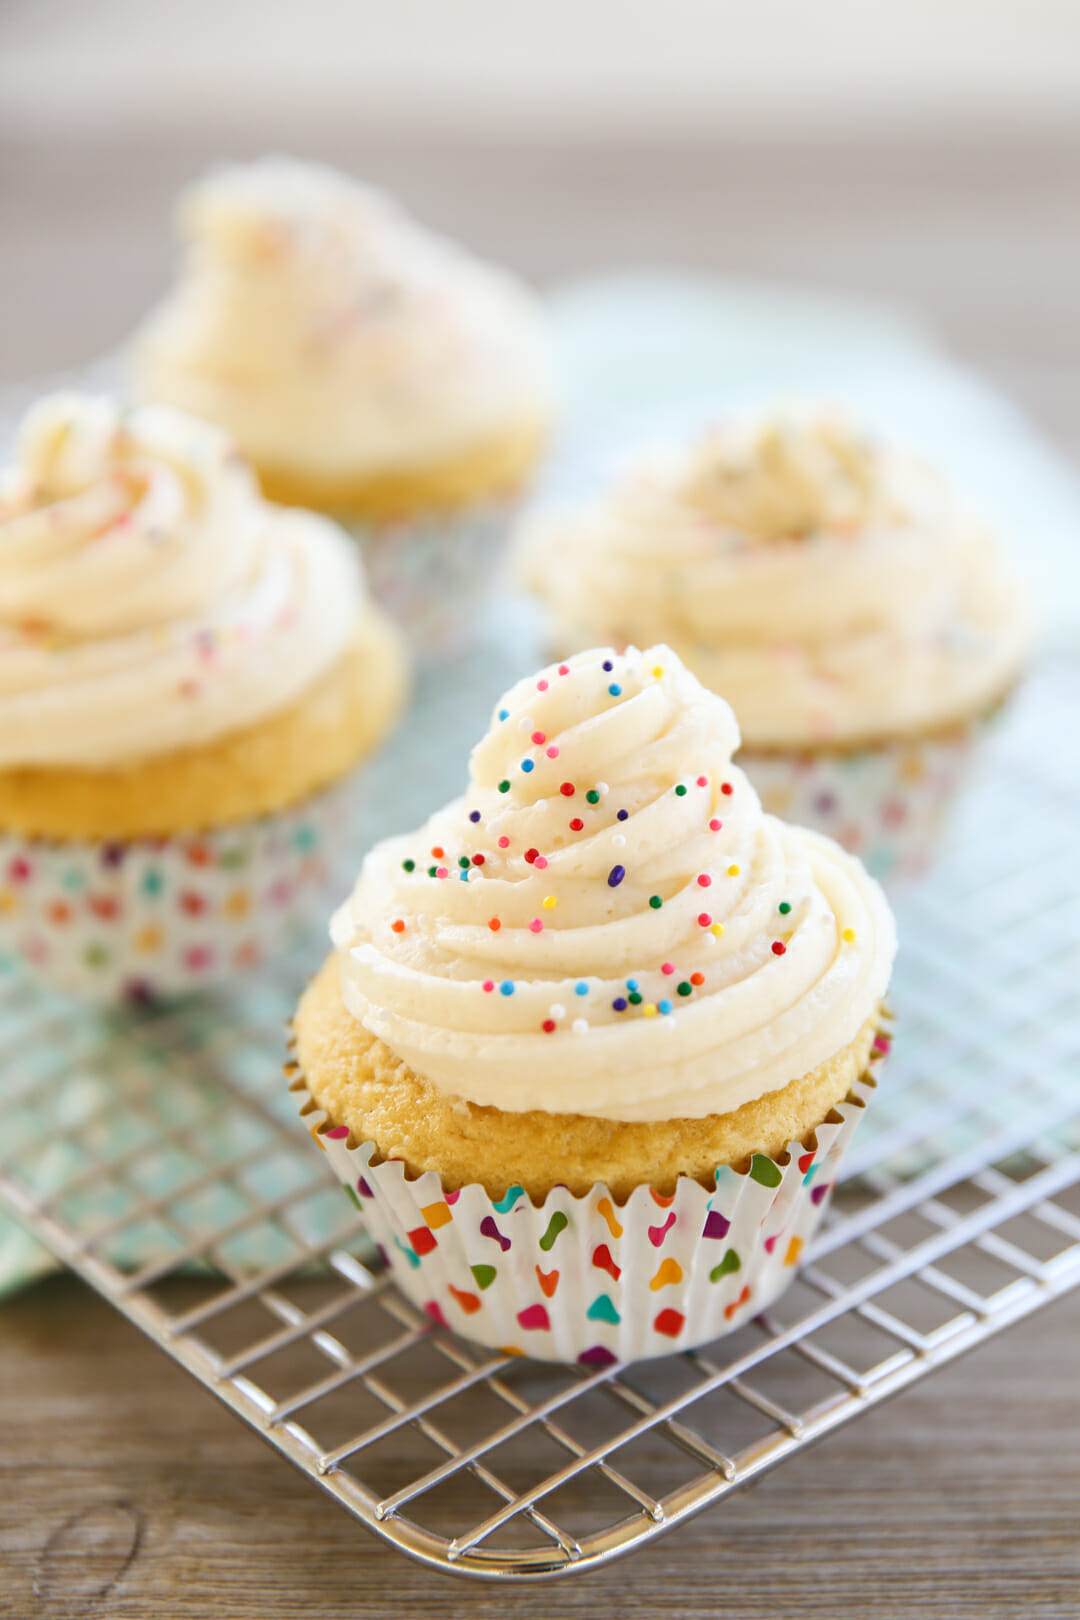
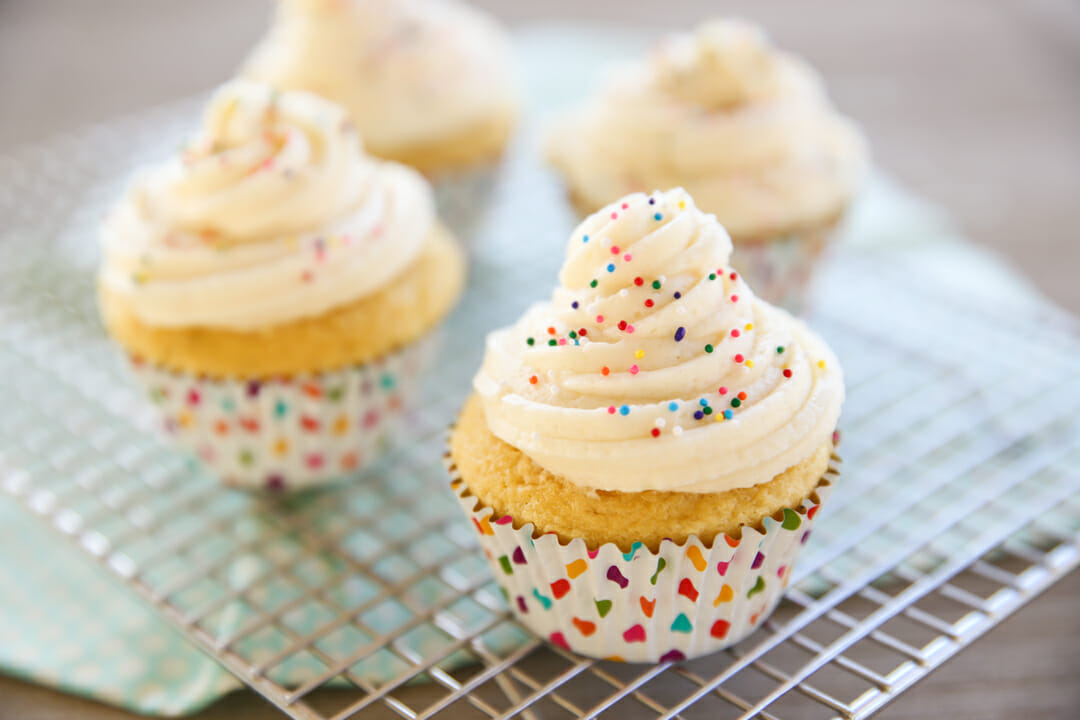
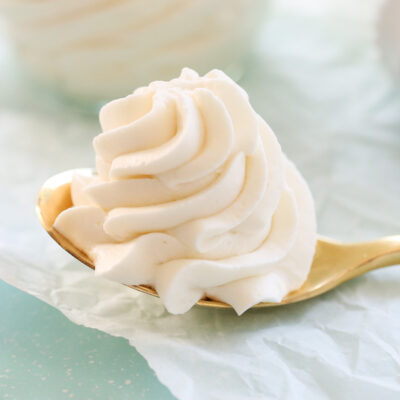
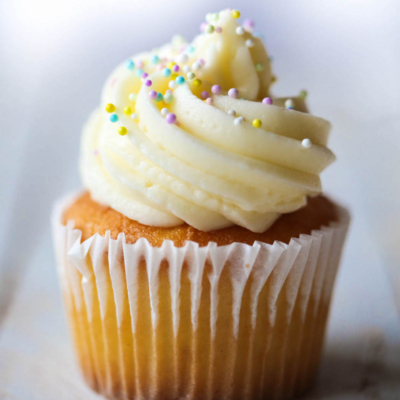
This Perfect Cupcake Frosting and Filling is known as Ermine Frosting, or sometimes referred to as boiled milk frosting, because it begins with a cooked roux of flour and milk. That might sound incredibly strange for a frosting recipe, but trust me! I’d say it’s the perfect frosting. It’s not so thick and sweet that you need a gallon of milk to get it down your throat. It’s mild and smooth, and light as air. I also love it because it doesn’t take away from a good cupcake like other really rich frostings can. It’s often the traditional frosting used with Red Velvet Cake. This frosting has a similar taste and texture to a Swiss Buttercream, but with way less effort. Try this unique frosting recipe and you’ll be hooked!
Ingredients Needed
This is just a preview of ingredients and method, keep scrolling for full printable recipe.
- All purpose flour
- Milk – Whole milk is best, but I’ve used non-fat when it’s all I’ve had and it actually does work ok as well.
- Butter – Use real butter here!
- Granulated sugar
- Vanilla extract – Or other extract or flavoring oil of choice.
How to Make Perfect Cupcake Frosting and Filling
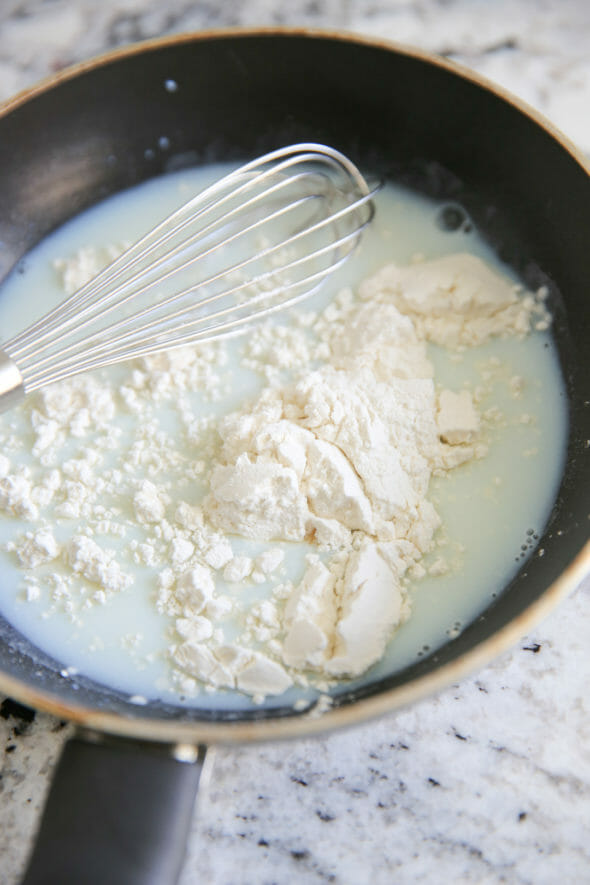
Step 1: Make the Cooked Flour Base
- The frosting starts out with a mixture of all purpose flour and milk. And even though I’m showing it here being whisked together, I’ve actually found you’ll get a much smoother result if you mix this part in a blender first and then pour it in your pan.
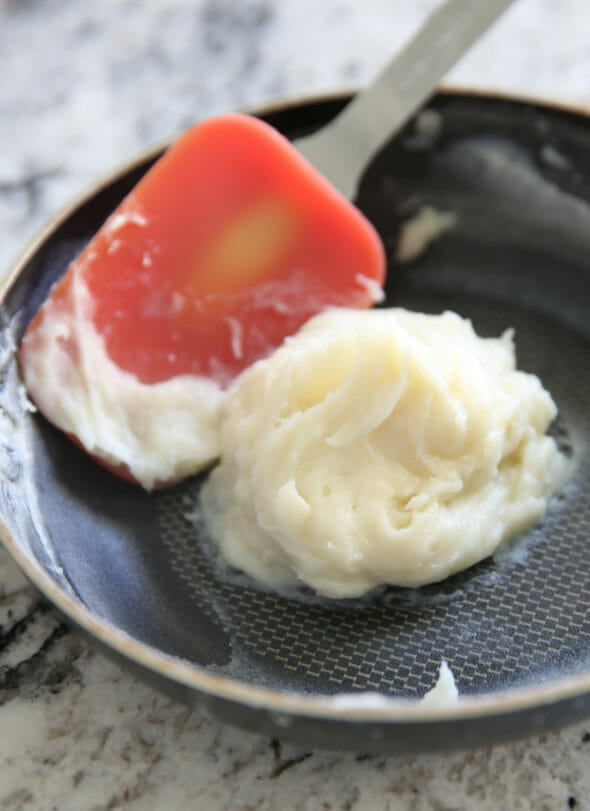
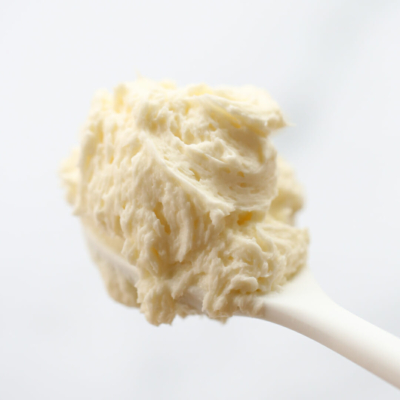
- Now comes the weird part. You’re going to cook this mixture until it gets thick–it happens fast and you’ll want to have a rubber spatula and constantly smash/stir it to keep it smooth. I usually take it off the heat when it looks like this photo above. There are still some wet spots but as you stir it all comes together like this: Don’t taste it. It’s not frosting yet! Pop it in the fridge; it needs to cool completely (I sometimes pop it in the freezer if I want it to cool fast.) Put it in a bowl and smoosh it around and stir every few minutes to cool it off.

Step 2: Mix it up!
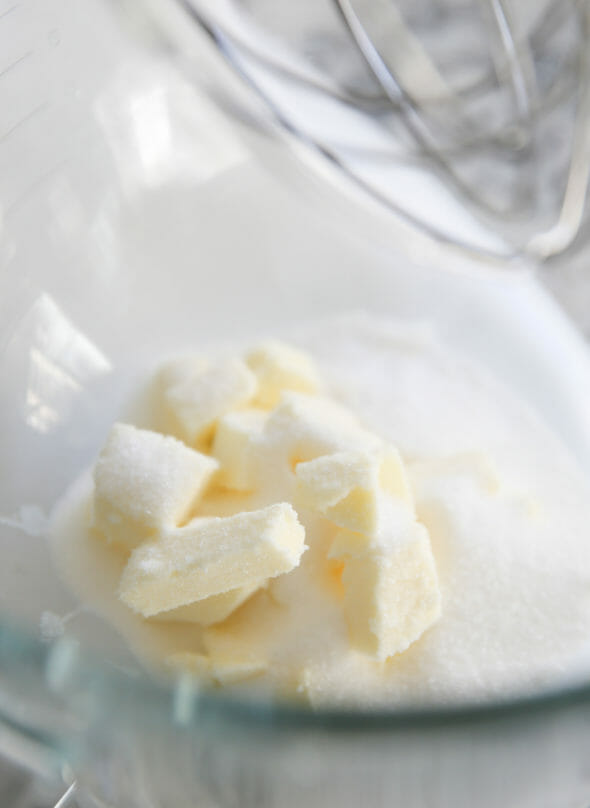
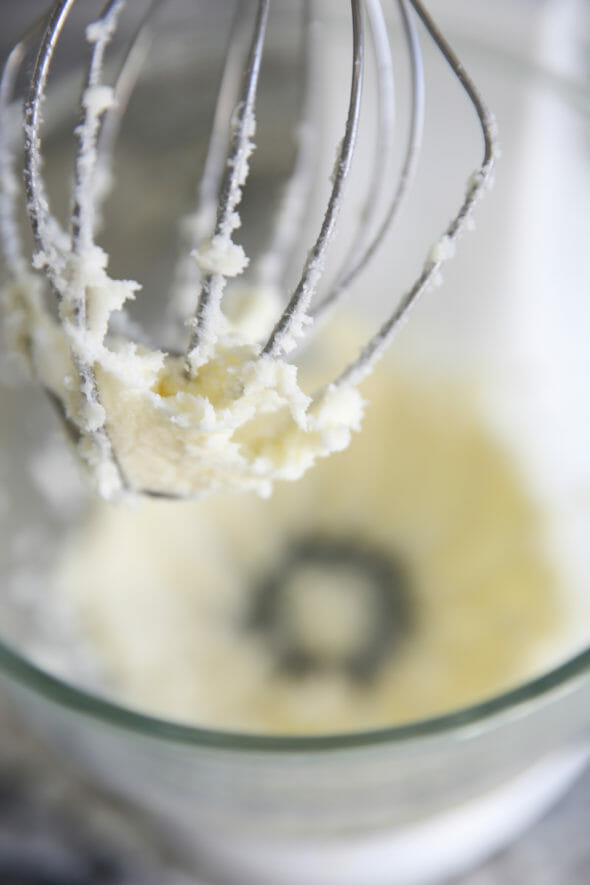
- When the flour mixture is chilled, place some real, high-quality butter (definitely no margarine) and granulated sugar (not powdered sugar!) in a stand mixer. Whip it up for a few minutes so it’s light and creamy. I use the whisk attachment on my Kitchenaid, but any paddle should work.
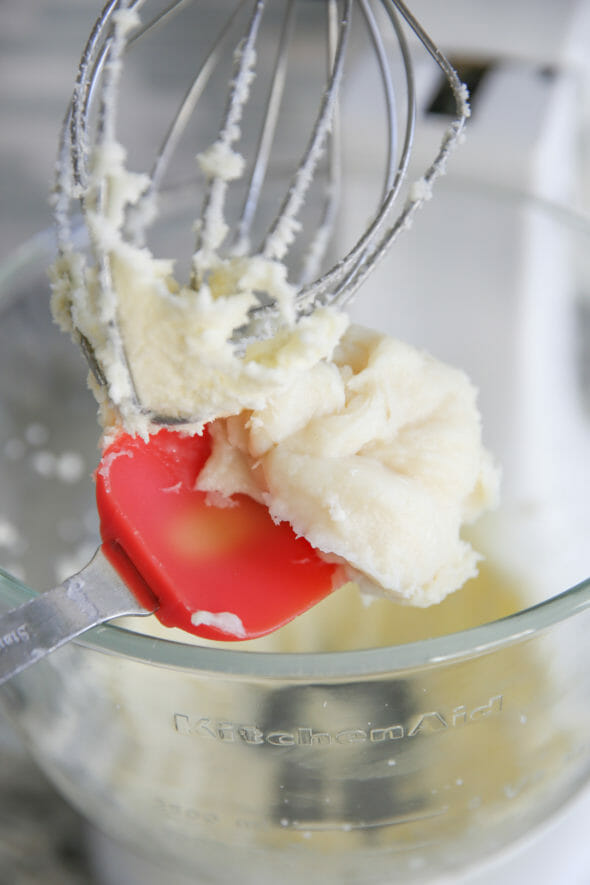
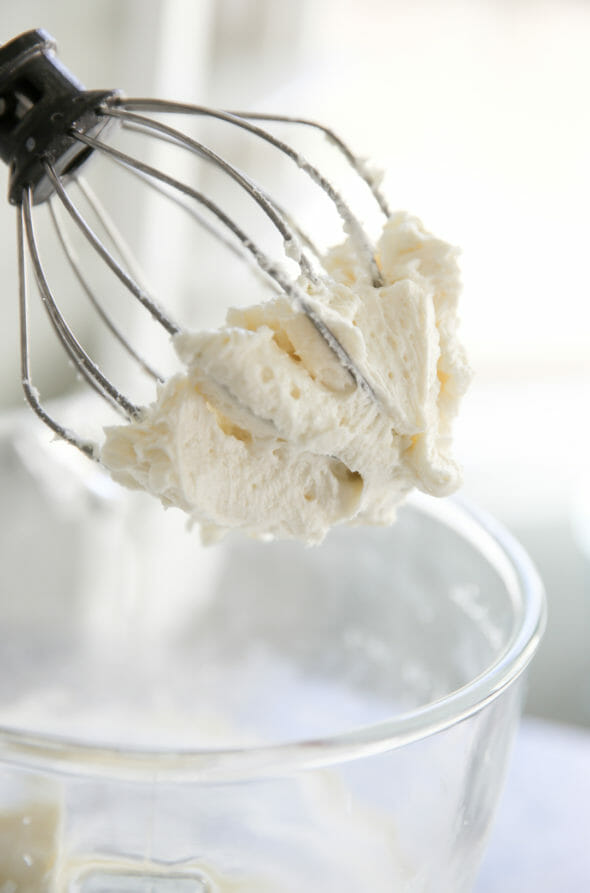
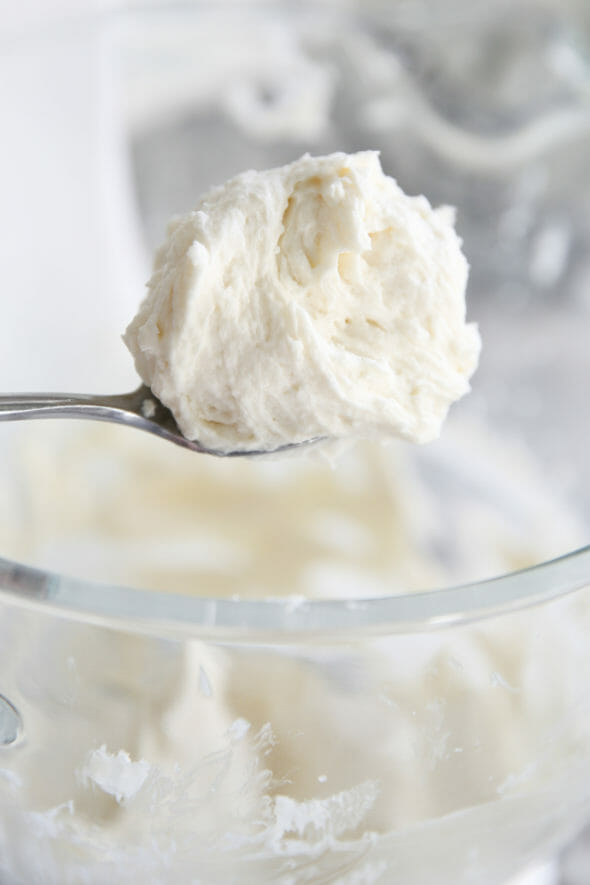
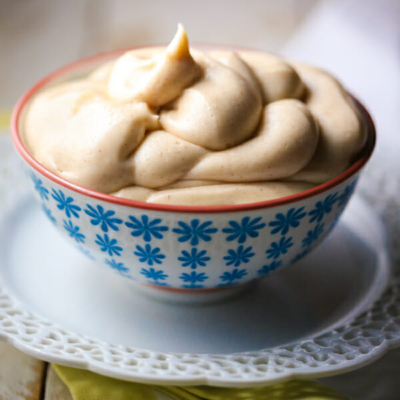
- Then you’ll add that glob of flour. I know. Weird! I’m warning you right now it’s going to look weird at first. Like, what the heck did I do weird. But keep going. You’ve got to whip it for a long time for all the sugar to dissolve and everything to come together. Don’t be startled if it looks curdled. Eventually it will look like fluffy soft clouds of heaven. I usually give it a little taste and if I can still feel quite a bit of granulated sugar I keep on whipping. Sometimes it takes 5 minutes, other times I let it go for almost 10 or so! It’s worth it for this silky, fluffy, magical mixture. Pipe it or spread it or fill it or whatever. Anyway you eat it, it’s fantastic.
Storing and Other Tips
- Store finished frosting or frosted desserts, covered tightly, in the refrigerator. Allow to come to temperature for 20-30 minutes before serving.
- If using frosting within a few hours of making the frosting or within a few hours of frosting cakes or cupcakes, simply cover and store at room temperature until time to serve.
- This frosting can be soft or even melt if it gets too warm. If needed, pop the whole mixing bowl in the fridge for 15 minutes and rewhip to help it hold its shape.
- Don’t leave frosted desserts sitting in the sun or in a warm environment for too long with this frosting or it may soften/melt!
Additional Tips
- Use real butter, and a good name-brand. Cheap butter does weird things.
- If you beat for the 6-8 minutes and the mixture still looks strange, beat longer and at a higher speed if you can. It should come together, but it takes a little patience!
- I personally think this frosting is best eaten fresh. You can store for a few hours at room temperature, or try storing in the fridge overnight, letting it come to room temperature on its own, and then re-beating to fluff. If you want to frost cupcakes or a cake the day before, refrigerate and just let come to room temp after.
- Add extracts to your hearts content; lemon and almond are both wonderful! Food coloring is also okay.
- The white sugar can be exchanged for brown. Try 1/2 white 1/2 brown for a warm caramel flavor.
- Do not try to make other substitutions or additions. Sour cream, fruit purees etc. can do disastrous things. Some people have had amazing success, just experiment at your own risk.
- If trying to decide whether or not to double it- double it. Chances are you’ll want more. It’s a rather small batch, but on purpose.
- 1 batch will not look like much, but it can spread on (just with a knife, a normal amount) 24 cupcakes. If you want to pipe it thick, definitely double it.
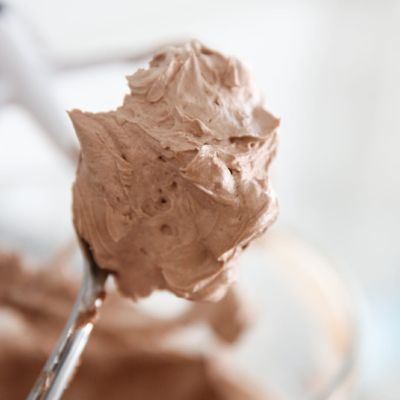
- Looking for Chocolate? This Chocolate Frosting isn’t exactly the same, but very similar!
Frequently Asked Questions
Yes. Brown sugar gives this frosting a deeper, almost caramelly flavor. Just be sure you’re using fine brown sugar (some brands like the organic one sold at Costco have quite large grains) and it may help to sift it first. When creaming with the butter, give it some extra time and make sure the sugar has dissolved well before adding the flour mixture to ensure a smooth texture.
This frosting is best flavored with extracts or flavoring oils. If you are looking for similar flour-based frosting, try this Chocolate Frosting.
Yes. If making just a couple of hours before use, cover tightly and store at room temperature (if your kitchen isn’t too warm) until ready to use. You may need to rewhip it before use.
If making a day or two in advance, cover tightly and store in the refrigerator. Before use, bring to room temperature and rewhip briefly to restore texture.
Yes, add gel or paste food coloring (not liquid) when you add the flour mixture.
Perfect Cupcake Frosting and Filling
Ingredients
- 3 tablespoons all-purpose flour
- ½ cup milk whole milk is best, but I’ve used non-fat when it’s all I have and it’s actually fine
- ½ cup real butter slightly softened (I prefer salted, but you can use also unsalted and add salt to taste)
- ½ cup granulated sugar
- 1 teaspoon vanilla extract or other flavor if you wish
Instructions
- Whisk together the flour and the milk (you could also run it through the blender first). Heat in a small sauce pan on medium heat.
- Whisk continuously until it starts to thicken. Let it cook, while stirring with a rubber spatula, until you can start to see the bottom of the pan. Continue to cook until mixture has the consistency of thick pudding or paste.
- Put mixture in the fridge and let it cool completely; it's fine if it stays in there long enough to get chilly, you just don't want it warm at all. As it's cooling, feel free to stir it occasionally to speed up the process and keep it from forming a crust on top. You can also do this quickly in the freezer, just keep an eye on it so it doesn't freeze.
- Using the whisk attachment on an electric stand mixer, beat the butter and the sugar for a minute or two until well combined and fluffy. While beating, add in the thickened milk mixture, any food coloring, and the flavor extracts. Beat to combine and then scrape down the sides. Mixture will separate and look messy, keep beating! Continue beating until mixture comes together and is light and fluffy, about 7-8 minutes, but time varies. Take a sample of frosting between your fingers; frosting is done when light and fluffy and sugar granules are dissolved.
Notes
- Store finished frosting or frosted desserts, covered tightly, in the refrigerator. Allow to come to temperature for 20-30 minutes before serving.
- If using frosting within a few hours of making the frosting or within a few hours of frosting cakes or cupcakes, simply cover and store at room temperature until time to serve.
- This frosting can be soft or even melt if it gets too warm. If needed, pop the whole mixing bowl in the fridge for 15 minutes and rewhip to help it hold its shape.
- Don’t leave frosted desserts sitting in the sun or in a warm environment for too long with this frosting or it may soften/melt!
- Use real butter, and a good name-brand. Cheap butter does weird things.
- If you beat for the 6-8 minutes and the mixture still looks strange, beat longer and at a higher speed if you can. It should come together, but it takes a little patience!
- I personally think this frosting is best eaten fresh. You can store for a few hours at room temperature, or try storing in the fridge overnight, letting it come to room temperature on its own, and then re-beating to fluff. If you want to frost cupcakes or a cake the day before, refrigerate and just let come to room temp after.
- Add extracts to your hearts content; lemon and almond are both wonderful! Food coloring is also okay.
- The white sugar can be exchanged for brown. Try 1/2 white 1/2 brown for a warm caramel flavor.
- Do not try to make other substitutions or additions. Sour cream, fruit purees etc. can do disastrous things. Some people have had amazing success, just experiment at your own risk.
- If trying to decide whether or not to double it- double it. Chances are you’ll want more. It’s a rather small batch, but on purpose.
- 1 batch will not look like much, but it can spread on (just with a knife, a normal amount) 24 cupcakes. If you want to pipe it thick, definitely double it.
- Looking for Chocolate? This Chocolate Frosting isn’t exactly the same, but very similar!


Questions & Reviews
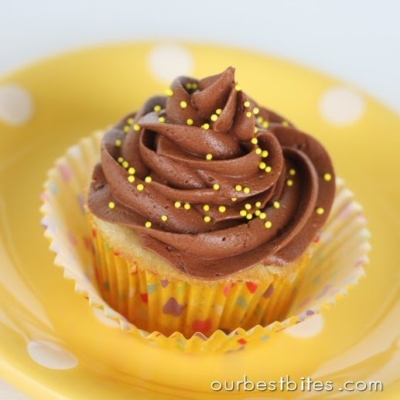
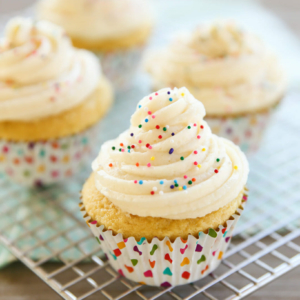
I just made this frosting with the colorful cupcakes and… It turned out GREAT!!! Thanks sooo much for the recipe, I have needed something like this for years.
sundazy- it's an off-white, but I it's definitely whiter than a normal buttercream. I didn't edit the color in any of my pictures, so yes, it's pretty white. Hope it's what you're looking for!
Hi Sara
Thanks for this recipe, I have been looking for a light coloured frosting as the normal buttercream has quite alot of yellow tint on it. Will this frosting be lighter?
Melissa- yes it should work. Just keep it at the highest speed you can without it splattering all over the place and keep it going for the full amount of time. And recruit a helper so your arms don't get tired!
I don't have a stand mixer with the wisk attachment. Would just a regular ole' hand mixer work?
I LOVE this recipe! I was not a big frosting person until I made this frosting. I can not wait to make this for my sisters birthday party! Thank you soo much Sara.
amy- The only purpose of straining the flour mixture is to get rid of any clumps because they some times will hold up through the beating process and you'll have little flour lumps in your frosting. So yes, I always whisk mine through a strainer before cooling, but that shouldn't make or break it, ya know?
I wish I could pinpoint what goes wrong when this doesn't turn out for people. I've honestly never had it *not* work so I'm not sure what happens!
I have attempted to make this a few times…with various results. It's my first time to really make icing from scratch, so I'm probably making simple mistakes. But one question is about the following…is this a step I am missing?
"Even though it's thick, you can still it through a mesh strainer (just whisk in the strainer to push the thick stuff through)"
Okay, my guess (especially if you take a look at my earlier comment) is the Walmart butter–I swear to you all, that stuff isn't 100% butter. So give some Land O'Lakes a try and see if it works any better.
Okay what am I doing wrong? I tried this recipe TWICE and both times it tasted pretty good but the consistency was like cottage cheese. Is it my Walmart butter, the speed on my mixer, how long I beat it (the first time around 8 minutes, the second time around 15 on medium high speed)Got any suggestions?