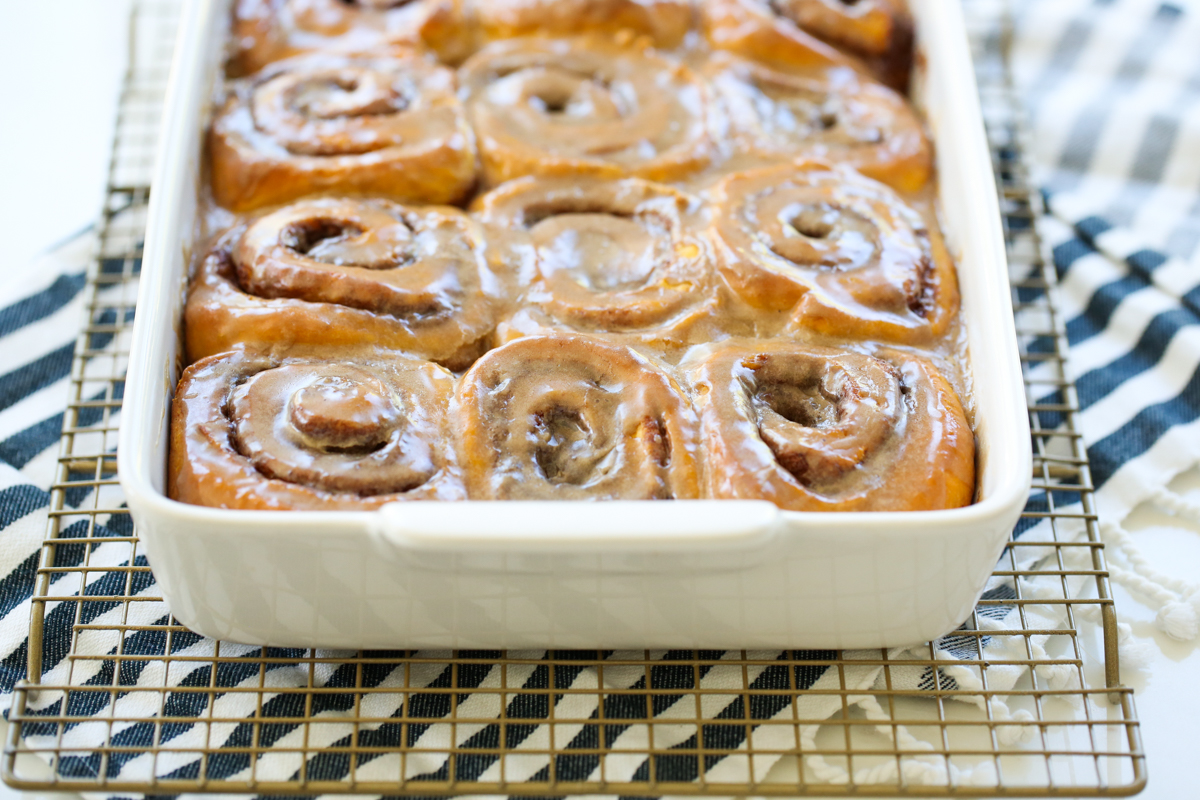
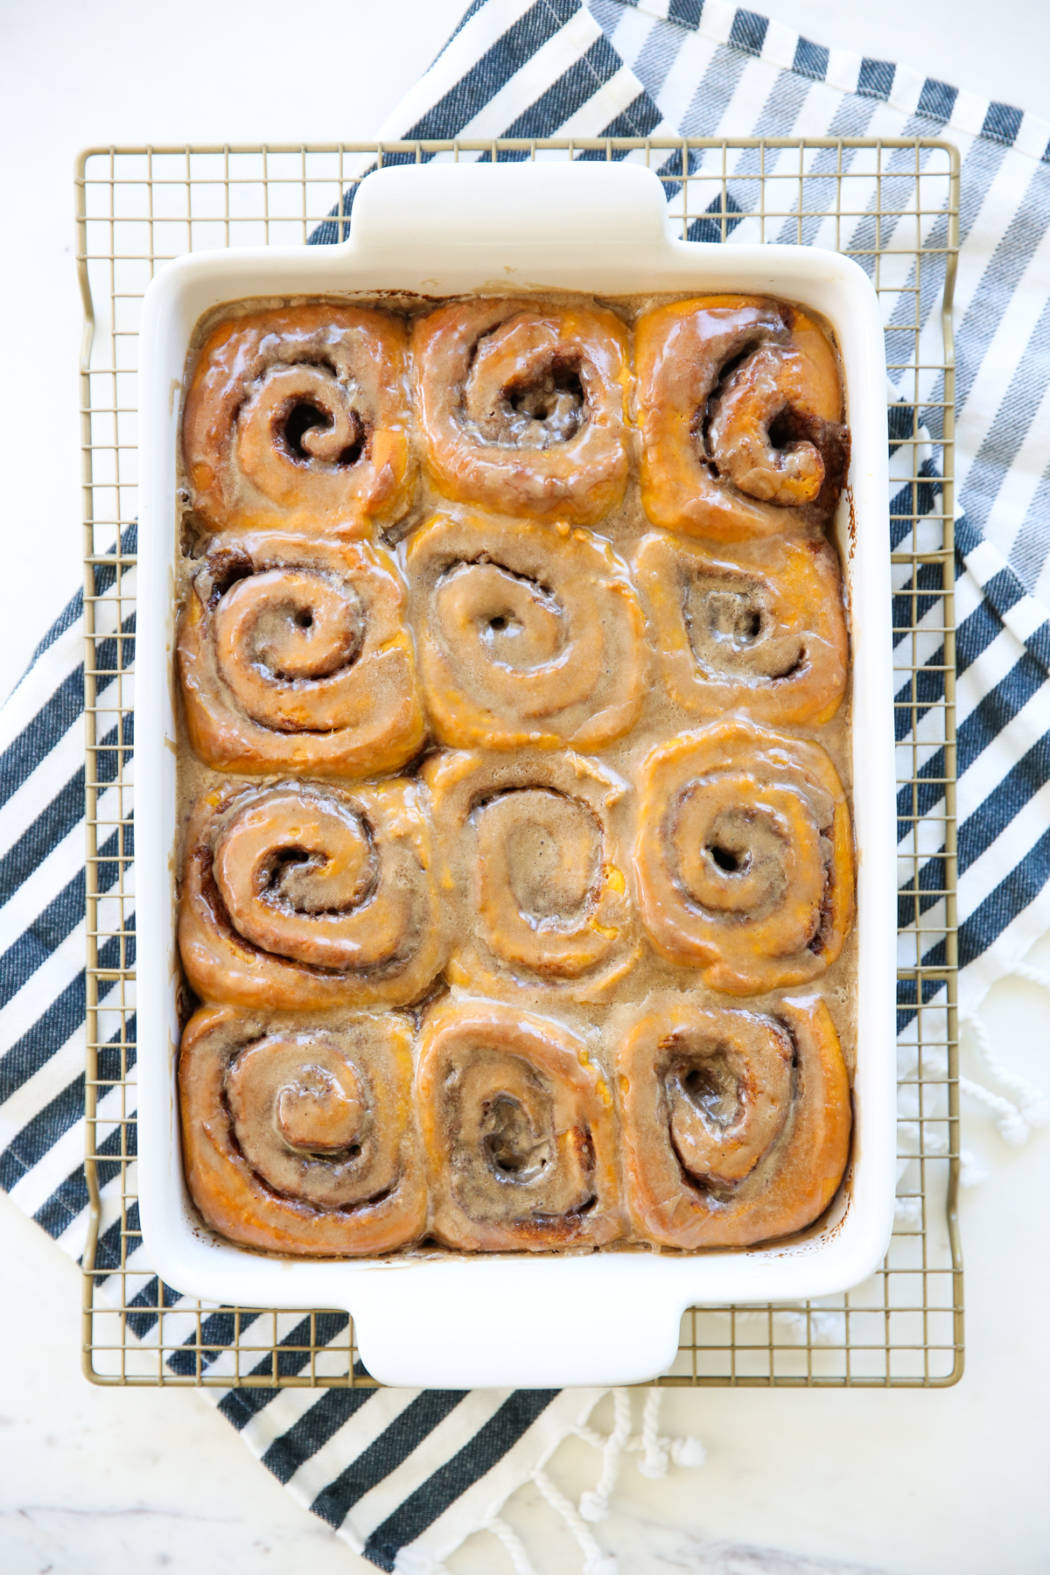
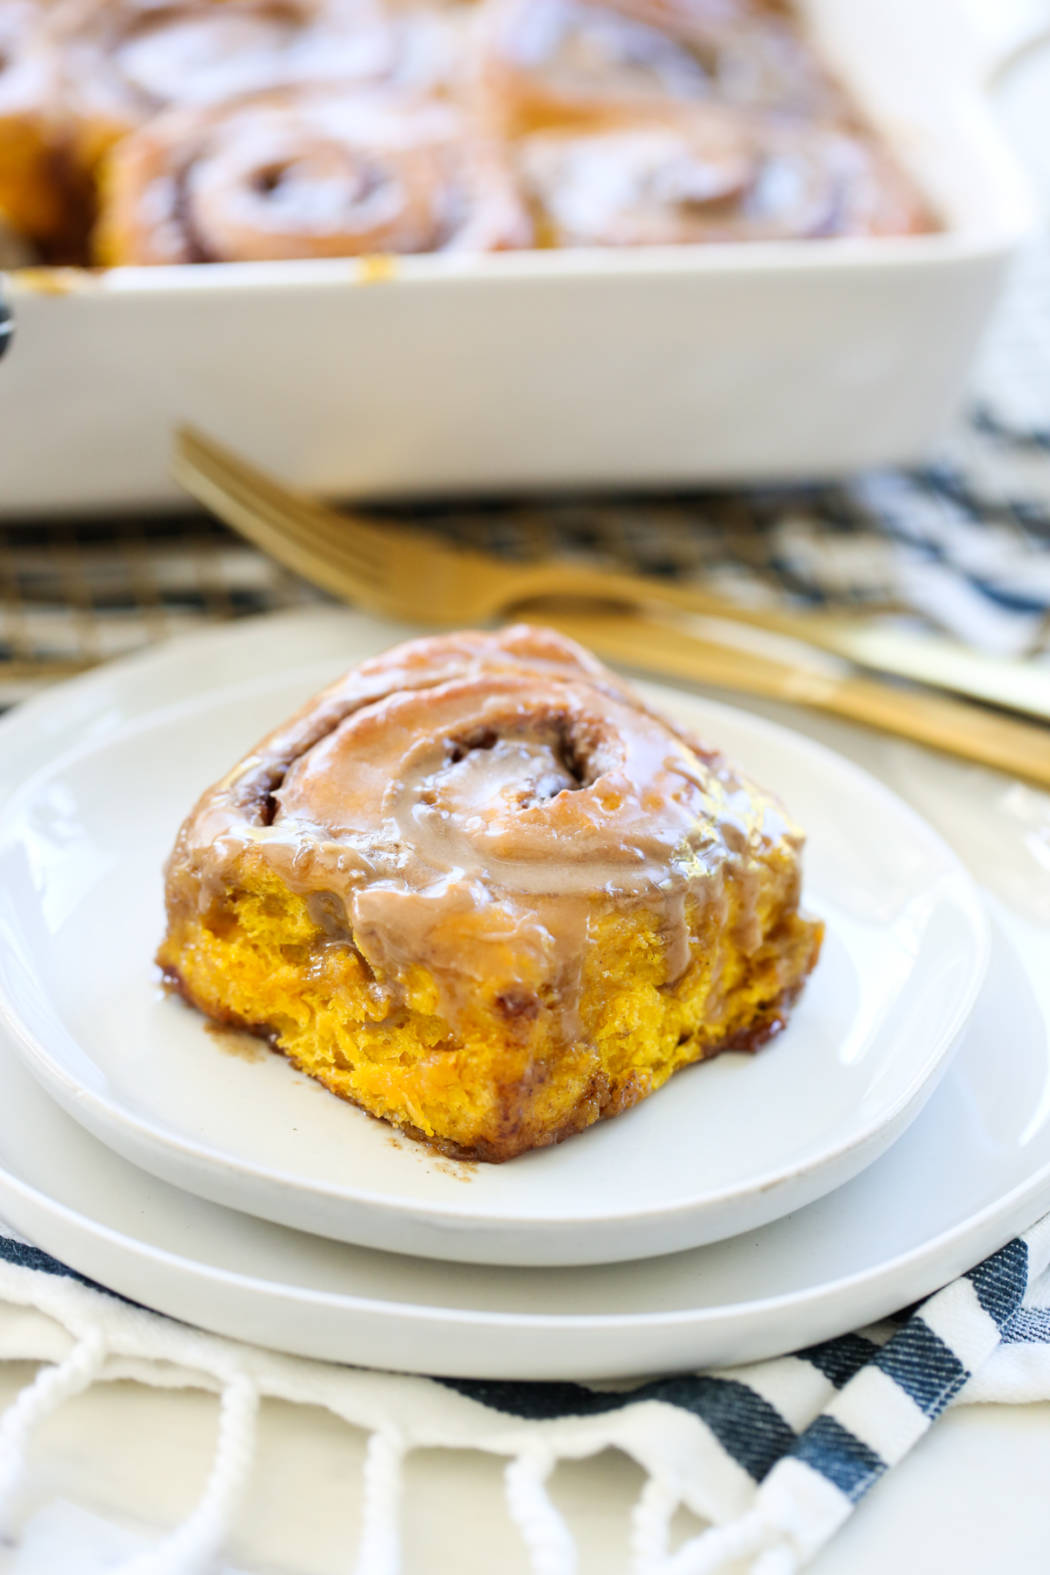
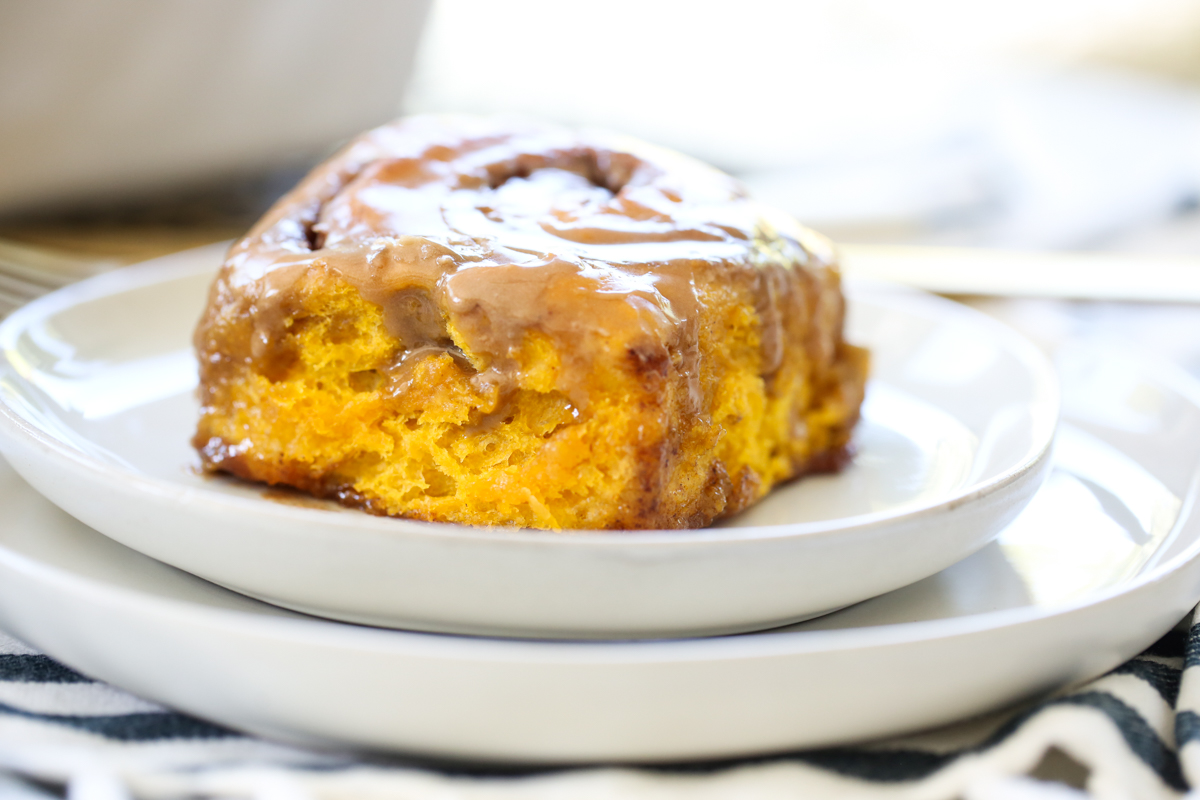
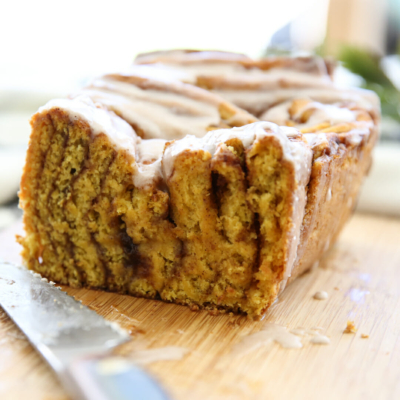
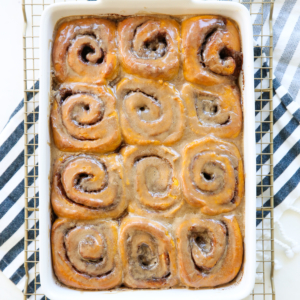
Everyone’s favorite Everyday Cinnamon Rolls get an autumn makeover with tender pumpkin in the dough and spices in the filling. These Pumpkin Spice Cinnamon Rolls are just as easy to make as the original, and such a fun twist for Pumpkin Spice season! This fall version is topped with a simple maple glaze, making this your new go-to.
Ingredients and Equipment Needed
Dough
- Milk – For best results I recommend whole milk, but anything will work!
- Butter – Use real butter.
- All-purpose flour
- Rapid rise yeast – Look for yeast labeled as instant, rapid-rise, or quick-rise. This variety contains enzymes and other ingredients that help cut that rise time. This also means you don’t need a double rise as you would with traditional yeast. Rapid rise yeast is sold right next to regular yeast in your store’s baking aisle, in almost identical packaging, so just make sure you read the label to get the right one!
- Granulated sugar
- Salt
- Pumpkin puree – Make sure you’re getting 100% pumpkin puree, not pumpkin pie filling.
- Egg
Filling
- Brown sugar
- Butter – Use real butter.
- Ground cinnamon
- Ginger
- Nutmeg
- Cloves
Icing
- Powdered sugar
- Melted butter
- Maple extract – I just use Mapleine because it’s usually the easiest maple flavor to find. Also called maple flavoring, you will find this by the other extracts and flavors near the spices. If you prefer, use pure maple extract.
- Milk – Any milk will do.
Equipment
- Silicone Dough Mat – Also not required, but super helpful, a giant silicone dough mat is my absolute favorite here; well worth the price- I use mine ALL the time.
How to Make Pumpkin Spice Cinnamon Rolls
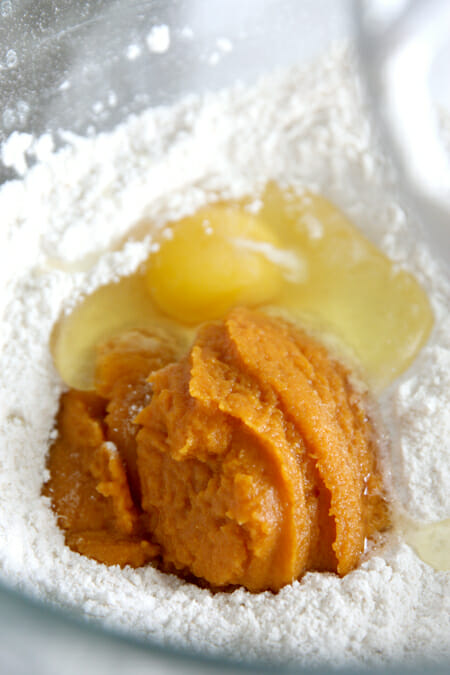
- This recipe is easy because there’s no proofing necessary with the yeast. Just toss it in a bowl with the other dry ingredients and whisk them together.
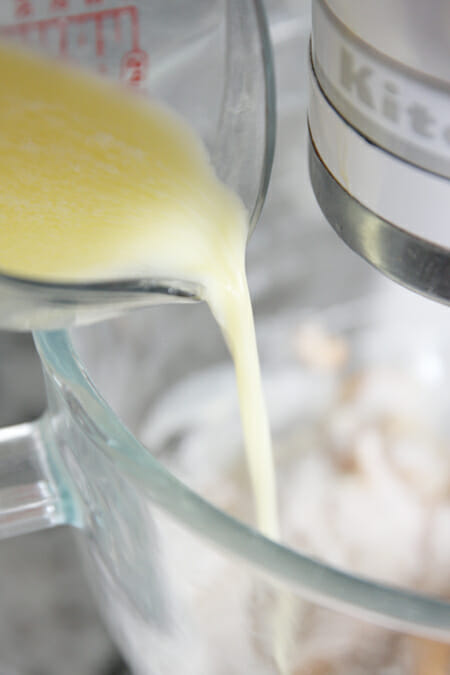
- Add in an egg and some pumpkin puree and then with the mixer running, drizzle in a warm milk and melted butter mixture.
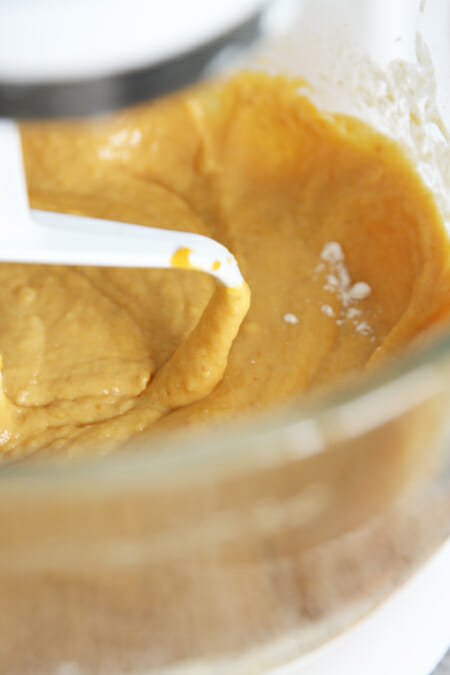
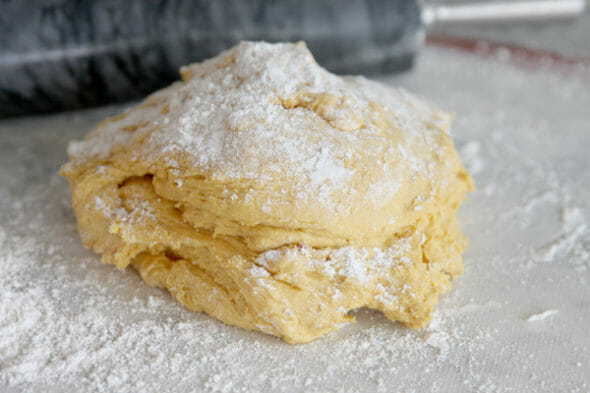
- That will give you a nice orange-tinted batter, to which you’ll add more flour until you get a nice, soft dough. You’ll then let that knead with your dough hook for a few minutes.
- I say this every time I post a sweet roll recipe, but resist the urge to add more flour than needed. This dough is incredibly soft. The trick is to scrape it onto a well floured surface and handle it very lightly. Don’t knead in all of the flour, just dust all the sides so it won’t stick to you, and especially make sure the bottom is dusted well so it doesn’t stick once you roll it out. A giant silicone dough mat is my absolute favorite here; well worth the price- I use mine ALL the time.
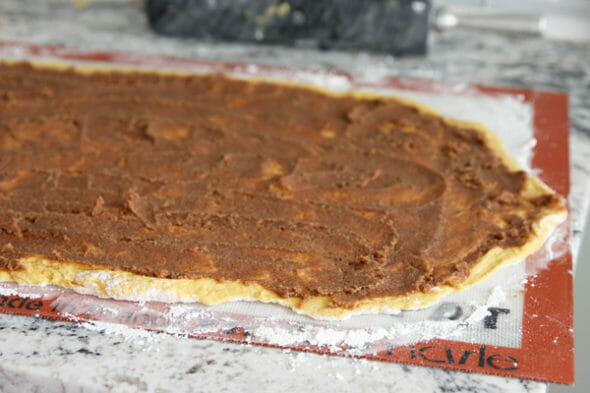
- While your dough is resting for just a minute, whip up the filling. This is basic cinnamon roll filling: butter, brown sugar, and a generous douse of cinnamon, plus those pumpkin-spicey flavors of ginger, nutmeg, and cloves. You could use pumpkin pie spice as well, but I find I like using the individual spices better.
- Gently spread the filling on and push it out to the edges.
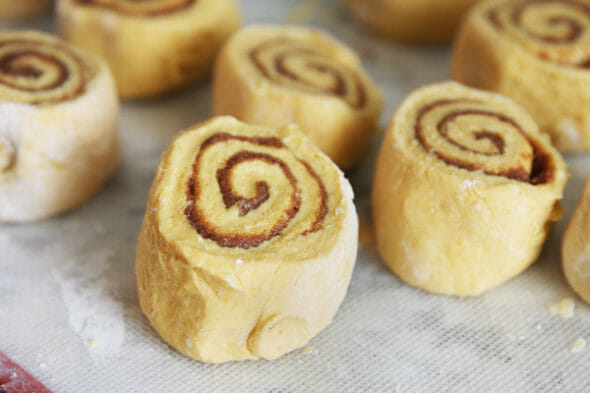
- Then roll them up and slice them. I use dental floss, but thread works great too. See this post if you have no idea what I’m talking about
- Place them in a pan and let them sit to rise. I have a “proof” setting on my Thermador Oven, but if you don’t- try placing them in a cold oven with the door shut and placing a pan of boiling water underneath them. It creates the perfect little steam room to make nice, plump rolls.
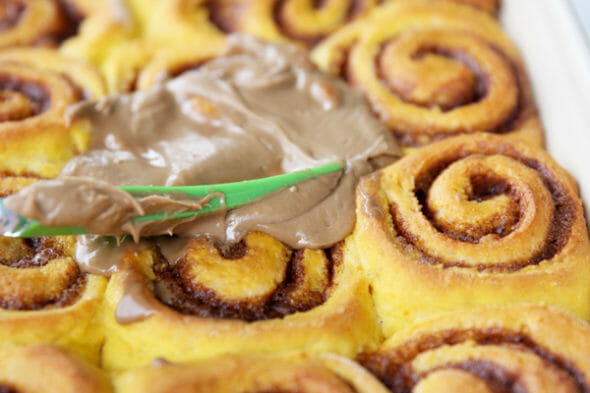
- Once they’ve risen, pop them in the oven until they’re golden brown and then slather them with a little maple glaze while they’re still warm. Make sure to eat them warm, and I won’t tell anyone if you even slather a little extra butter in there.
Storing and Other Tips
- Store finished rolls, tightly covered on the counter for up to 3 days or in the refrigerator for 4-5 days (but really these are going to be best fresh out of the oven or eaten the next day!).
- To make the day before: If you’d like fresh rolls in the morning, you can save yourself some time and prepare these pre-baked the day before. Simply follow the instructions as written, but after rolls have been placed in the pan, immediately cover with plastic wrap and place in fridge. The next morning, put them out and let them rise as room temp and continue as instructions describe.
- Freezer instructions for planning ahead: After rolls are sliced and before they rise, immediately place in/on a parchment-lined pan in the freezer. When they are frozen, remove them from the parchment and place them in an airtight container or ziplock bag for easier storage.
- To cook from frozen: Bring to room temperature and then allow to rise as normal. You can transfer them to the fridge to thaw overnight, and then place them on the counter in the morning to plump and rise, or you can place your frozen rolls at room temperature and wait for them to thaw and then rise (just like you would Rhodes Rolls). The total time for both of these really depends on the temperature of your home and other factors.
Frequently Asked Questions
While best baked fresh, you could prepare the rolls up to 12 hours ahead of time. After placing the rolls in your prepared pan, cover the pan with plastic and refrigerate. When ready to bake, pull the pan out and allow the rolls to rise until they’ve doubled in size, then bake as directed. Make them in the evening and pull them out to rise in the morning!
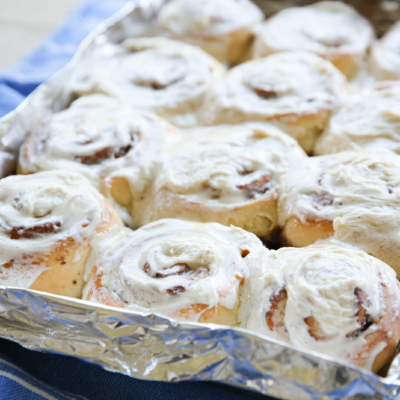
In my opinion you should, but no, you don’t have to! You could absolutely use vanilla extract in place of the maple flavor or try this Perfect Cream Cheese Frosting.
Absolutely! Freeze them at two stages:
Unbaked: Freeze assembled rolls pre-rise on a parchment tray, then bag for up to 1 month. Thaw, rise, and bake.
Baked: Once cooled, wrap individually or as a batch—freeze for up to 2 months. Thaw overnight in fridge, then reheat.
Oven: Preheat to 300 °F, cover with foil, and warm for about 10–15 minutes.
Microwave: Heat a single roll with a damp paper towel for 30–60 seconds.
Make sure your yeast is fresh and the liquid you use is warm (not hot). Also, don’t add too much flour—your dough should be soft and slightly sticky. Over-flouring makes rolls dense.
Pumpkin Spice Cinnamon Rolls
Equipment
Ingredients
Dough
- ¾ cup milk for best results I recommend whole milk, but anything will work!
- 4 tablespoons butter cut into chunks
- 4 – 4 ½ cups all-purpose flour divided
- 1 tablespoon rapid rise yeast
- ¼ cup white sugar
- ½ teaspoon salt
- 1 cup pumpkin puree
- 1 egg
Filling
- 1 cup brown sugar packed
- ½ cup butter softened
- 1 ½ tablespoon ground cinnamon
- ¾ teaspoon ginger
- ½ teaspoon nutmeg
- ¼ teaspoon cloves
Icing
- 1 ½ cups powdered sugar
- 2 tablespoons melted butter
- 1 ½ teaspoons maple extract
- 1-2 tablespoons milk
Instructions
- Dough: Place milk and 4 tablespoons butter in a microwave safe bowl. Heat on high for about 45 seconds to 1 minute 30 seconds. All microwaves cook differently. The milk should be nice and warm but not scalding. Butter should be at least partially melted. Stir and set aside.
- In a large mixing bowl of a stand mixer, combine 2 cups flour, yeast, white sugar, and salt. When milk mixture has cooled to warm (not hot) add it to the flour mixture along with the pumpkin and egg while the beater is running. Beat until well combined, about 1 minute. Scrape down sides of bowl and switch to a dough hook. Add remaining flour only until dough comes together and barely leaves the sides of the bowl. It should be very soft and slightly sticky. Continue to let the dough knead for 3-4 minutes. Scrape dough out onto a floured surface and let rest for about 10 minutes while you make the filling.
- Filling: make sure butter is softened well, but not melted. Beat with brown sugar and spices until smooth.
- Assembly: Spray 9×13 pan with cooking spray. Set aside.
- Dust dough ball with flour and make sure surface is well floured. Do not overwork dough. Gently roll dough into a rectangle about 18 x 14 inches (eyeball it). Spread brown sugar mixture (it will be slightly thick, you might have to “crumble” it) over the surface and use your fingers or the back of a spoon to gently spread around. Roll up from the longer side of the rectangle and pinch edges closed. Score the roll into 12 equal pieces and use dental floss or thread to cut into rolls. Cover pan with a clean towel and let rise in a warm place for about 30-45 minutes. If you have double ovens, place them in an oven with a pan filled with boiling water while you preheat the other oven. In the mean time, preheat oven to 350 ℉.
- When rolls have finished rising bake for 15-25 minutes or until light golden brown. (Check them at 15 minutes and watch from there. Total bake time can vary oven to oven.) Mix icing ingredients and then spread on while still warm.
Notes
- Store finished rolls, tightly covered on the counter for up to 3 days or in the refrigerator for 4-5 days (but really these are going to be best fresh out of the oven or eaten the next day!).
- To make the day before: If you’d like fresh rolls in the morning, you can save yourself some time and prepare these pre-baked the day before. Simply follow the instructions as written, but after rolls have been placed in the pan, immediately cover with plastic wrap and place in fridge. The next morning, put them out and let them rise as room temp and continue as instructions describe.
- Freezer instructions for planning ahead: After rolls are sliced and before they rise, immediately place in/on a parchment-lined pan in the freezer. When they are frozen, remove them from the parchment and place them in an airtight container or ziplock bag for easier storage.
- To cook from frozen: Bring to room temperature and then allow to rise as normal. You can transfer them to the fridge to thaw overnight, and then place them on the counter in the morning to plump and rise, or you can place your frozen rolls at room temperature and wait for them to thaw and then rise (just like you would Rhodes Rolls). The total time for both of these really depends on the temperature of your home and other factors.


Questions & Reviews
Oh my GOODNESS these look amazing!!!
Oh.My.Awesomeness. You had me at pumpkin and then, to my surprise, you knocked it out of the park with maple glaze. Maple glaze?!! Thank you from the bottom of my heart.
Do you have my new email address? Have not received any emails lately.
Sunny, we use an automated feed service. Subscribe by using the pink box on the sidebar of our website 🙂
I don’t have a Kitchen Aid (I know – very sad for me), so I do all my kneeling by hand. Do you think the same time 3-4 minutes would be sufficient by hand or should I do closer to 6-8 minutes. These look delicious by the way – can’t wait to try them!
I don’t think it makes a huge difference. Just do it for a few minutes and call it good and I bet they’ll be great!
Thank you! This is the recipe I have been waiting for! I love the everyday cinnamon roll recipe and was wondering how/if I could figure out how to make it Pumpkiny myself. Now I don’t have to! Can’t wait to try these.
YES! Now I have a plan for my husband’s birthday on Saturday. This will make me a VERY popular wife. = )
The maple glaze sounds delicious. Each fall I make the recipe from King Arthur using white whole wheat flour: http://www.kingarthurflour.com/recipes/cinnamon-swirl-pumpkin-rolls-recipe. Sometimes I use fresh (not canned) pumpkin and skip adding water. Now you have me thinking I need to make some soon!
Would I do anything differently if I use Instant Yeast? These look so good! I’m going to opt for the cream cheese frosting instead. Yum!
This looks really tasty! I might have to try to make it some time – but maybe minus the glaze…
That glaaaaaaaze!! These look so yummy!