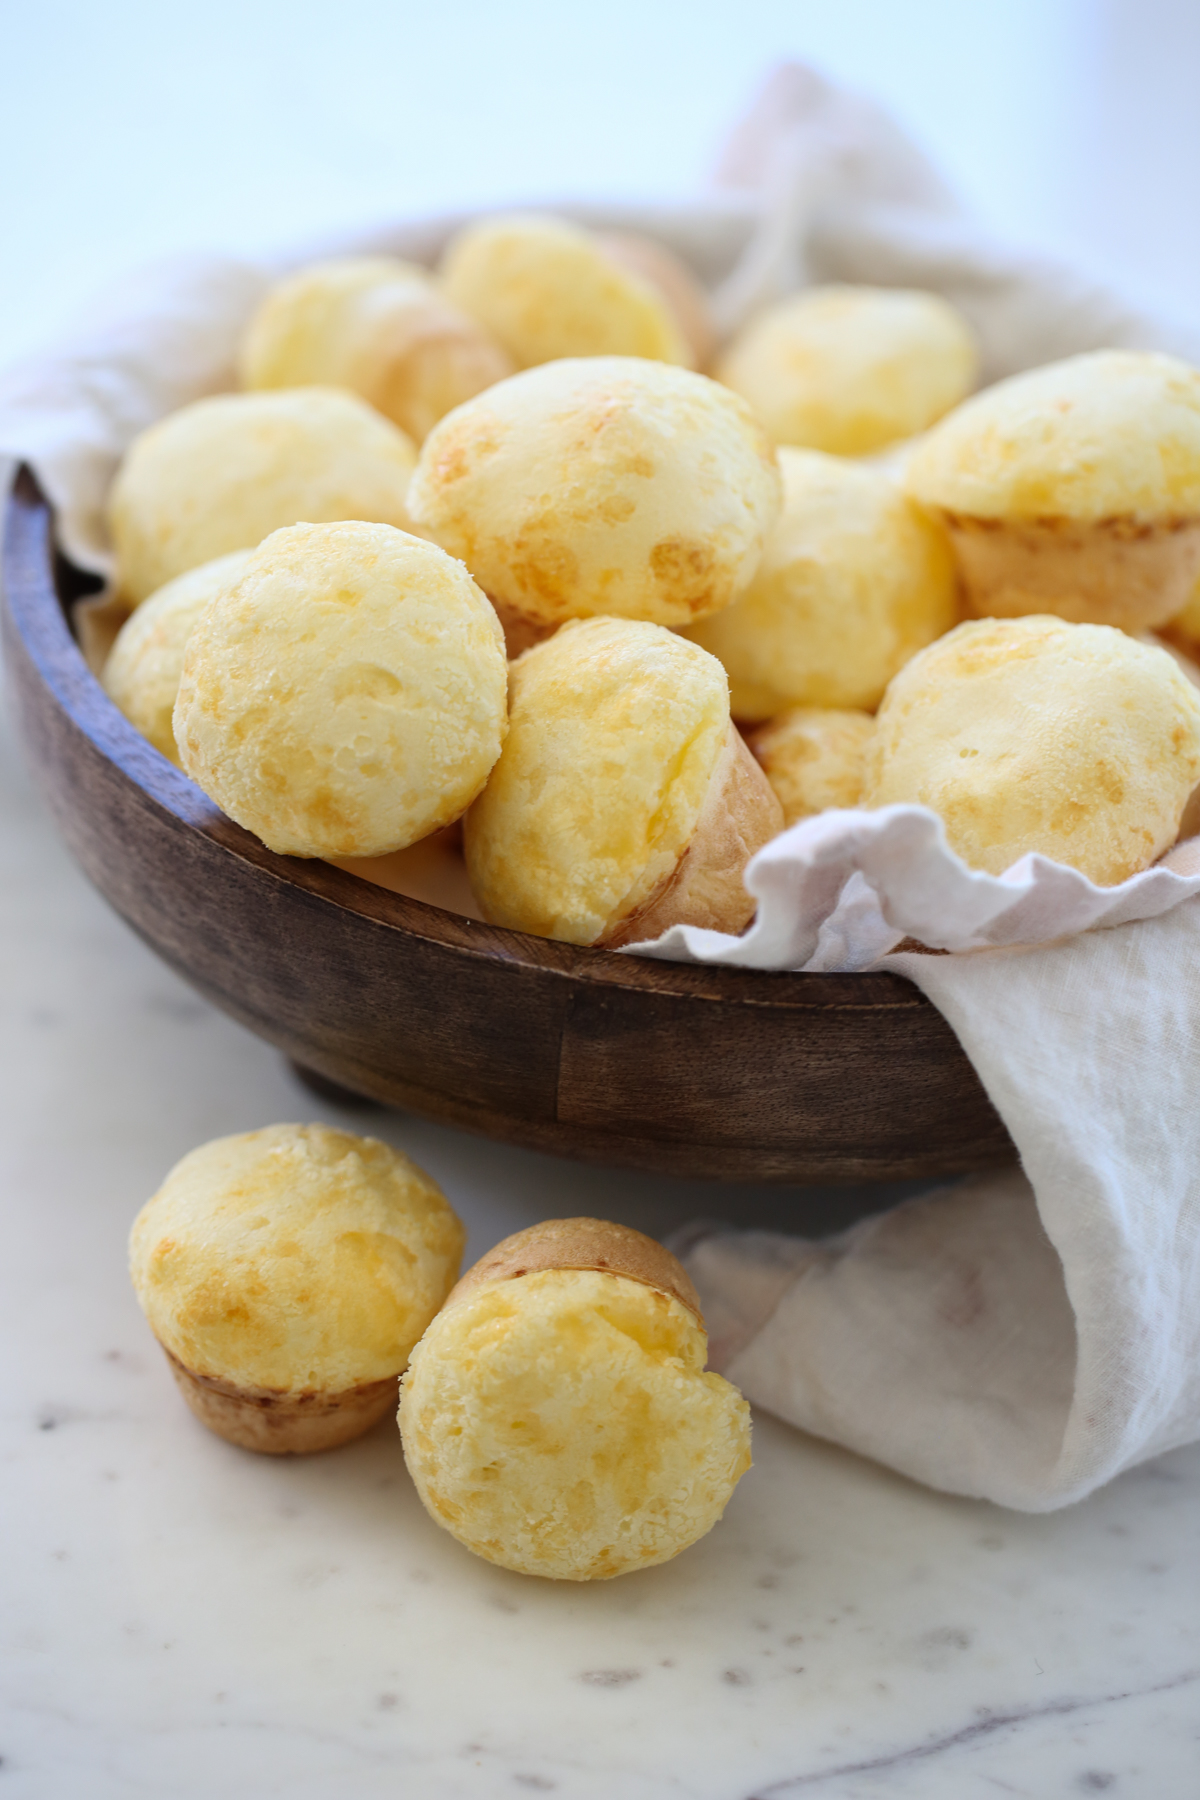
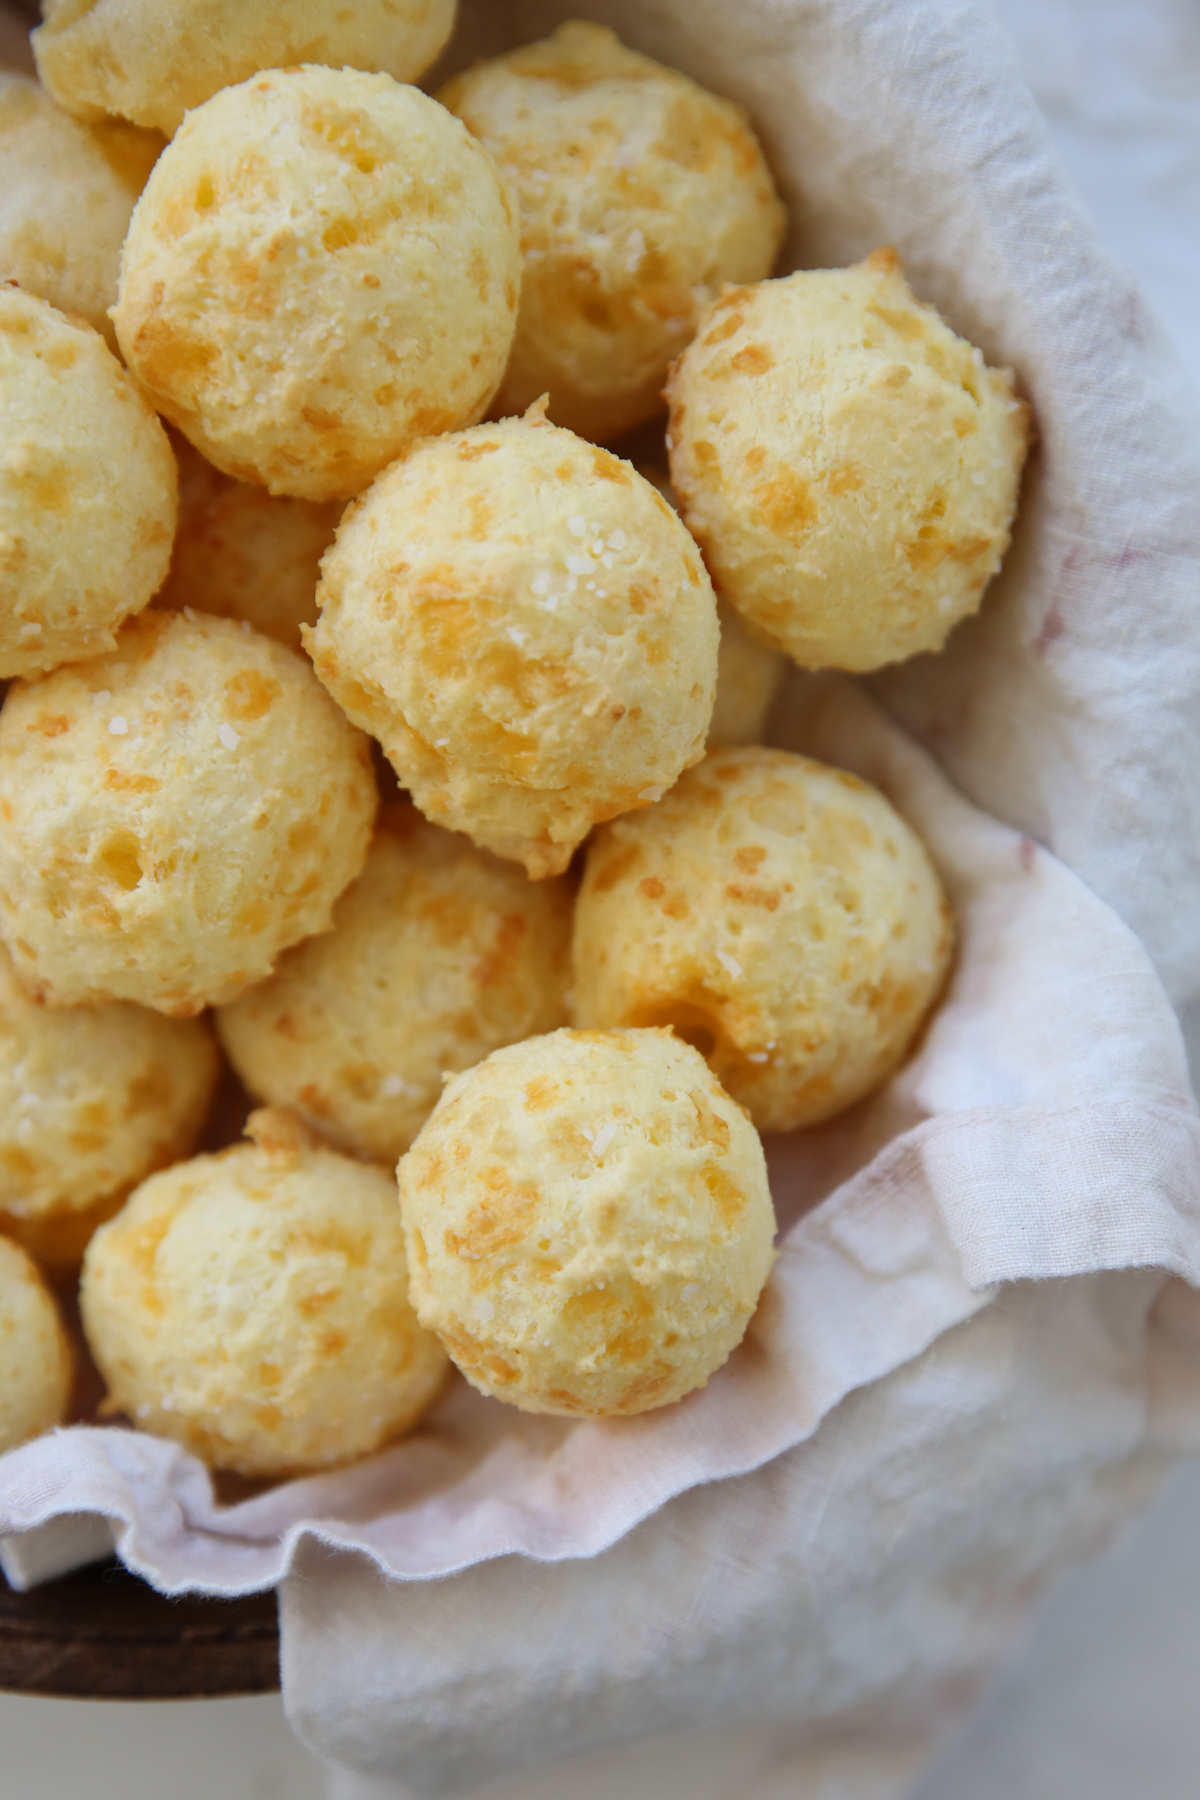
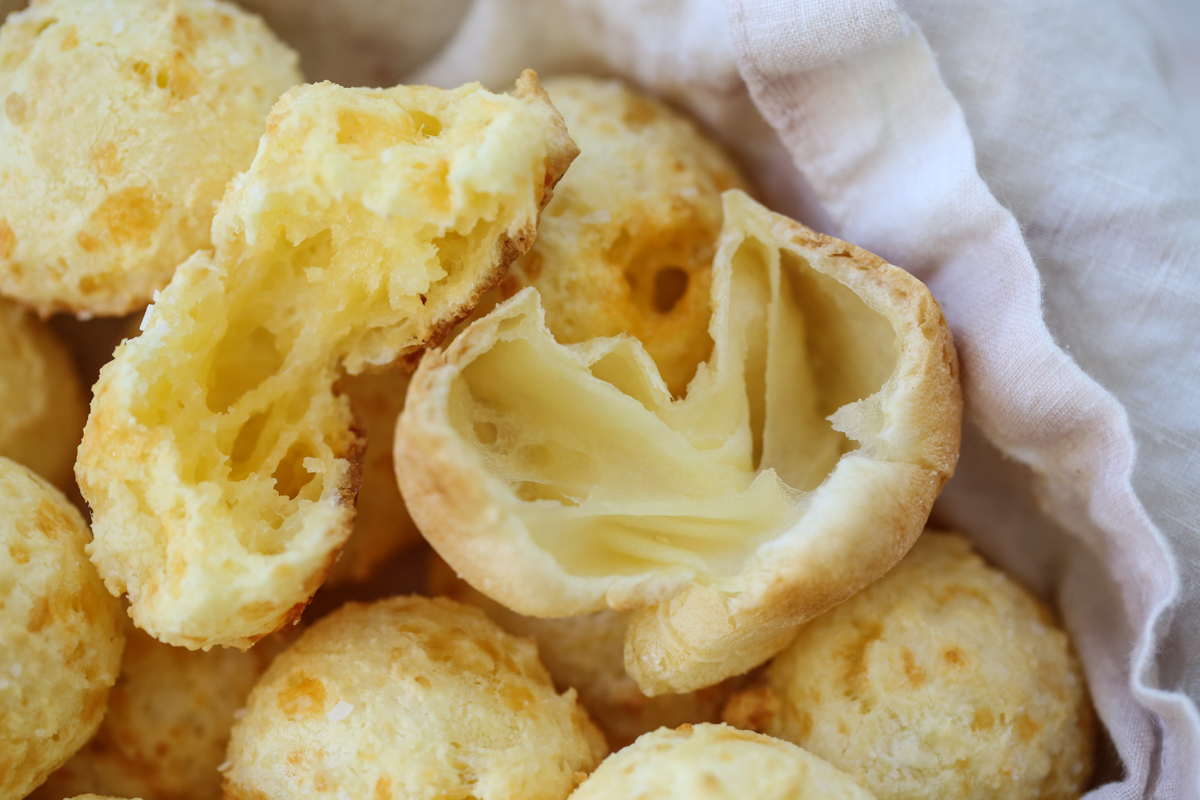
Of all the foods I fell in love with while living in Brazil, Pão de Queijo (literally translated to ‘bread of cheese’) is right up there at the top of my favorites list. If you’ve never had this type of Brazilian cheese roll, it’s not the same type of bread or roll we’re used to here in the US. It’s made with tapioca flour, as opposed to all purpose flour, so it’s almost more like the texture of a cream puff shell or popover, but with more substance and fluffy chew. The outside is slightly crisp and browned and the inside is soft and chewy. In the US, you can find them regularly served in Brazilian restaurants, and in Brazil, they’re in every corner store and bakery.
Interested in more Brazilian-inspired recipes? Click Here to visit the collection!
Below, I’ll show you 2 different methods of preparing the exact same recipe:
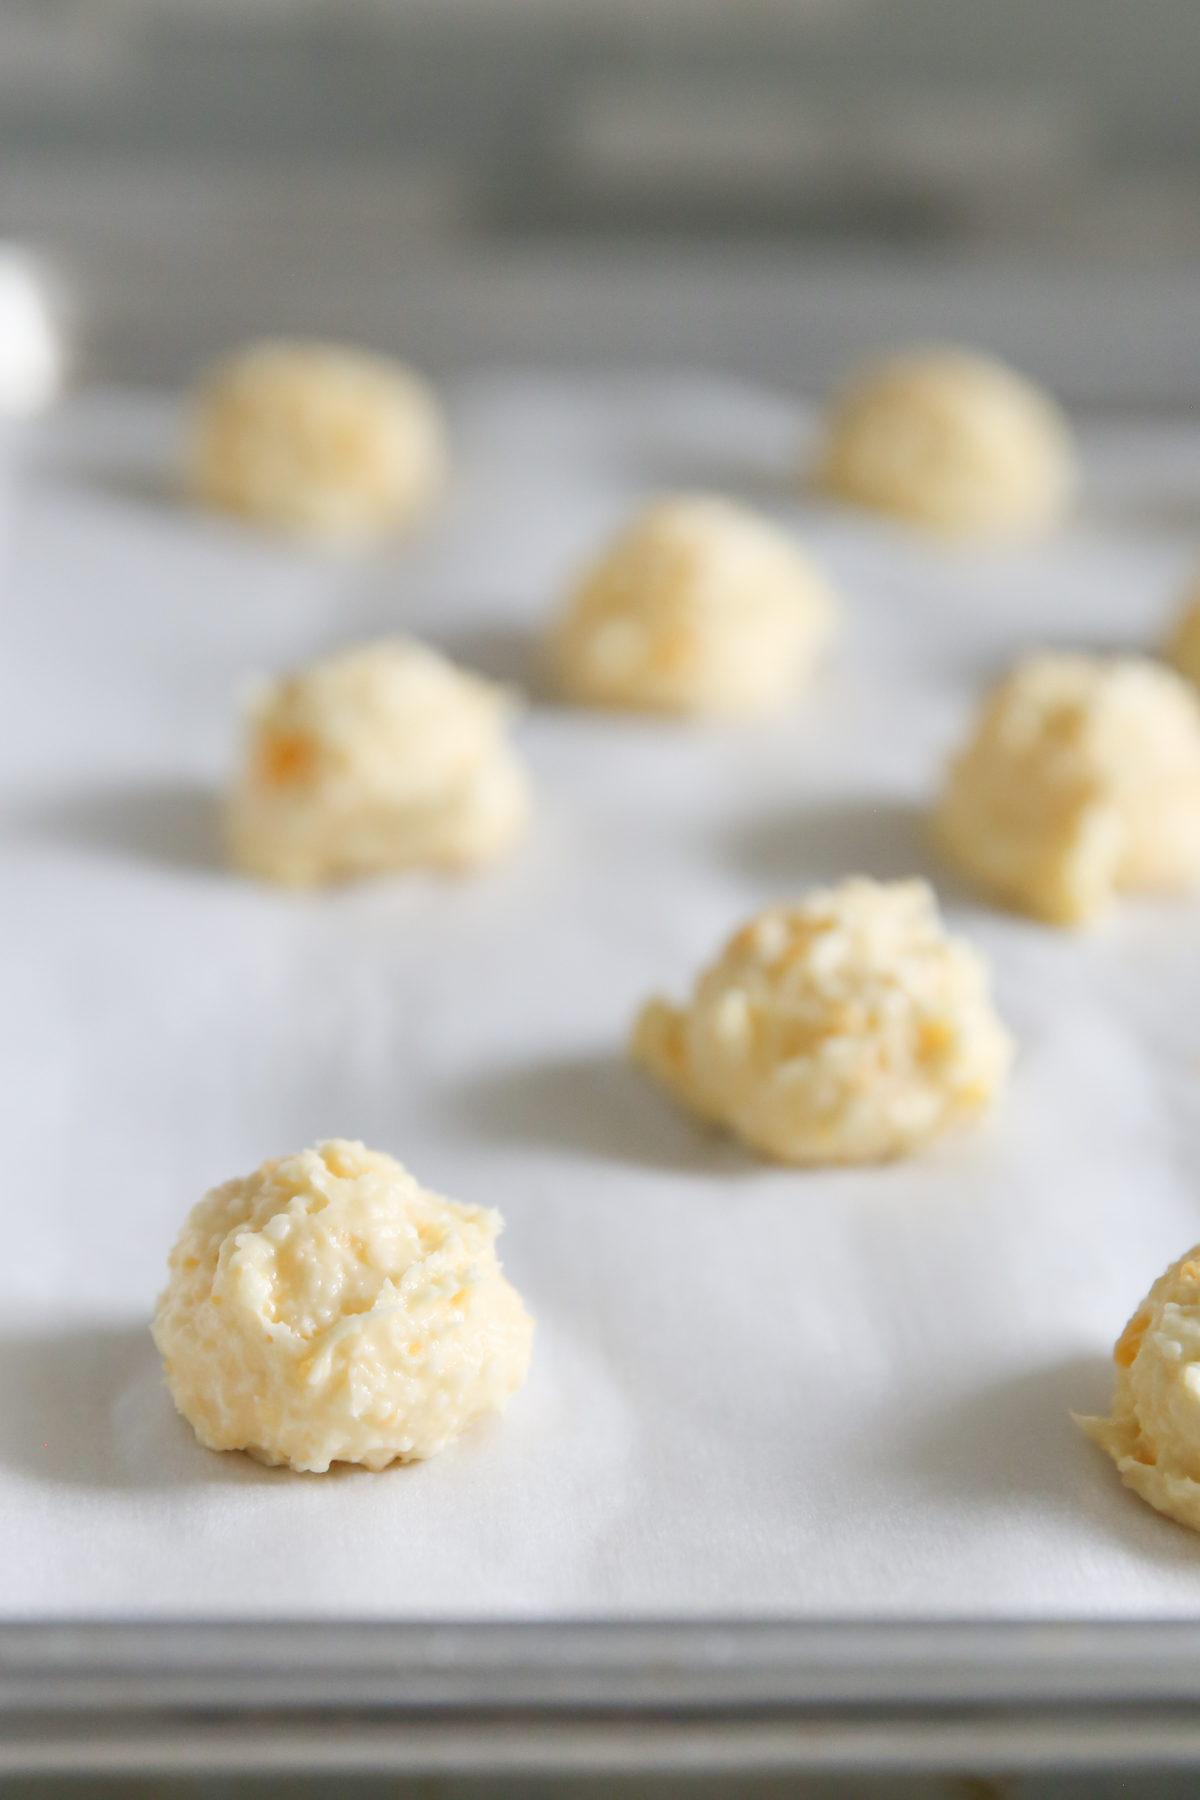
1. The traditional method (shown above, R) where the wet ingredients are first heated and then beat together with the dry ingredients and scooped into little dough balls before baking. This results in: A traditional roll with a slightly crisp outside and a soft chewy center.
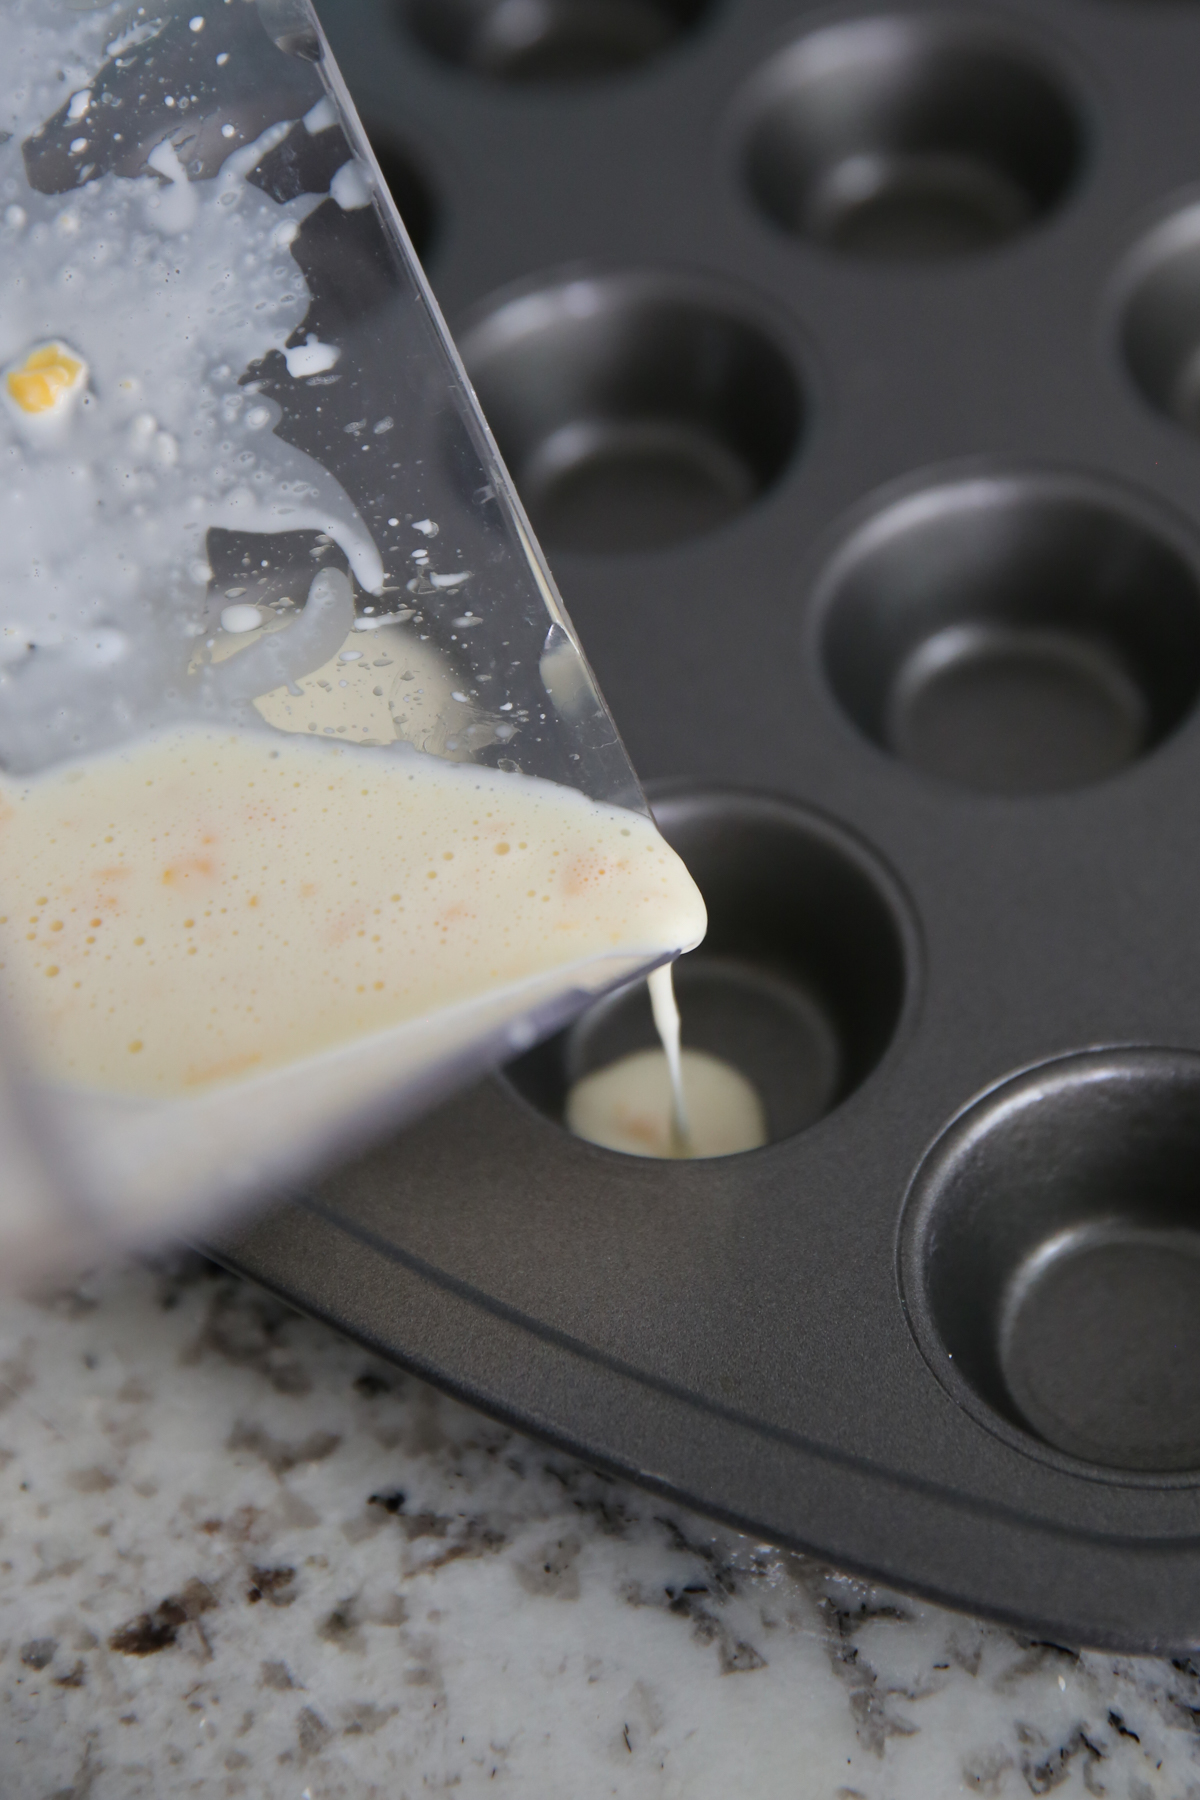
2. The shortcut version (shown above, L) where you put all ingredients in a blender and pour the ultra thin liquid batter into a muffin tin. This results in: A flavorful roll with the same chewy texture, but not as much density. These often puff up with centers that are sometimes more hollow, and can shrink after baking. The outside is a little thinner, but still so delicious.I usually make them this way simply because it’s so quick and easy!
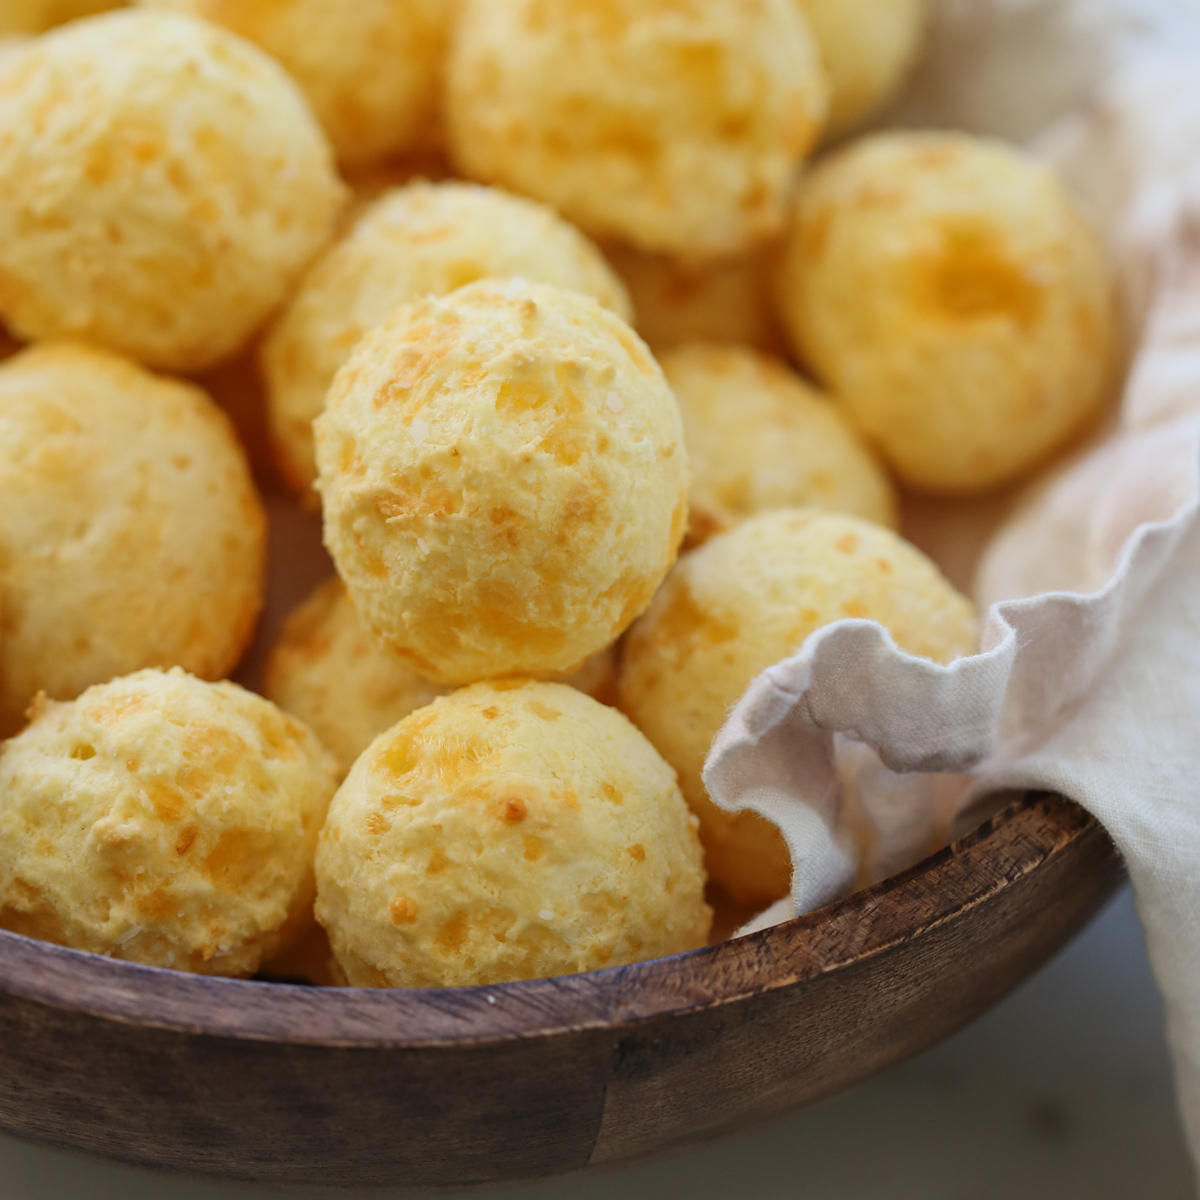
Here in this photo below you can see the blender method roll on the right and the traditional method on the left. Both super delicious!
Ingredients Needed
- Tapioca Flour– look for tapioca flour in the specialty flour section of the grocery store, or online. I have also found it sometimes in the bulk foods area of stores like WINCO. It’s a naturally gluten free flour. If you happen to be serving these to a person who needs to avoid gluten for medical reasons, avoid purchasing from bulk bins where there can be risk of cross contamination. Another place you can check is an Asian market, they regularly carry tapioca flour.
- Egg – Egg acts as a binder and helps produce the chewy texture. I’ve never tried these with any egg substitute.
- Milk – You can use any milk in this recipe, though I prefer one with a higher fat content, like 2% of whole. If you don’t have those, use whatever is in your fridge, including a plant based option if you need to do that for dietary reasons.
- Salt – without salt, these will turn out quite bland! I use kosher salt. If subbing table salt, decrease the amount slightly.
- Cheese – feel free to vary the cheese and discover new combinations. I prefer to use medium or sharp cheddar and parmesan, but most cheeses work well. Stronger flavored cheeses will produce a more flavorful roll. You can experiment with adding more cheese than is called for in the recipe, it’s a little bit of personal preference but I usually measure generously!
Instructions
BLENDER METHOD
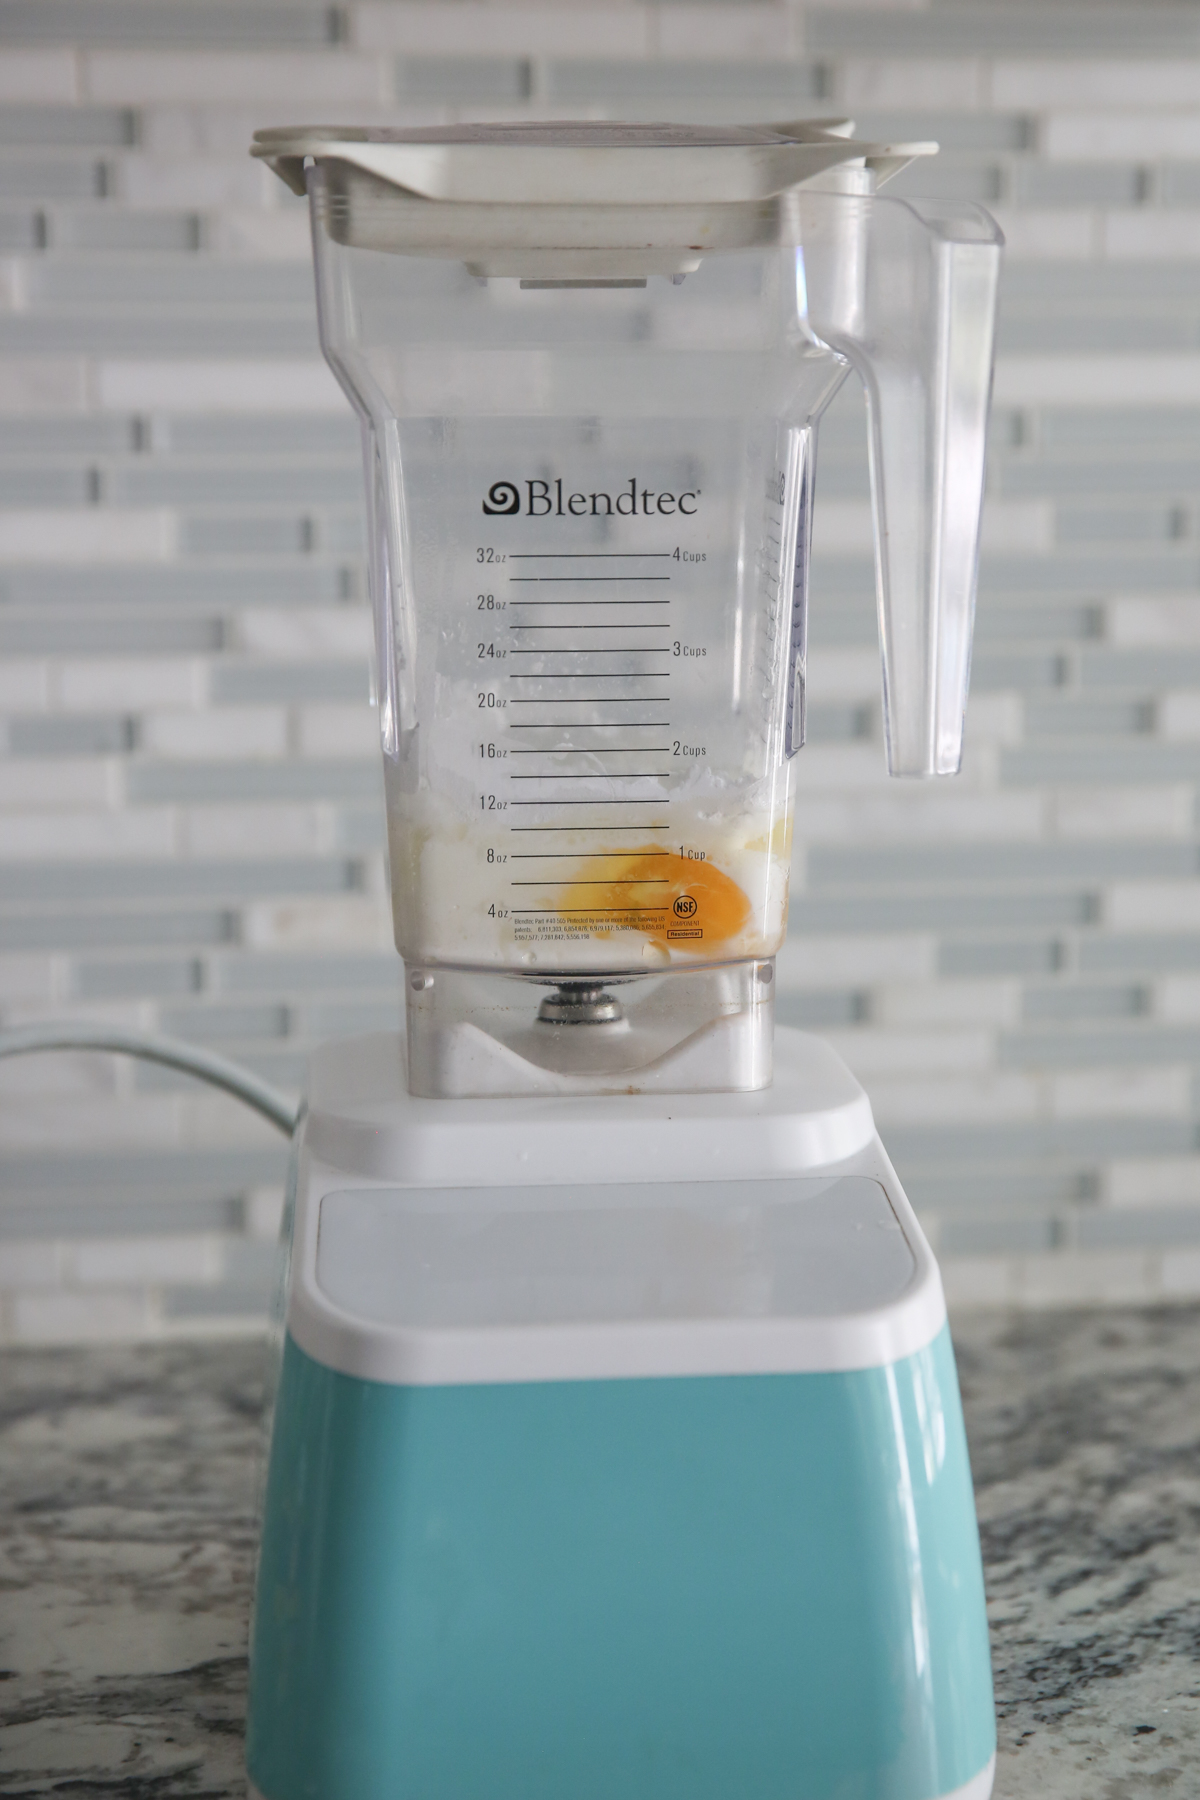
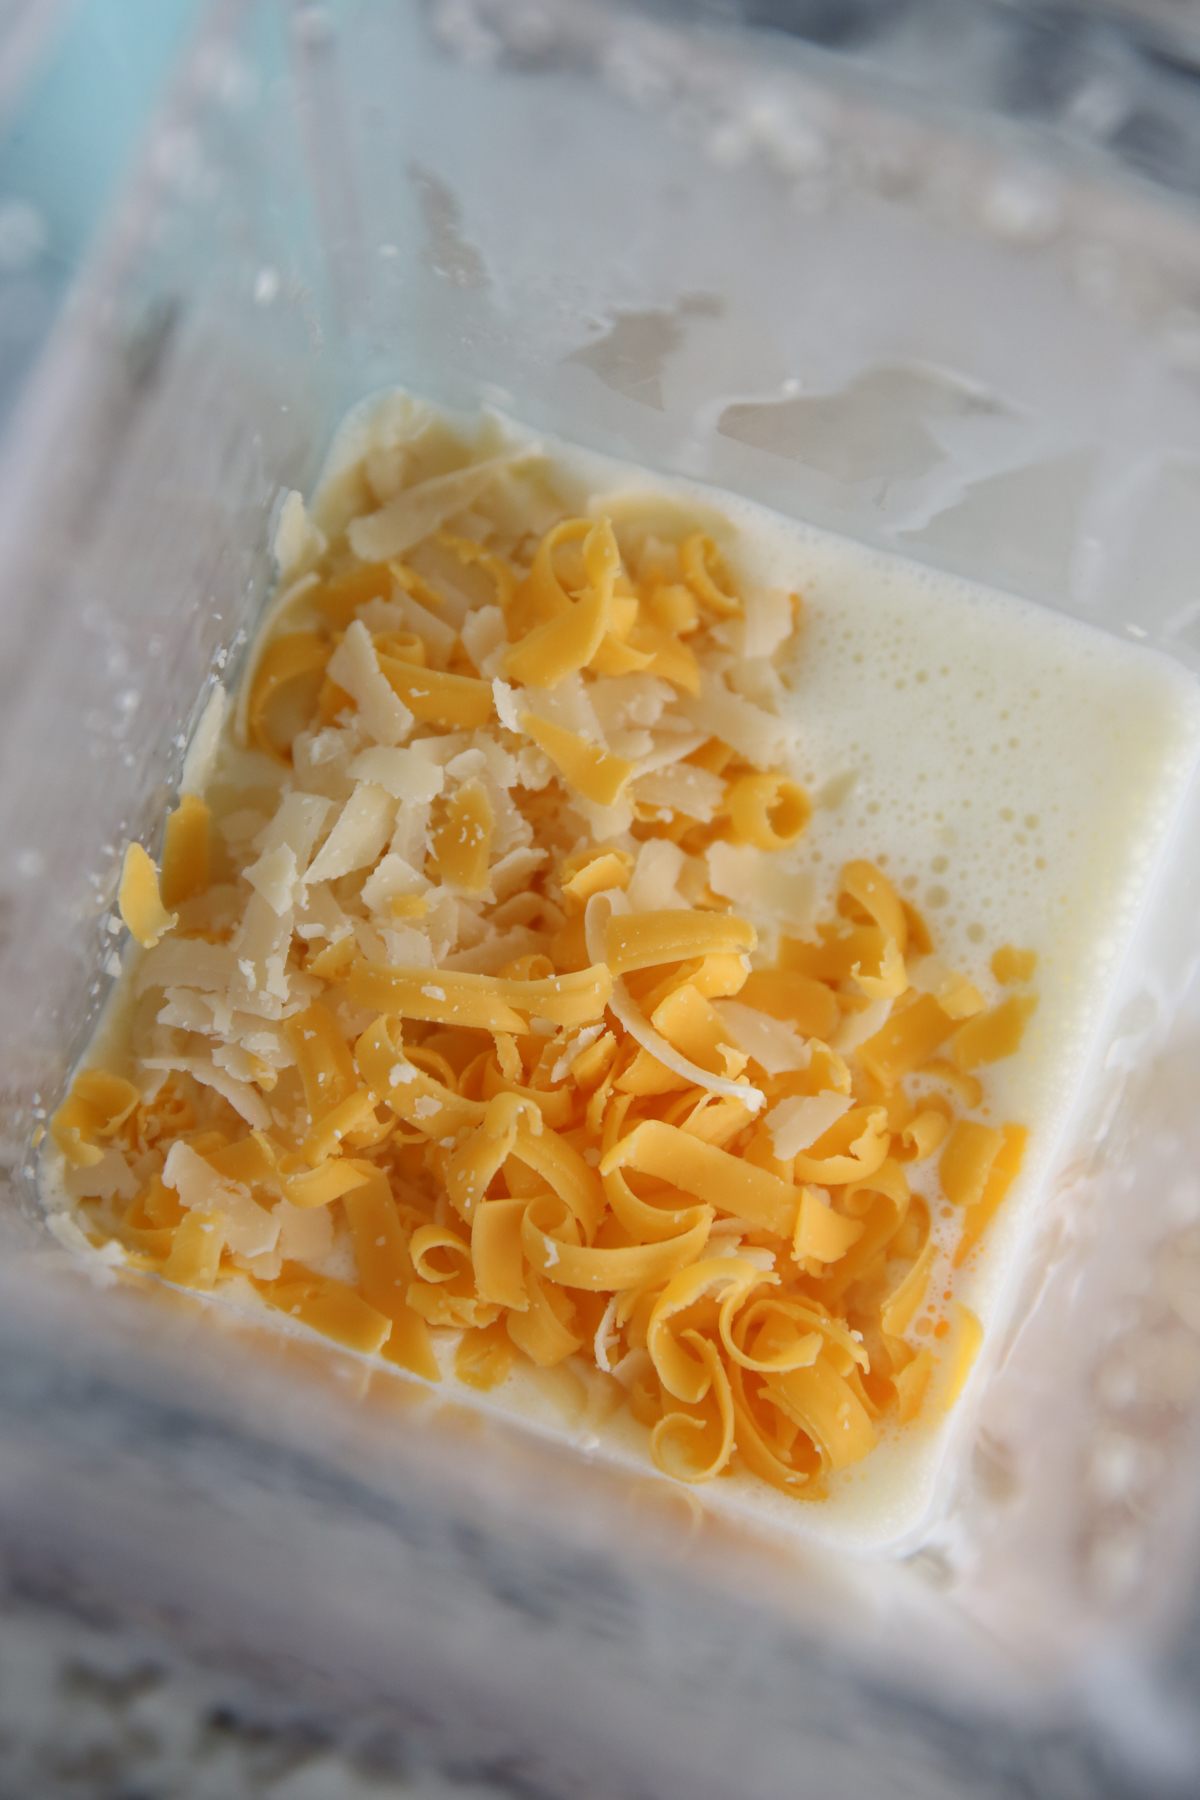
- Put all ingredients except cheese in the blender and blitz it up!
- Add cheese and pulse just a couple times
- Quickly pour into prepared muffin tin (I say quickly, so cheese stays distributed.)
- Optionally, you can sprinkle a little more cheese on top. If you add cheese on top they don’t rise quite as high but you get extra cheese flavor.
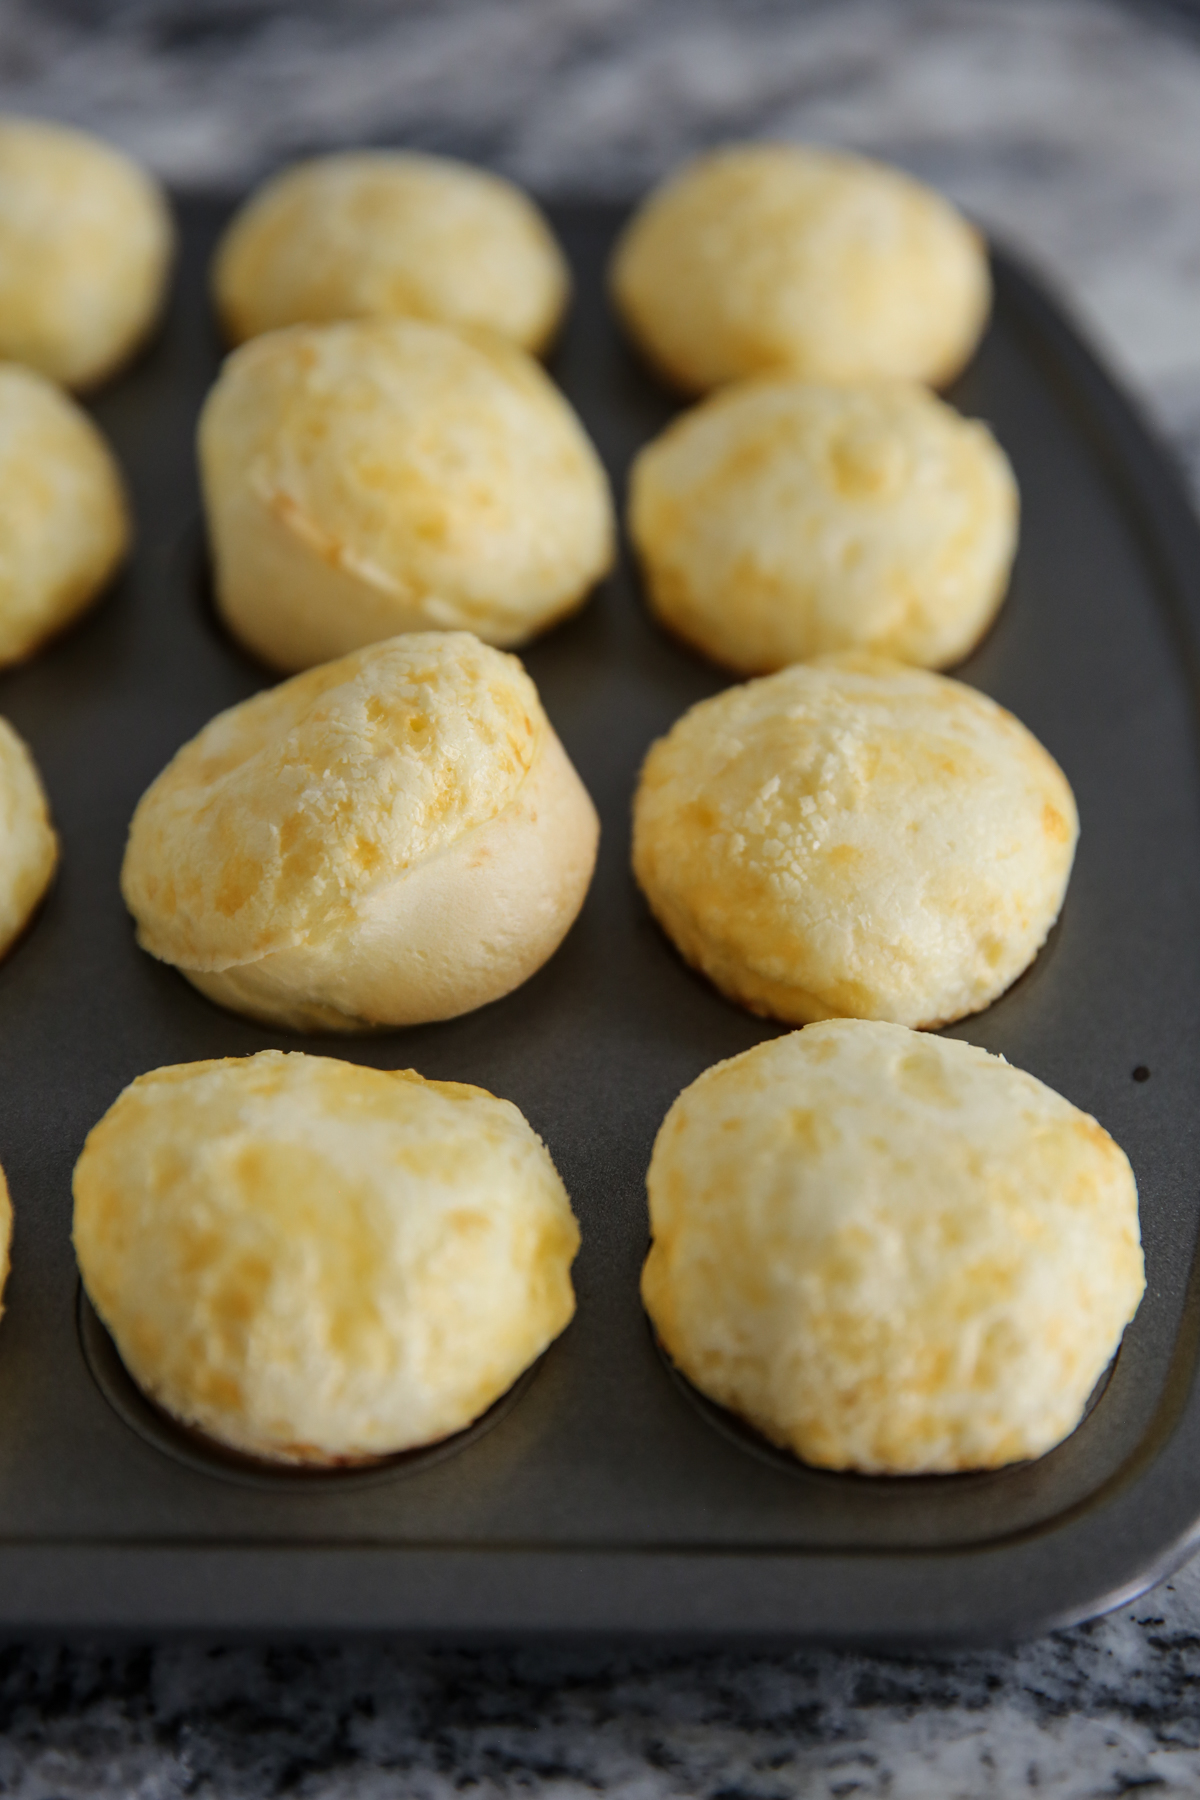
- Bake until puffed and just barely golden.
- They’ll be a little crispy on the outside and soft, airy, and tender on the inside. Almost a little chewy. Some of them are even kind of hollow. This version is a little less dense than the kneaded dough variety. The yield is anywhere from 16-24 mini muffin rolls, depending on how full you fill them. I fill mine pretty full (a good 3/4 full) and I generally get about 16-18. When using a standard size muffin tin, you’ll get about 7 large rolls.
TRADITIONAL METHOD
Pay attention to the photos and my explanation here, because while I have made these a ridiculous number of times over the years, the finished dough, with the exact same ingredients and measurements (even weighed to be sure) often turns out with completely different consistencies. And it’s okay!
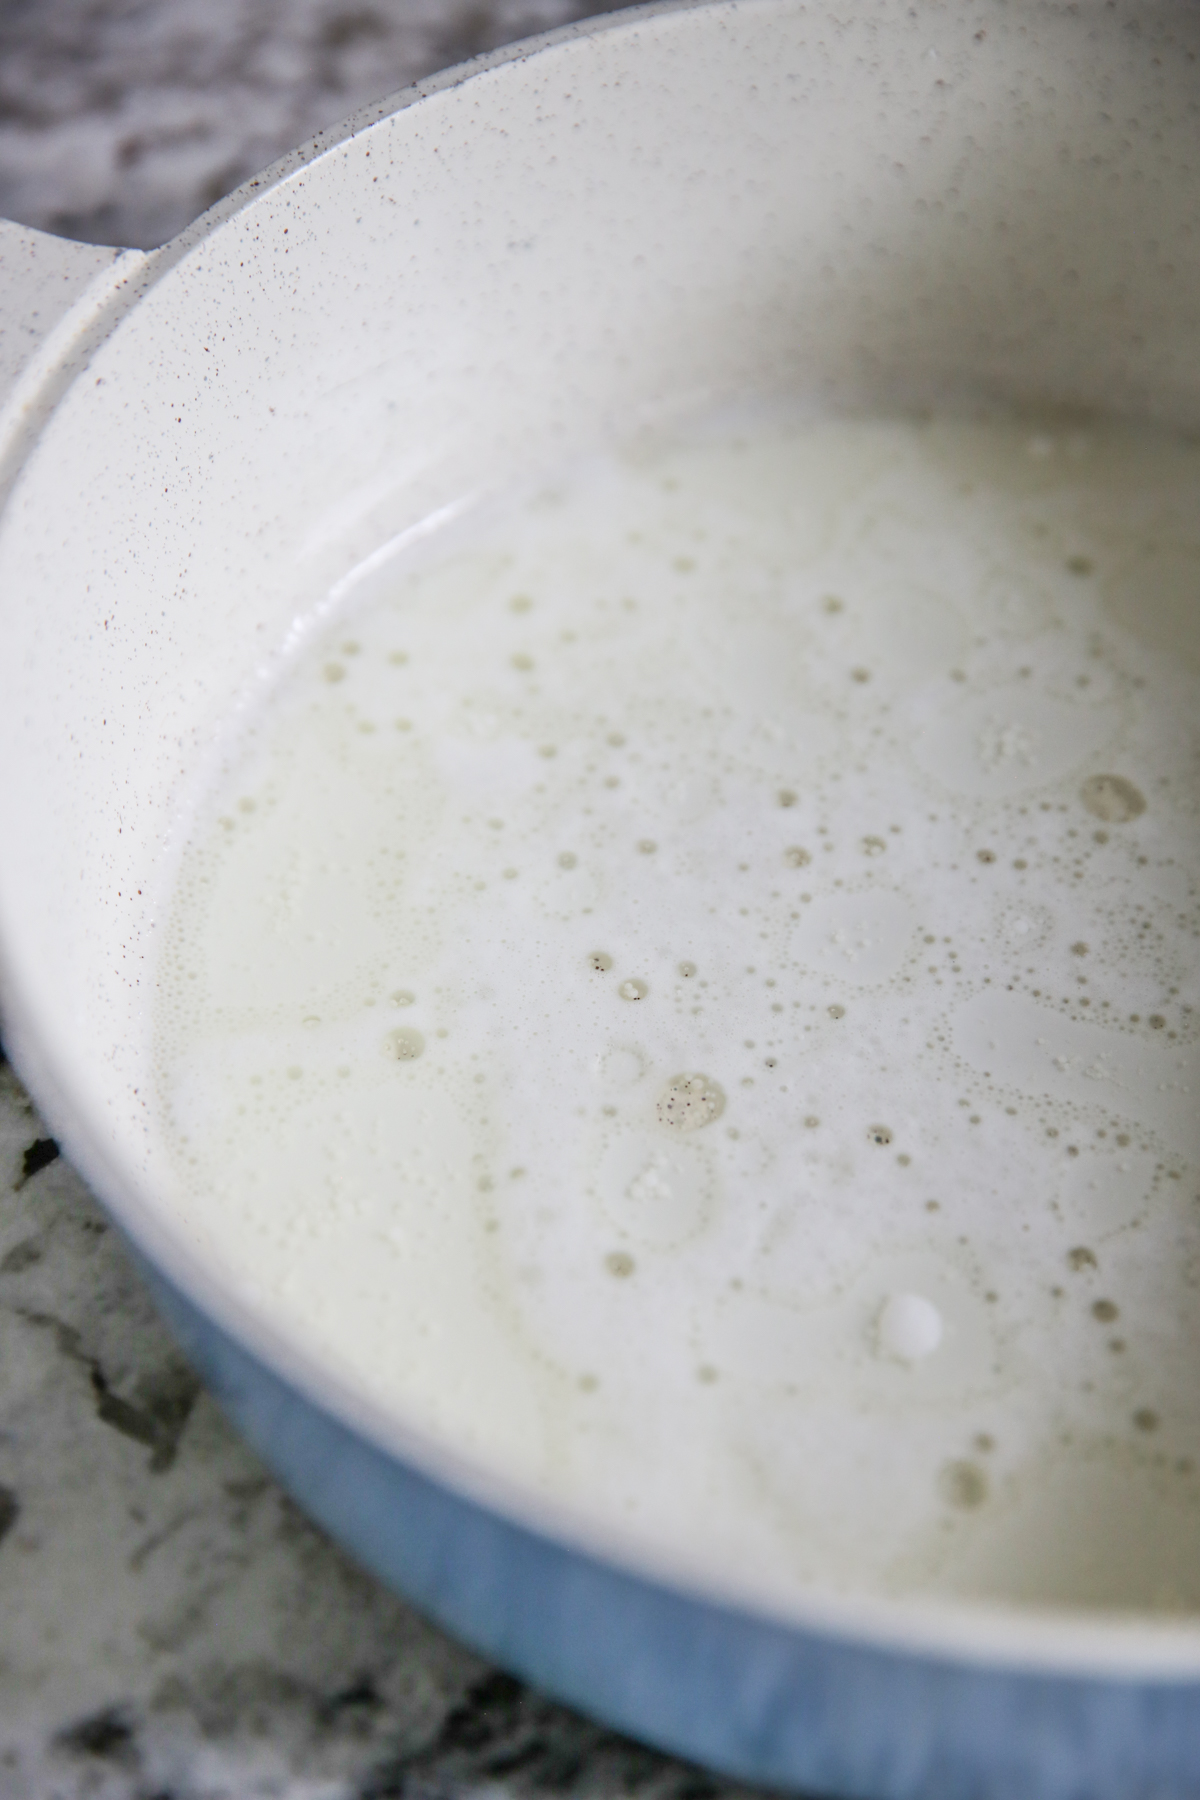
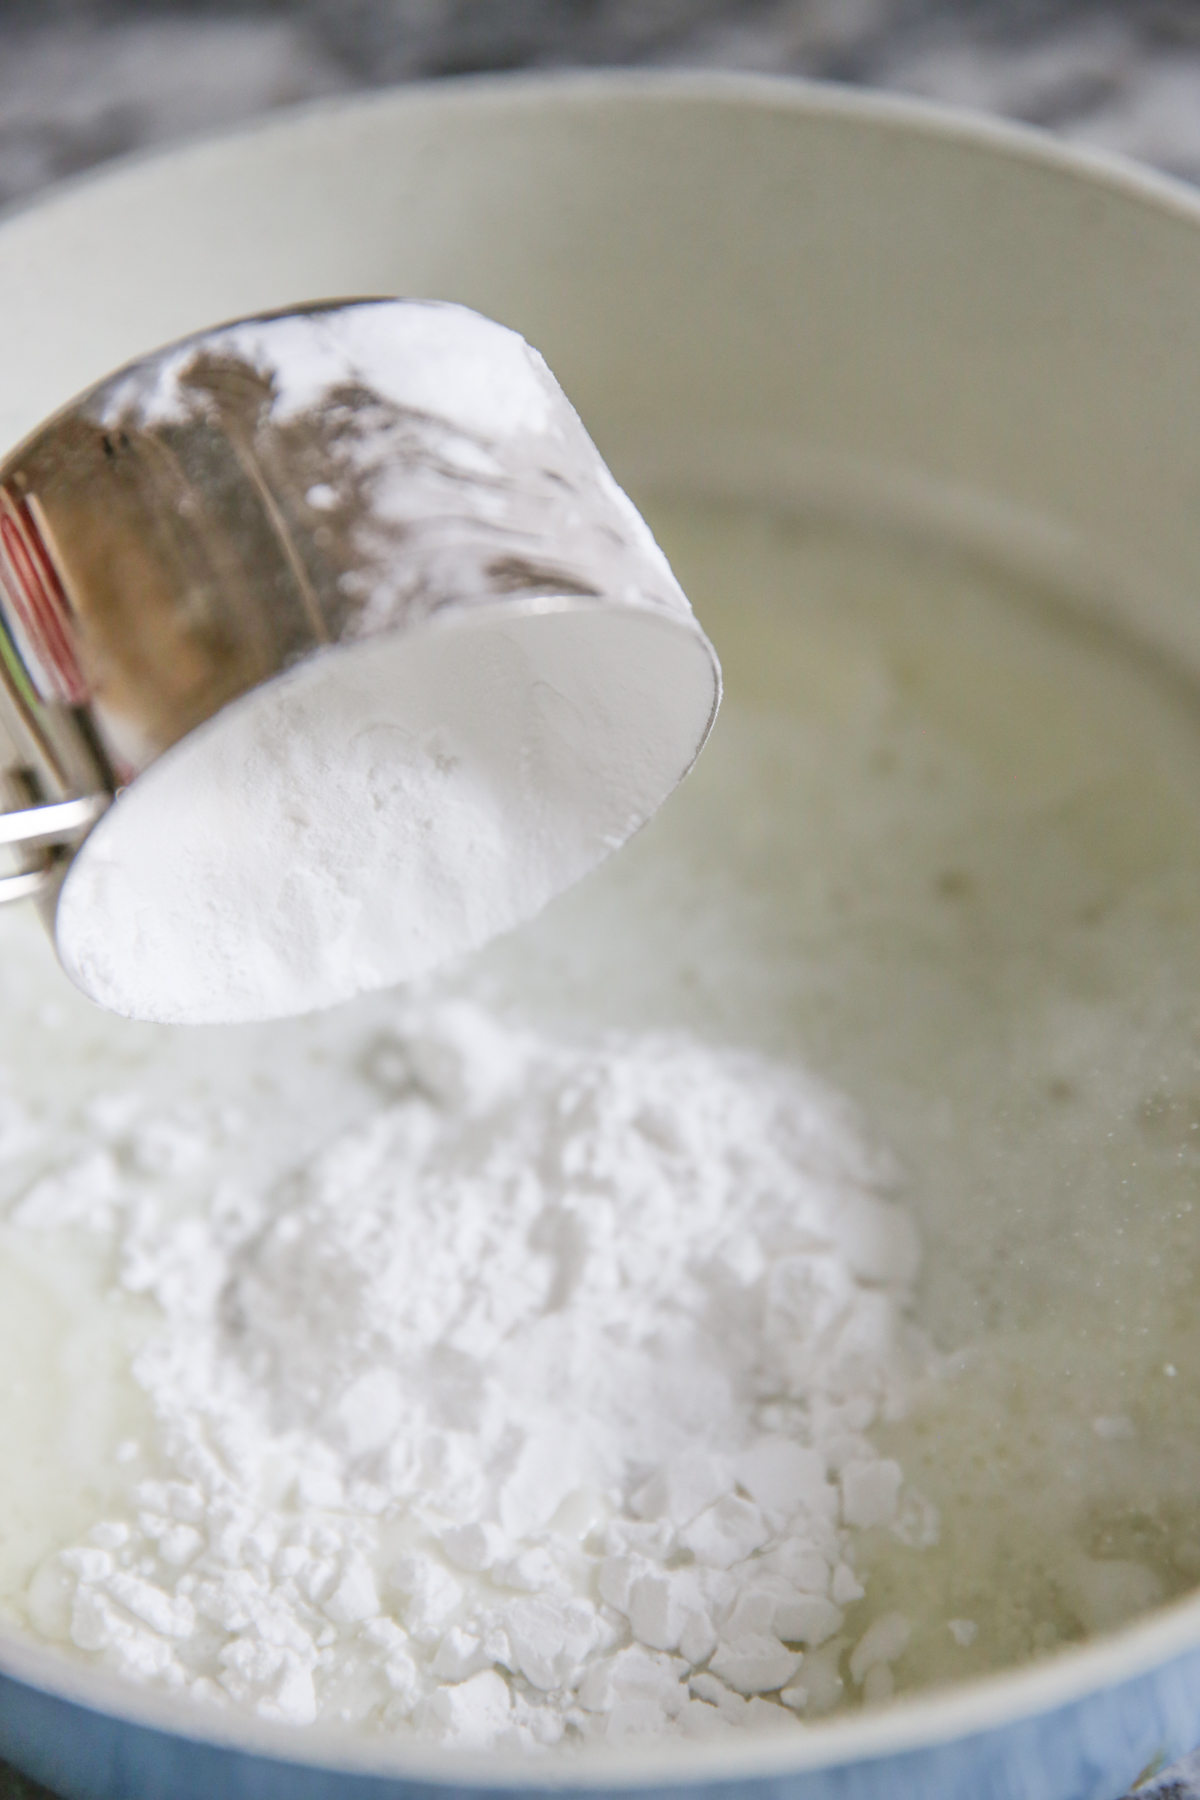
- First you’ll heat your milk and oil on the stove until just simmering.
- Then you’ll add this to your tapioca flour. You’ll notice in the photos below, I’m adding the flour directly to the pot, but often I put the flour in my mixer, and pour the hot liquid over it and that’s fine too.
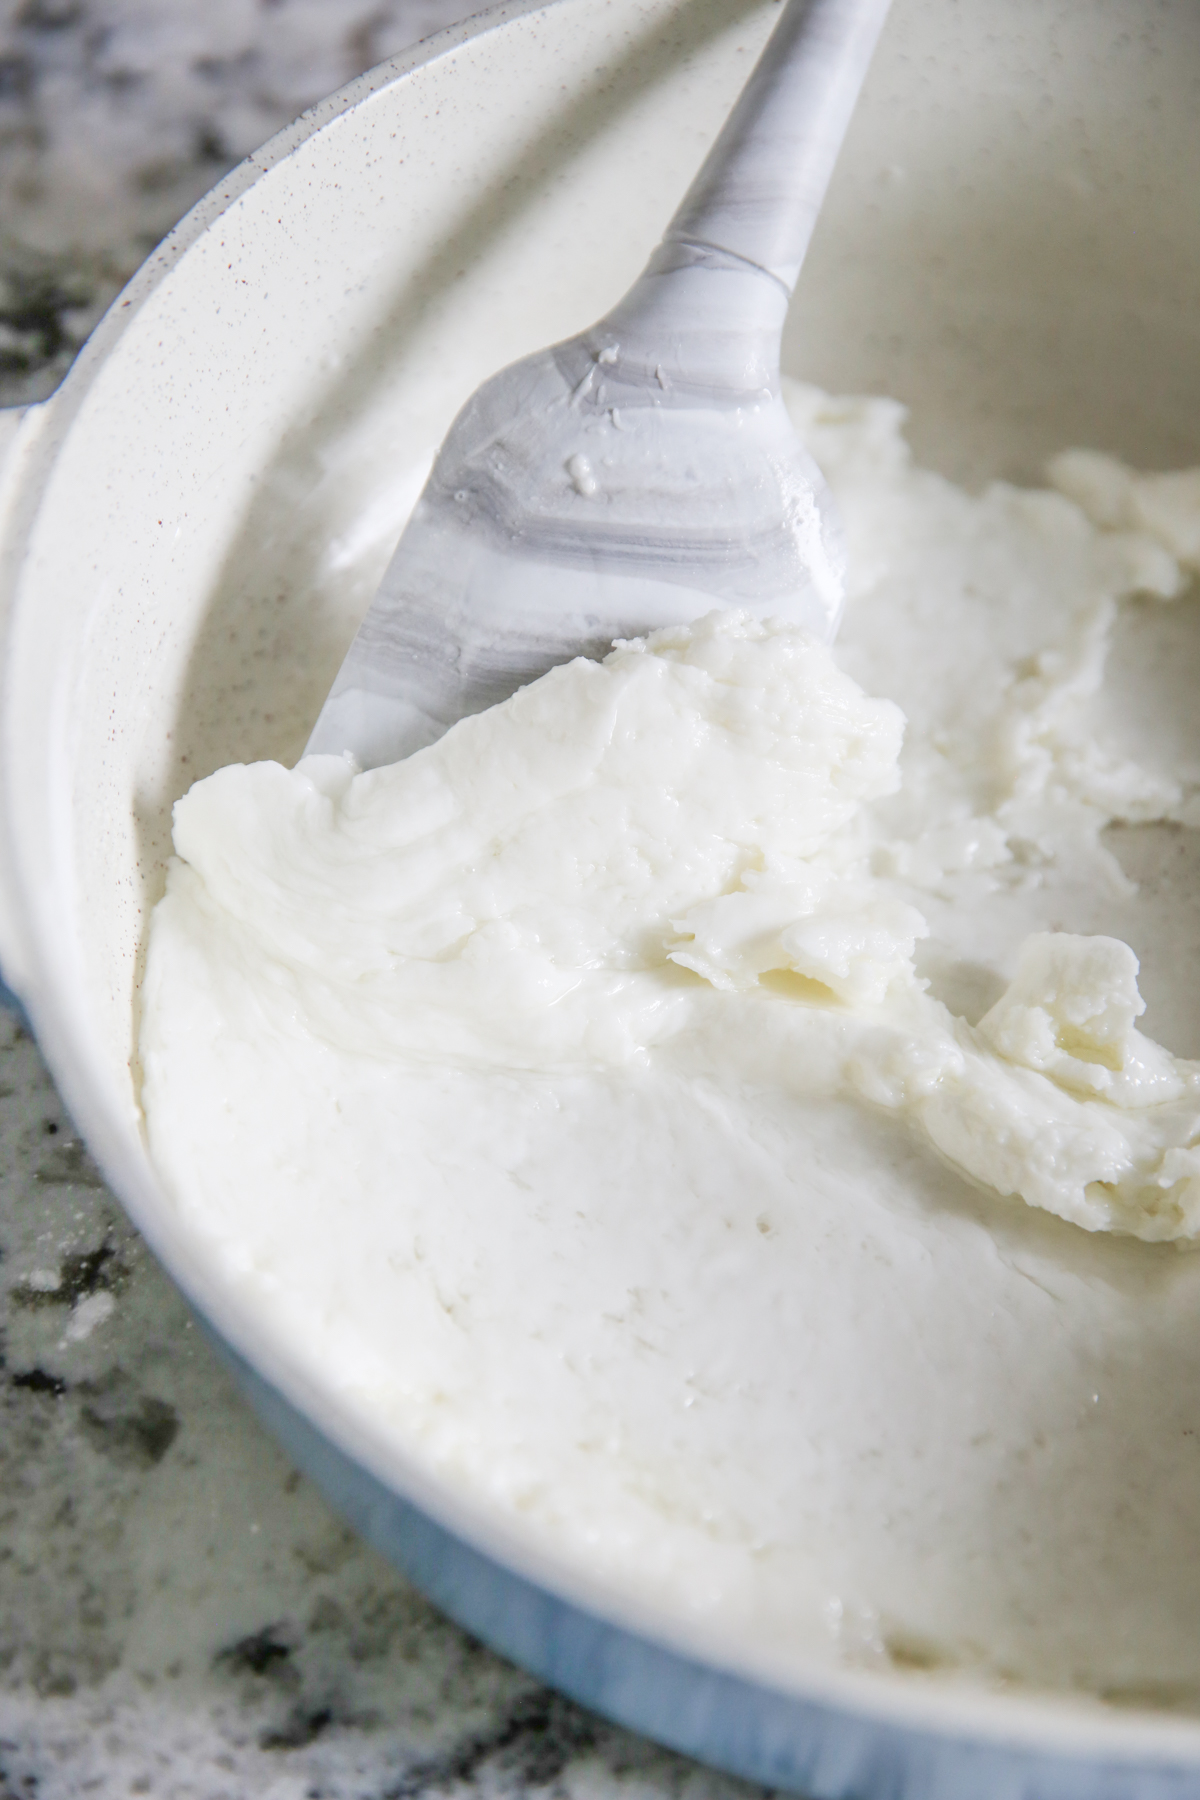
Here’s where it gets interesting. Sometimes this mixture comes out smooth and silky like playdough. Other times it’s crumbly like wet sand. You’ll notice the smooth version in the pan below left, and the crumbly batch (with the egg on top) on the right. The lack of consistency has driven me crazy for years, but after trying other people’s recipes and encountering the same thing, I think it’s just part of the fun haha. I know that different brands of tapioca flour have different levels of absorbency, but even with the same bag of flour, I find this still happens, so now I just go with it. Bottom line- either of these outcomes is okay!
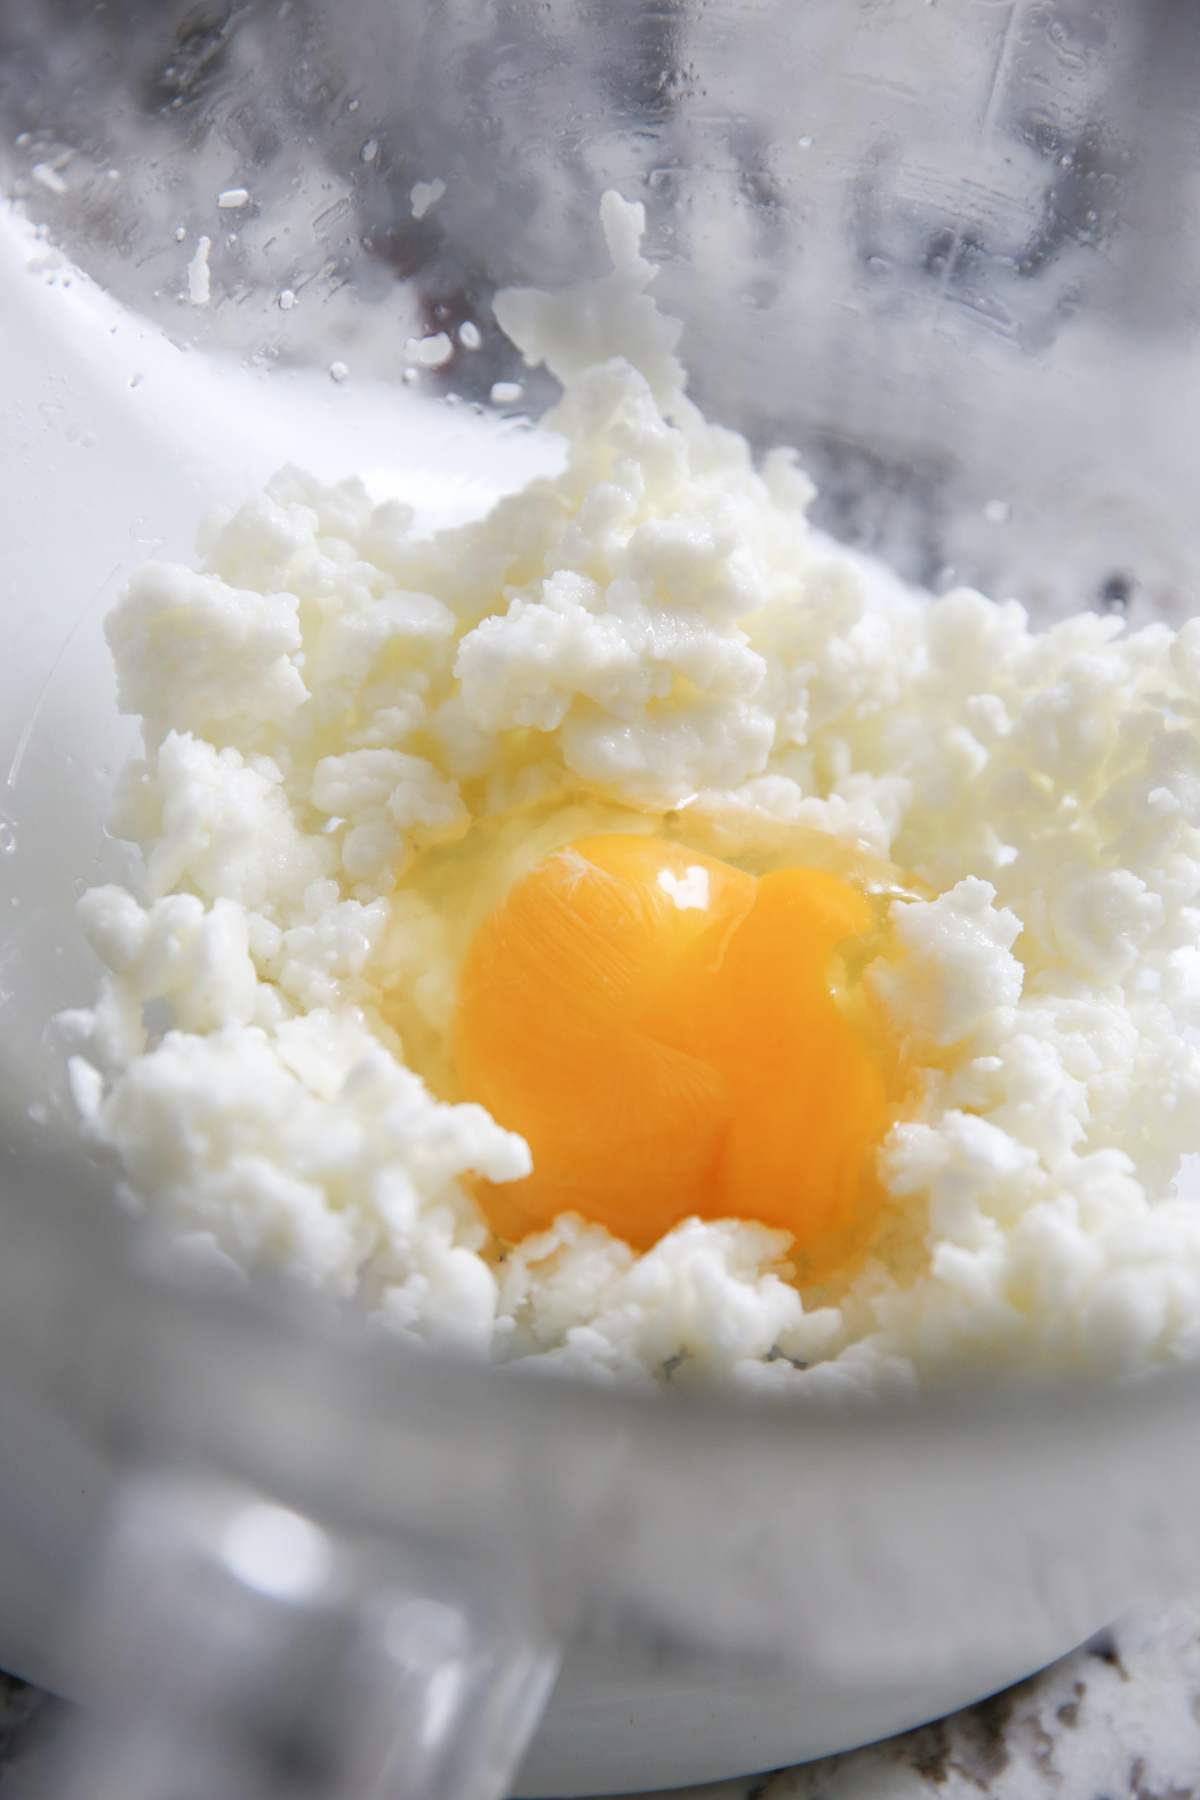
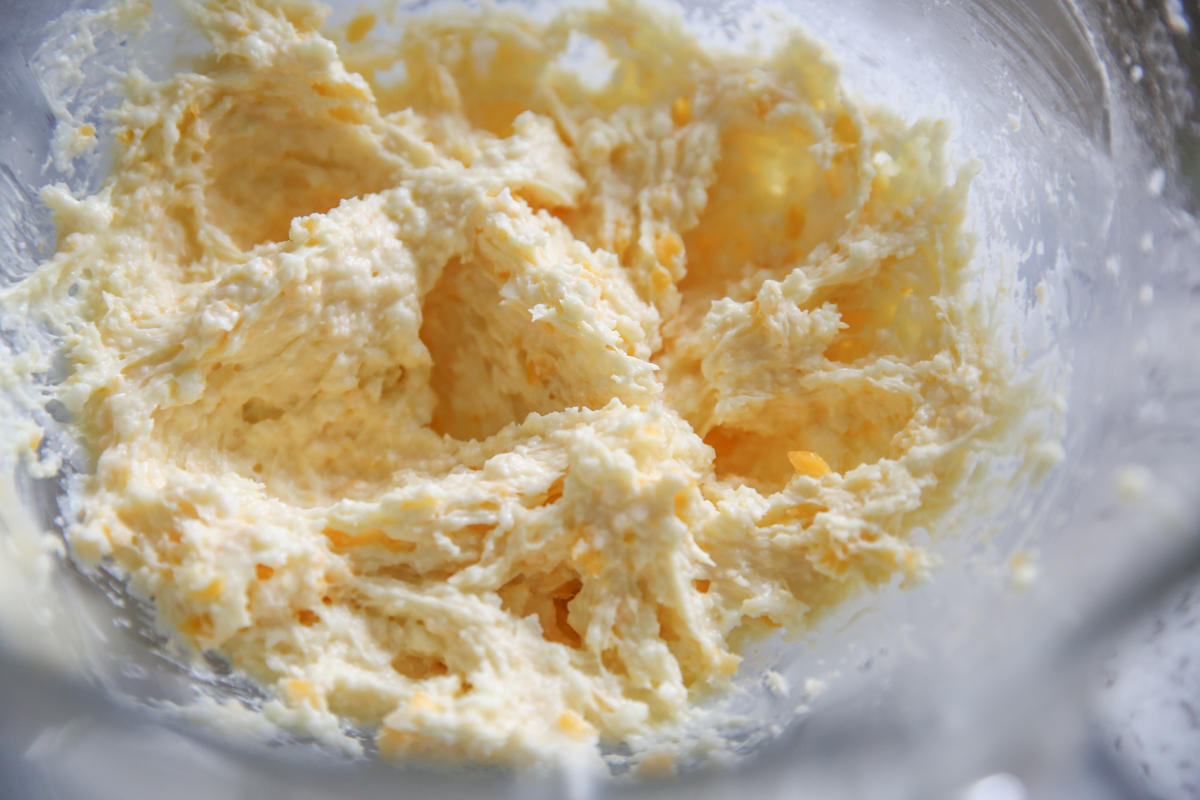
3. The next step is beating in the egg, and then the cheese. Ideally, your mixture should look like a wet cookie dough:
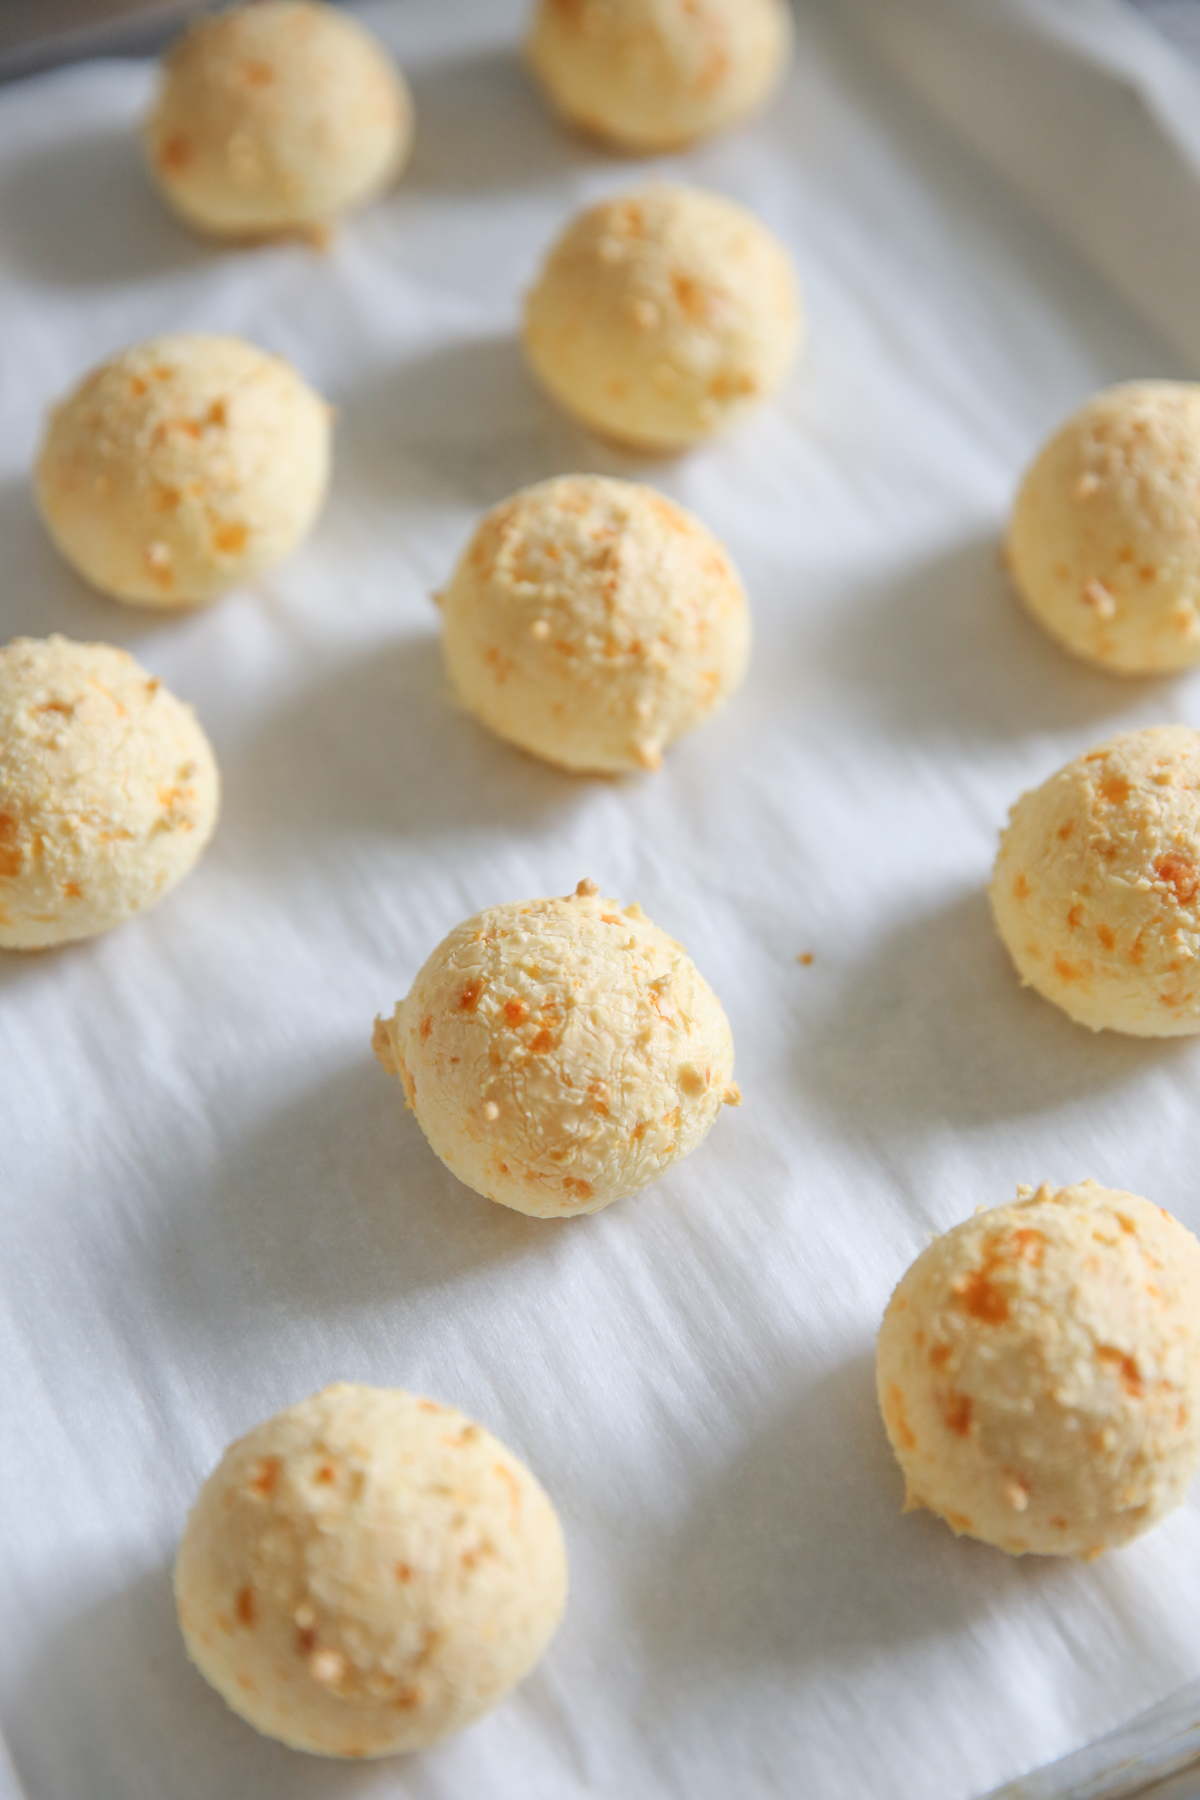
4. You can then use a cookie scoop to drop it on a baking sheet and bake until puffed and golden.
SOS!
But let’s say your batter is super runny! There’s no way it will hold its shape. Guess what? Happens to me too! Sometimes it just does that. No problem! If it’s just slightly too wet, you can simply add a bit more tapioca flour and even a bit more cheese. If it’s really loose, simply spoon your batter into a muffin tin (mini OR full size) as opposed to the baking sheet, and they will bake right up and be absolutely delicious. They’ll be a little crispy on the outside and soft, tender, and chewy on the inside.
The yield is anywhere from 16-24 rolls when using a mini muffin tin, depending on how full you fill your muffin pan. I fill mine pretty full (a good 3/4 full) and I generally get about 16-18.
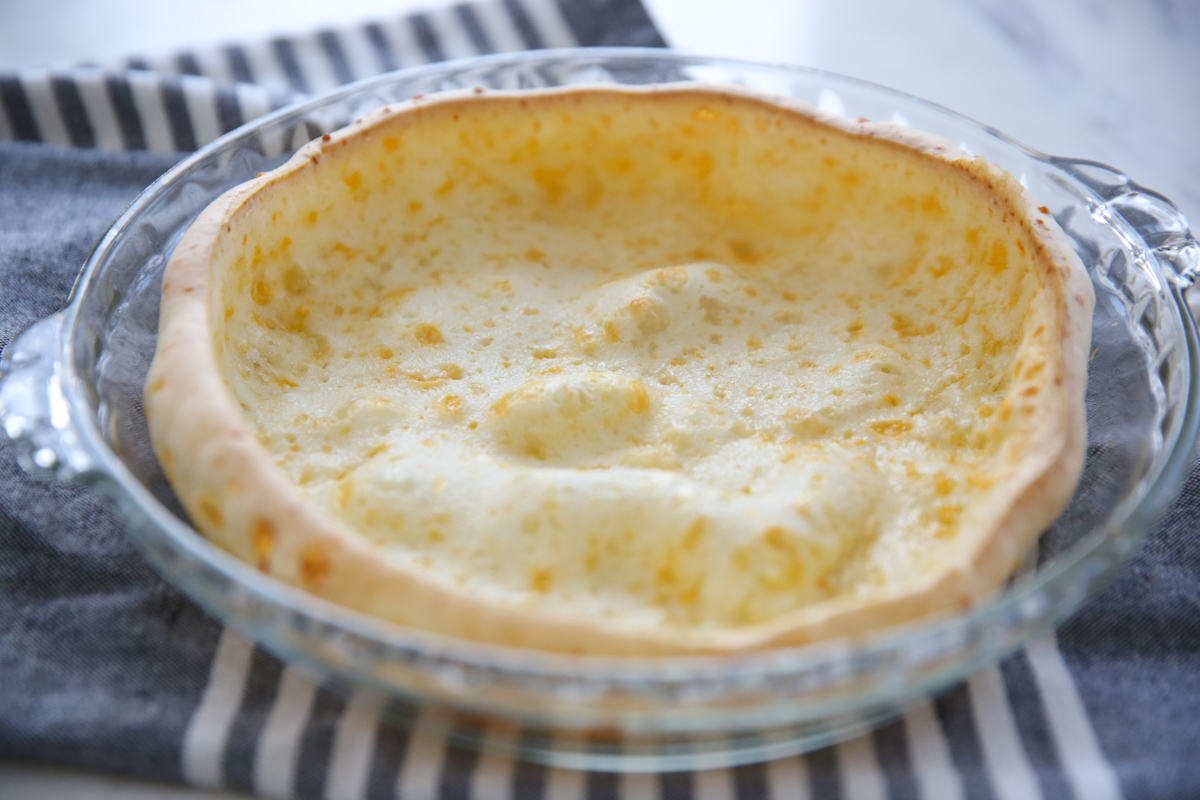
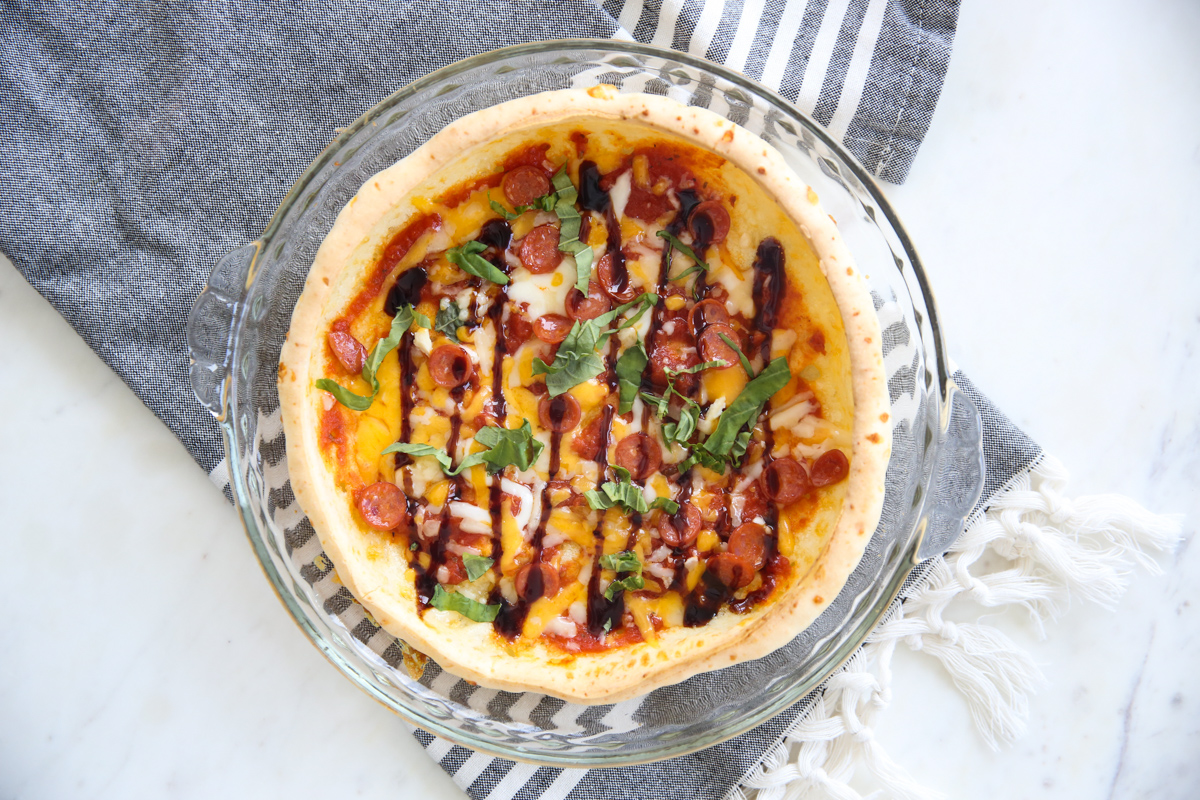
Pão de Pizza!
I’ve many people tell me they’ve used this recipe for a gluten free pizza crust so I had to try it. Using the blender method, you can pour 3/4 cup of your batter into a greased pie plate. (The recipe makes about 1 1/2 cups batter it will yield two crusts). Bake until it’s golden brown on the edges- it should puff up on the outside but stay flat in the center like a dutch baby. Remove from oven and spread with a little sauce and cheese and then return to the oven to melt. Once you put toppings on, the center softens a bit but it was good! My kids really liked this.
Frequently Asked Questions
Yes. With the traditional method, refrigerate dough in an airtight container for up to 2 days. Chilling also helps it set up if it’s a little runny. With the blender method, assembly is seriously so quick I recommend just whipping it up when you want to make them. If you do need to prep the batter ahead of time, be aware the flour will settle after sitting. You’ll want to mix it up extremely well before pouring into your muffin tins.
I wouldn’t intentionally make them before since they’re so great fresh, but you can store baked breads in an airtight container in the fridge and reheat in the air fryer. I heated at 300° for about 3-4 minutes and they were amazing. All air fryers differ so you might need to adjust.
If you use the traditional method of preparation, you can scoop the dough onto parchment and then freeze. Place frozen dough balls in an airtight container or zip top back for up to 3 months. Bake from frozen, adding a few minutes onto baking time and they’re as great as they are fresh!
You bet- play around with different cheeses, but I find it most delicious with stronger flavored cheeses like parmesan and sharp cheddar.
You bet. I’ve used both avocado and olive oil with good results. Olive oil will however add a bit of flavor to the roll, while vegetable oil and avocado are neutral flavored oils.


Brazilian Cheese Rolls | Pão de Queijo
Ingredients
- 1/2 cup milk
- 1/4 cup canola oil
- 1 cup tapioca flour sometimes labeled tapioca starch no substitutions
- 1/2 teaspoon kosher salt
- 1 large egg
- 1/4 cup freshly grated cheddar cheese preferably medium or sharp
- 1/4 cup freshly grated Parmesan cheese
- Optional: extra cheese to sprinkle on top and any herbs/flavorings you’d like to add. Try rosemary and or garlic powder my favorites!
Instructions
Quick Blender Version:
- Preheat oven to 400 degrees. Spray a mini (or about 7 wells of a regular-size) muffin tin with non-stick spray or rub with butter. Make sure the whole surface and sides of the well are coated or they will stick.
- Place egg, milk, oil, tapioca flour, and salt in blender and blend until smooth. Add cheeses and pulse just a couple times.
- Immediately pour batter into muffin tin. If you let your batter sit before filling your muffin tins, the ingredients can settle and result in uneven rolls. Fill each well about 3/4 full. If desired, sprinkle a bit of parmesan cheese on top.
- Bake for 15-20 minutes until puffed and golden. Remove from oven and cool for a few minutes before removing rolls from pan. Serve warm.
Traditional Method
- Preheat oven to 400 degrees. Line a baking sheet with parchment paper, or* spray a muffin tin with non stick spray or rub wells with butter (*see note).
- Place milk and oil in a small pot and heat until just simmering and remove from heat.
- Place tapioca flour and salt in a mixing bowl and pour hot milk and oil over top. Beat to combine.
- NOTE: At this point, your mixture might look crumbly and grainy, this is okay.
- Beat in egg.
- Add cheese and beat to combine.
- Scoop dough into balls (I use a cookie scoop, you can do any size you like, I aim for golf ball size) onto parchment-lined baking sheet* and bake until puffed and set on the outside, just slightly golden. Time will vary depending on size, but usually around 15 minutes.
- *NOTE: I’ve made this recipe a million times and have found at this point, sometimes the finished dough is scoop-able like cookie dough, and other times it’s kind of runny like thick pancake batter. Tapioca flour differs in absorption levels and this isn’t unusual. If your dough is not scoopable, you can always add a little bit more flour. But what I usually do is just bake the mixture in a muffin tin as opposed to a baking sheet. They still turn out great!
Notes
- To reheat leftovers, pop in an air fryer at 325 for about 3 minutes. You an also reheat in a warm oven.
- For a gluten free pizza crust, preheat oven to 400°. Use the blender method. Grease a standard pie plate and pour 3/4 cup batter in it immediately after blending. If your batter has been sitting a few minutes, blitz it once before pouring. Bake until edges are puffed and golden brown. Remove from oven and spread a thin layer of sauce and any other toppings, return to oven to melt cheese. One recipe will yield 2 crusts.


Questions & Reviews
I served my mission in brazil and love pao de queijo. Where did you girls find this recipe?!? THanks so much!!!! Did one of your hubbies serve there?! or one of you yourselves?! yay for brazilian food! LOVE IT!
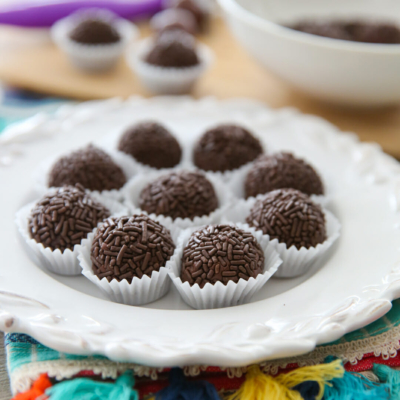
I have a great recipe for Quejidinas (sp) another Brazilian treat–delish!!
lemme know if you want
[email protected]
My brother served his mission in Brazil, so I made these for him while he was here this weekend. He said they tasted just like the ones he had there! Everyone else loved them too.
Well, i'm just gonna have to try another sub b/c honestly, where in the netherlands would one buy tapiocameel? i know that's what's called here… ok… i'll try the health food store, but if they don't have it… i'm subbing!
Hi!
I am Brazilian and I love p~ao de queijo! My husband and I served our lds missions in Brazil.Thanks for sharing this recipe. I have other one, but I will try yours!
Ana Paula http://passionfruitprincess.blogspot.com/
kateykix- These actually don't re-heat well so I recommend making and eating fresh.
What is the best way to reheat these if I make them ahead of time?
Hi,
They can hold a little longer like 3 days if you keep it in a closed container or a plastic bag – take most of the air and close well.
they tend to became hard because of the cheese, but if it is a little hard you can try to use just a bit of the microwave on defrost, but the ideal is fresh.
the other alternative is you to do the traditional
cheese bread that can be frozen and be cooked whenever you want between 3 months straight from frozen.
I can see I'm not at all alone in loving pao de queijo. I served part of my time in Minas and became quite the 'pae de queijo snob'. I'm eager to try this recipe out as it is so different from how I made it while there. I would love to have a little pao de queijo along with our regular beans and rice! Thanks for sharing!
Neat, I fell in love with pao de queijo when I served my mission in Brazil too. They're so addicting. I've been wondering forever what cheese to substitute for the queijo de minas and I'll have to give your combo a try.
Marcelo thanks you for these! Thanks to Diego, I already had tapioca flour in the house, so I made them the same day you posted the recipe. They were so easy and so good! They're very similar to a Colombian bread called Pandebono. Thanks!!
Yes! I New we had something like this in colombia! I’ve been gone so long I couldn’t remember what the we’re called.
And the limeade brings me images of my beautiful arenosa.