If you’ve never grilled pizza before, now is the perfect time to try it! And if you have grilled pizza before, now is definitely time to do it again. This is my FAVORITE way to make homemade pizza because no matter how hard I try, most homemade pizza tastes, well, slightly homemade, even in the best of circumstances. This is because most of us don’t have the kind of equipment needed to bake pizza crusts quickly and evenly, so frequently taste a lot like bread instead of pizza crust. But if you have a grill, you can replicate individual-sized pizzas from your favorite brick- or wood-fired pizza restaurants! This is amazing party food because everyone can get exactly the pizza they want in just a few minutes.
Ingredient Notes
- Dough – You’ll need pizza dough. Obviously. You can use any pizza dough- whatever you normally use to make pizza at home. Here is a great recipe for homemade dough and another for Neapolitan Pizza Crust (which is perfect for the grill.) If you’re planning on serving more than a few people, but even if you’re not, I highly recommend making the dough ahead of time and freezing it into individual crusts to prevent the dough from over-rising, especially on a hot summer night.. You could also buy dough. Many grocery stores, clubs like Costco and Sam’s Club, and bakeries sell fresh, raw pizza dough.
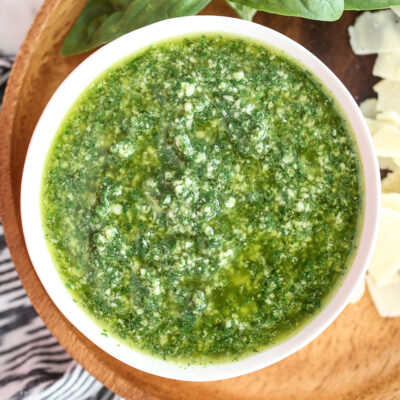
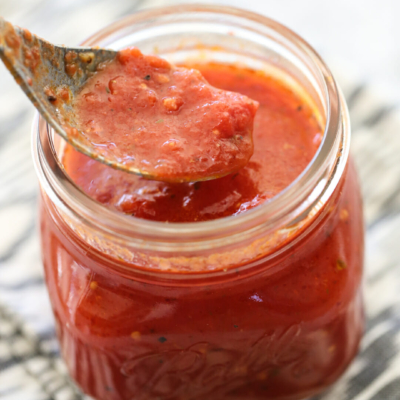
- Sauce – Grilled pizza works great sauce-less, or try it with this pizza sauce, bbq, pesto, or garlic alfredo.
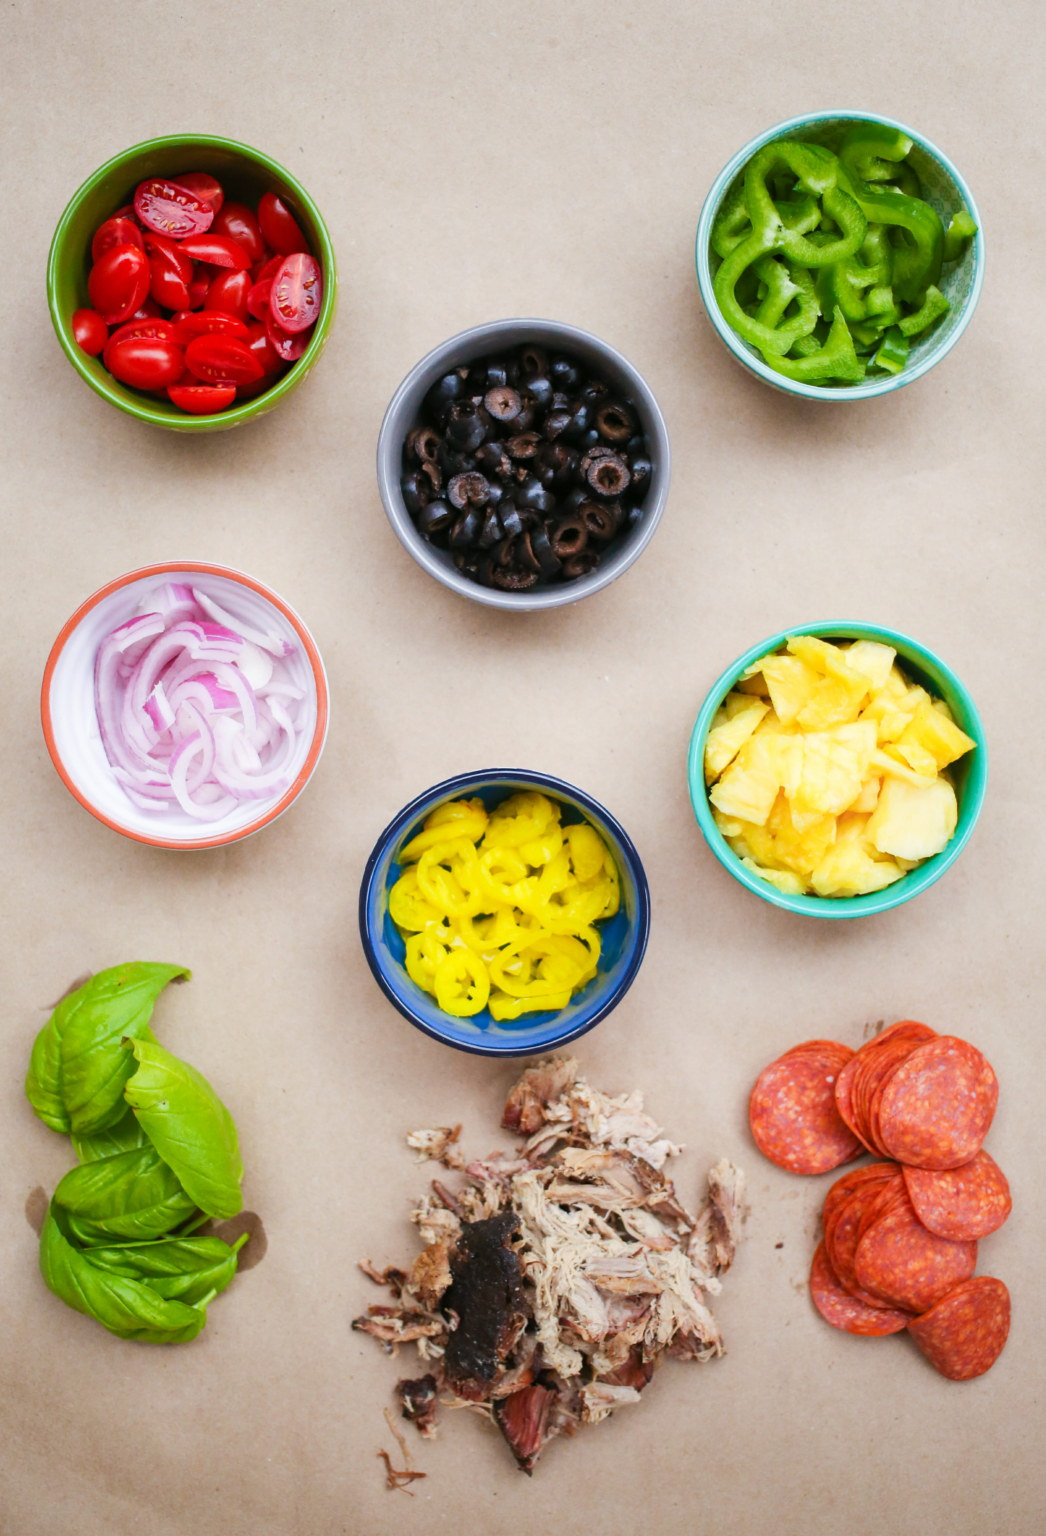
- Toppings
- Meats like pepperoni, Canadian bacon, bacon bacon, pancetta (Italian bacon), smoked pulled pork, grilled chicken, hamburger, Italian sausage, etc.
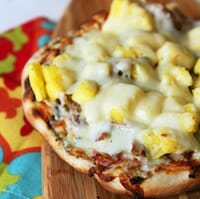
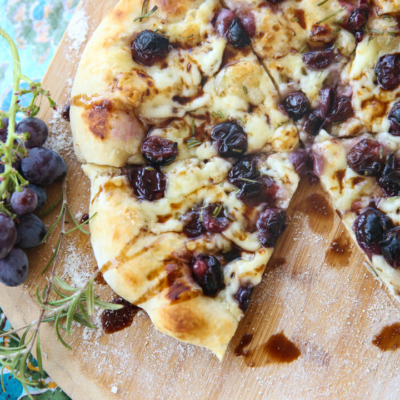
- Fruits and veggies–traditional things like bell peppers, onions, mushrooms, olives, fresh basil (don’t add this until your pizza has cooked!) and pineapple (we know this is controversial, but it’s popular for a reason), but try some other, less traditional things like roasted red peppers, pepperoncini, and stone fruit like cherries or peaches (I’m dreaming of a peach/bacon pizza with alfredo sauce).
- Shredded mozzarella cheese is a classic, but other great options are dollops of ricotta, fresh mozzarella balls or slices, pepper jack, or smoked gouda.
Tips for Toppings
I suggest going a little lighter than normal on the toppings for a few reasons.
- It will keep the pizzas easy to work with and easy to move around, etc.
- The toppings will cook faster and be sure to be done if they’re not piled on heavy.
- (And probably the biggest reason)–the grill adds so much flavor and texture that you don’t want (or need) to overpower it.

Prepare
Preheat Your Grill
- First, you need to preheat your grill. This is an important step. The rack needs to be nice and hot so the dough will start cooking immediately and the overall temperature needs to be hot in order to act like an oven when the lid is closed. I set my gas grill to medium-high heat and shut the lid.
Gather Everything You’ll Need
- Your toppings (cut, sliced, shredded, etc.), including sauce.
- Olive oil and a brush to brush it on.
- A spoon to spread on sauce.
- A large spatula or pizza peel to flip the pizza
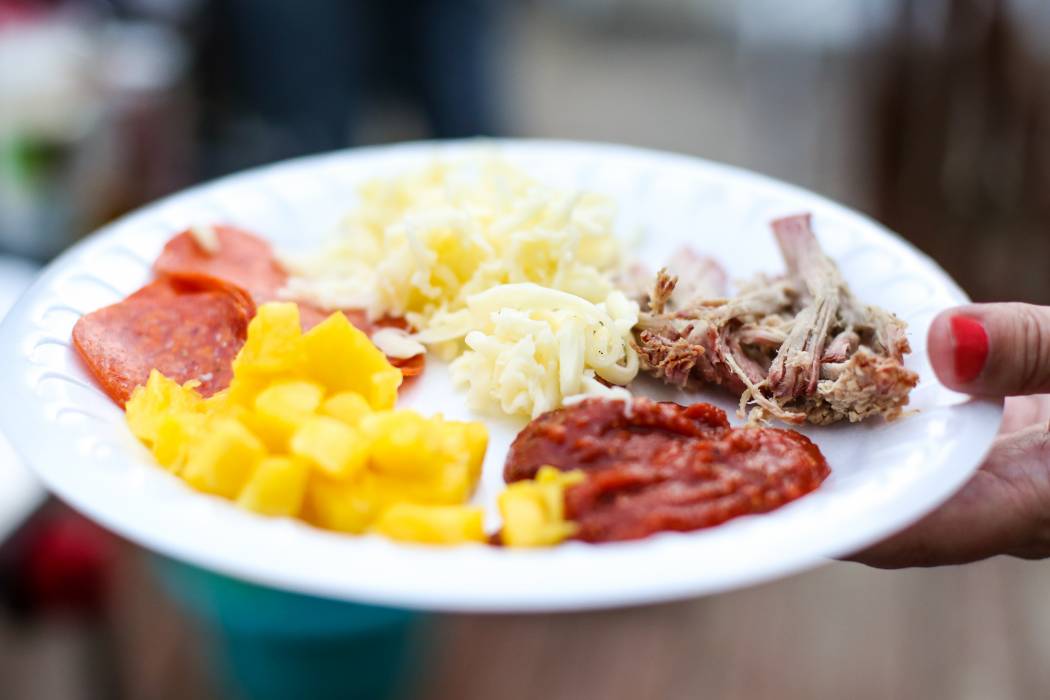
You have to move very quickly while on the grill so everything needs to be prepared and easy to grab. If you’re making a single pizza or using all the same toppings, set up a platter with everything you need and keep it next to the grill, but if you’re having a party, provide bowls or small paper plates and let people pick out what they’d like on their pizza and then hand it to you when it’s their turn.
Prep Your Dough and Get Cooking
Throw all of your preconceived pizza notions out the window. You don’t need to make round pizza. The irregular shaped dough is part of the rustic beauty of grilled pizza. It’s easiest to make several small pizzas, especially if you’re trying this for the first time. If you want to go big, don’t go much larger than 2 9-10″ pizzas. I like to do 4 small pizzas. You get a good 6-8″ pizza that will easily feed one very hungry adult or a couple of hungry kids. Another benefit of doing several smaller pizzas is that you can try out a bunch of different topping combos. Everyone loves having their own!
- You want this dough as thin as you can roll it–not any thicker than 1/4″ inch, but thinner if you can.
- When your dough is flattened out, drizzle a little olive oil on one side and brush it around. If you’d like, sprinkle it with a little garlic or onion salt.

- Now comes the fun part. Toss that puppy (oil side down) straight on the grill and then shut the lid immediately. You’ll want the heat to stay inside so it acts like an oven and cooks the dough. The timing all depends on the heat of the grill and the thickness of the dough. But it usually only takes about 5 minutes or less. Have a spatula handy to lift up the dough and check it. You’ll want to see nice brown grill marks, but avoid burning it. If you can tell that your dough is cooking too fast and too hot, you may want to use indirect heat. For a gas grill with multiple burners, turn off the burner directly under the pizza, but leave the others on. For a charcoal grill, move the charcoal to one side of the grill and place the pizza on the other side.
- These only need a few minutes–Check the bottom for nice grill marks and make sure it’s dry to the touch before flipping. Right before you flip it, brush a little olive oil on the uncooked side.
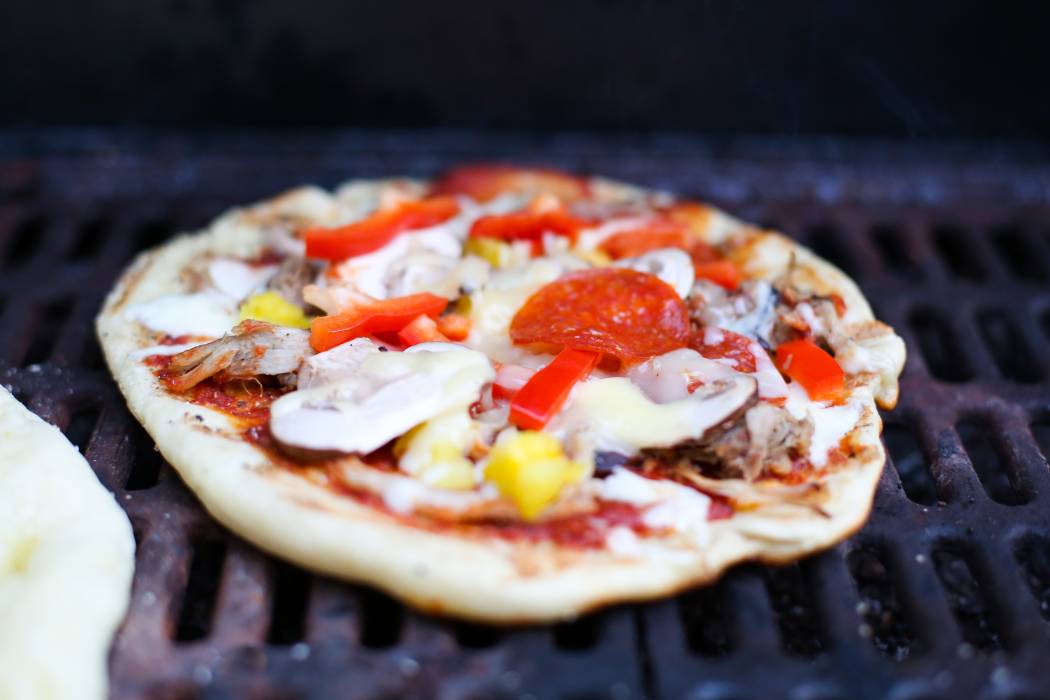
- As soon as you flip the crust, grab that tray with your toppings and put them on the cooked side right away. Shut the lid again and leave it shut. The second side cooks pretty fast. If the bottom of your pizza is done, but the top still needs to cook, you can place it on an upper rack if you have one.
- Take a peek at the bottom crust and as soon as it’s done and your cheese is all melty, grab a spatula and pull it off. You can place these right onto people’s plates or onto a large cutting board and let everyone snag their pizzas. The only thing left to do is sit back and let everyone tell you how this is the most amazing homemade pizza they’ve ever had!
Storage and Other Tips
- While these pizzas are best cooked fresh, you can certainly save the leftovers. Cover tightly and store in the fridge until ready to eat.
- If you’d like to prep ahead (or make lunch/dinner really easy throughout the week), prep all of your toppings ahead of time so they are easy to pull out of the fridge and pop on a pizza whenever the mood strikes you.
Frequently Asked Questions
I love the smoky char marks grilled pizza gets from cooking directly on the grill grates. If you are feeling apprehensive about cooking directly on the grill, feel free to try cooking your pizza on a lightly oiled piece of foil or a grill mat.


Questions & Reviews
Just made this for the family for lunch! It got rave reviews. Loved it, Thank you.
Finally got to try this tonight … YUM! Thanks for the great tutorial that gave me the guts to try it. I even started the gas grill myself for the first time in my life to make grilled pizza!
We made these twice this week… yum! We just used the directions on the package of pizza yeast which didn’t require rising, but we had a lot of trouble with our crust sinking into the grill making it impossible to flip without losing parts of the crust. We ended up grilling the first side on aluminum foil and then flipping it directly onto the grill for the second side and they turned out perfect without the frustration! Any other tips to prevent the crust from settling into the grill? We tried smaller pizzas, thinner, thicker, placing it gently, slapping it on, etc etc etc- all ended up in frustration!
Melody, it definitely sounds like your grill is not hot enough. It shouldn’t fall through at all. The only other factor I can think of is the actual dough you used; but I can’t be sure. I’d definitely try cranking up the heat!
WOWZERS! I tried this for my family last night for our special “back to school” dinner and uhhhhh YUM! Everybody LOVED it! Thank you for posting such wonderful, detailed, delicious recipes for us! Things like this are “scary” for me to try but having your step-by-step instructions with pictures gives me the “courage” I need to step out of my cooking comfort zone! SO THANK YOU!
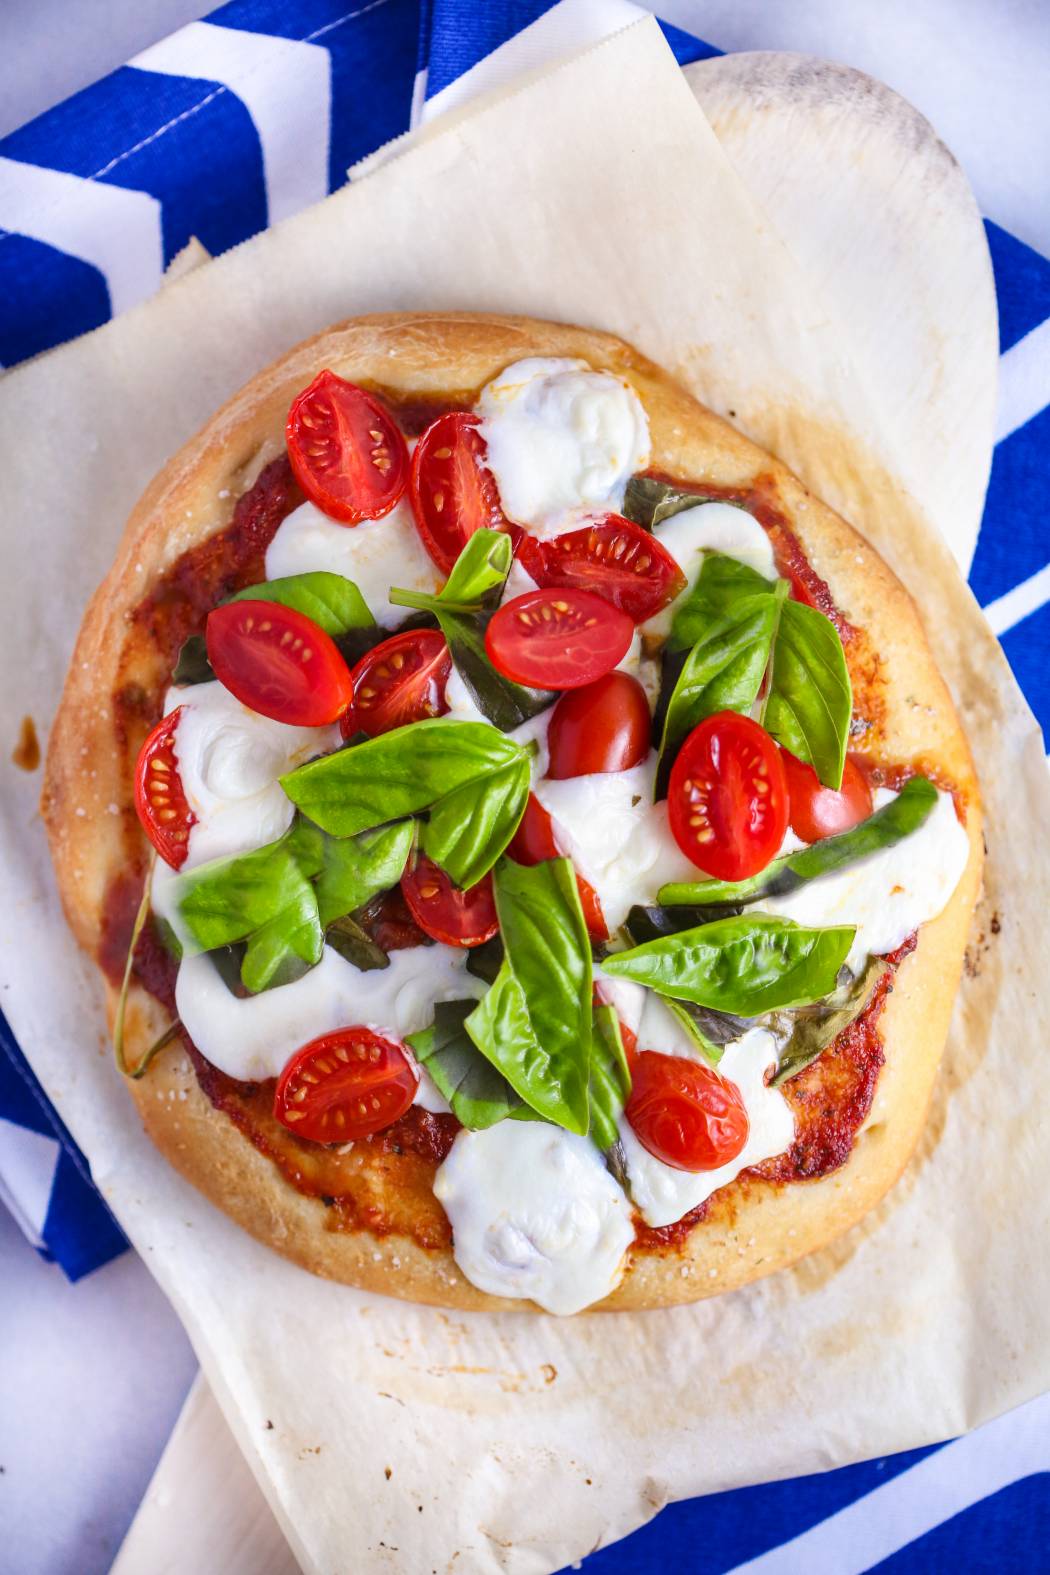
please tell me is the cheese in this tutorial mozzarella? Did you use basil and what other herb? I want to make it exactly.
Yep, just fresh mozzarella and basil
This pizza rocked! My whole family now prefers this grilled pizza over my oven baked pizza. I had read many articles on how to grill. But this by far made it seem so simple and less complicated.
We did this last night for the first time. They were awesome! My kids even liked them, and they don’t eat “regular” pizza very well. I did notice that you need less toppings for the pizzas, like you said. I made your recipe for pizza dough (which, by the way, is my favorite!) and we got six small pizzas out of it. We are definitely doing this again!!
I wish there was a way to print all of your recipes. If it doesn’t have the short printable version, I end up using all my colored ink printing all the beautiful pictures. Is there something I don’t know?
Can’t wait to try this!
Grilling a pizza is on my bucket list! I am so excited to see this on your “How to’s” and I am going to do this before summer is over! Thanks!