I consider myself to be a pretty good artist. My education and former profession is in the design field and I’m pretty good at craft stuff. I also think I’m a decent cook, so I figured with those two things going for me, decorating fancy sugar cookies would be right up my alley. Imagine my surprise (not to mention shattered ego and broken self-confidence) when I attempted to play around with royal icing for the first time and my little masterpieces looked more like something in a 1st grader’s art pile. So I gave up on ever decorating fancy-schmancy cookies again.
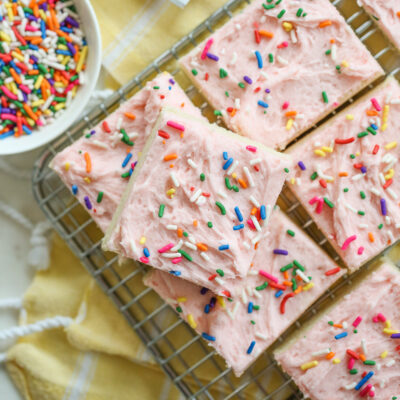
That was until I found Cookie Decorating with Glace Icing. Now my confidence is back in tact because even my very first batch turned out beautifully! It’s super forgiving, easy to use, and it actually tastes good! The benefit of using an icing like this is that it dries to a solid sheen, making the cookies stackable and packable- perfect for giving or displaying on a platter. With a soft, fluffy buttercream, there’s just no easy way to give them away so you have to eat them all yourself (which may be the plan, right??).

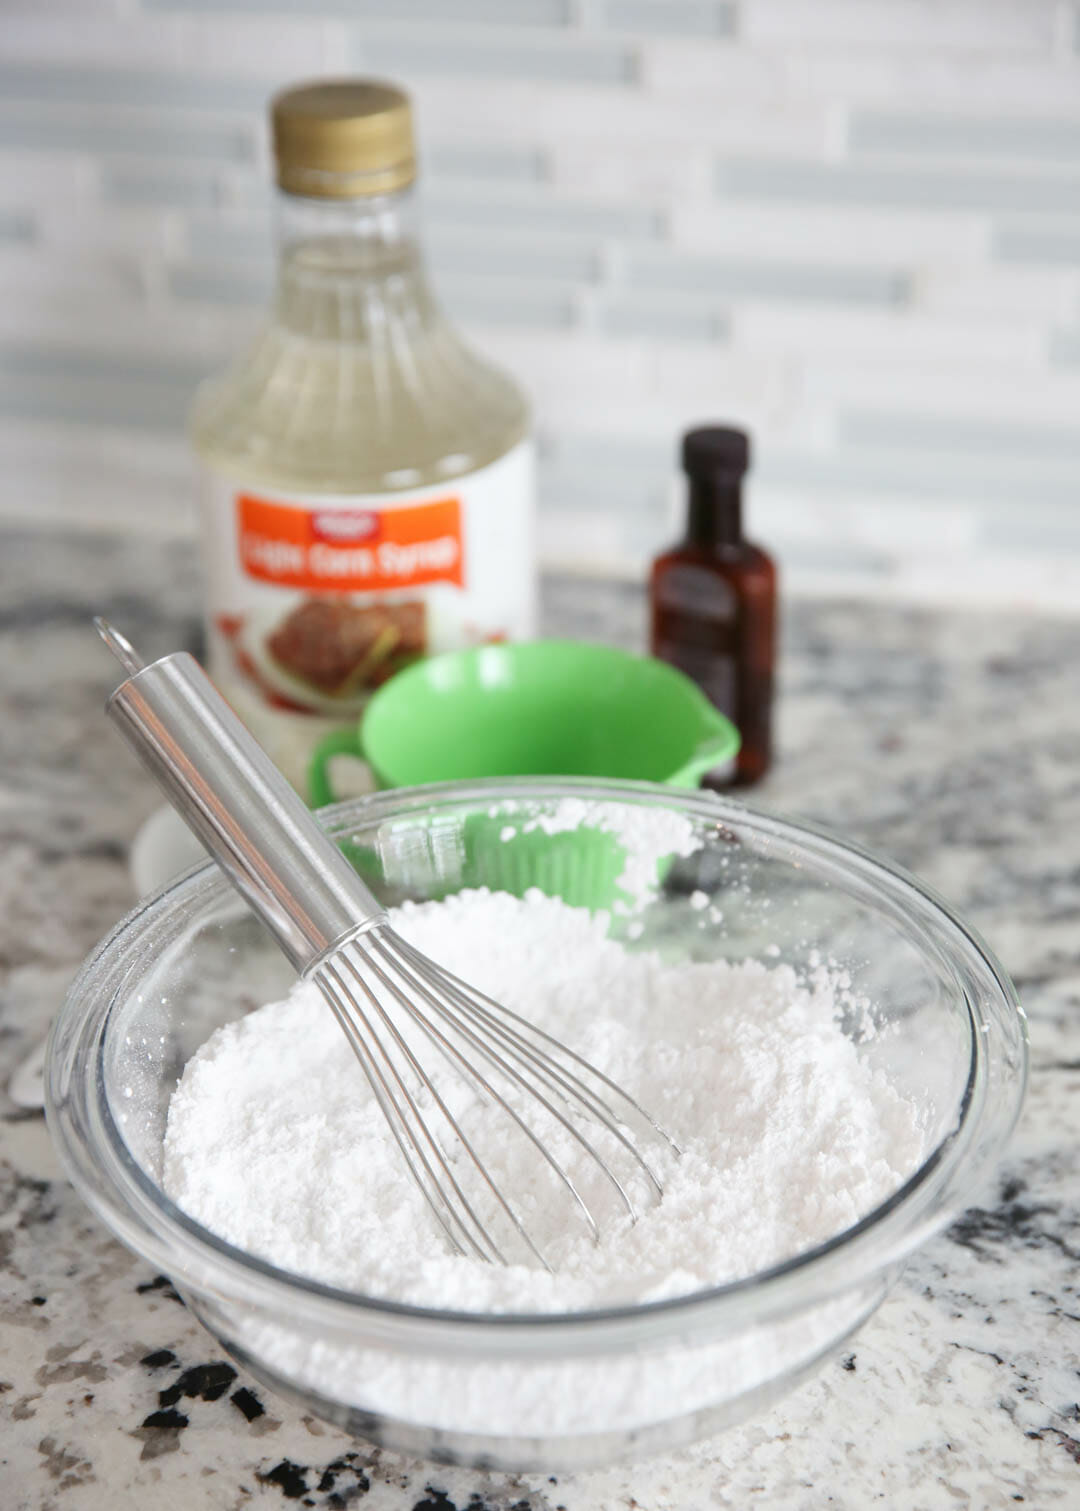
Ingredients Needed
This is just a preview of ingredients and method, keep scrolling for full printable recipe.
- Cookies – Make your own using this recipe: The Best Sugar Cookies or buy some plain sugar cookies from the bakery.
- Powdered sugar
- Milk – Any percentage will do. You can use dairy-free milk alternatives as well.
- Light corn syrup
- Extract of choice – I like using almond because it’s clear and I put almond extract in my cookies. Other flavors like vanilla, lemon, and peppermint are also delicious.
How to Decorate Cookies with Glace Icing
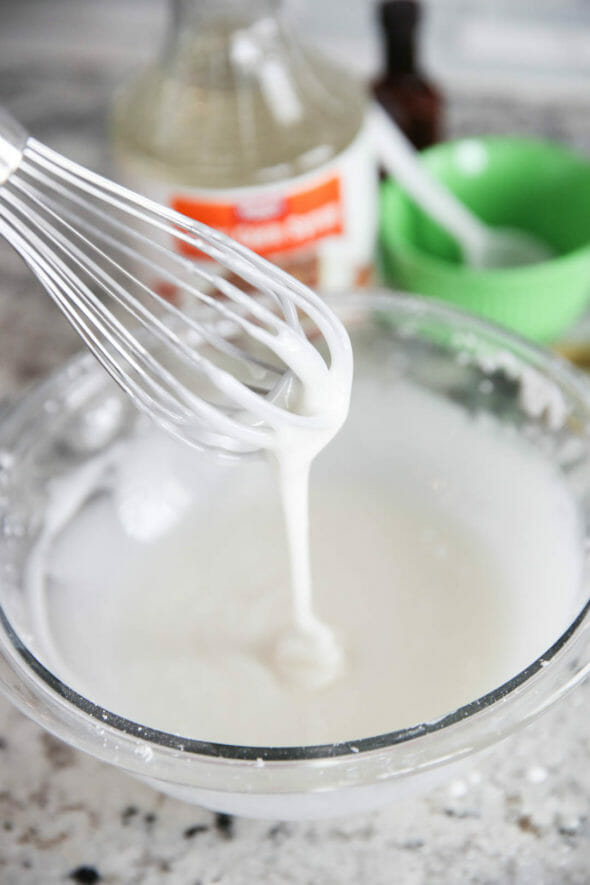
Step 1: Make your Glace Icing
- Whisk up some powdered sugar, milk, corn syrup, and extract of your choice and you’ll have a nice glaze-y consistency. You’re going to use the same recipe for both glazing and piping. The way it is right now is the consistency you want for glazing. It’s smooth and thin and it easily runs off the whisk in a pretty thin drizzle (see the picture above).
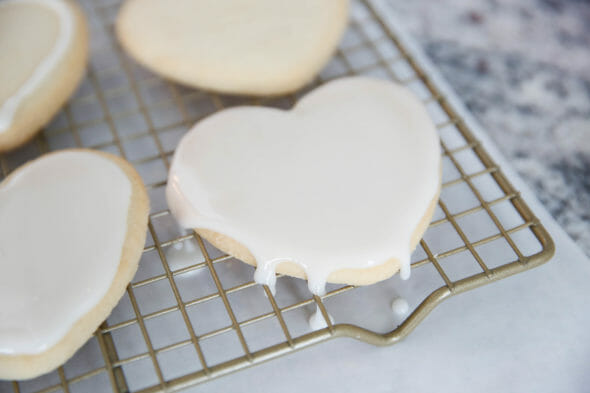
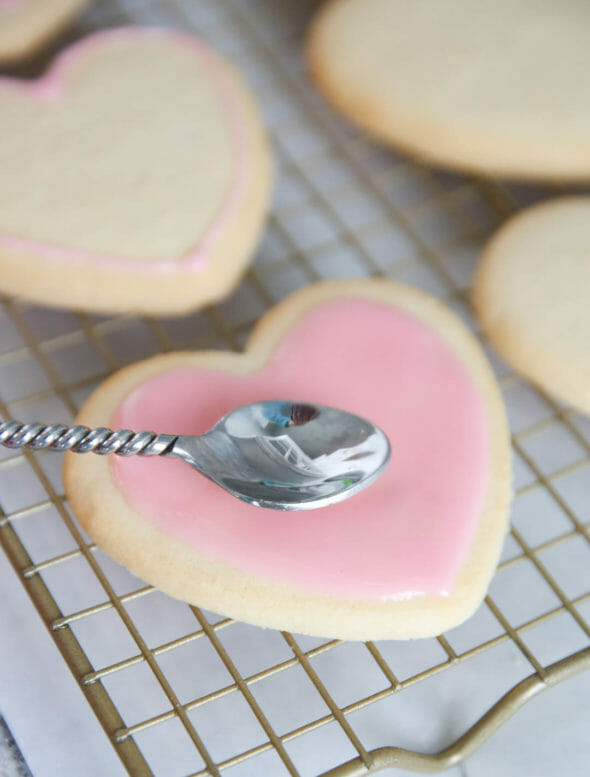
Step 2: Ice A Base
- Now, you have some options of where to go from here. You can simply spoon this icing onto your cookies and gently spread out with a spoon and be done! In fact, one of the easiest ways is to just quickly spread and let it go completely off the edges, or you can add a touch more powdered sugar to a portion of your icing and pipe a border. Once the border is set, you can flood the cookie with thinner icing. That outline will work as a dam and give you nice clean lines.

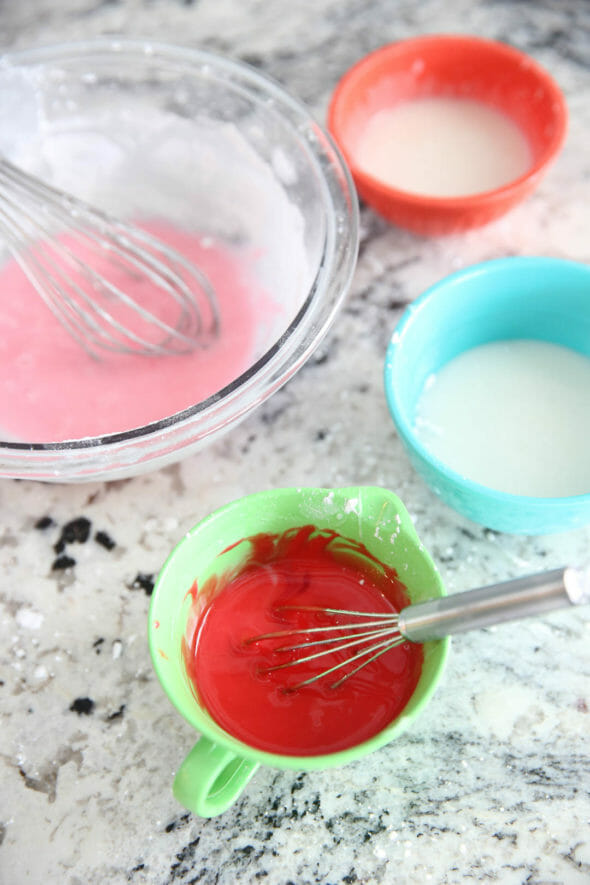
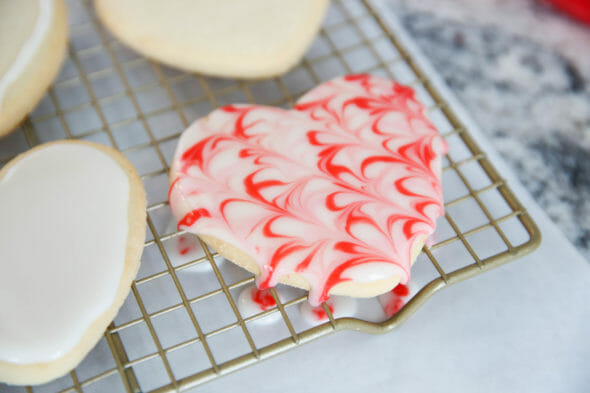
Step 3: Add Designs (Wet on Wet Technique)
- While the icing is wet, you can mix colors and create all kinds of fun things. Try glazing in one color and then adding other colors from a piping bag with a very small, plain opening, and drag the designs with a toothpick to create gorgeous works of art. You honestly can’t make an ugly cookie here. Wet-on-wet icing will marble and swirl together. I actually did this whole batch this way because I didn’t have time to let mine dry very much.


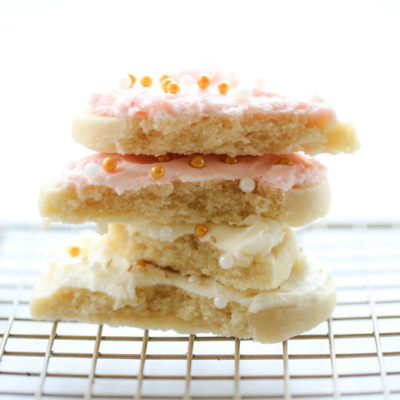
Step 4: Add Designs (Piped and Layered Technique)
- If you’d like to add some dimension, allow your base layer to set and harden completely. Then pipe on designs with additional icing. You can add a little extra powdered sugar if you’d like to help your designs hold their shape well, but you can also pipe shapes and flood with thinner icing if desired.


Storing and Other Tips
- Iced cookies will keep as long as your cookie recipe outlines (usually 3-4 days for freshly baked cookies, but they are best within the first couple of days).
- If you are waiting for your base layer to dry and need to keep your other icing from drying out, place it in a piping bag or press a piece of plastic to the surface of the icing in a bowl until ready to use.
- If you have leftover icing you’d like to store longer than a couple of hours, store in a piping bag with the end twisted or tied shut. Simply cut the tip off when you are ready to use.

Frequently Asked Questions
Glace icing is a simple, smooth icing made of powdered sugar, milk, and corn syrup that dries to a semi-hard finish similar to, but slightly softer than, royal icing. Unlike royal icing, it does not contain egg whites and is, in general, much easier to work with.
Not necessarily. Corn syrup gives the icing a nice, spreadable consistency, smooth finish and glossy sheen. There are glace recipes that skip it, so it can work. You’ll just have to adjust your liquid to get your desired consistency.
Yes, carefully. Glace icing dries semi-hard, not rock solid like royal icing. Allow iced cookies to dry at least 6-8 hours before stacking. For best results, place parchment paper or waxed paper between layers.
Yes, but only if they are fully dry first. Any extra moisture can potentially make the icing seep when thawed. After the cookies have dried for 6-8 hours and are hard to the touch, freeze in a single layer on a baking sheet. Once frozen, transfer to a freezer safe container, with parchment paper to separate layers. Freeze for up to 2 months. To thaw, do not open the container (this prevents introducing moisture from the air which can cause condensation to build up on the cookies) and set at room temperature for 30-60 minutes.

Glace Icing
Ingredients
- 1 pound powdered sugar about 3 3/4 cups
- ¼ cup + 2 tablespoons milk
- ¼ cup + 2 tablespoons light corn syrup
- 1 teaspoon extract I use almond because I use almond in my sugar cookies, but other flavors like vanilla, lemon, and peppermint are also delicious
Instructions
- With a whisk, combine sugar and milk until smooth (no lumps!) Then stir in corn syrup and extract.
- You will use this same recipe for both glazing and piping. Thickened, you can pipe outlines, and as you thin it, you can use it for “flooding” cookies. Make sure to let them dry overnight to fully harden for stacking.
Notes
- Iced cookies will keep as long as your cookie recipe outlines (usually 3-4 days for freshly baked cookies, but they are best within the first couple of days).
- If you are waiting for your base layer to dry and need to keep your other icing from drying out, place it in a piping bag or press a piece of plastic to the surface of the icing in a bowl until ready to use.
- If you have leftover icing you’d like to store longer than a couple of hours, store in a piping bag with the end twisted or tied shut. Simply cut the tip off when you are ready to use.


Questions & Reviews
Happy happy birthday Kate!!
Those cookies are so fun! I’ve tried a glaze in the past and didn’t have great success with it either – this gives me new hope. Also, I can’t wait for the sugar cookie recipe because I always seem to have them come out poofy and losing the original shape. Yours are nice and crisply shaped.
What a great tutorial! The cookies are gorgeous!
Awesome! Sugar cookies are my absolute favorite!! Now that you have shared your icing how about your sugar cookie recipe that is still soft on day 3? Please do share. Oh happy birthday Kate
Beautiful!!
Beautiful! I hate frosting cookies, and this makes me want to make them…right now!
super cute! they look perfect!
Happy Birthday Kate! I think I might have to give these a try.
Those look awesome! I love the snowflake design, and Happy birthday Kate!
These cookies are GORGEOUS! You are making me think I can do this. . . and I am NOT crafty 🙂
Oh, thanks, Sara! You’re so sweet! And those cookies are GORGEOUS! You’ve inspired me to make some; I’m usually hesitant because sugar cookies can be tedious, but those look amazing.