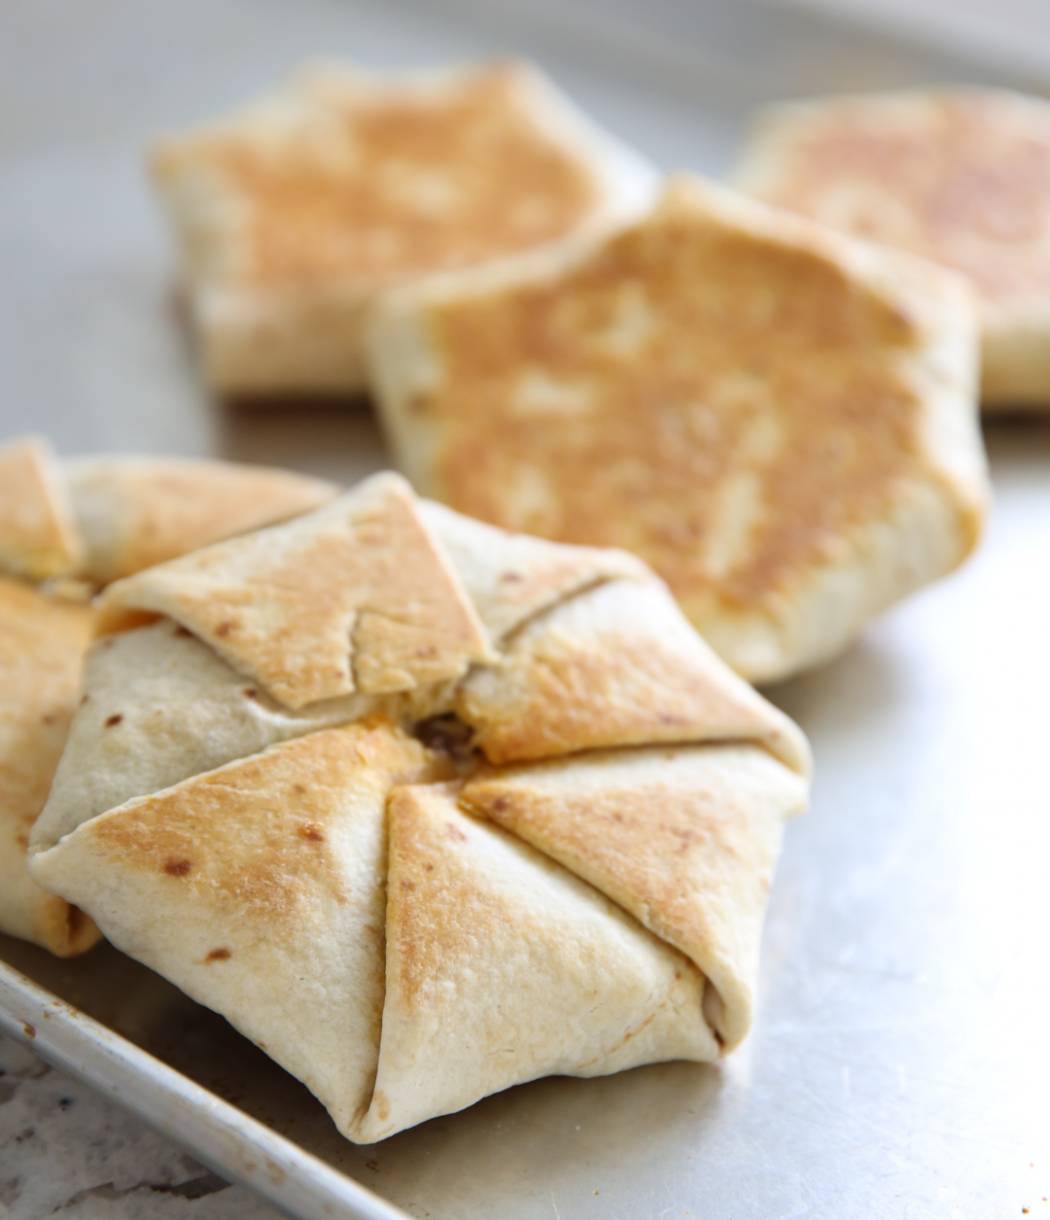
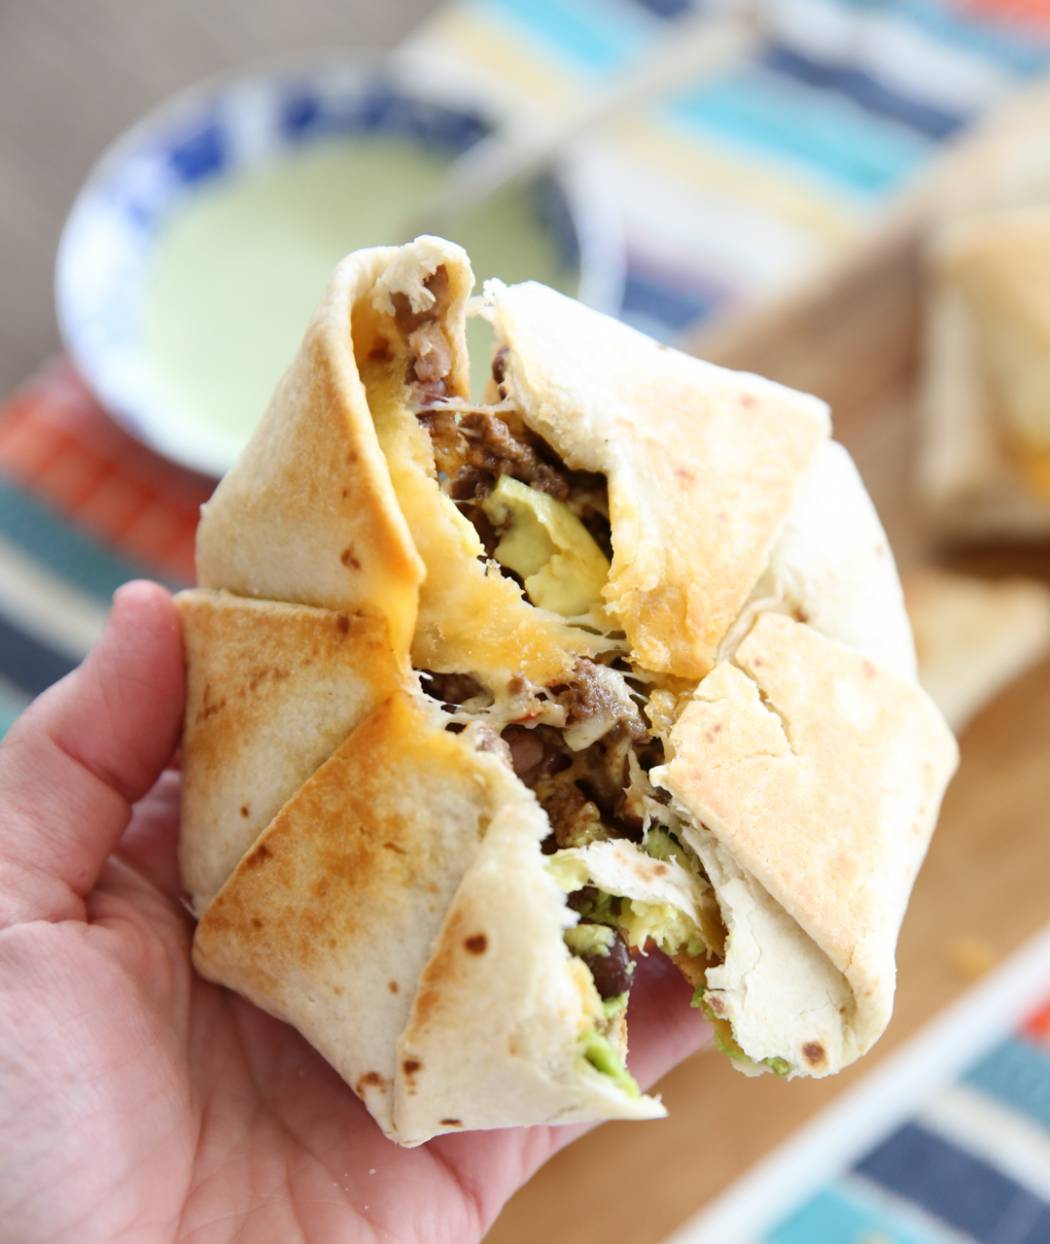
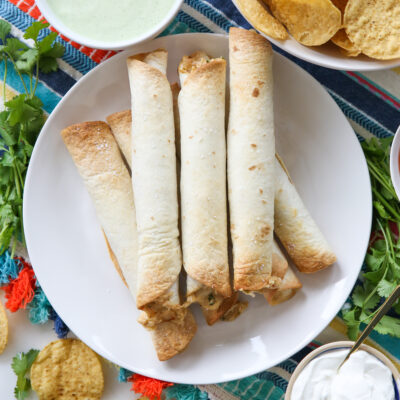
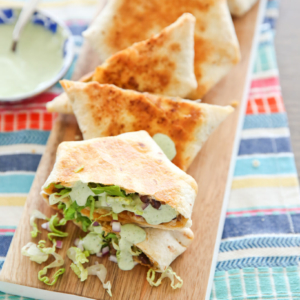
In continuing my focus on easy weeknight dinners this month (you guys sent my Sheet Pan Fajitas completely viral!). I’m bringing you another one of our family favorites: Homemade Crunch Wraps! If you’ve never heard of a crunch wrap, it was made famous by fast food, but it’s so easy to whip up a more wholesome (and just as fun to eat) version at home. In this version, flavorful beef, melty cheese and creamy avocado are wrapped up in a fun to eat origami-folded tortillas and then toasted until crispy on the outside and so soft in the middle.
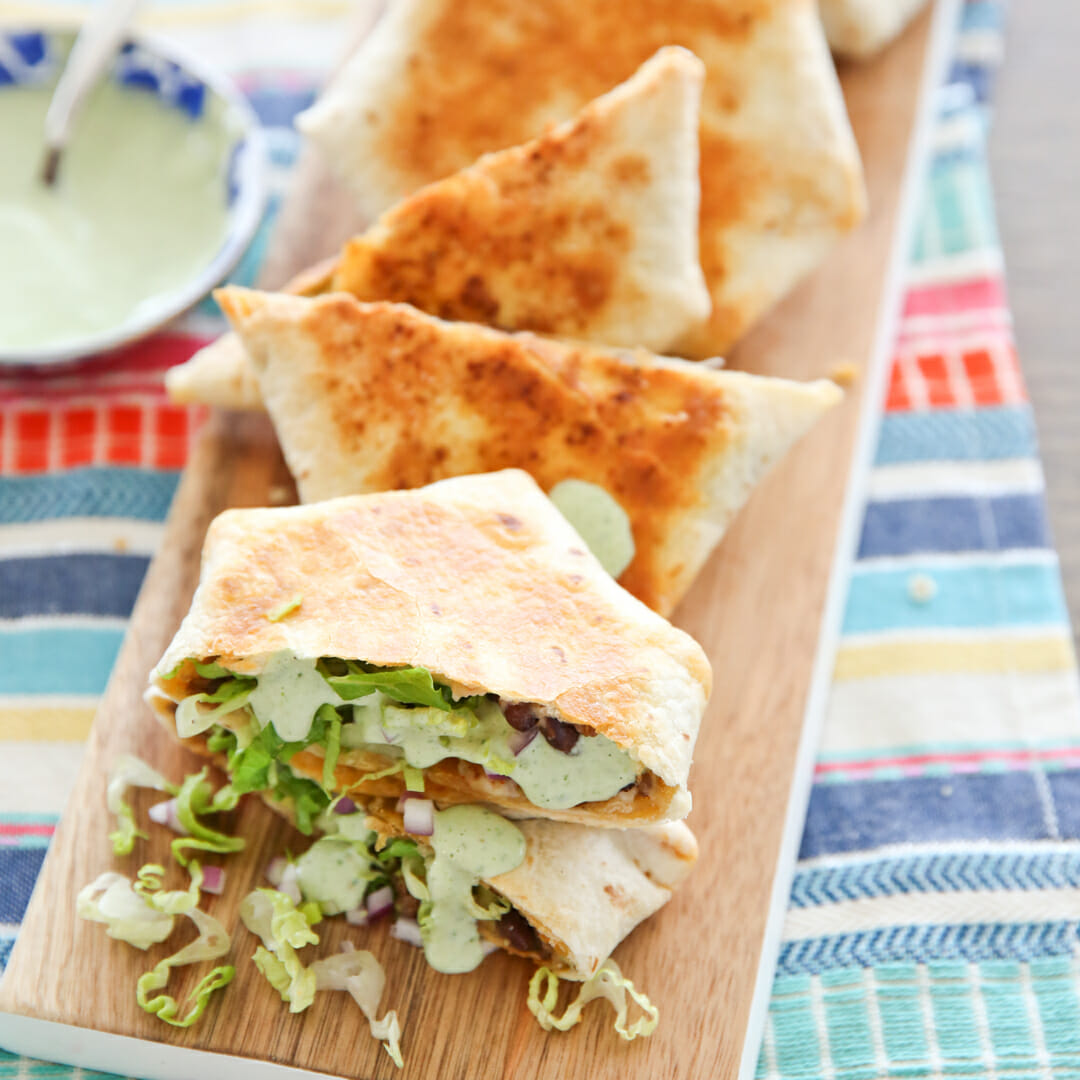
Here are a few of the things I love about Homemade Crunch Wraps:
1. With a quick side dish they can easily be transformed into an easy weeknight dinner.
2. They make a great grab-and-go snack or mini-meal.
3. Unlike the same ingredients cooked like a burrito, you can stuff cold toppings into these after they come out of the oven.
4. They’re easier for kids to eat because everything is totally contained and can be hand-held.
5. They’re FREEZER FRIENDLY. Make extra and stash in the freezer- they can go right into the oven frozen and bake up pretty quick!
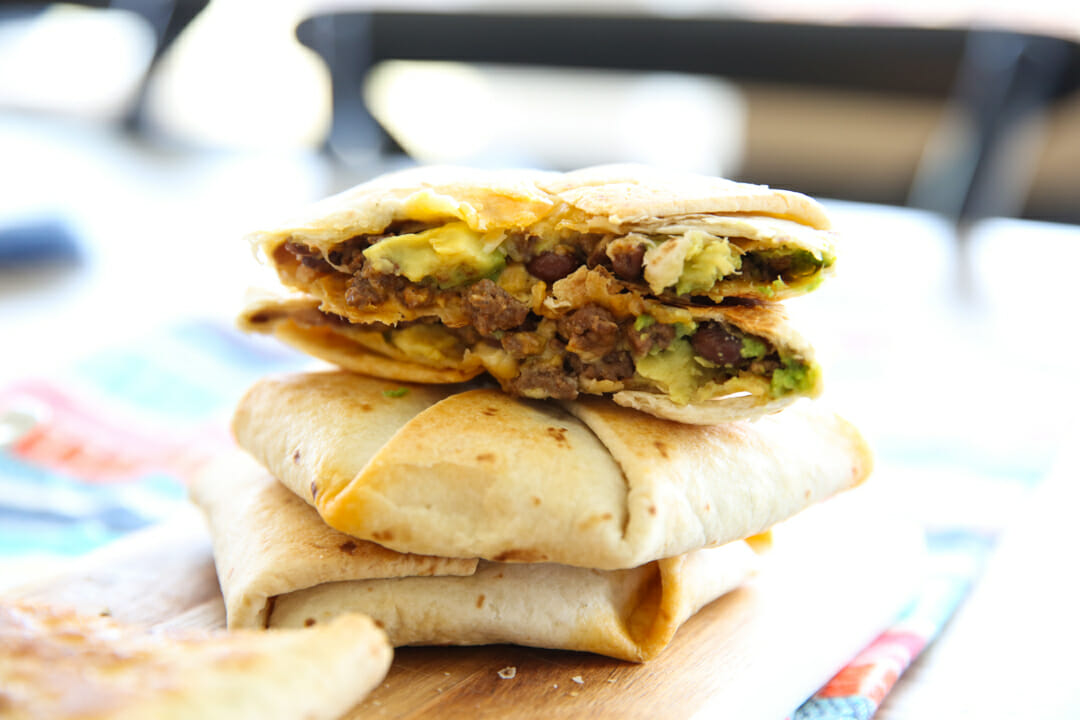
Ingredients Needed
This is just a preview of ingredients and method, keep scrolling for full printable recipe.
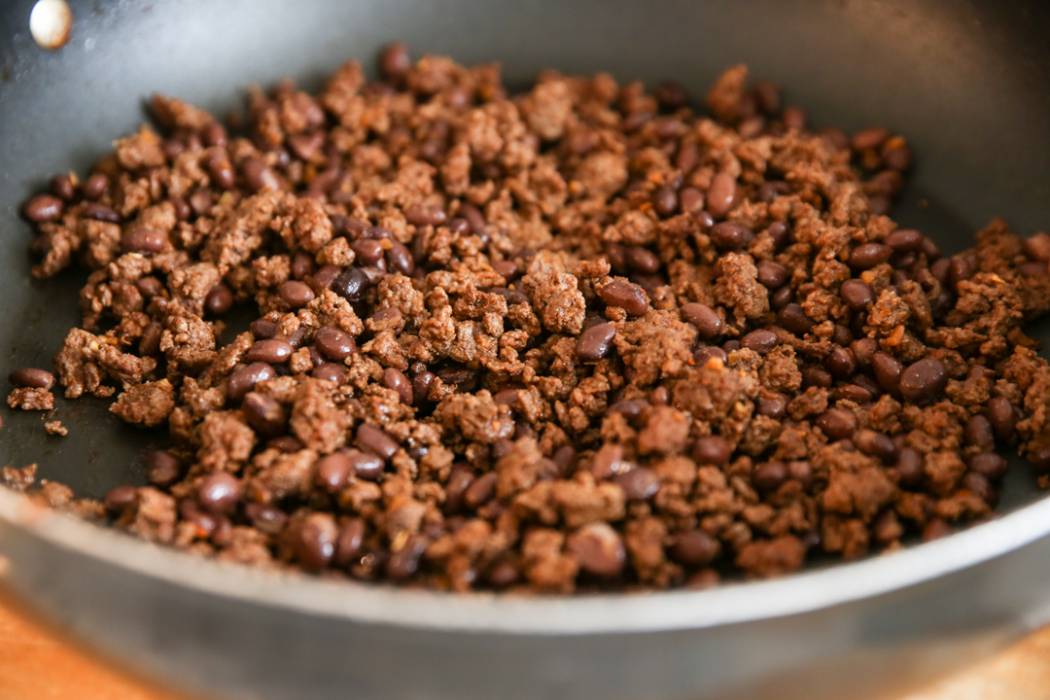
- Ground beef and black beans – I’m keeping the filling intentionally easy here. No dicing onions or mincing garlic. You don’t even need to measure spices if you have a mix ready!
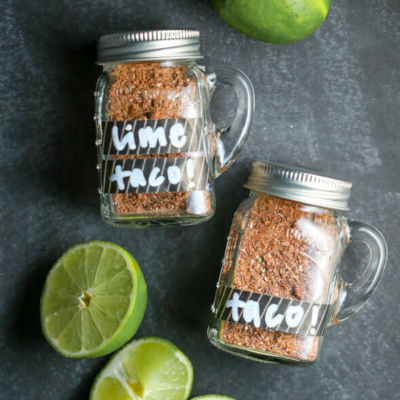
- Taco seasoning – Grab a mix from the store or make your own Homemade Taco Seasoning. I like to keep my homemade mix in my cupboard so it’s ready when I need it.
- Shredded cheese – I like pepperjack, Jack, or cheddar.
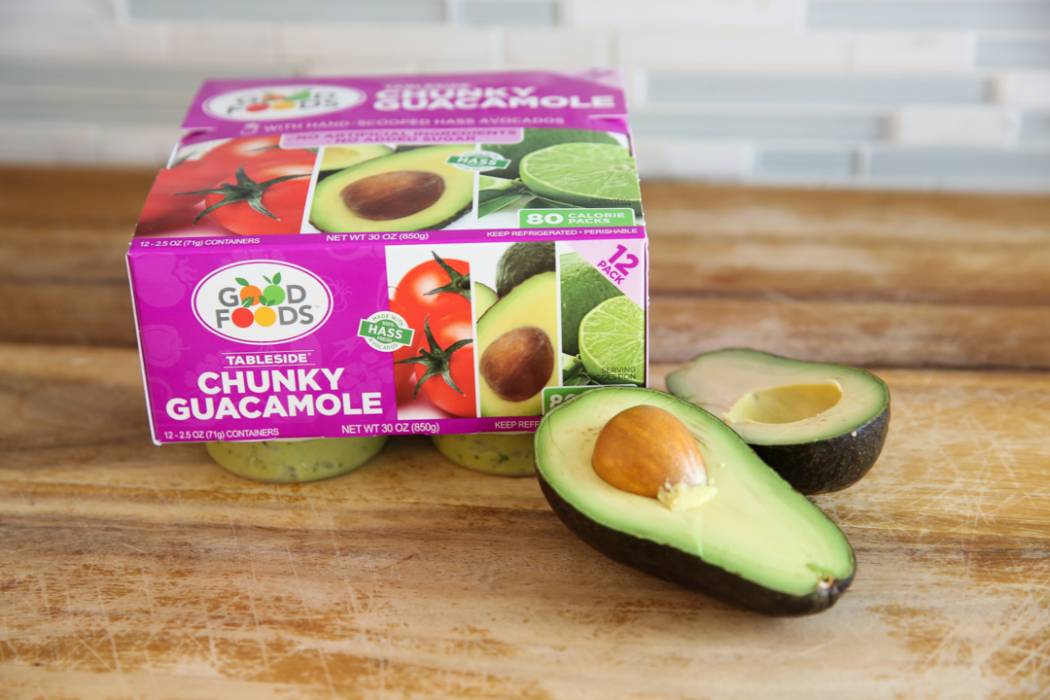
- Avocados – Or sub store-bough guacamole.
- Tortillas – You want the big burrito sized tortillas for these.
- Oil or cooking spray
How to Make Beef and Cheese Crunch Wraps
- Filling: Step one is cooking a simple ground beef and black bean mixture seasoned with taco seasoning.
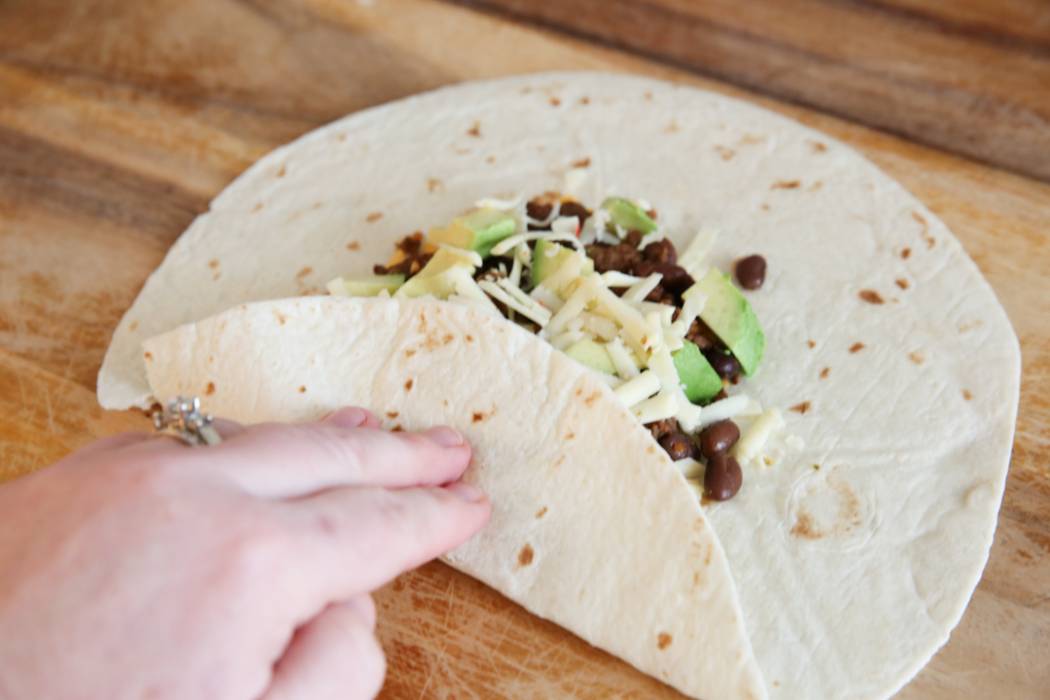
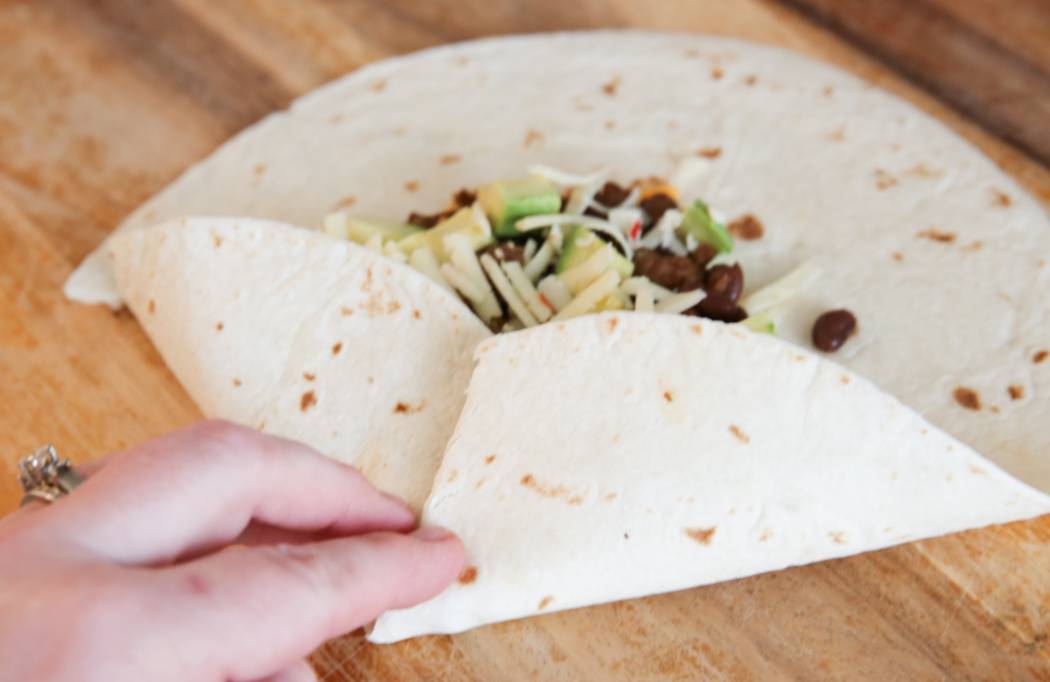
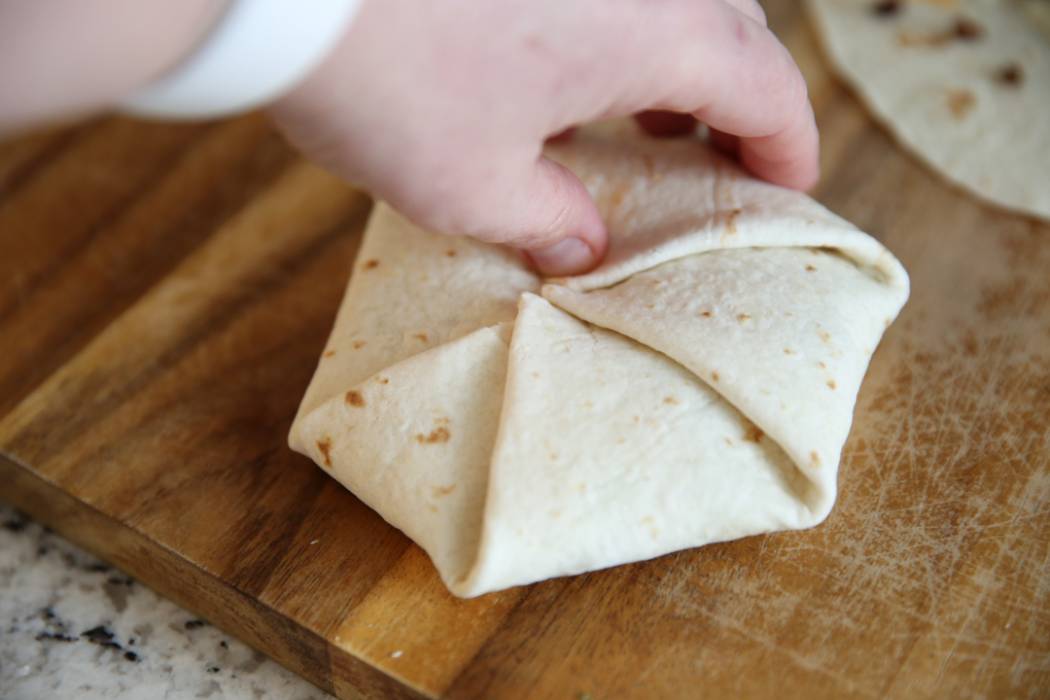
- Assembly: Next you’ll top tortillas with the beef and bean mixture, cheese, avocado or guac, and shredded cheese. Then you’ll fold one side of the tortilla into the center and continue all the way around until you have a nice little wrap with a pinwheel design at its center. These get brushed with oil and then they’re ready to bake.
- Bake: You’ll preheat a baking sheet so when these are ready to go in the oven, they sizzle and sear, helping to seal them shut.
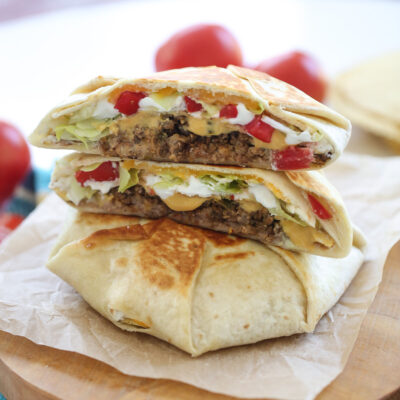
- Enjoy: Once baked you can cut them in half and add extra toppings like lettuce, tomato, sour cream, etc. Or just eat them as-is!
Storing and Other Tips
- If you have leftovers, store in an airtight container in the fridge and enjoy within 2-3 days for best results. I like to reheat in the oven or air fryer for a few minutes to crisp them back up.
- See the notes in the recipe card below for full freezer instructions and make a big batch to store away for an easy bite!
Frequently Asked Questions
Avocados actually freeze and thaw really well! There’s no need to leave them out, unless you prefer them added fresh and cold as a topping after cooking.
You can! I give instructions for that in my Crunch Wrap Supremes post.
These are a great make-ahead meal, especially for the freezer. See full details in the recipe card below.
Beef and Cheese Crunch Wraps
Equipment
Ingredients
- 1 lb ground beef
- 1 packet taco seasoning OR homemade taco seasoning
- 1 15-ounce can black beans drained and rinsed
- 2 cups Pepperjack cheese, shredded or Jack or Cheddar, more if desired!
- 2 avocados medium-large, or you can sub store-bought guac
- 8 burrito-size tortillas
- oil or cooking spray
Instructions
- Place a sheet pan in the oven and preheat oven to 400℉.
- Preheat large skillet to medium heat. Brown ground beef and drain fat if necessary (shouldn't be necessary if using lean ground beef). Add taco seasoning and stir to combine . If you're using store-bought taco seasoning sometimes it requires a little water in the pan as well, just make it according to the packet instructions.
- Add black beans and stir to combine.
- Lay out 8 tortillas on large work surface. Place a small handful of cheese in the center of each tortilla, spreading it out in about a 3-inch circle in the center. *You can make these as cheesy as you like! At minimum, use about ¼ cup shredded cheese on each crunch wrap. You'll use half of that amount on the bottom layer of the filling, and place the other half on top. My kids all like a little more than that though!
- Divide the beef and bean mixture between the tortillas, spooning it on top of the cheese. Slice or dice your avocado and place on top of the beef mixture. (*I sometimes sub store-bought guac since we usually have the individual packs from Costco. If you're buying it at the grocery store, Wholly Guacamole is a great choice.)
- Top with another little handful of cheese.
- Wrap each crunch wrap referring to the photos in this blog post and place them seam-side down to keep them closed.
- Drizzle oil on each one and use clean hands to gently massage on both sides of wraps.
- Remove sheet pan from oven and place crunch wraps seam-side down on pan. (Be careful, it's hot!). Bake for 10 minutes and then flip wraps over and cook for another 10 minutes or until toasty and golden on the outside.
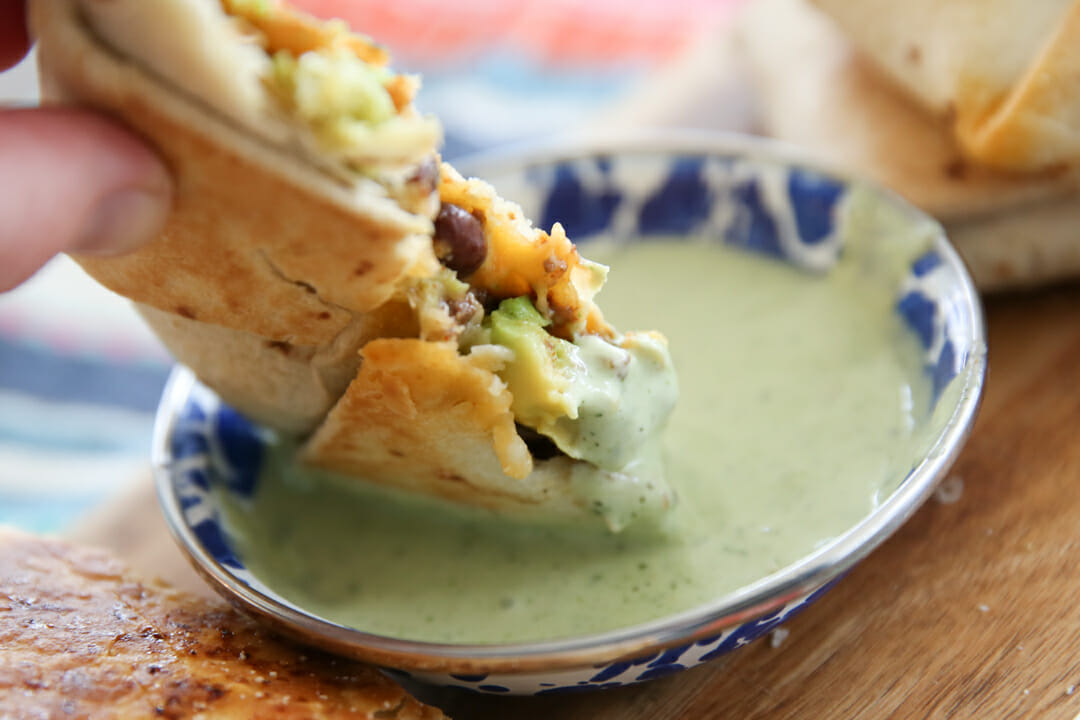
- If desired, cut in half and add toppings before eating (shredded lettuce, onions, fresh tomatoes, etc.) . Or simply eat as-is! These are also amazing dipped in our Lime-Cilantro Ranch, or simply sour cream.
Notes
- Skillet Directions:
- Simply heat a large skillet or griddle to medium heat. Instead of brushing crunch wraps with oil, simply add some to the pan (or non-stick spray works great here as well) and cook on both sides until toasted and golden.
- Freezer Directions:
- After brushing with oil, place Crunch Wraps on a parchment-lined pan in a single layer and freeze until solid. After frozen, they can be stacked in a container or zip top bag. You can separate the crunch wraps with parchment to ensure they don’t stick together. To bake from frozen, don’t worry about preheating your pan, simply preheat the oven to 400 and bake for about 15 minutes on first side (check to see if they’re browned before you flip) and 10-15 on the second. You can eyeball it, you just want them toasted on both sides!
- Nutritional note: nutritional information was calculated per wrap.








Questions & Reviews
So easy, and my family loves these!
We have made these twice in the past month and the second time was a large batch so we could put them in the freezer for swim team season. We love them, so adaptable and they come out of the freezer for individual servings perfectly. Thank you so much!
Super good easy, a win with the whole fam! The only thing is the middle is basically like lava right out of the oven so let them cool down!