My absolute favorite way to eat ice cream is in a waffle cone. I never understand why people eat ice cream in a bowl when there are waffle cones as an option. I mean, seriously. Store-bought boxed cones are reminiscent of cardboard, but a crisp, buttery, Homemade Waffle Cone is absolute heaven.
They are actually super simple and quick to make. While the easiest option is a dedicated waffle cone press, you can make them a couple at a time on a baking sheet as well. Give this one a try this summer with some homemade ice cream!

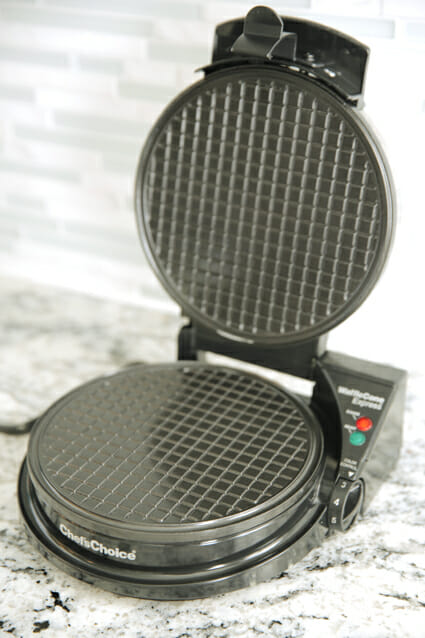
For a lot of years I’d make my waffle cones by hand on a baking sheet, or I’d make mini ones in my Pizelle Iron (still an awesome option for kid-sized cones) and then I finally just bought a waffle cone press on Amazon and I LOVE it. I’m actually going to buy one more so I can make more at a time!
Ingredients and Equipment Needed
This is just a preview of ingredients and method, keep scrolling for full printable recipe.
Ingredients
- Eggs – To hold everything together.
- Granulated sugar – For touch of sweetness.
- All-purpose flour – For structure.
- Butter – Always use real butter if you can! If you must substitute, swap for something with a similar fat and moisture content.
- Milk – Any milk will do!
- Vanilla extract
Equipment
- Waffle Cone iron – For a lot of years I’d make my waffle cones by hand on a baking sheet, or I’d make mini ones in my Pizelle Iron (still an awesome option for kid-sized cones) and then I finally just bought a waffle cone press on Amazon and I LOVE it. I’m actually going to buy one more so I can make more at a time! This model is awesome. It’s actually the same one Williams-Sonoma Sells and it’s only about $50 on Amazon. (Not sponsored, by the way). It’s super easy to use and seriously cooks up perfect waffle cones in a hurry. Treat yourself (haha, get it?) and just get one.
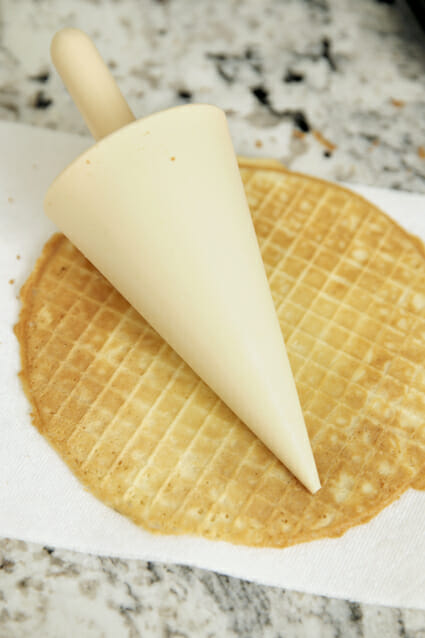
- Shaping tool – If you buy a waffle cone maker it will likely come with a shaping tool. You can also buy them on their own, or cover a foam or cardboard cone in foil and use that. You can also skip the cone completely and shape by hand, just be careful because they are HOT when still fresh and pliable.
How to Make Homemade Waffle Cones
- Waffle cone batter is super simple. The recipe I love is just just sugar, eggs, butter, milk, flour, and vanilla. It mixes up in about 60 seconds.
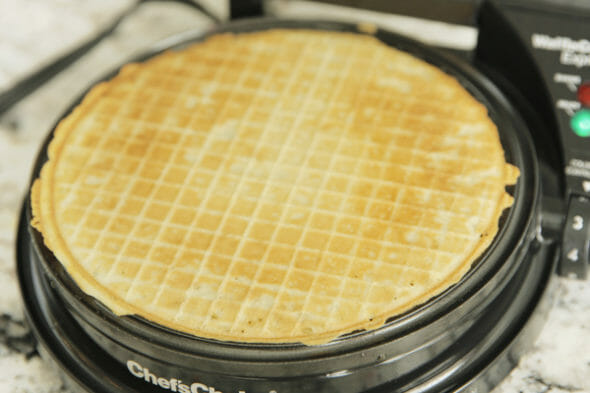
- Then you just pour a couple of tablespoons on the waffle cone maker and press it shut to crisp up.
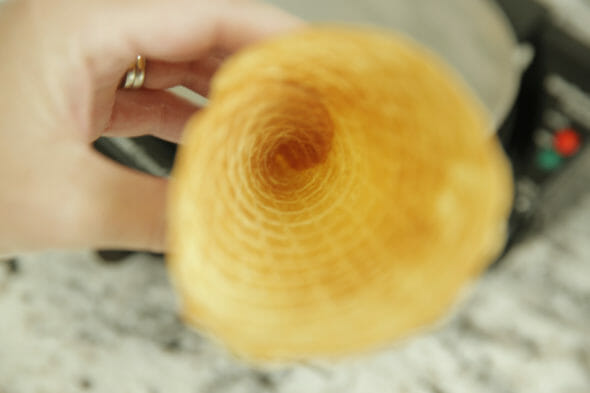
- Waffle cones are soft and pliable when they come off the press, and that’s when you need to shape them. Shape with a shaper tool, foam or cardboard cone wrapped in foil, or by hand. I always put mine down on a paper towel because they’re super hot and the paper towel makes it easy to handle.
- I also make a special point to pay attention to the bottom and make sure I’m closing them all the way, as opposed to having a hole at the bottom. When I do have holes, I usually just drop a chocolate chip down to the bottom to fill up the space.
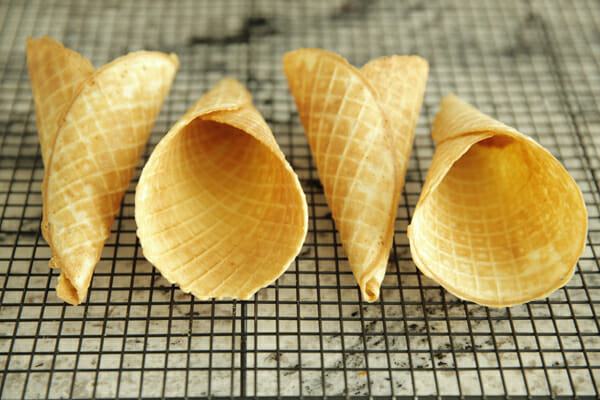
- When your cones are shaped, just place them on a rack to cool and crisp. At this point, you can dip the rims in chocolate and sprinkles, or coat the inside with something yummy and then you can fill them up. There is seriously nothing better than a really good ice cream in a really good cone!
Storing and Other Tips
- Store completely cooled cones in an airtight container at room temp and enjoy within 2-3 days for best results. The texture will be the best on the same day they are made.
- Often for parties I’ll buy a bunch of great ice cream flavors, and then make tons of cones and let people scoop up their fave.
- If you don’t have a waffle cone or pizelle iron: There are a couple of ways to still make these. I’ve done it many times over the years, but I will say it’s kind of a labor of love. They harden quickly so you really have to only do a couple at a time. The press makes it much easier. But you can use either a silicone mat on a baking sheet, or a piece of parchment on a baking sheet. Spread your batter thinly, but evenly in circles. If using parchment, you can trace circles on the underside of the paper as a guide. Bake in a 400 degree oven until they’re golden brown, about 5-7 minutes (but totally depends on the size, so keep an eye on them) and then shape them immediately when they come out and let them cool. You can also make them in a skillet, like you would a crepe- cooking each side until browned and toasted and then shaped into a cone. All the same tips apply if you’re making them without a waffle cone maker: remember they are hot hot hot so be careful not to burn your hands! Also, they crisp and harden quickly so you’ll have to work fast.

Frequently Asked Questions
Be sure to cool your cones completely before storage. Any remaining heat will release moisture and soften the texture of your waffle cones. If you live in an area with high humidity, you may find that you need to eat them fresh for the best texture!
Absolutely! Simply drape the finished cone over a small bowl when you pull it off the iron and allow to cool!
Yes. If you need to you can make the batter and cover and refrigerate for up to 24 hours. When ready to cook, allow the batter to sit at room temperature for about 10-15 minutes, then stir well and use as directed.
Yes! We’ve had readers report that this recipe works well with a good 1:1 gluten-free flour blend.



Homemade Waffle Cones
Equipment
- Waffle Cone Iron
Ingredients
- 2 eggs
- ½ cup sugar
- ⅔ cup flour
- 4 tablespoons melted butter (½ a stick)
- ¼ cup milk
- 1 teaspoon vanilla
Instructions
- Preheat a waffle-cone maker according to the manufacturer’s instructions.
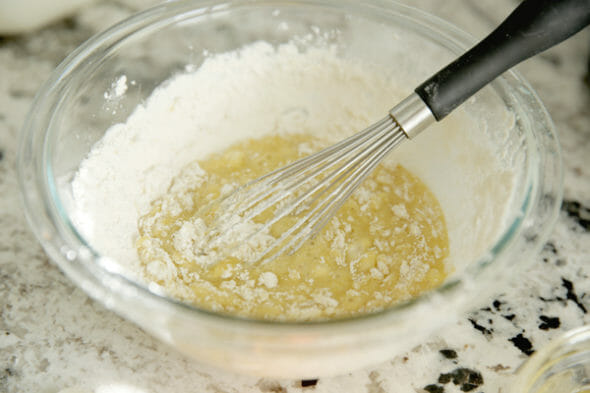
- In a bowl, whisk together the eggs and sugar until the sugar is incorporated and the eggs have lightened in color, about 1 minute. Add the flour mixture and stir until incorporated. Add the butter, milk, and vanilla and stir just until combined.
- Spoon 2-3 tablespoons batter onto the waffle-cone maker. Close the lid and cook for at least 1 minute before lifting the lid to check for doneness. Continue cooking until the desired color is reached.
- Quickly remove the waffle from the waffle-cone maker and shape it around a cone roller, or mold into cone shape. Another option is to lay over an inverted bowl, to make a waffle bowl. Hold the cone for a few seconds to set its shape. Set the cone on a cooling rack to cool.
- Repeat with the remaining batter. Makes about 10 cones.









Questions & Reviews
Can you use an actual waffle iron to make the cones? Or does it HAVE to be a waffle cone iron? (we have a brand new waffle iron & I’m hoping…..)
I used to make these at an ice cream shop where I used to work and think I can still shape them by hand. Once you’ve got that motion/rhythm I think it sticks with you.
A regular waffle iron won’t work for this because you’re making a thin, crisp cone. A regular waffle iron would just be full of holes!
Hii …im vegetarian.instead of eggs what can i use else..
I’m honestly not sure. This is the only way I make them. I would just google “Eggless waffle cone recipe”
may i know what type of flour did you use? is it all purpose flour? thank you!
Yes, just regular all purpose flour 🙂
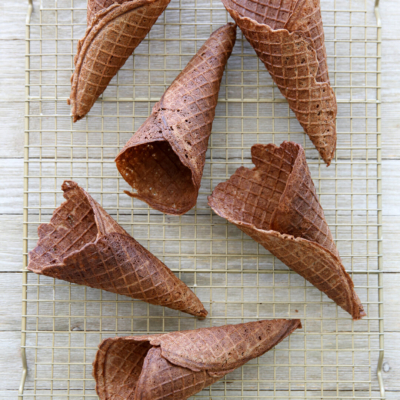
I love kitchen gadgets and appliances. Bought this one and the cones are so delicious — well worth it! There’s a recipe for chocolate waffle cones that comes with it too, so I’ll have to try that as well.
Cone comment: I just tried this on parchment paper in a 400 degree oven using 7 inch circles and about 2 1/2 tablespoons of batter and for some reason the parchment paper wrinkled as the cones baked which caused the circles to not be complete (holes where the wrinkles were if that makes sense) and so when I went to use them, they just fell apart. Such an easy recipe, but I can not figure out where I went wrong. The pieces taste good though!
I also went out and got the huckleberry pie ice cream! I loved it! Then I had to look up the differences between blueberries and huckleberries. In mine, though, the brown Betty ribbon wasn’t very pronounced. But I loved the cinnamon streusel!
Oh my goodness! I bought a pint of your Huckleberry Pie ice cream last night. I only let the kids have a few bites each. Then the hubby and I sat down and ate the rest. He normally doesn’t devour ice cream but it’s safe to say we fought over the last bite! I may just have to go buy more while it’s in our town! Awesome job.
Just got my hands on some tonight – SO YUMMY! My only wish is that it came in a bigger container. I might just have to go to fred meyer tomorrow to pick up some more! I also kinda wish I could get a taste of your original concoction. While the private selection one is certainly delish, I think that pieces of huckleberry and real pie crust would be so yummy too!
You are so Beautiful and talented. It was fun to see that little segment. {a I might add a bit of an inspiration, too!} Thanks for all the yummy and fun recipes. We, here in Texas, love the Best Bite Girls!!
Wow this is my new favorite ice cream. It was soooo good! I had to really control myself not to eat the whole thing last night. You’re amazing! Loved the pie crust pieces.