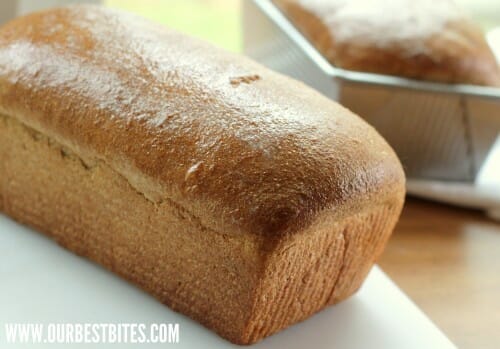
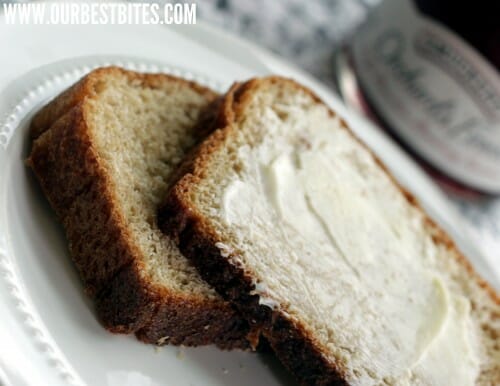
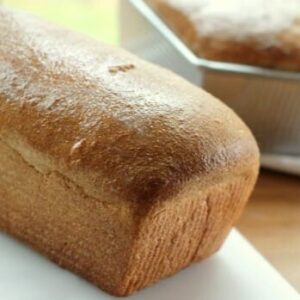
We’ve gotten lots of requests for a good whole wheat bread, so here’s my go-to Honey Whole Wheat Bread recipe. This recipe is for you batch bakers who want to get the most out of your time in the kitchen! It makes 4 generously sized loaves of deliciously soft, slightly sweet whole wheat sandwich bread for all of your freshly baked bread needs. It’s perfect for sandwiches and toast and it’s not too dense or heavy, yet it still holds up well to slicing. In my humble opinion, it’s the perfect whole wheat bread.
I started with a great recipe from Bosch and tweaked and changed things until I felt like they were exactly right. I love the method here because it only has one rise and goes straight from the mixer to the baking pans. That means you aren’t going to be waiting all day to dig in that freshly baked bread. I hope you love it as much as we do!

Ingredients and Equipment Needed
This is just a preview of ingredients and method, keep scrolling for full printable recipe.
Ingredients
- Whole wheat flour – You don’t need to grind your own wheat, but I really do think you wind up with better-tasting (and supposedly more nutritious) flour. If I am going to grind my own (I use a WonderMill) I order hard white wheat. I find it milder and softer than red wheat, and produces a lighter finished product.
If you are buying flour, look for white whole-wheat flour, which is ground from hard white wheat. Regular whole wheat flour will work but it has a stronger flavor and may not be quite as light and fluffy. If you can find whole wheat bread flour, that’s another great option. - Warm water – Warm water is used to activate the yeast. Too cold and you won’t get a good rise, too hot and you’ll kill your yeast. Aim for 105-115°F water.
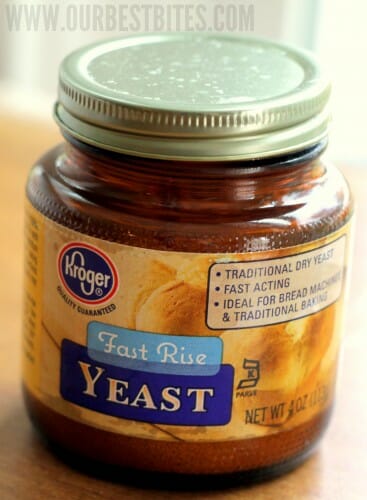
- Bread machine yeast – Also labeled “rapid rise” or “instant” yeast.
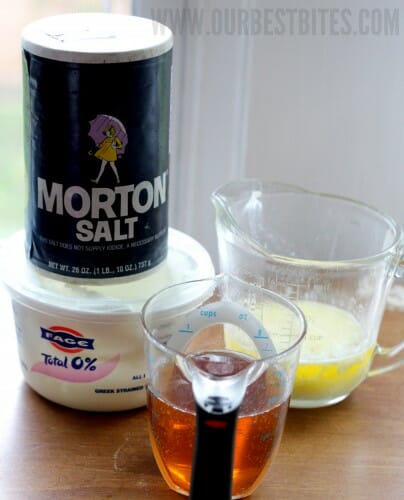
- Table salt
- Unsalted butter – The amount of salt in salted butter can vary, so using unsalted butter lets us control the amount of salt in the recipe. If all you have is salted, that’s ok. Just reduce the additional table salt to about 2 3/4 teaspoons.
- Honey – Honey adds a subtle sweetness and helps the crust brown.
- Plain Greek yogurt – The original recipe called for a dough enhancer, which is an ingredient that most people don’t have laying around and can be hard to track down. plain Greek yogurt gives us some of the same benefits in a much easier-to-acquire package. The acidity supports the structure of the dough and the protein, milk solids, and fat contribute to the overall moisture and tenderness of the final bread.
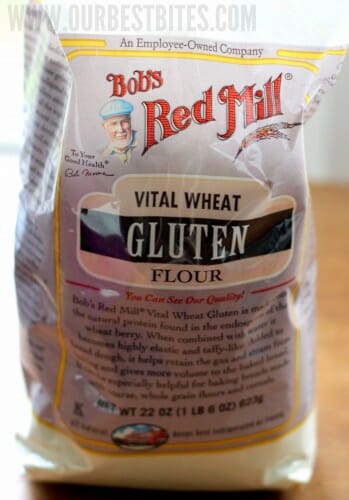
- Vital wheat gluten – Vital wheat gluten is the concentrated protein from wheat flour and it’s often sold near the specialty flours on the baking aisle. This is what gives bread dough it’s strength and elasticity. Using whole wheat can interfere with the gluten development in the dough, preventing it from properly trapping the gasses created by the yeast, which results in a poor rise and dense, crumbly bread. Using it here allows us to get all the of the benefits of using whole wheat while avoiding some of it’s potential pitfalls. If you can’t find it easily, or you don’t have it at home and you want to try this recipe anyway, you can sub in some bread flour for a portion of the whole wheat flour. See the notes in the recipe card at the end of this post for full instructions. If you’re using 100% whole wheat flour, do not skip the vital wheat gluten!
Equipment
- Heavy duty mixer – Note that this is a big batch of bread (we’re starting with 9 cups of flour and then add more)! I’m using a Bosch mixer for this. If you are using a KitchenAid mixer or other standard size mixer, check your max capacity before you begin. You can also check the frequently asked questions and recipe card below for options on shrinking the recipe down. I would recommend a 2-loaf batch if you have a KitchenAid mixer.
- Bread pans – I use and love these pans. I bought them on Amazon and yes, they are a little spendier than your average bread pans. But if you’re serious about making your own bread, they are fabulous at retaining heat, giving you a nice, smooth, evenly-browned loaf of bread.
How to Make Honey Whole Wheat Bread
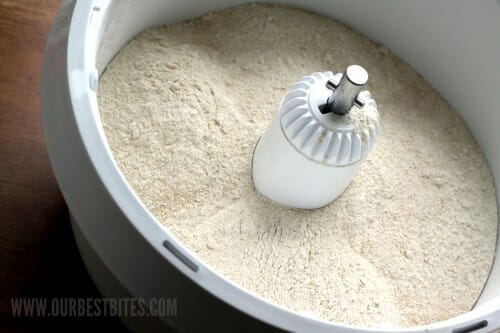
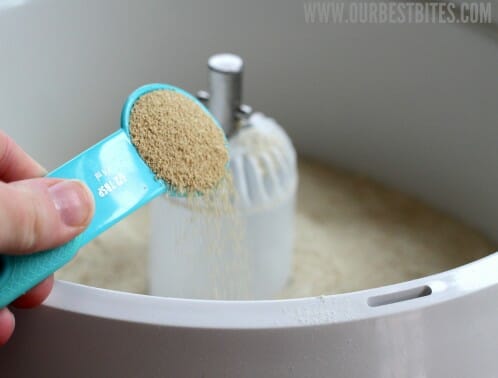
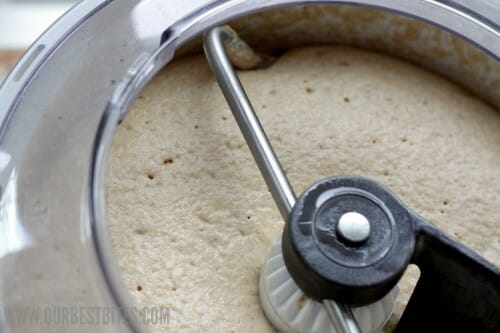
- You’ll start with some flour, rapid-rise yeast, and warm water in the bowl of your mix. That needs to sit for a minute until the yeast wakes up and the whole thing looks bubbly and spongey.
- At this point you’ll add some salt, butter, honey, Greek yogurt, and vital wheat gluten. Then you’ll slowly add several additional cups of flour, until the dough starts pulling away from the sides of the bowl.
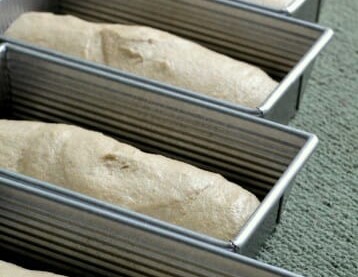
- You’ll let that knead for a few minutes right in the mixer, then transfer to a greased surface to divide into 4 equal potions. Each of those portions will then go into a greased bread pan to rise for about an hour. This is the only rise, which is one thing I love about this recipe!
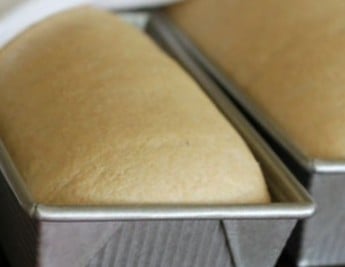
- After that, they are ready to go into a hot oven until golden brown! A quick rub of cold butter over the hot tops while fresh out of the oven finishes them off.
- You’ll allow the loaves to cool all the way in the pans, and then they are ready for use or storage for later!
Storing and Other Tips
- Store completely cooled bread in a tightly sealed plastic bag or airtight container at room temperature and enjoy within 3-4 days for best results.
- These loaves freeze beautifully. You can use gallon-sized Ziploc bags (you may have to cut the ends off), or you can buy bread bags. Again, if you live somewhere where lots of people make their own bread, you might be able to buy them locally. Otherwise, these bags from King Arthur Flour are fabulous.
Frequently Asked Questions
Some people are successful at making whole wheat bread without it. However…part of our job is making our recipes something that beginners to experts can make, and can make well on a consistent basis. Because of variations in bread-making experience, wheat quality, different types of wheat, whether you grind it yourself or buy the flour at the store, elevation, and about a million other factors, there’s lots and lots of potential for this recipe to fail. Vital wheat gluten helps with that. It’s not going to hurt you or your bread (unless, like a commenter mentioned, you’re allergic or have Celiac Disease), but it can help level out some of those problematic factors, so I guess my thing is why not add it, you know?
Yes, especially if you have a pro-series mixer. That said, you’ll want to keep an eye on your machine, especially near the end of the kneading cycle. If it smells “machiney” or appears to be straining or overheating, turn it off and finish kneading it by hand.
Yes, absolutely! During the final kneading, just double the kneading time. Also, there’s a tendency when making bread without a mixer to add too much flour because you can really feel the moisture of the dough. Just realize that as time goes on and the longer the bread is kneaded, it will become less and less sticky, so try and be patient before adding too much flour.
Of course not! The easiest way to adjust the ingredients needed for the number of loaves you want is to press the + or – button on the recipe card to the number of loaves you’d like to make. Since the customary US measurements do not divide cleanly, the best way to measure is to click on “Metric” under the ingredients list on the recipe card below and measure all ingredients by weight in grams.
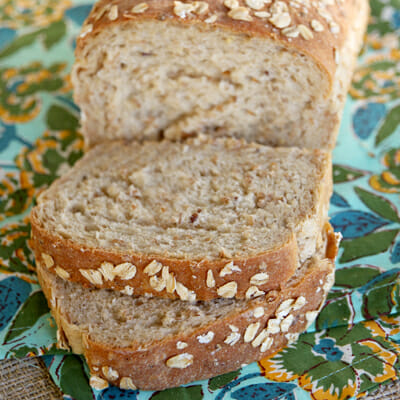
I would estimate 16 standard slices per loaf at normal sandwich thickness.


Honey Whole Wheat Bread
Ingredients
- 12-15 cups whole wheat flour preferably hard white wheat
- 5 ¾ cups warm 105-115 F water
- 2 ½ tablespoons bread machine or instant yeast
- 2 tablespoons table salt
- ½ cup unsalted butter melted
- ⅔ cup honey
- ¼ cup plain Greek yogurt
- 2 heaping tablespoons vital wheat gluten
Instructions
- Mix 9 cups wheat flour and yeast in the bowl of a heavy-duty mixer. Add the warm water and mix well. Cover and allow to rise for 15 minutes.
- Add salt, honey, melted butter, yogurt, and vital wheat gluten. Mix well. Add remaining 3-6 cups of flour, mixing the dough at low speed, until the dough pulls away from the sides of the bowl and the dough barely sticks to your finger. Allow the mixer to knead the dough for an additional 5 minutes.
- While the dough is kneading, spray 4 9×5″ bread pans with non-stick cooking spray. Set aside. Spray a work surface and your hands with non-stick cooking spray.
- Turn the dough onto the prepared work surface. It should be very easy to work with. Press the dough into an even circle or square and divide the dough into 4 equal pieces. Press the dough into a rectangle that is about 8½-9" on the long side. Roll it into a smooth log and place into a prepared pan. Repeat with remaining dough pieces. Cover and let rise for 45-60 minutes or until the dough is rounding over the tops of the pans.
- Carefully place the pans onto the middle rack of a cold oven. Turn oven onto 350℉ and bake for 32-40 minutes or until the tops are golden brown and, if you're feeling awesome, an instant-read thermometer reads 200℉. Remove from oven and run a stick of cold butter over the tops of the bread. When cool, remove from pans. Use immediately or freeze loaves for future use.
Notes
- Nutritional information reflects 1 loaf of bread, not an individual serving size.
No Vital Wheat Gluten?
- If you cannot get vital wheat gluten, use your whole wheat flour for the initial mix and then use white bread flour for the additional flour, only as much as needed to obtain a dough that is pulling away from the sides of the bowl and behaving as the directions above instruct.
- All purpose flour may be used this way as well, but the bread flour will provide better structure and rise.
- You can also use 100% whole wheat bread flour in place of all the flour and omit the vital wheat gluten.









Questions & Reviews
I’ll be halving the recipe because my kitchenaid is small. Wish I had known about the difference between red and white wheat before buying a massive 50 lb bag of hard red wheat at the store!
I’d like to use OLIVE OIL instead of butter. Will this work, and How do I convert the measurement?
Thanks!
Thank you, thank you, thank you a million times thank you! I’ve always been terrified of making loaf bread. I’ve done rolls, pizza dough, pull-aparts, but sandwich bread has always intimidated me. I’ve been looking in to eating a more “clean” diet with less processed foods, so I knew I needed to at least try making my own bread. I made this recipe on my first attempt at homemade wheat bread, and it was incredible. I halved the batch, used my trusty kitchen aid, and just used store-bought whole wheat flour. Do you find that grinding your own wheat makes it taste better, or is it just a good way to save money/be more self reliant? My mother-in-law grinds her own wheat and her bread is super dense. Anyway, I hope to make this bread for my family for the rest of our lives!
I have a kitchen aid mixer. How long should I let the dough knead before it approaches the right consistency? Today’s attempt baked up fine (meaning edible), but the dough was far from easy to handle. It was in a nice ball, not too sticky, then I checked a few minutes later and it was goopey (for lack of a better adjective). So did I miss a window or not go long enough?
I have been looking for the perfect 100% whole wheat recipe and I am so excited to have found this one! I even used hard red wheat (my mother-in-law gave me around 20 #10 cans of the stuff and I can’t bear to just toss it). It turned out perfect and I cannot wait to use up all the hard red wheat so that I can buy hard white wheat and find out that this perfection can get even better! Thanks for always doing the hard work of perfecting all these awesome recipes!!
I’ve been making this every week. After pulling the bread out of the oven I take a hot loaf to a friend or neighbor and get rave reviews every time. Awesome recipe!
I just wanted to say thank you for posting this recipe. I have been searching for a good Wheat bread recipe and this is it. Also this is the first bread I’ve tried that has actually raised like it is supposed to. I’ve never used gluten before and it really makes a difference. One alteration I made to the recipe was to use sour cream instead of greek yogurt and it still tastes great.
Thanks again.
I know of a way to get light, chewy, 100% whole hard red wheat bread that doesn’t taste like sawdust and is still delicious cooled–and it doesn’t need dough conditioner OR gluten OR professional know-how. Let me know if you’re interested, I posted it on mygirlfriendskitchens blog. I’d like to offer it to you as a thank you for your many MANY wonderful posts and recipes! I love visiting here! 🙂
Just made this for my first ever whole wheat bread attempt! I had to cut the recipe in half since I have a smaller Kitchen Aid, and do some hand kneading to finish it off, but it came out PERFECT!! So, delicious! My 7 year old said it was so much better than anything I buy at the store! (SCORE!) Thanks so much for the recipe! I followed it to a T and it turned out just like you said it would.
I read this website on a blog and then could not find it. SO glad I finally found it.Regarding the yeast…I have Red Star Active Dry Yeast. What are the differences between the Bread Machine and Fast Rising to what I have? I buy the big bag of it at Costco because it is a lot cheaper that even our commissary.